The main reason why it took me so long to make this cake is because according to the cookbook, you needed a cake ring and acetate lining to build up the layers. I wasn't interested in acquiring any more random stuff for my kitchen so I just kept drooling over the recipe but not making it. At one point I started thinking about making it into a cupcake form, but then I got the bright idea to just put all the layers in small Mason jars, which I already had! I love that they can be kept in the freezer for a while and are totally portable, so they make really good gifts for friends!
There are a lot of different parts to this cake, and some parts take more time than others and need to chill before using or need to use immediately, so this is how I would suggest going about it:
- Make the cake and put it in the oven to bake.
- While the cake is baking, make the passion fruit curd and let it chill in the fridge.
- After the cake is done, let it cool and lower the oven temperature to 300°F. Make the chocolate crumbs, which will also need to cool after baking.
- Just before you are ready to assemble everything, start making the coffee frosting. This will take a while to come together, so you can go ahead and start with the assembly process while you are waiting.
After assembling the 6 jars, you'll end up with a lot of leftover components. Feel free to make a Happiness Scrap Heap out of them just for yourself or, if you have more jars, you can try making more Happiness Cakes, just without the perfect circles.
Happiness Cake (adapted from Momofuku Milk Bar)
makes 6 small (8 oz.) jars with lots of leftover scraps perfect for snacking on
1 recipe Chocolate Chip Cake (below)
1/3 cup passion fruit puree
1 recipe Passion Fruit Curd (below)
1 recipe Chocolate Crumbs (below)
1 recipe Coffee Frosting (below)
Chocolate Chip Cake
makes one 9"x13" cake
1/2 cup butter, at room temperature
1 1/4 cup sugar
1/4 cup light brown sugar, tightly packed
3 eggs
1/2 cup buttermilk
1/2 cup canola oil
1 tablespoon vanilla extract
1 1/2 cups cake flour
1 teaspoon baking powder
1 teaspoon kosher salt
Nonstick cooking spray
3/4 cup mini chocolate chips
Preheat oven to 350°F.
Combine the butter and sugars in the bowl of a stand mixer fitted with the paddle attachment and cream together on medium-high for 2-3 minutes. Add eggs and mix on medium-high again for 2-3 minutes.
On low speed, stream in the buttermilk, oil, and vanilla. Increase the mixer speed to medium-high and paddle for 4-6 minutes, until the mixture is practically white, twice the size of your original fluffy butter-and-sugar mixture, and completely homogenous.
On very low speed, add the cake flour, baking powder, and salt. Mix for 45-60 seconds, just until your batter comes together and any remnants of dry ingredients have been incorporated.
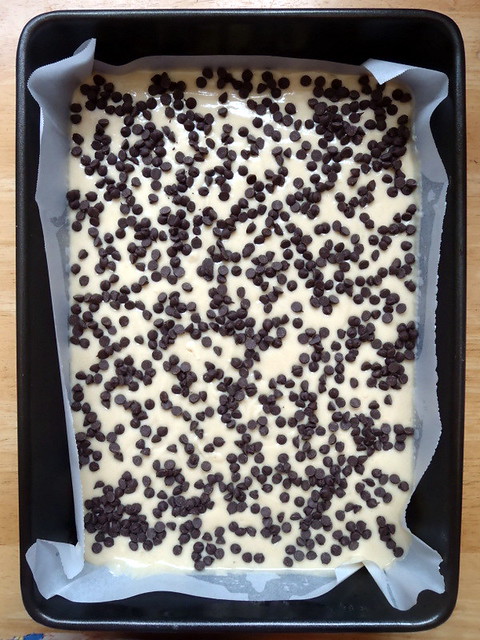
Spray a 9"x13" pan with nonstick cooking spray and line with a piece of parchment paper. Using a spatula, spread the cake batter in an even layer in the pan. Give the bottom of the pan a tap on the counter top to even out the layer. Sprinkle the chocolate chips evenly over the cake batter.
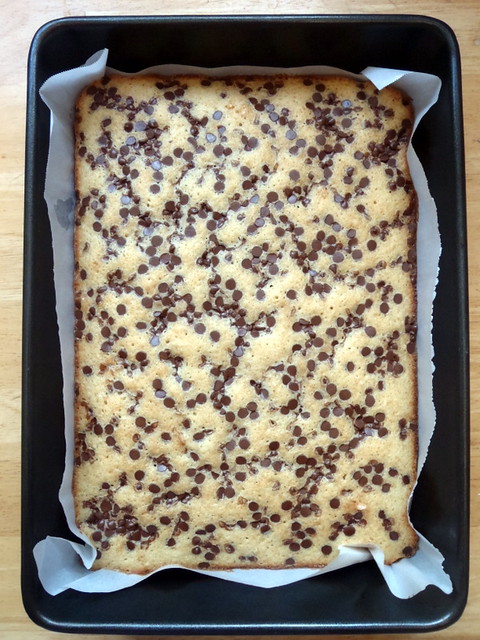
Bake the cake for 30-35 minutes. At 30 minutes, gently poke the edge of the cake with your finger; the cake should bounce back slightly and the center should no longer be jiggly. Leave the cake in the oven for an extra 3-5 minutes if it doesn't pass these tests.
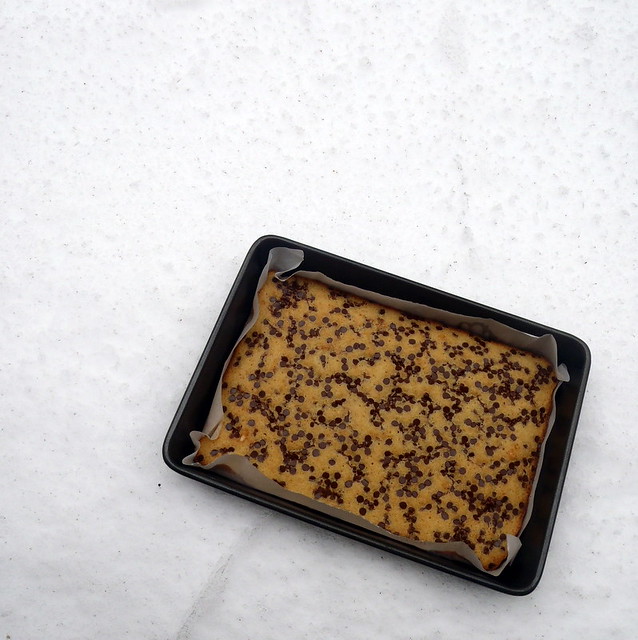
Take the cake out of the oven and cool on a wire rack, or in a pinch, in the fridge, freezer, or snow (just make sure, you know, it's stopped snowing). The cooled cake can be stored in the fridge, wrapped in plastic wrap, for up to 5 days.
Passion Fruit Curd
makes about 1 1/2 cups
1/2 cup passion fruit puree
1/3 cup sugar
2 eggs
1/2 teaspoon powdered gelatin
3/4 cup butter, very cold
1/2 teaspoon kosher salt
Put the passion fruit puree and sugar in a blender and blend until the sugar granules have dissolved. Add the eggs and blend on low until you have a bright-orange-yellow mixutre. Transfer the contents of the blender to a medium saucepan. Clean the blender canister.
Bloom the powdered gelatin in 2 tablespoons of cold water.
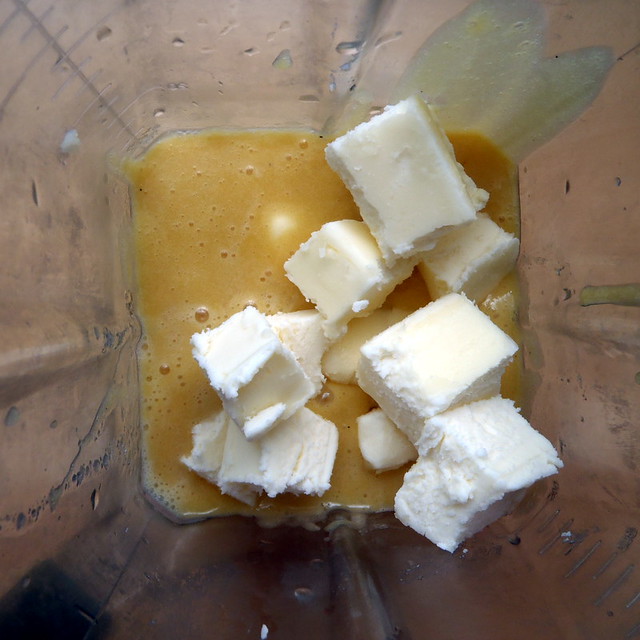
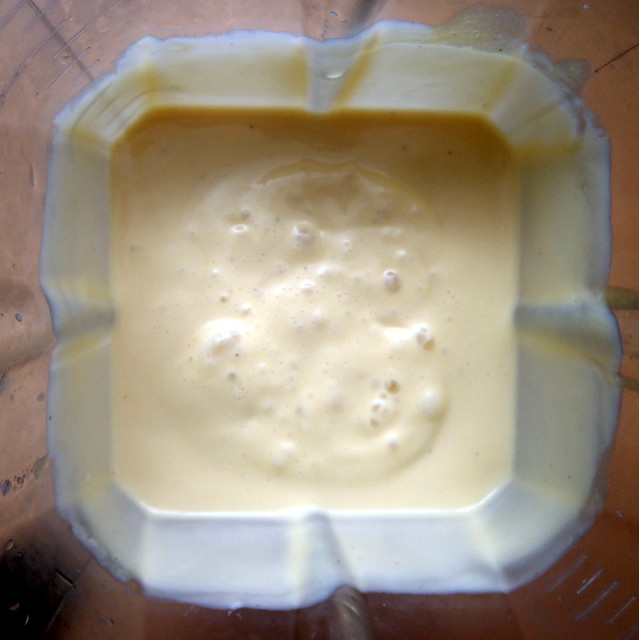
Heat the passion fruit mixture over low heat, whisking regularly. Once it boils, remove it from the stove and transfer it to the blender. Add the bloomed gelatin, butter, and salt and blend until the mixture is thick, shiny, and super-smooth.
Transfer the mixture to a heatproof container and put in the fridge until the curd has cooled completely, at least 30 minutes. The curd can be refrigerated for up to 1 week; do not freeze.
Chocolate Crumbs
makes about 1 1/4 cup
1/3 cup flour
1/2 teaspoon cornstarch
1/4 cup sugar
1/3 cup cocoa powder
1/2 teaspoon kosher salt
3 tablespoons butter, melted
Preheat the oven to 300°F.
Combine the flour, cornstarch, sugar, cocoa powder, and salt in the bowl of a stand mixer fitted with the paddle attachment and paddle on low speed until mixed.
Add the butter and paddle on low speed until the mixture starts to come together in small clusters.
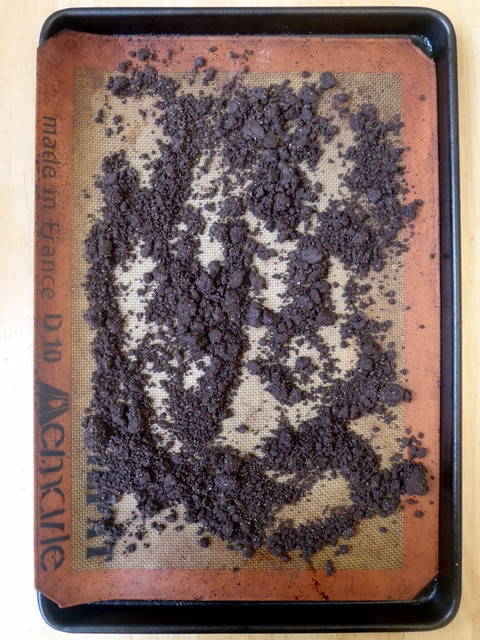
Spread the clusters on a parchment- or Silpat-lined baking sheet. Bake for 20 minutes, breaking them up occasionally. The crumbs should still be slightly moist to the touch at that point; they will dry and harden as they cool.
Let the crumbs cool completely before using. Stored in an airtight container, they will keep fresh for 1 week at room temperature or 1 month in the fridge or freezer.
Coffee Frosting
makes about 2 cups
1 cup butter, at room temperature
1/2 cup confectioners' sugar
1/3 cup milk
1 1/2 teaspoons instant espresso powder
1/2 teaspoon salt
Combine the butter and confectioners' sugar in the bowl of a stand mixer fitted with the paddle attachment and cream together on medium-high for 2-3 minutes, until fluffy and pale yellow.
Meanwhile, make a quick coffee milk: whisk together the milk, instant espresso powder, and salt in a small bowl.
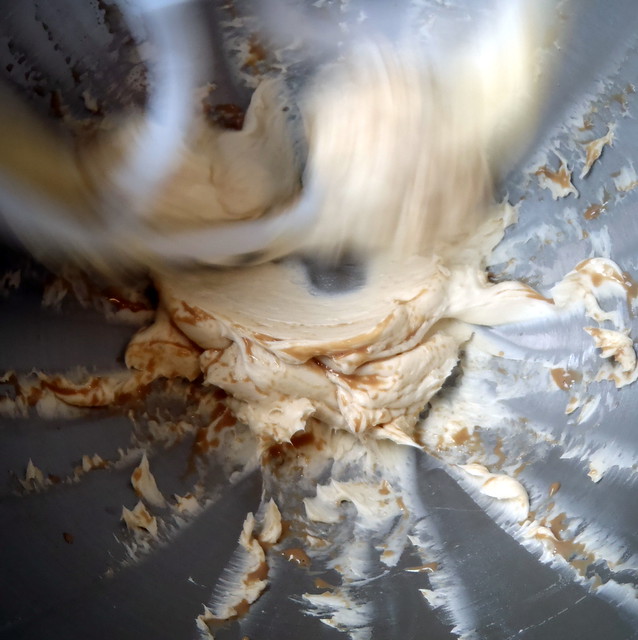
On low speed, gradually stream in the coffee milk. You are essentially forcing liquid into fat, so be patient. The butter mixture will clump up and separate upon contact with the coffee milk.
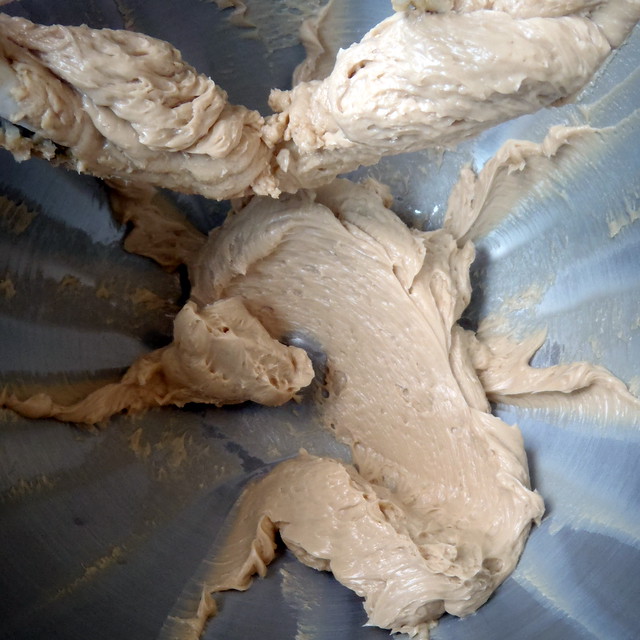
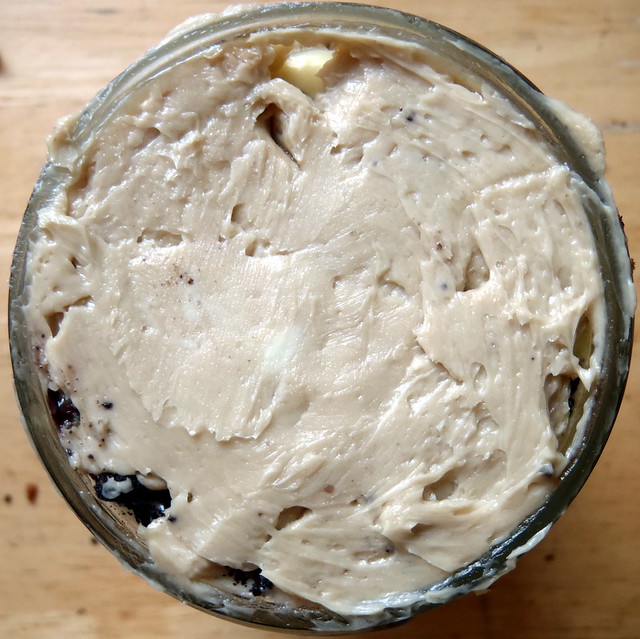
Do not stream more coffee milk into the butter mixture until the previous addition is fully incorporated; keep the mixer on and remain patient. The result will be a wildly fluffy coffee frosting, pale brown, and super-shiny. Use immediately.
Happiness Cake in a Jar Assembly
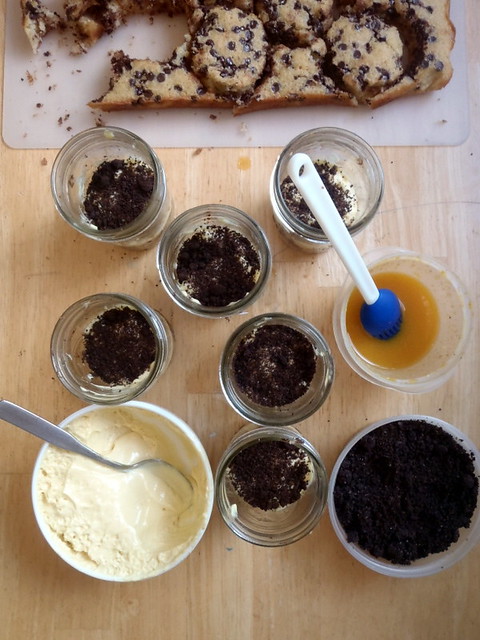
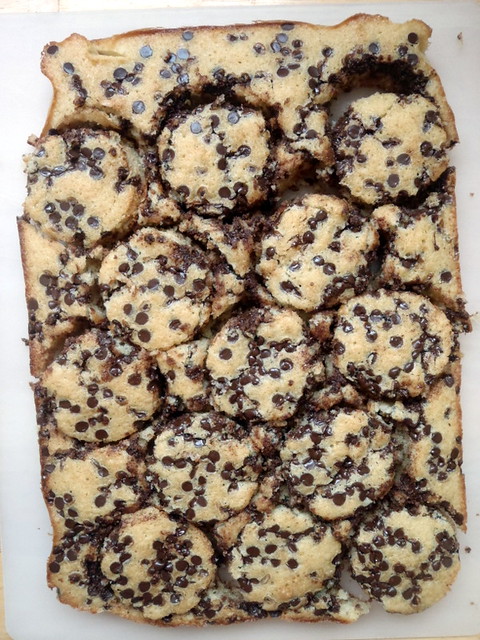
Using an empty jar as a cookie cutter, cut out 12 circles from the chocolate chip cake. (Yes, there are 13 circles cut out above. I had to eat one. For science.)
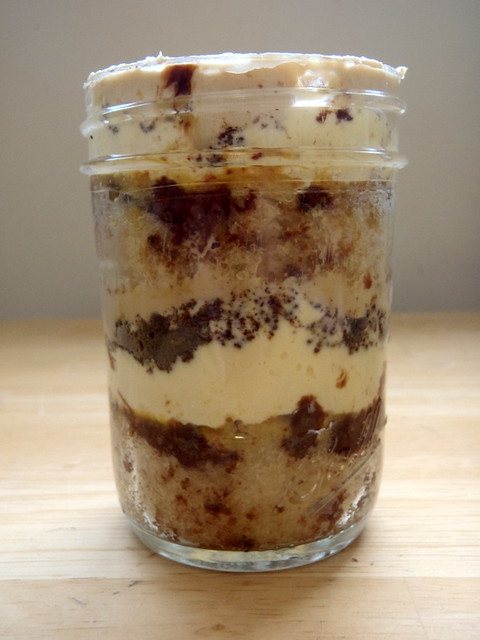
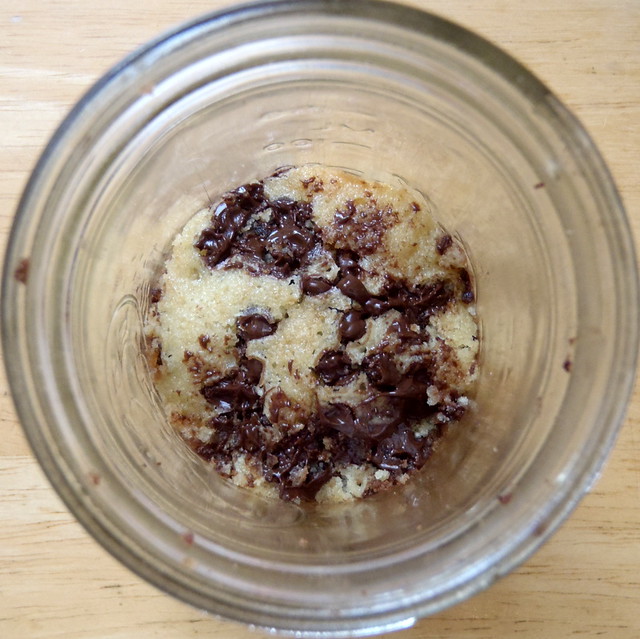
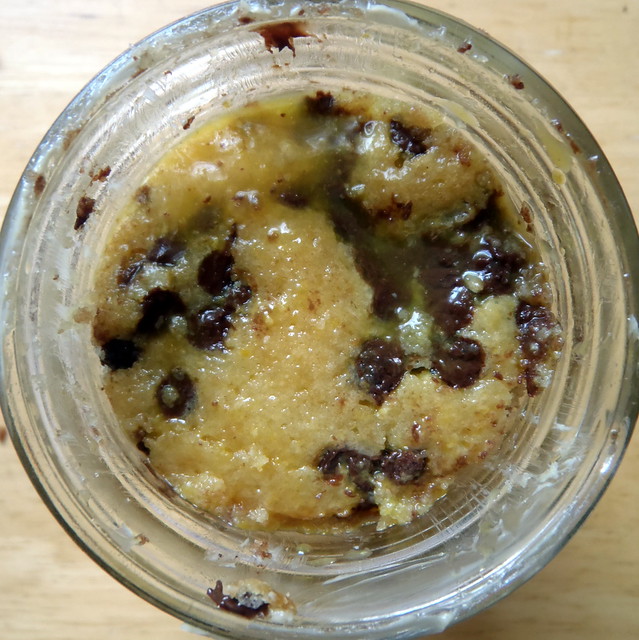
Press one circle into the bottom of a jar. Brush with a generous amount of passion fruit puree.
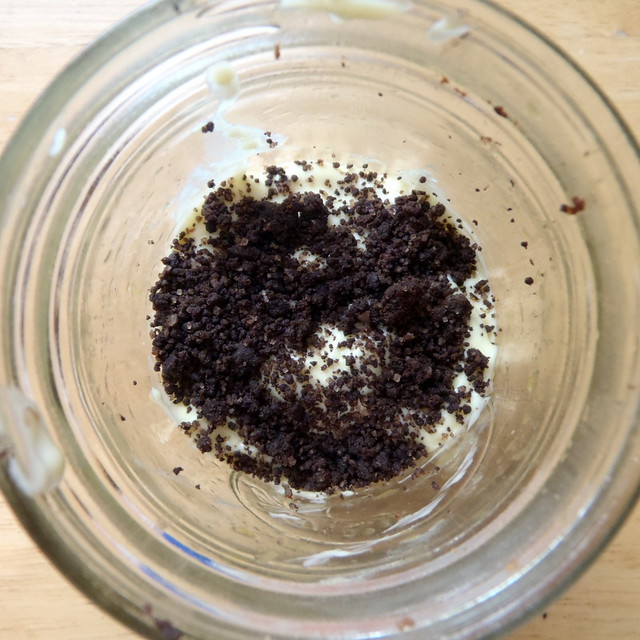
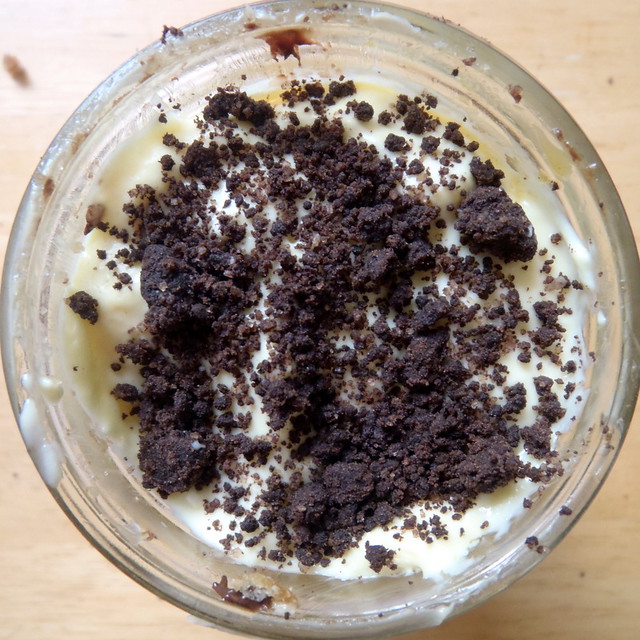
Spoon in a layer of the passion fruit curd. Top with a layer of the chocolate crumbs.
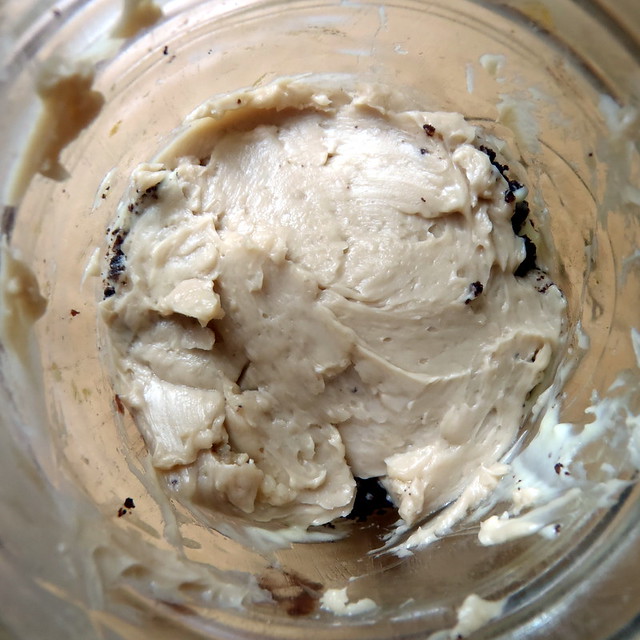
Carefully spread a layer of the coffee frosting on top.
Repeat with another layer of cake, passion fruit puree, passion fruit curd, and chocolate crumbs.
Finish with a final layer of coffee frosting.
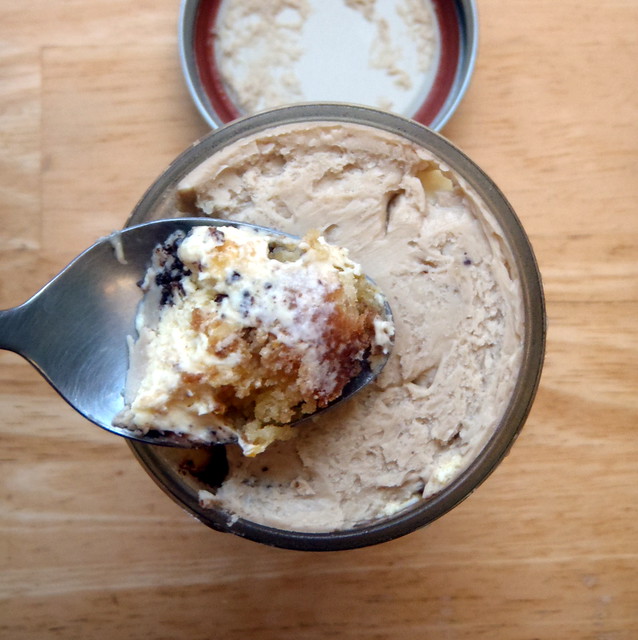
Repeat with the remaining 5 jars. Cover and place in the freezer for at least 12 hours to set the cake and filling. The cakes will keep in the freezer for up to 2 weeks. Defrost in the fridge for at least 3 hours before serving.
Dig in with a spoon and experience happiness.
Next: Rosemary Honey & Lemon Frozen Yogurt
Previously: Peking Duck Pizza
Four years ago: Panna Cotta, Take 2; The Feng Family Secret Peking Duck Recipe; Korean Pancake Face Off
