A few months ago my friend Ellen posted a gorgeous picture of the best roast chicken she had ever made and challenged us to name the technique she used to make it. From the picture, I knew immediately it was a spatchcocked chicken, and I've been wanting to try it ever since. Well, this weekend we needed some cooked chicken to make curry chicken tea sandwiches for Amy's baby shower, so I volunteered to make the chicken instead of just buying a rotisserie chicken.
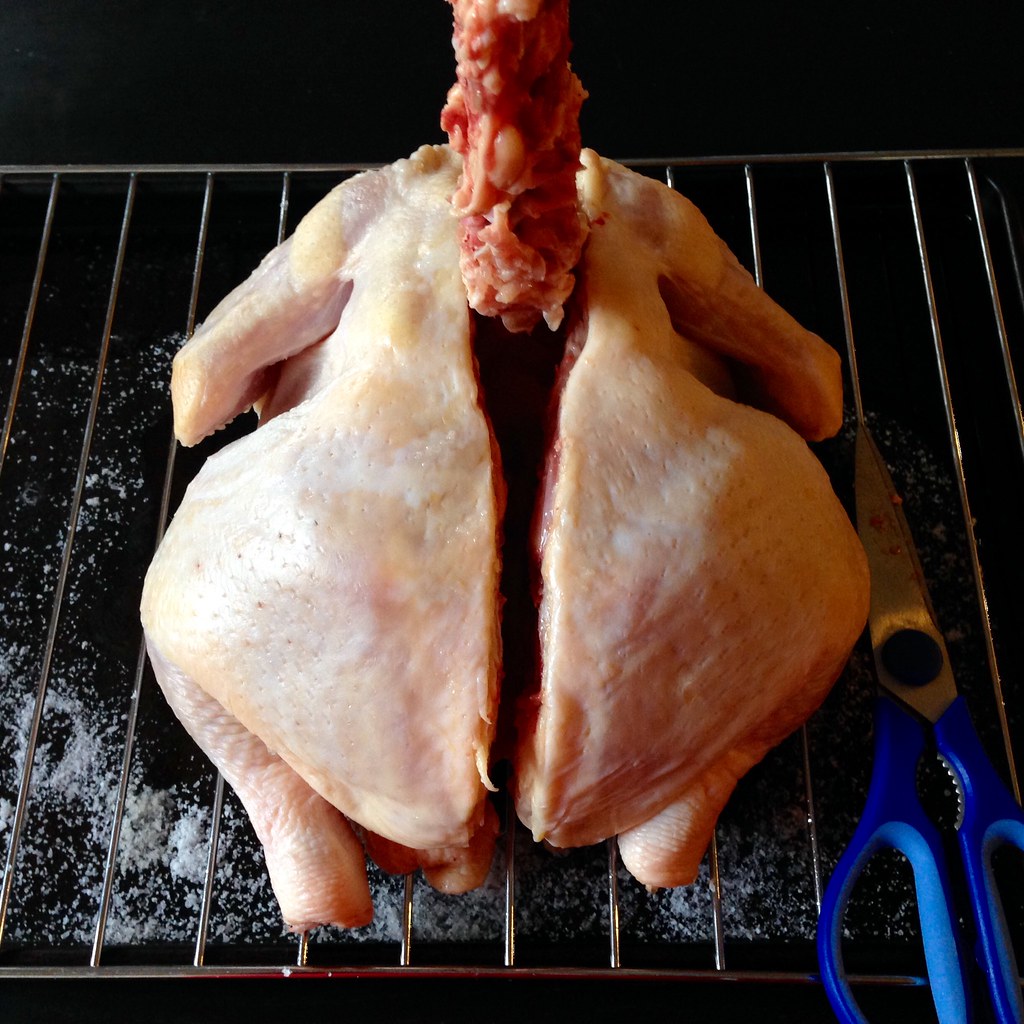
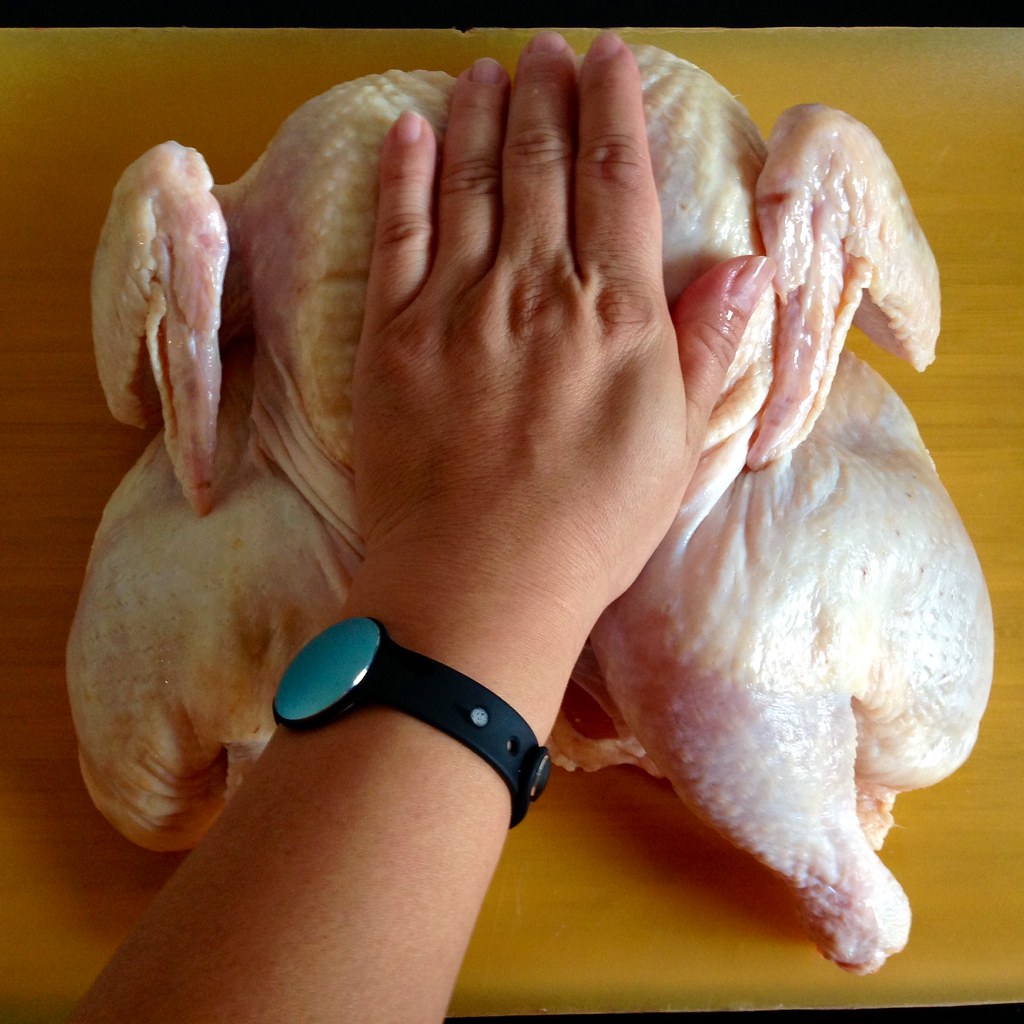
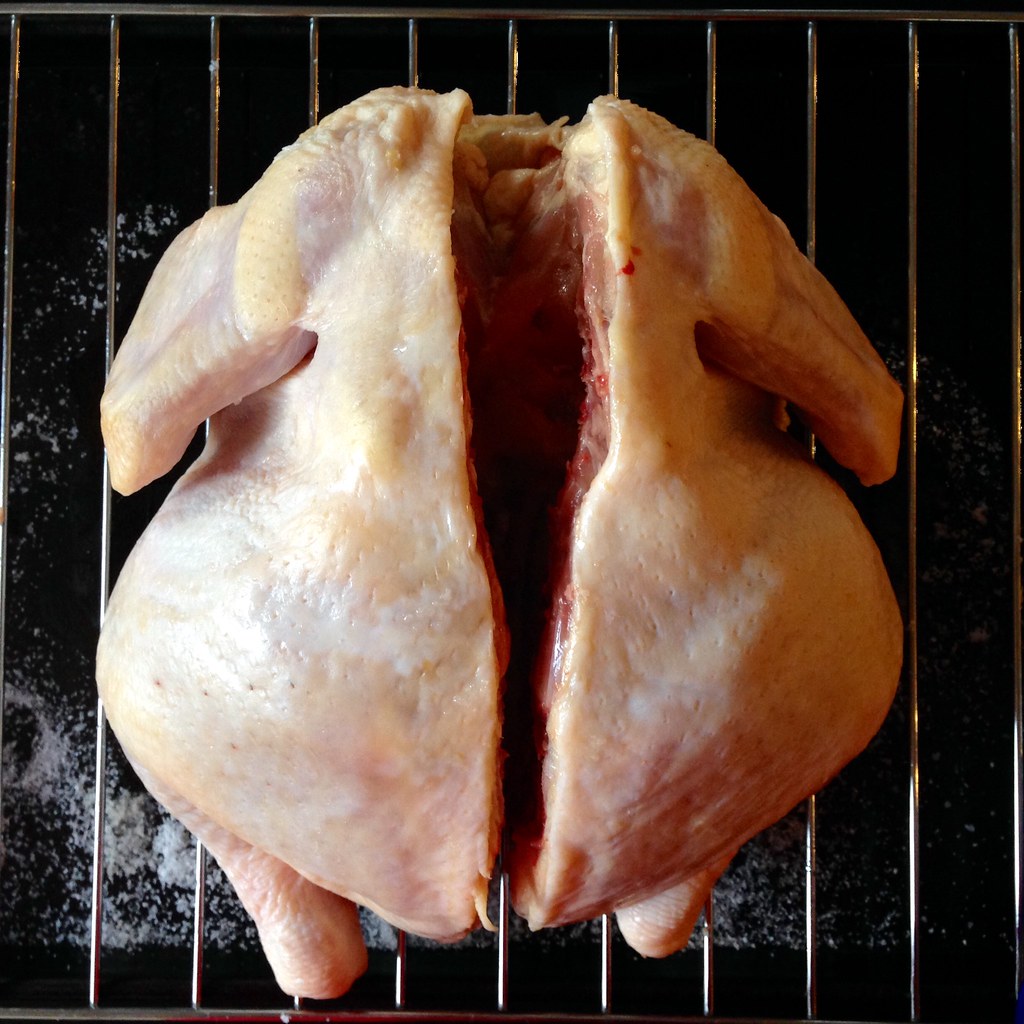
Spatchcocking a chicken just means cutting out the backbone and then butterflying the chicken so that you can roast it flat. This way the dark meat and white meat cook more evenly, and you can also cook it a lot faster than roasting it whole. Usually you have to use a lot of pressure to force the bird to "crack" open, but this post from Epicurious mentions making a notch on the sternum bone/cartilage before flipping the bird over which makes it a lot easier.
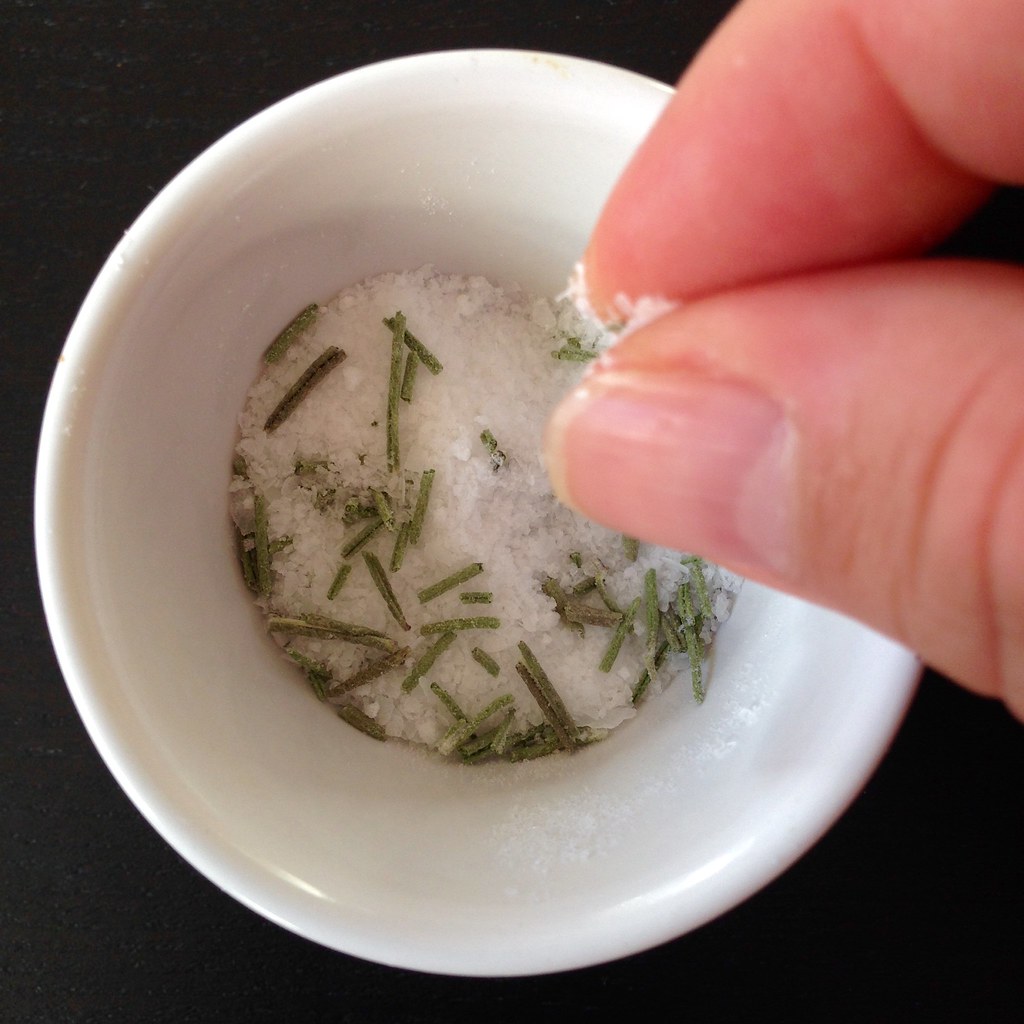
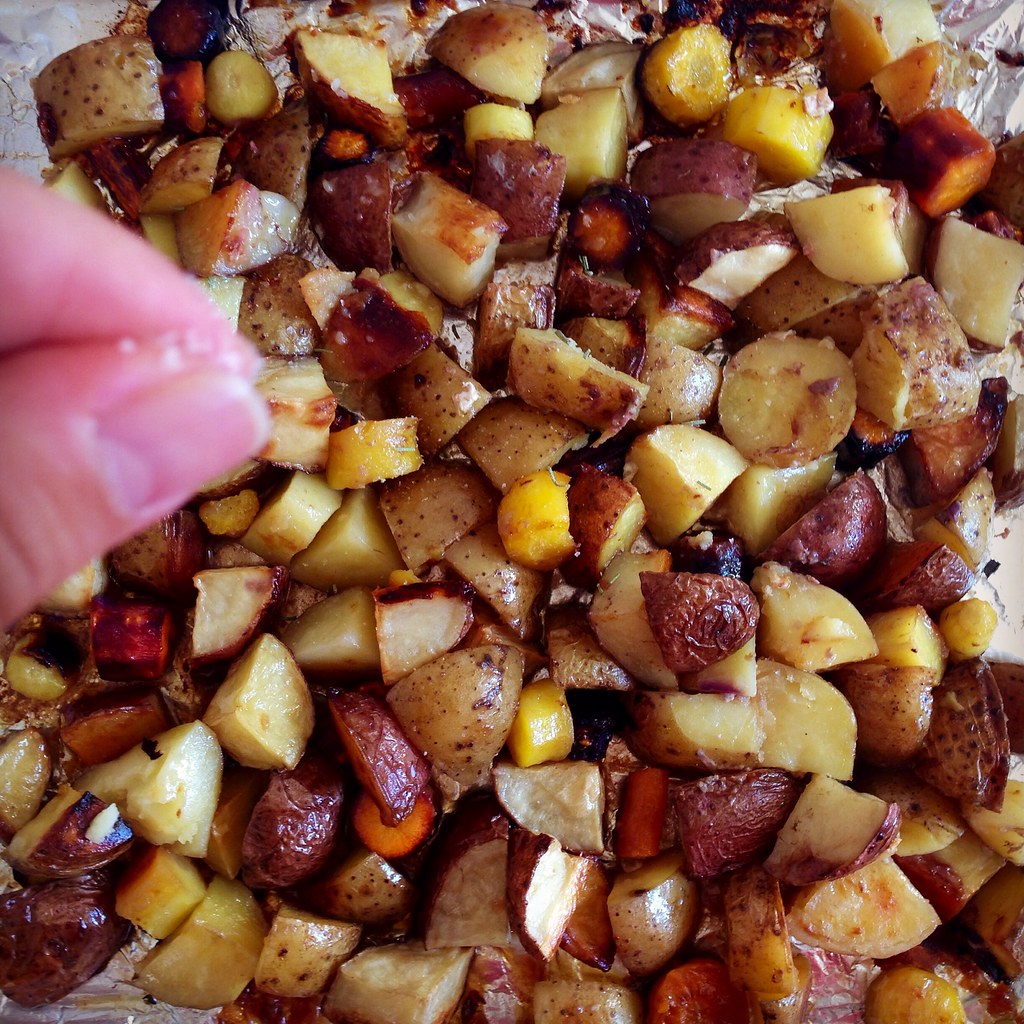
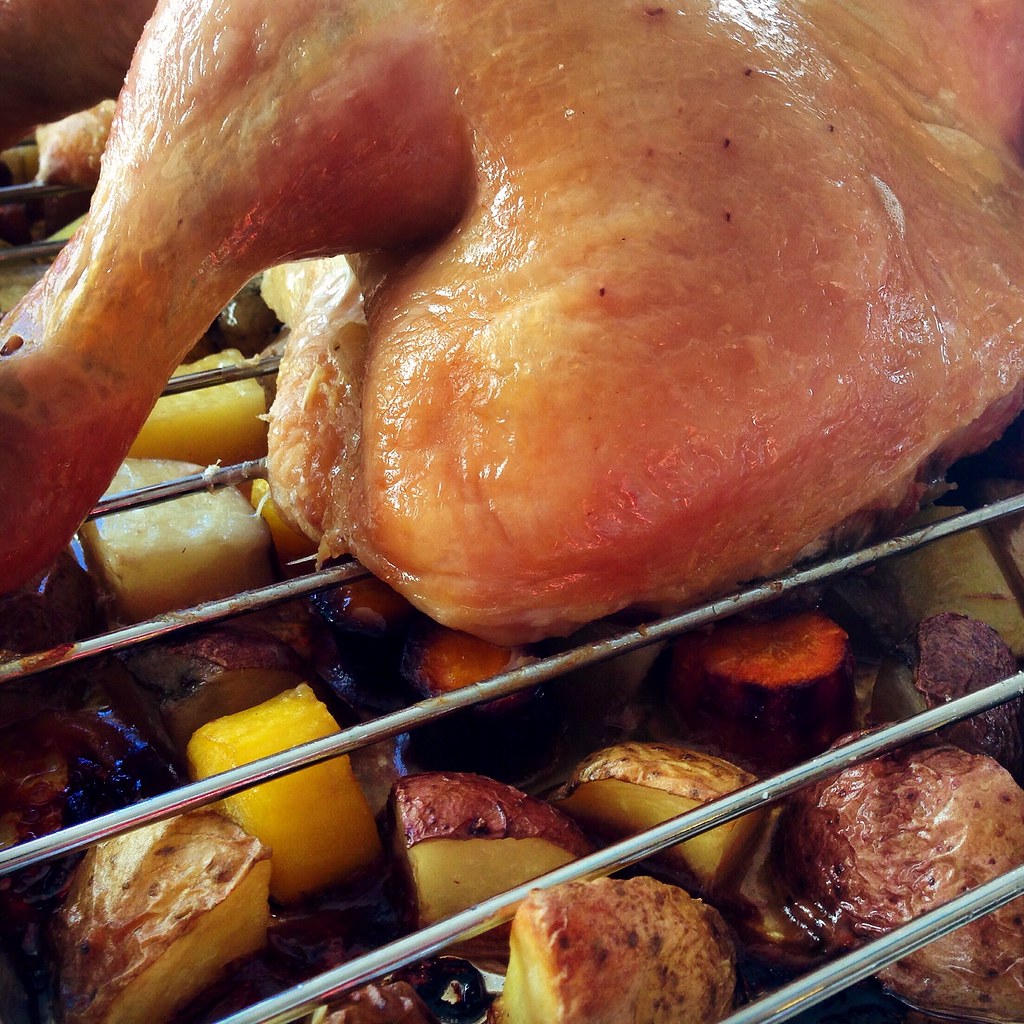
I was also inspired by The Crepes of Wrath's post to dry brine the chicken overnight and roast it on top of vegetables to catch all the delicious drippings. It reminded me of the roasted potatoes from the Roli Roti food truck at the San Francisco Ferry Building Farmers market. They're piled underneath the spinning rotisserie meat so they absorb all the dripping goodness and then topped with a sprinkle of rosemary salt, which I totally copied here on the potatoes and multi-colored carrots I got in my recent Boston Organics delivery.
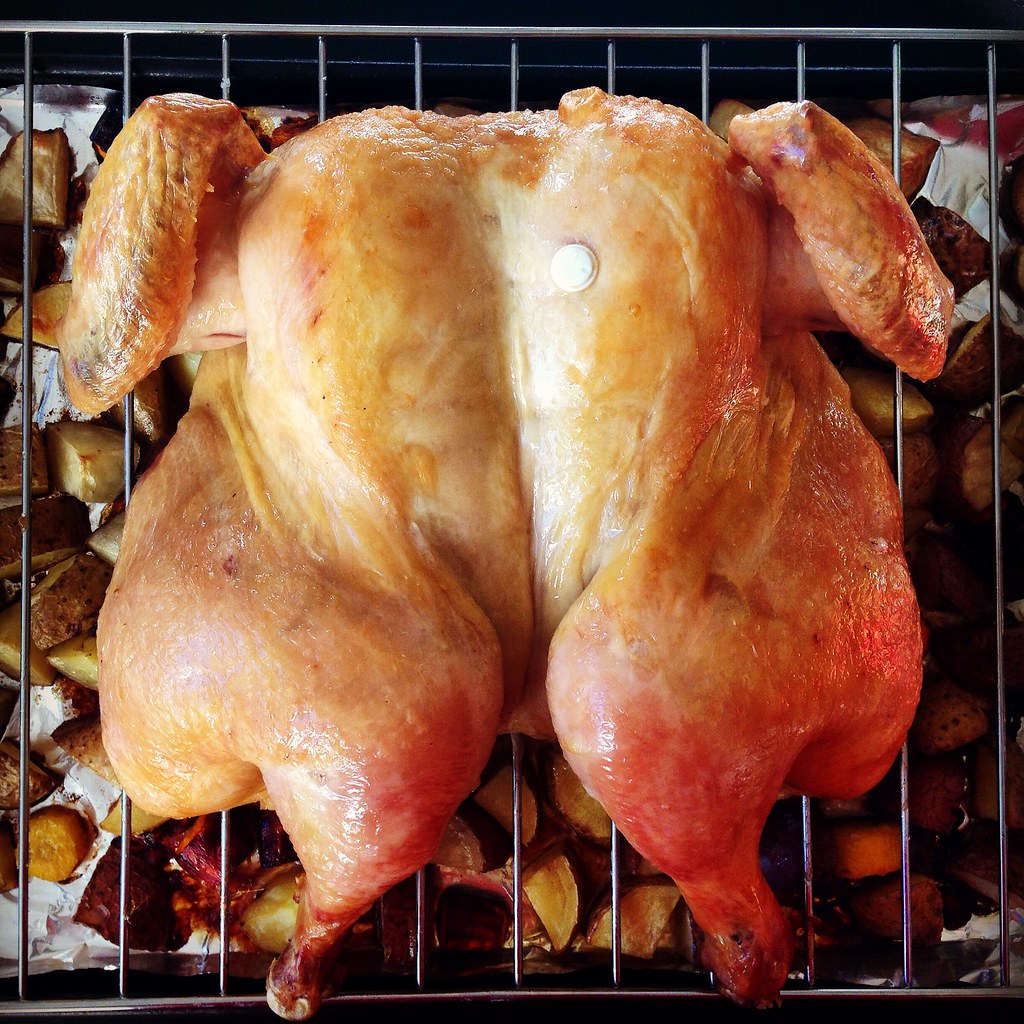
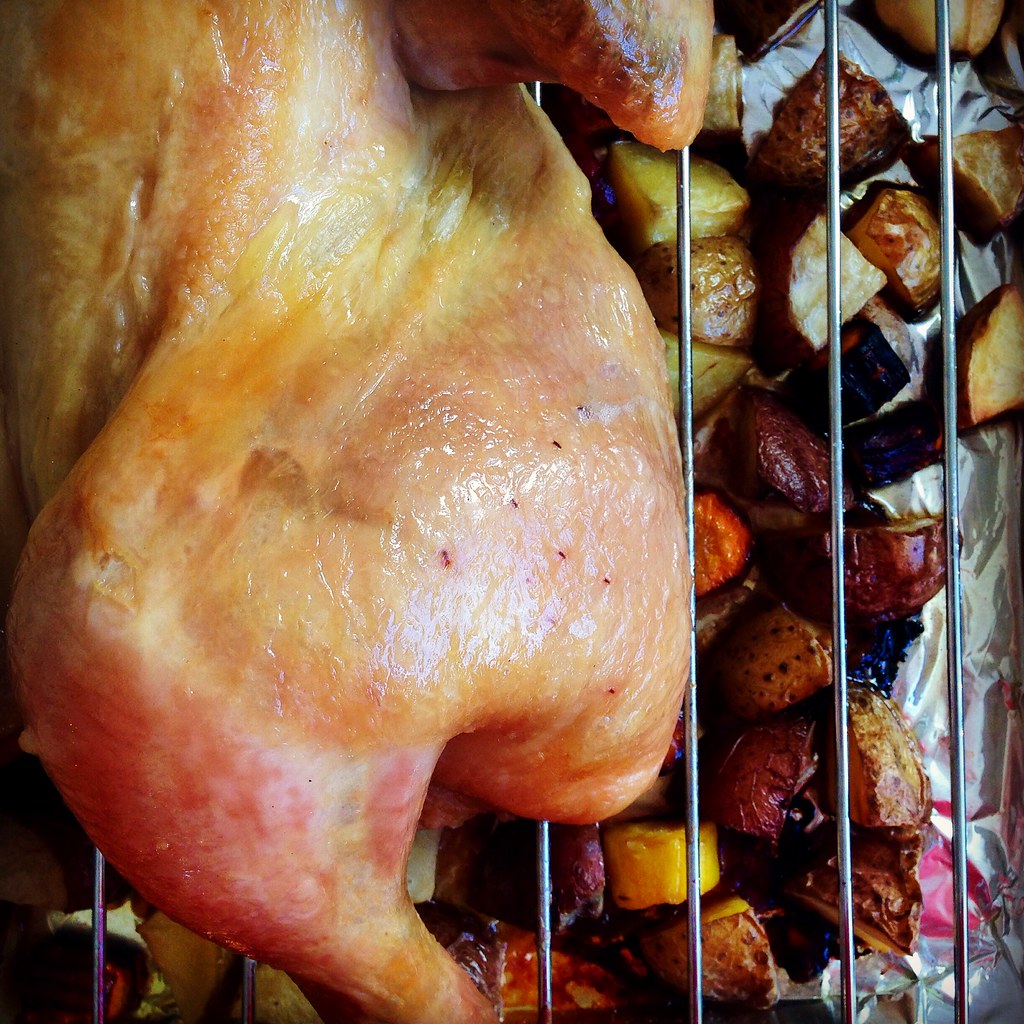
The end result is a gloriously moist, crispy skinned chicken with amazingly flavored vegetables using a bare minimum of ingredients. You can use this same technique to make your Thanksgiving turkey, too!
Spatchcock Chicken with Roasted Root Vegetables
serves 4-6
1 large chicken
Kosher salt
Olive oil
3 lbs. root vegetables, chopped into 3/4" chunks (potatoes, carrots, onions, etc.)
1 teaspoon chopped fresh rosemary
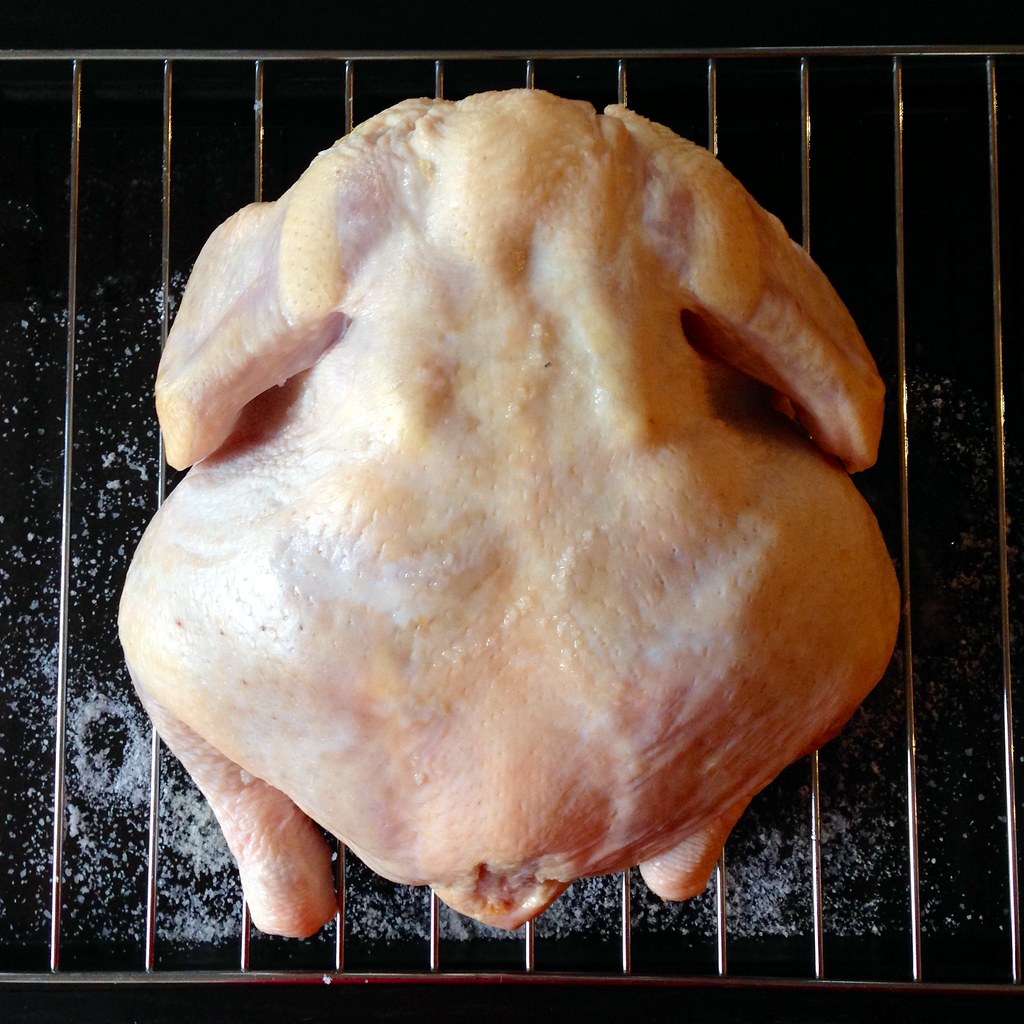
The night before you want to roast the chicken, pat the chicken dry with paper towels. Rub about 1/2 cup of kosher salt all over and inside the chicken, even under the skin if possible. Place a cooling rack on top of a rimmed baking sheet and place the chicken on top of the rack. Transfer to the refrigerator to dry brine overnight.
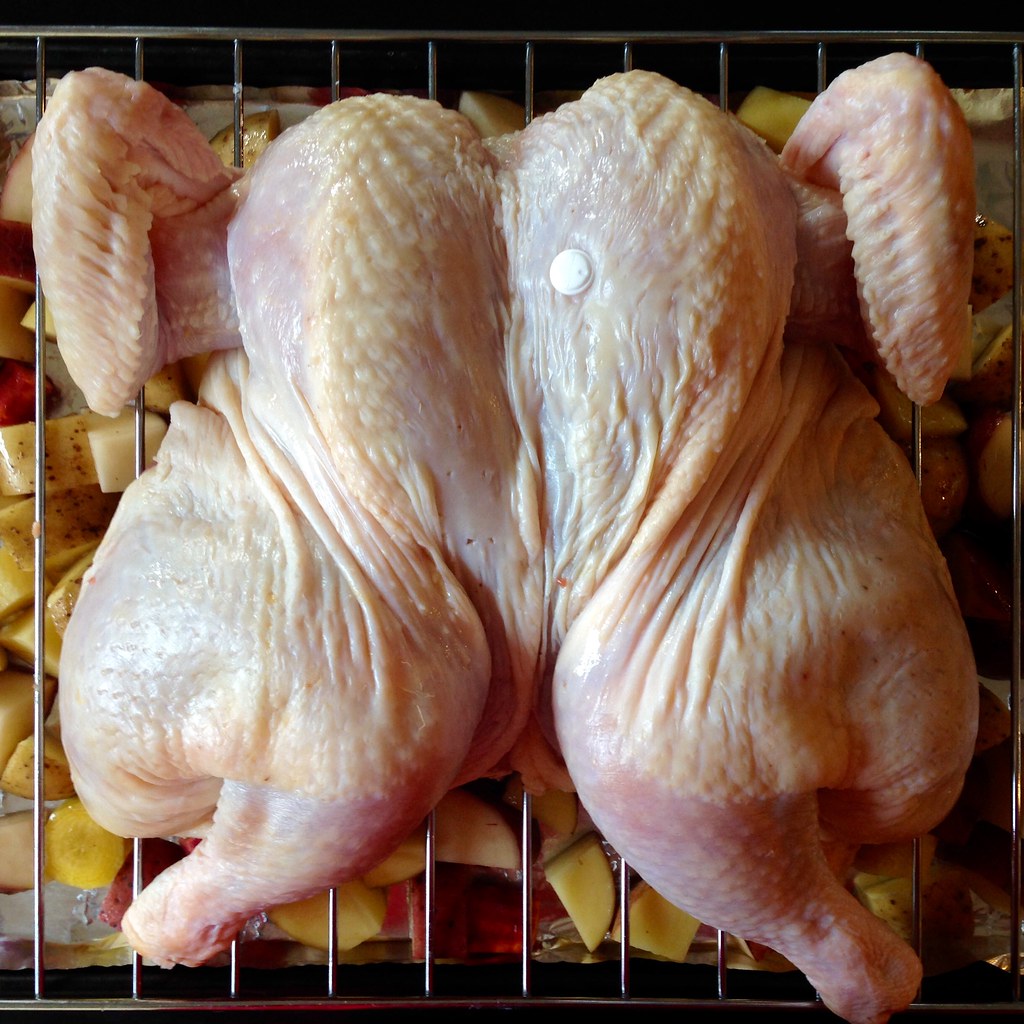
The next day, preheat the oven to 450°F. Place the chicken breast side down on a cutting board. Using kitchen shears or a sharp knife, cut out the backbone starting from the tail end. You can save the backbone for making chicken stock and/or gravy. Pull the bird open wider and cut through the bone in the center of the breast. Flip the bird over and flatten so that the thighs are knock-kneed. Fold the wings underneath. Brush all over with olive oil.
Wash the baking sheet and line with aluminum foil. Toss the root vegetables with a few drizzles of olive oil. Spread on top of the foil and replace the cooling rack. Place the chicken breast side up on the cooling rack and place the whole thing in the oven. Roast for 30 minutes at 450°F, then turn the temperature down to 400°F and continue to roast until a thermometer stuck into the thickest part of the thigh reads 165°F (about 15-30 minutes, depending on the size of the bird).
Allow the chicken to rest at least 10 minutes before carving. Mix a tablespoon of kosher salt with the chopped rosemary. Sprinkle on top of the vegetables and serve alongside the chicken.
Next: Sriracha Popcorn
Previously: Caramel Apple Cinnamon Rolls
Two Years Ago: Duchikey (or Simplified Turducken)


Thank you! Quick and easy.
ReplyDelete