Wednesday, November 26, 2014

Jeni's Crème Sans Lait (Dairy-Free Ice Cream)

https://www.flickr.com/photos/joyosity/15872847295/

I don't think I will ever stop raving about Jeni's ice cream recipes.  I've made her Backyard Mint Ice Cream with Dark Chocolate Freckles, her Sweet Corn Ice Cream with Black Raspberry Swirl, her Pluot Lambic Sorbet, her Cranberry Royale Sorbet, and her Salty Vanilla Frozen Custard with great success.  The best part, though, is that it's really easy to adapt her ice cream base to make your own creations!  I've made a Tim Tam Slam ice cream (Tim Tams in a coffee ice cream), a Coconut Ice Cream with Mango Passion Caramel Swirl, a Rosemary Honey and Lemon Frozen Yogurt, a Matcha Green Tea Ice Cream with Match Mochi Bits, and a Sticky Toffee Pudding Ice Cream all using her ice cream base recipe.

I've experimented with making a vegan ice cream before, and found it to be pretty good, but I was excited to see that Jeni had included her own version of a vegan ice cream in her new book, Jeni's Splendid Ice Cream Desserts (thanks for the housewarming gift, Ellen!).  She uses a combination of almond milk, tapioca starch, raw cashews, and coconut oil in the Crème Sans Lait (French for cream without milk) to simulate the texture of frozen cream and milk.  I tweaked the recipe so that there were less containers to wash; with these directions you end up only using one saucepan and a blender to make the base!

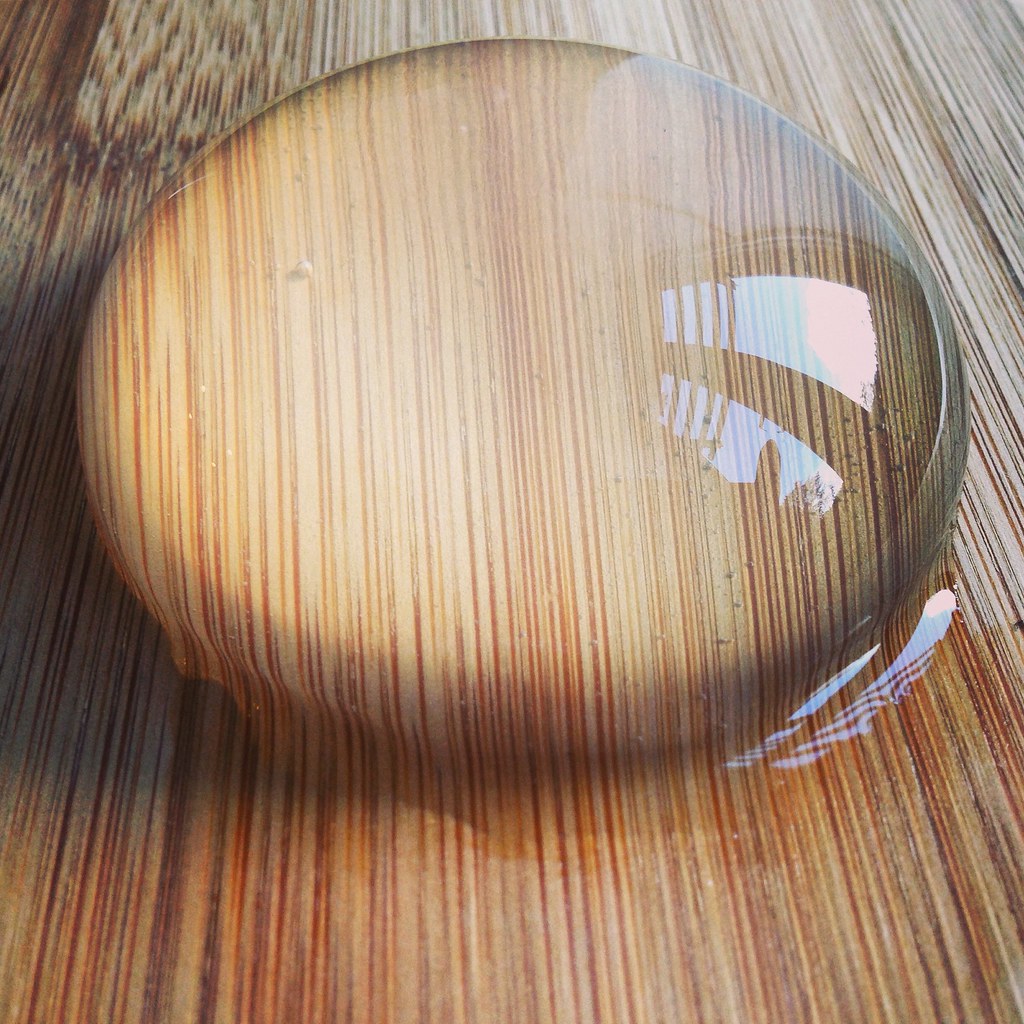
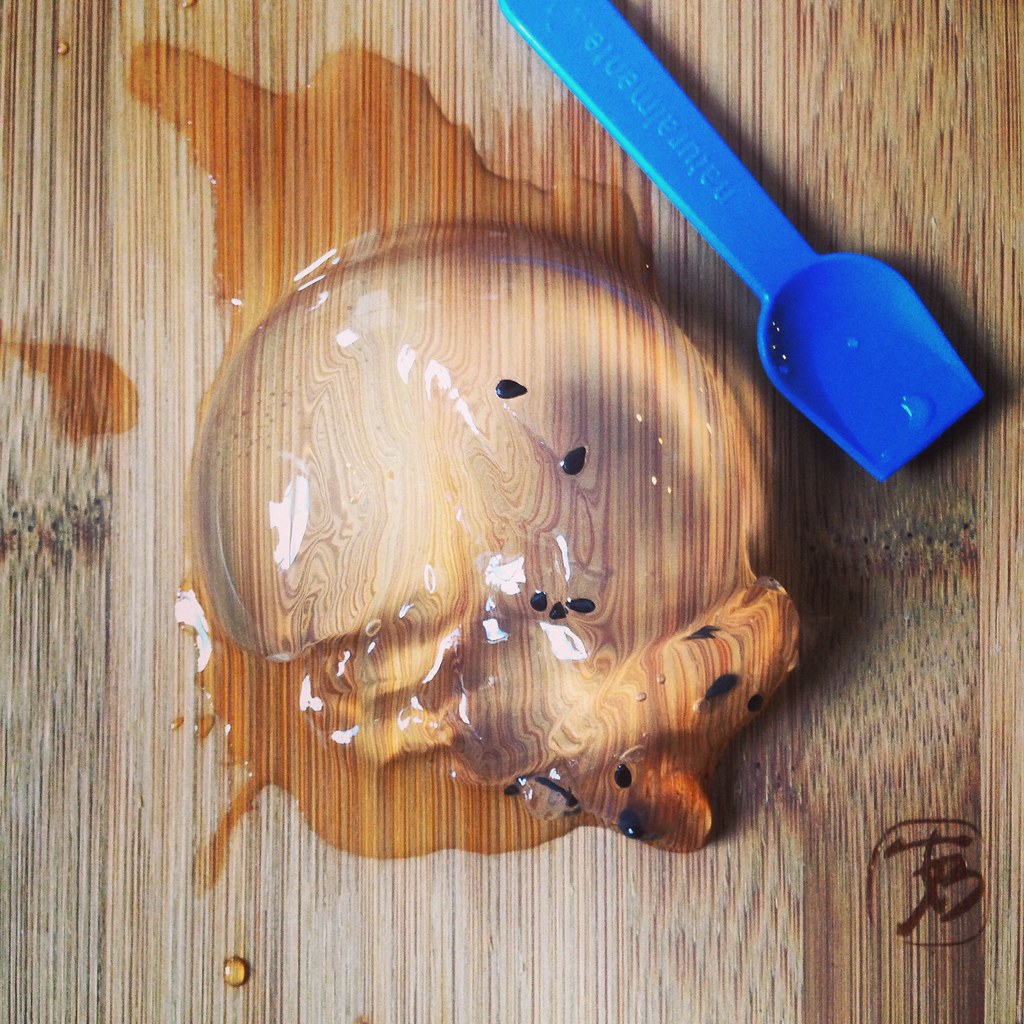
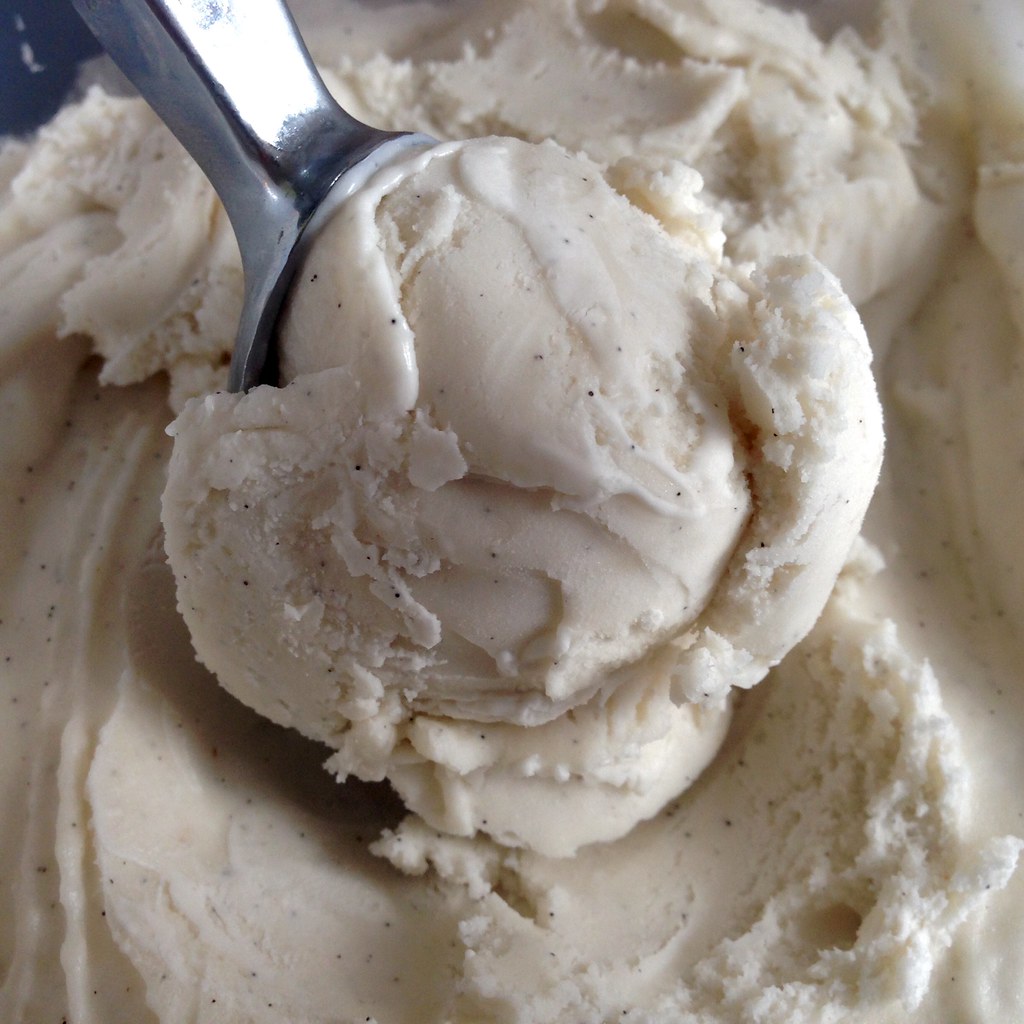
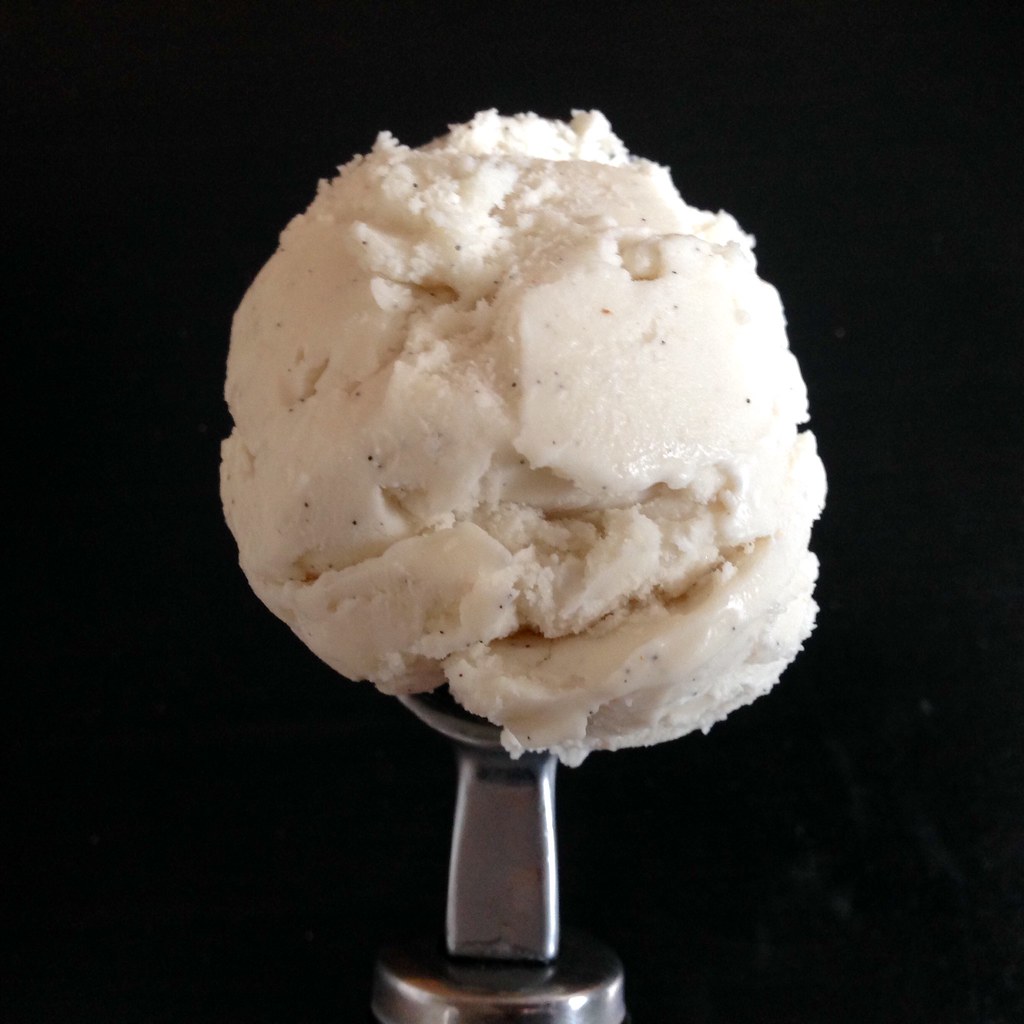
When you taste it, you're going to notice immediately that it's not real ice cream.  But, it is the best vegan ice cream I've ever had.  It's incredibly creamy, which I think comes from the coconut oil, but it doesn't taste like coconuts or cashews or almonds; it just tastes like real vanilla.  I love that it scoops and melts like real ice cream, and it goes great with pies, cakes, and all the other desserts you'll have for Thanksgiving!

https://www.flickr.com/photos/joyosity/15686829119/

Jeni's Crème Sans Lait (Dairy-Free Ice Cream) from Jeni's Splendid Ice Cream Desserts
makes about 1 quart

2 3/4 cups almond milk, divided
2 tablespoons tapioca starch
1/2 cup raw cashews
1 1/4 cups refined coconut oil, at room temperature
2/3 cup sugar
1/3 cup light corn syrup
1 vanilla bean, split, seeds scraped out, seeds and bean reserved

Pulverize the raw cashews into a very fine paste in a good blender.  Add the coconut oil and blend until combined. Fill a large bowl with ice and water.

Combine the 2 1/2 cups of almond milk, the sugar, corn syrup, and vanilla seeds and bean pod in a 4-quart saucepan and heat over medium-high heat until bubbling.  Mix the remaining 1/4 cup of almond milk with the tapioca starch in the measuring cup you used to make a smooth slurry.

Drizzle the tapioca starch slurry into the bubbling almond milk mixture, and stir well. Bring the mixture to a boil over medium-high heat, reduce to a simmer, and let simmer for 30 seconds until the mixture thickens slightly. Remove from the heat.

Remove the vanilla bean and pour the mixture into the blender with the cashews and coconut oil. Blend on high for 3 minutes to homogenize. Then pour the mixture into a 1-gallon Ziploc bag and submerge the sealed bag in the ice bath. Let stand, adding more ice as necessary, until cold, about 30 minutes.

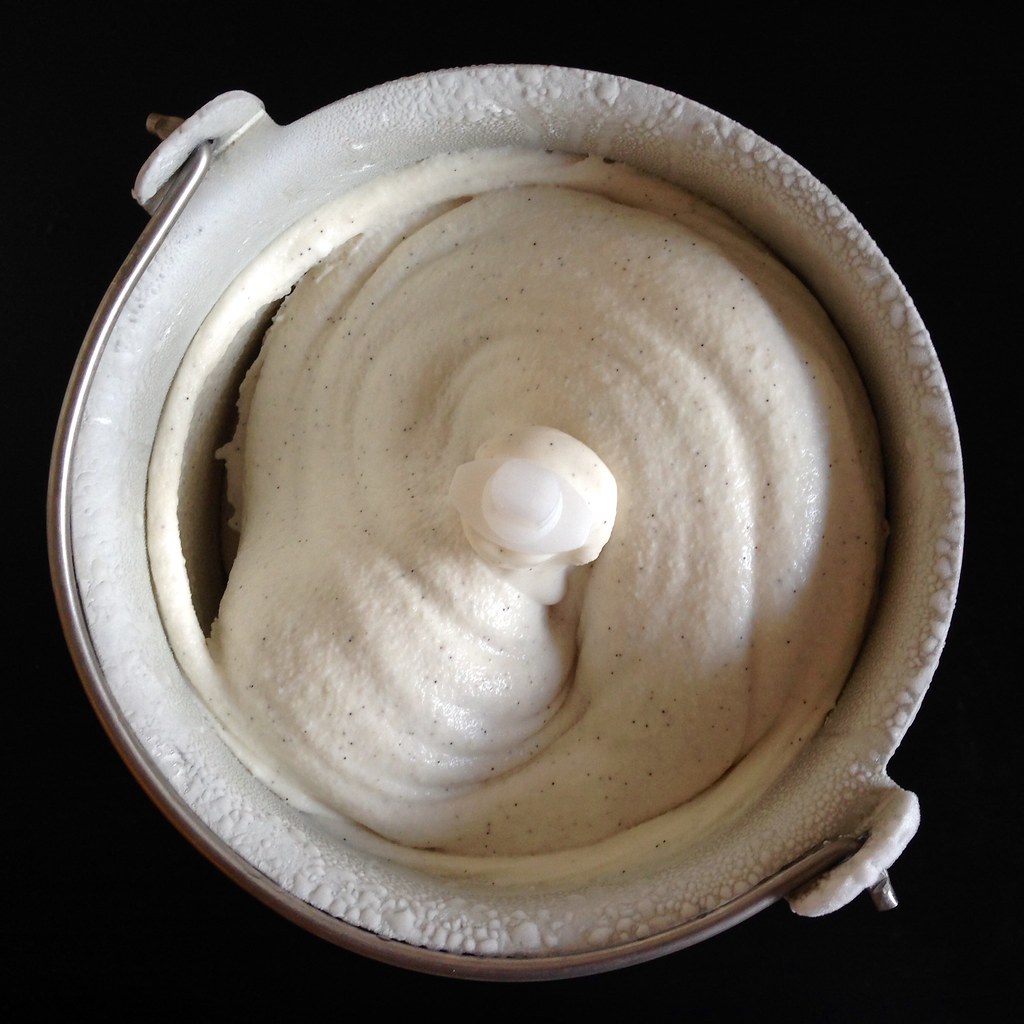
Remove the frozen canister from the freezer, assemble your ice cream machine, and turn it on. Pour the crème base into the canister and spin until thick and creamy. Pack the crème into a storage container. Press a sheet of parchment directly against the surface, and seal with an airtight lid. Freeze in the coldest part of your freezer until firm, at least 4 hours.

https://www.flickr.com/photos/joyosity/15872203882/

Next:  Pull-Apart Thanksgiving Leftover Stuffed Bread
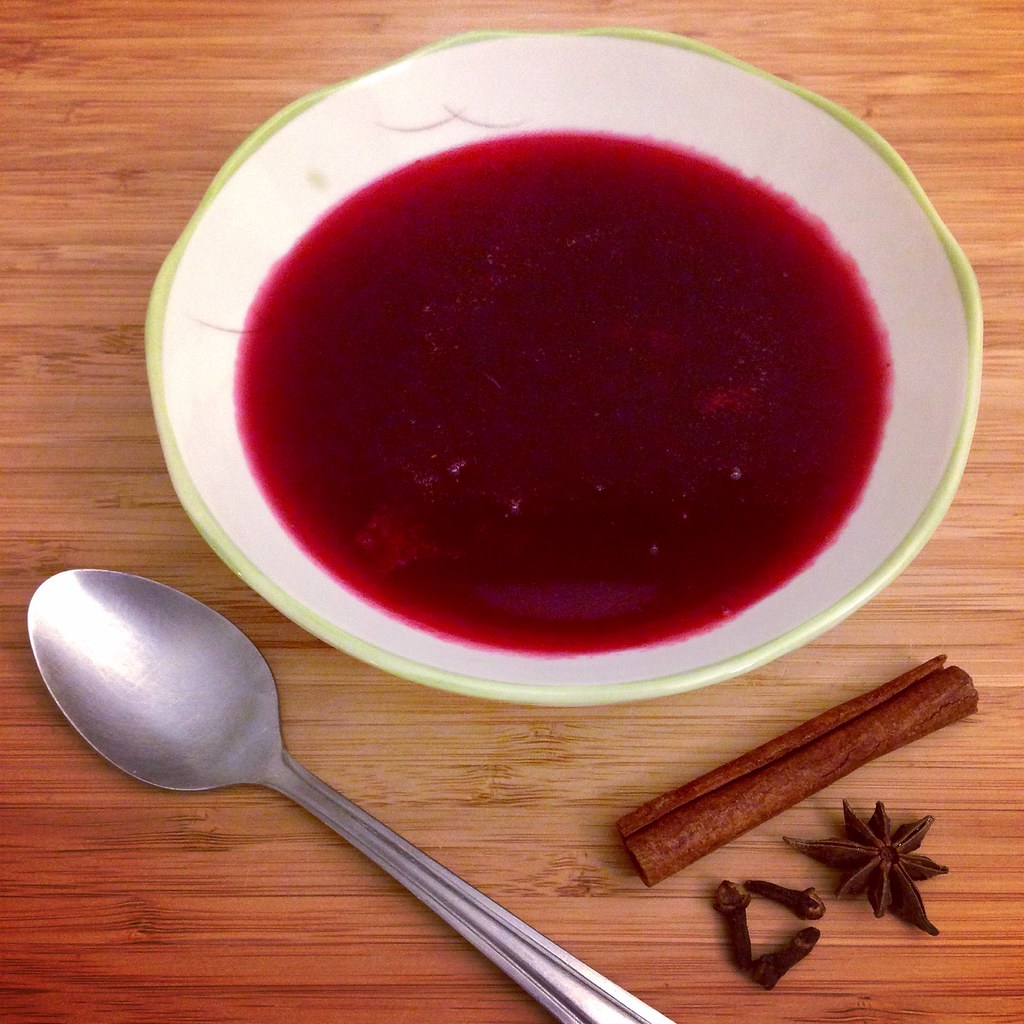
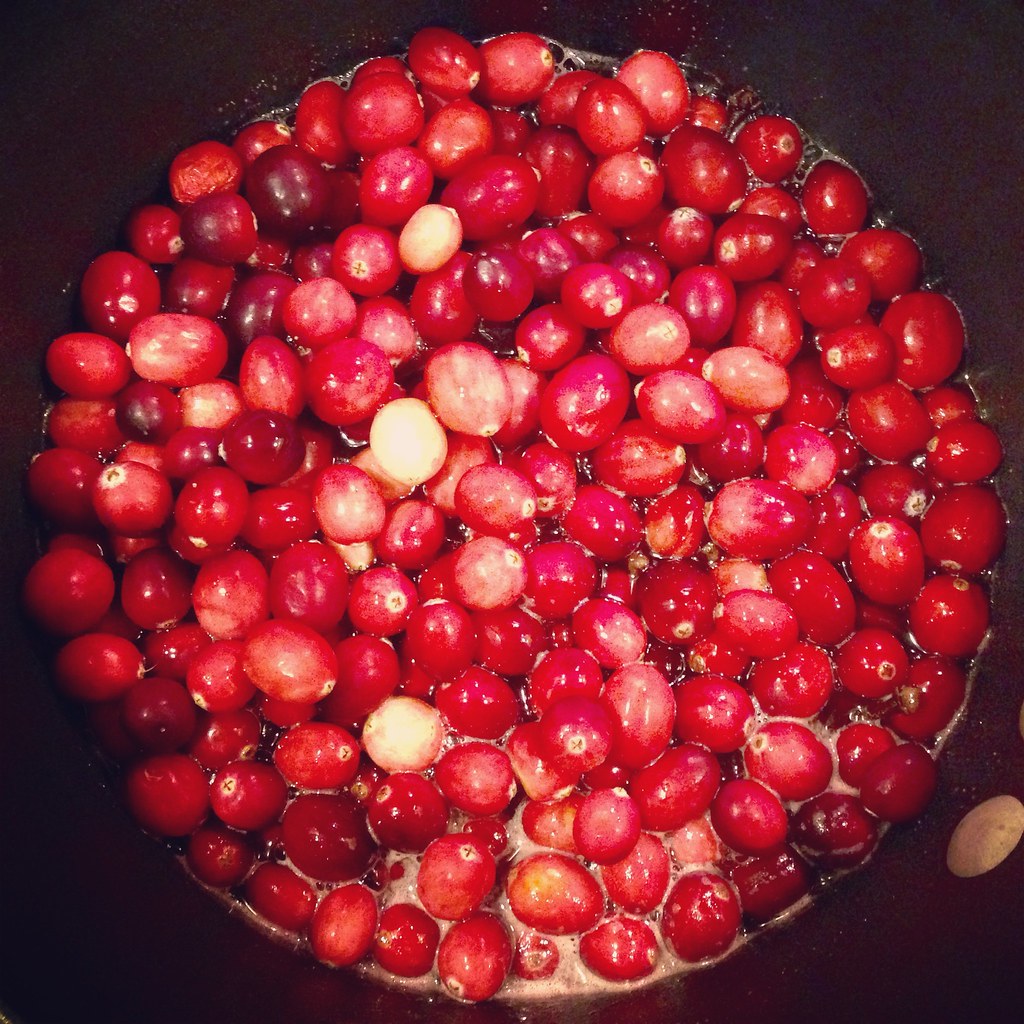
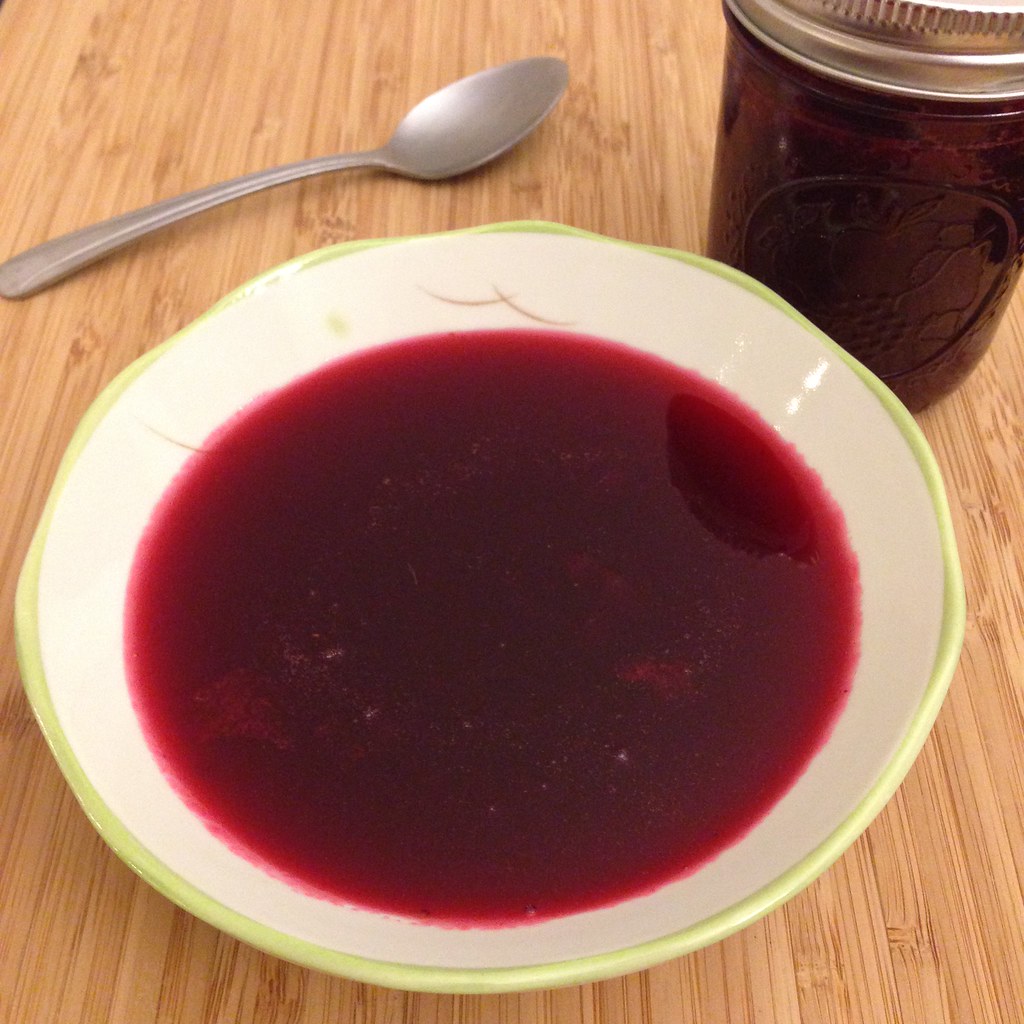
Previously:  Cranberry-Port Gelée
Last Year:  Cheese Fondue Stuffed Roasted Pumpkin
Two Years Ago:  Ramen Cabbage Salad
Five Years Ago:  Apple-Pear-Cranberry Crisp

Monday, November 24, 2014

Cranberry-Port Gelée

https://www.flickr.com/photos/joyosity/15677571349/

It's probably been a good 10 years since I went home to my parents' place for Thanksgiving.  I usually spend the holiday with friends instead and love having them over for a potluck style meal.  One of our friends, let's call him Jerry, is not the most kitchen savvy, so a few years ago I assigned him the task of bringing the cranberry sauce.  Specifically, one can of cranberry sauce.  Instead of obeying my instructions, he brought two cans and promised to finish it all because he loves cranberry sauce.  Guess what:  he didn't finish it all.  In fact, he didn't even finish the first can.  But since he loves cranberry sauce, he took home the opened can to finish on his own.

Fast forward one year to when it was his turn to host Thanksgiving.  This is when we found out, to our horror, that he still had the opened can of cranberry sauce sitting in his fridge.  From a year ago.  And he thought it would be okay to serve it to us.  *shivers*

Sadly, Jerry can't join us this year for Thanksgiving, so I figured it was high time to try making cranberry sauce from scratch.  I wanted something similar to the familiar canned version but a little classier and distinctly homemade.  Enter Food52's Genius Recipe for Canal House's Cranberry-Port Gelée.  I adapted the original recipe by adding a bit of orange juice and substituting cloves for the juniper berries.  You could also use rosemary if you want the juniper berry woodsiness or a cinnamon stick and star anise for more warmth.

https://www.flickr.com/photos/joyosity/15676062218/

Cranberry-Port Gelée (adapted from Food52)
makes about 2 cups

3/4 cup port (or red wine or Madeira)
1/4 cup fresh orange juice
1 cup sugar
1 teaspoon cloves
10 black peppercorns
12-oz bag fresh cranberries

Put the port, sugar, cloves, and peppercorns into a heavy saucepan and bring to a boil over medium-high heat.
  
Add the cranberries and return to a boil. Reduce the heat to low and simmer until the cranberries burst and are very soft, about 10 minutes more.  Using a large spoon to mash the cranberries a bit so it is easier to strain in the next step.
   
Strain the sauce into a bowl through a fine-mesh sieve, pushing the solids against the screen with the spoon. Stir the thin and thick portions of the strained gelée together.
   
Transfer to a pretty serving bowl or jar.  Cover and refrigerate. It will firm up within a few hours, or can be made several days ahead.

https://www.flickr.com/photos/joyosity/15676338640/

Since I'm hosting Thanksgiving this year, I'll be serving this along with a spatchcocked turkey and also making my corn souffle and a sweet potato casserole.  Others are bringing the salad, mashed potatoes, green beans, and pie.  What will you be having for Thanksgiving?

p.s.  The reason for the sub-par pictures above is because instead of making the cranberry sauce and taking pictures of it when the sun was still out, I made a last minute decision to go hiking with some friends in the Middlesex Fells since it was probably going to be one of the last nice days of 2014.  While the pics above rather flat and uninteresting, it was worth it to spend time with good friends and to get this shot:

https://www.flickr.com/photos/joyosity/15680639090/

Next:  Jeni's Crème Sans Lait (Dairy-Free Ice Cream)
Previously:  Sriracha Popcorn
Last Year:  My Mom's Pi Jiu Ya (Beer Braised Duck)
Two Years Ago:  Pretzel Ice Cream Pie with Homemade Magic Shell
Fives Years Ago:  Nanaimo Bars

Thursday, November 13, 2014

Sriracha Popcorn

https://www.flickr.com/photos/joyosity/15574053767/

I was first introduced to Pop! Sriracha Popcorn when I was in the midst of a cold and could barely taste a thing.  The intense taste of sriracha cut through everything though, and the crunchiness of the popcorn only added to it being the best thing I had eaten since I started getting sick.

Even after I had regained all my taste buds and sense of smell, I couldn't stop eating the snack even though I'm usually not a big fan of spicy stuff.  I checked the list of ingredients and noticed that sugar was included.  Of course!  I don't know how it works, but I know you can add sugar to a dish if it's too spicy to make it more palatable.  I bet the sugar was doing the same thing here while also making it super addictive, like a buttery, spicy, garlicky kettle corn.

Since I'm kind of a wimp in terms of spiciness, I only used 2 teaspoons of sriracha in this recipe, but if really like things spicy, I imagine that doubling that amount or more might work better for you.  At a certain point, though, you might have too much liquid, which would make the popcorn soggy, so you'd be better off making some sriracha salt and sprinkling that on.

https://www.flickr.com/photos/joyosity/15139806363/

Sriracha Popcorn
makes 6 cups

6 cups freshly popped popcorn
2 tablespoons butter
1/2 teaspoon kosher salt (plus more, to taste)
1/2 teaspoon sugar
2-4 teaspoons sriracha

Place the butter, 1/2 teaspoon of salt, and sugar in a microwaveable measuring cup with a spout and microwave for 45-60 seconds, until the butter is melted.  Add the sriracha and stir.

https://www.flickr.com/photos/joyosity/15139809183/

Drizzle half of the sauce over the popcorn in a large bowl.  Shake to distribute and then drizzle the other half.  Shake again to combine.  Add more salt, to taste, if desired.

https://www.flickr.com/photos/joyosity/15139804683/

Next:  Cranberry-Port Gelée 
Previously:  Spatchcock Chicken and Roasted Root Vegetables
Last Year:  My Mom's Taiwanese Sticky Rice
Two Years Ago:  Grapefruit Pie
Six Years Ago:  Homemade Crystallized Ginger

Monday, November 10, 2014

Spatchcock Chicken with Roasted Root Vegetables

https://www.flickr.com/photos/joyosity/15718609966/

A few months ago my friend Ellen posted a gorgeous picture of the best roast chicken she had ever made and challenged us to name the technique she used to make it.  From the picture, I knew immediately it was a spatchcocked chicken, and I've been wanting to try it ever since.  Well, this weekend we needed some cooked chicken to make curry chicken tea sandwiches for Amy's baby shower, so I volunteered to make the chicken instead of just buying a rotisserie chicken.

https://www.flickr.com/photos/joyosity/15122914673/

Spatchcocking a chicken just means cutting out the backbone and then butterflying the chicken so that you can roast it flat.  This way the dark meat and white meat cook more evenly, and you can also cook it a lot faster than roasting it whole.  Usually you have to use a lot of pressure to force the bird to "crack" open, but this post from Epicurious mentions making a notch on the sternum bone/cartilage before flipping the bird over which makes it a lot easier. 

https://www.flickr.com/photos/joyosity/15718606686/

I was also inspired by The Crepes of Wrath's post to dry brine the chicken overnight and roast it on top of vegetables to catch all the delicious drippings.  It reminded me of the roasted potatoes from the Roli Roti food truck at the San Francisco Ferry Building Farmers market. They're piled underneath the spinning rotisserie meat so they absorb all the dripping goodness and then topped with a sprinkle of rosemary salt, which I totally copied here on the potatoes and multi-colored carrots I got in my recent Boston Organics delivery.

https://www.flickr.com/photos/joyosity/15556901088/

The end result is a gloriously moist, crispy skinned chicken with amazingly flavored vegetables using a bare minimum of ingredients.  You can use this same technique to make your Thanksgiving turkey, too!

https://www.flickr.com/photos/joyosity/15122371234/

Spatchcock Chicken with Roasted Root Vegetables
serves 4-6

1 large chicken
Kosher salt
Olive oil
3 lbs. root vegetables, chopped into 3/4" chunks (potatoes, carrots, onions, etc.)
1 teaspoon chopped fresh rosemary

https://www.flickr.com/photos/joyosity/15743862652/

The night before you want to roast the chicken, pat the chicken dry with paper towels.  Rub about 1/2 cup of kosher salt all over and inside the chicken, even under the skin if possible.  Place a cooling rack on top of a rimmed baking sheet and place the chicken on top of the rack.  Transfer to the refrigerator to dry brine overnight.

https://www.flickr.com/photos/joyosity/15740424491/

The next day, preheat the oven to 450°F.  Place the chicken breast side down on a cutting board.  Using kitchen shears or a sharp knife, cut out the backbone starting from the tail end.  You can save the backbone for making chicken stock and/or gravy.  Pull the bird open wider and cut through the bone in the center of the breast.  Flip the bird over and flatten so that the thighs are knock-kneed.  Fold the wings underneath.  Brush all over with olive oil.

https://www.flickr.com/photos/joyosity/15743855292/

Wash the baking sheet and line with aluminum foil.  Toss the root vegetables with a few drizzles of olive oil.  Spread on top of the foil and replace the cooling rack.  Place the chicken breast side up on the cooling rack and place the whole thing in the oven.  Roast for 30 minutes at 450°F, then turn the temperature down to 400°F and continue to roast until a thermometer stuck into the thickest part of the thigh reads 165°F (about 15-30 minutes, depending on the size of the bird).

https://www.flickr.com/photos/joyosity/15556440369/

Allow the chicken to rest at least 10 minutes before carving.  Mix a tablespoon of kosher salt with the chopped rosemary.  Sprinkle on top of the vegetables and serve alongside the chicken. 

https://www.flickr.com/photos/joyosity/15556904918/

Next:  Sriracha Popcorn
Previously:  Caramel Apple Cinnamon Rolls
Two Years Ago:  Duchikey (or Simplified Turducken)

Thursday, November 6, 2014

Caramel Apple Cinnamon Rolls

https://www.flickr.com/photos/joyosity/15706357572/

As soon as I saw this recipe on Use Real Butter, I knew I needed to make it.  Combining soft, warm cinnamon rolls with ooey, gooey caramel sauce and diced apples is a totally irresistible combination!

I didn't have two round pans, so I ended up baking half the rolls in a round pan and half in a square pan.  Because of the shapes of the pans, I decided to make the suggested 7 rolls in the round pan and 9 smaller rolls in the square pan.  I would definitely take the suggestion to place a sheet pan or aluminum foil underneath the pans while baking to catch any caramel that might spill over.

Reducing the apple cider and making the caramel takes a bit of time and monitoring, so you can do those steps the day before if you like.  You could even make everything up to the point where you place the shaped buns in the baking pans and refrigerate them overnight to bake the following morning after they've come to room temperature and doubled in size.

I underestimated the amount of all-purpose flour I had on hand when I started making this and had to replace half the amount of flour with white whole wheat flour.  I don't think it affected the flavor too much, but it was probably less fluffy and soft as it could have been.  I also halved the amount of butter used in the filling because I didn't think I needed a full stick in there.  I like to think of my version as "half-healthy".

https://www.flickr.com/photos/joyosity/15085119054/

Caramel Apple Cinnamon Rolls (adapted from Use Real Butter)
makes 14 large or 18 smaller rolls

For the dough:
6 1/2 cups all-purpose flour
4 1/2 teaspoons active dry yeast
2 cups milk
1/4 cup sugar
1/4 cup butter
1 1/2 teaspoons salt
1 egg
Vegetable oil

For the filling:
1/2 cup packed brown sugar
1/2 cup granulated sugar
1/4 cup all-purpose flour
1 tablespoon ground cinnamon
1/4 cup butter
2 cups apple, peeled, cored, and small dice

For the apple cider caramel:
2 cups apple cider
1 cup heavy cream
3/4 cup granulated sugar
1/2 teaspoon ground cinnamon
2 teaspoons vanilla extract
1/4 teaspoon sea salt

Combine 2 1/2 cups of flour and the yeast in the mixing bowl of a stand mixer. Place the milk, 1/4 cup sugar, 1/4 cup butter, and 1 1/2 teaspoons salt in a medium saucepan over medium heat. Stir together to dissolve the sugar until the mixture is just warm (the butter should be just melted). Pour the milk mixture into the mixing bowl containing the flour and yeast. Add the egg. Beat with paddle attachment for 30 seconds on low speed. Beat on high speed for 3 minutes. Stir in as much of the remaining flour as the dough can take. Knead 3-5 minutes until the dough is smooth and elastic (you can do this with a dough hook and finish by hand or knead by hand). Grease a large bowl with the vegetable oil. Shape the dough into a ball and place in the large greased bowl. Turn the dough over to coat the entire thing with oil. Cover and let rise in a warm place for 45-60 minutes or until the volume has doubled.

In a medium bowl, combine the brown sugar, 1/2 cup granulated sugar, 1/4 cup all-purpose flour, and 1 tablespoon cinnamon. Cut 1/2 cup butter into the mixture until it resembles coarse crumbs. Set aside.

Pour the apple cider into a medium saucepan and warm over medium-high heat. Let the cider boil down until it has reduced to 1/4 cup in volume (doesn’t have to be exact, but no more than 1/3 cup), about 20 minutes.  Measure out the cream into a microwaveable measuring cup and microwave for 30 seconds .  Place the sugar in a clean medium saucepan over medium heat. When the sugar begins to melt, gently swirl it around to distribute the rest of the unmelted sugar. When completely melted, let the liquid sugar turn a medium to dark amber color. Slowly pour the hot cream into the caramelized sugar while stirring. It will splatter and bubble, that’s okay, keep stirring. Return the pan to low heat and stir until all of the hard caramelized sugar has melted and your sauce has thickened, about 20 minutes. Stir in the reduced apple cider, 1/2 teaspoon cinnamon, 1/4 teaspoon sea salt, and vanilla.

Punch the dough down and turn it out onto a lightly-floured large (bigger than 24×16 inches) work surface. Alternatively, you can halve the dough and work on a smaller surface, which is what I did.  Cover with a damp cloth and let rest for 10 minutes. Butter two 9-inch round pans or two 8-inch square pans. Pour half of the apple cider caramel in each pan. Set aside. Roll the dough out into a 24×16-inch rectangle, if you're working with all the dough at once.  If you're only working with half, roll out into a 12x16-in rectangle. Sprinkle the cinnamon-sugar filling evenly over the rectangle, leaving a 1-inch margin bare along the long side furthest from you (this is to make sure you can pinch it closed when you roll it up). Do the same with the diced apple.

https://www.flickr.com/photos/joyosity/15519462948/

Roll up the dough incrementally to ensure that the filling stays put.  Pinch the clean edge onto the roll to seal it. Cut the roll into 14 equal-width pieces if you are using the round pans and 18 equal-width pieces if you are using the square pans. Set the slices cut-side down in the baking pans, cover and let rise for 45 minutes until doubled in volume.

https://www.flickr.com/photos/joyosity/15519579757/

Preheat oven to 350°F. Uncover the rolls and bake for 45 minutes until lightly browned. If using 2-inch high pans, you may want to set foil or a baking sheet under the rack to catch any caramel drips. Invert the baking pans onto a serving plate and serve warm.

https://www.flickr.com/photos/joyosity/15706358332/

Next:  Spatchcock Chicken with Roasted Root Vegetables
Previously:  Raindrop Cake
Two Years Ago:  Cereal Milk Panna Cotta with Cornflake Crunch

Monday, November 3, 2014

Raindrop Cake

https://www.flickr.com/photos/joyosity/15467918579/

Back in June, the mizu shingen mochi from Kinseiken Seika made a huge splash across the internet (pun intended).  Shaped like a giant drop of water, it is made from spring water from the Japanese Alps and supposedly disintegrates after 30 minutes at room temperature.  My friend Erick kept asking me to try to replicate it, but I totally thought it was just a hoax until I found this post via Reddit back in August.  Even then, it took me a few months before I assembled all the ingredients and tools I needed to make this (spurred on, in part, but Erick's impending birthday).

https://www.flickr.com/photos/joyosity/15468416738/

I ordered the agar powder and spherical mold from Amazon, but you can probably find agar in an Asian grocery store or maybe even Whole Foods.  I wanted the mold so I could make a semi-spherical cake, but you might be able to get away with just using a small bowl.

At first, since my molds only held about 70 ml each, I just used 150 ml of water with 1 g of agar.  This ended up being way too much agar, and the result was a thick, bouncy cake that was yellowish in color.  Fail.

https://www.flickr.com/photos/joyosity/15654554825/

For attempt #2, I added less agar, but since I could still see it floating around in the measuring cup, I kept adding more and more water.  After chilling over night, the cake barely set and collapsed immediately after unmolding.  Fail again.

For my third try, I used about the same amount of agar as before but didn't add any more water.  It set within a few hours in the refrigerator, and I was able to unmold it intact!  It did start "weeping" immediately, but I'm pretty sure that's what it's supposed to do.  Success!

https://www.flickr.com/photos/joyosity/15651878891/

I'm not going to lie, this tasted pretty much like water-flavored Jell-o.  I did add a pinch of vanilla sugar to the mixture, but it was barely noticeable.  The texture sensation was great, though.  It holds just for a second in your mouth before dissolving into a cool, crisp liquid.

I added a few black sesame seeds on top of the first cake I tried, more for show than for taste (it tasted pretty bad).  Since I made two half-spheres each time, for the second cake I decided to try some more flavorful toppings.  The original is served with a black sugar syrup and roasted soybean powder, neither of which I had, but I thought I'd try sprinkling on some sweet black sesame instant drink powder and a splash of half and half.  I really liked the addition of the sweet black sesame powder, but next time I might try sweetened condensed milk instead of half and half. 

https://www.flickr.com/photos/joyosity/15468602367/

Raindrop Cake (adapted from here)
makes 2 cakes

2/3 cup spring water
Pinch of vanilla sugar
~1/8 teaspoon agar powder (you may need to experiment a bit to attain desired texture)

Measure out the water in a microwaveable measuring cup and add the sugar.  Microwave for 30 seconds and stir until sugar is dissolved.

While stirring, sprinkle on the agar powder.  Microwave again for 30 seconds and stir for a minute.  Continue microwave and stirring as needed until the agar is all dissolved, although you'll probably still see clear bits floating around in the water.

Carefully pour into your desired molds; pop any bubbles that may appear.  Transfer the molds to the refrigerator and allow to set for several hours or overnight.

Carefully unmold the cakes and serve immediately with your desired toppings.

https://www.flickr.com/photos/joyosity/15468992910/

Next:  Caramel Apple Cinnamon Rolls
Previously:  Mochi Donuts and Pon de Rings
Two Years Ago:  Margherita Pizza