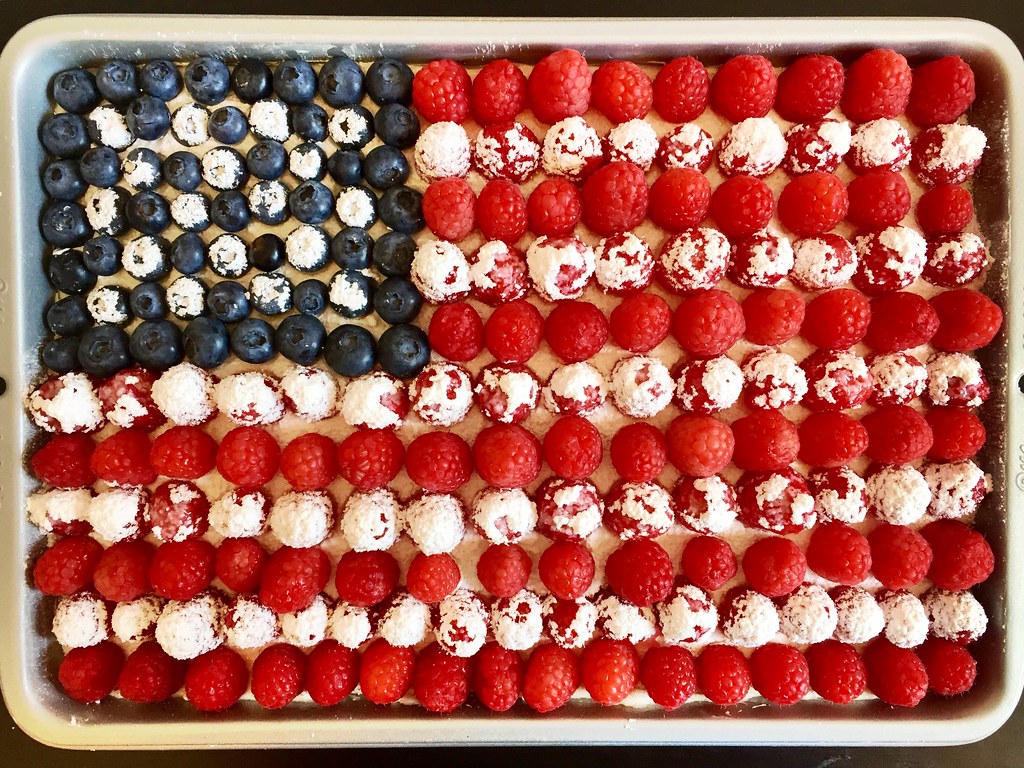
I've been wanting to make an American flag cake for the 4th of July and had pinned several possible versions including this one from Food52 and this ice cream cake version from the Food Network. But the problem with those round layer cakes though is that I only had one round cake pan and no way to transport the finished product. I wasn't too keen on having to pull out my piping bag to make Ina Garten's (or as Brit + Co called it, Taylor Swift's) version either, so when I came across Smitten Kitchen's version from four years ago, I was truly smitten. Not only was it a single layer rectangular cake, but all you needed was some powdered sugar to make the "stars" and stripes!
In her post, she includes a recipe for the cake and frosting, but I cheated by making the cake with a box mix and using store bought frosting. After baking the cake, allow it to cool completely before frosting. If it's domed on top, you can level it with a serrated knife or just do as I did and "spackle" in the sides with frosting so the top is level.
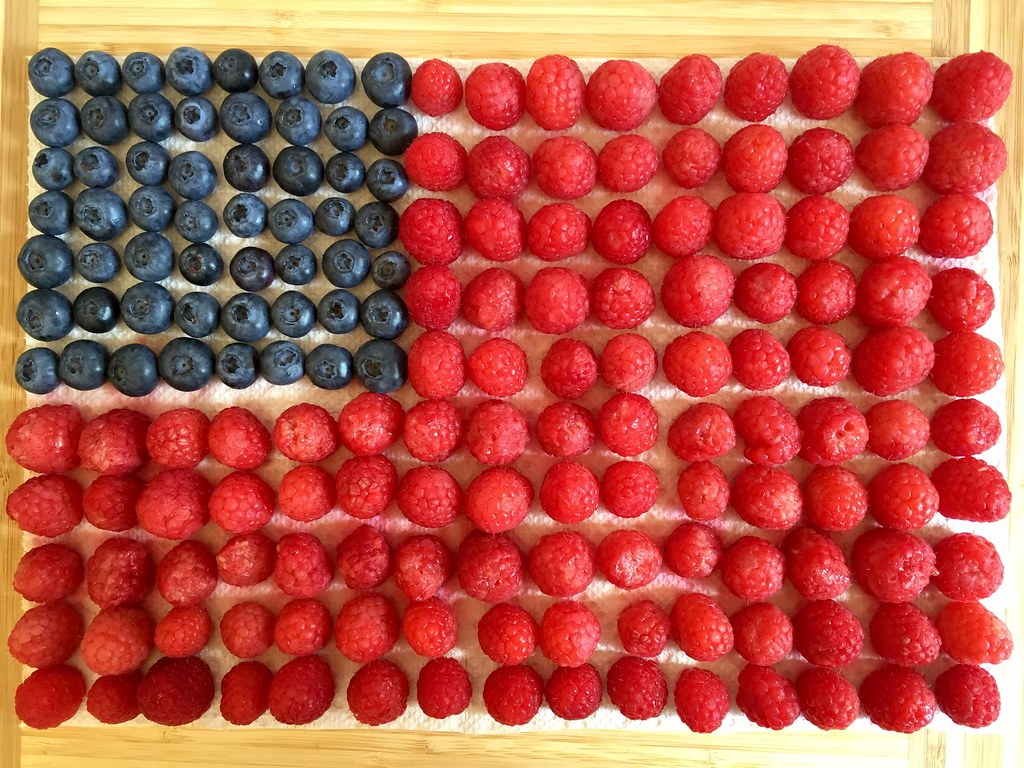
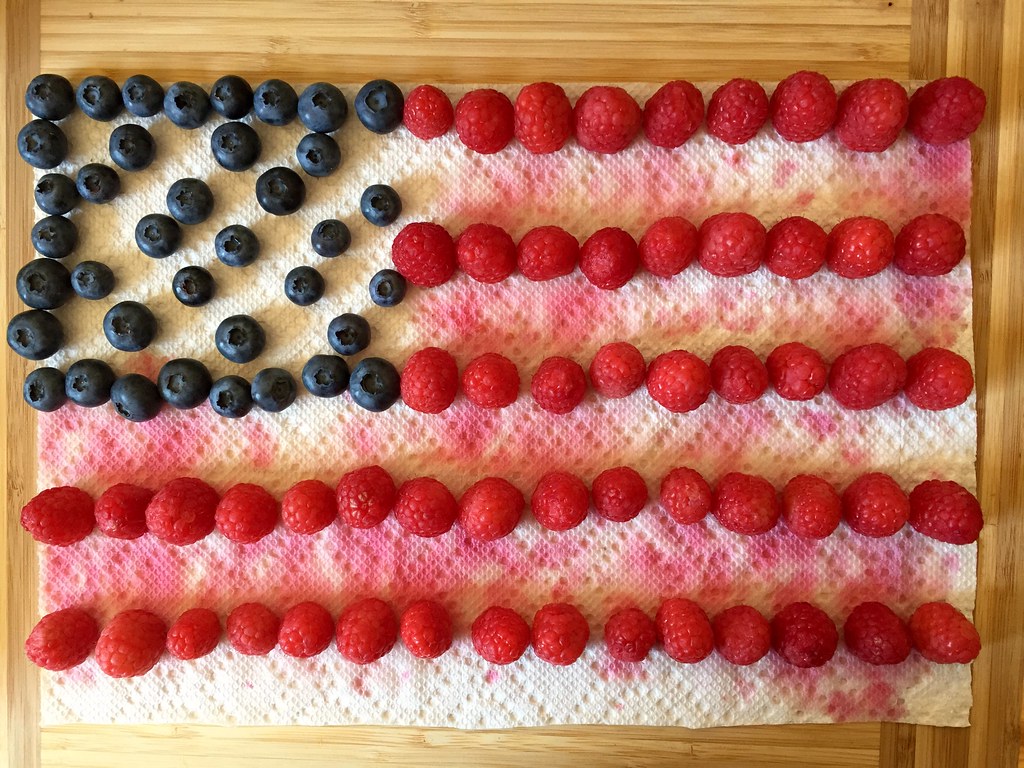
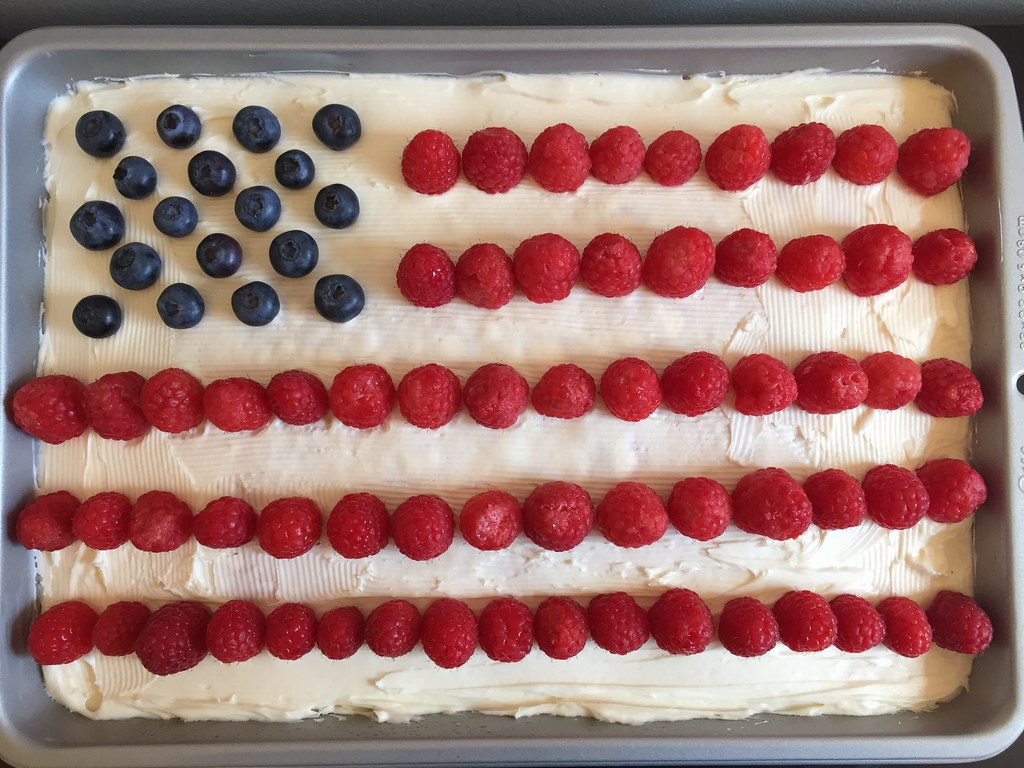
While the cake is baking, wash and dry the berries. While the cake is cooling, you can start arranging the berries to make sure you have enough. I used a piece of paper towel that was the same size as the cake to plot out the berries on. The blue part takes up about half the short side of the flag and extends about a third of the way across. There are 13 stripes (one for each of the original colonies; yay AP American History!) but you probably won't be able to fit that many on the cake. If you can, try to make an odd number of stripes so that the top and bottom stripe will be red.
After frosting the cake, start putting the berries that you want to appear white on the cake, leaving room for the other berries.
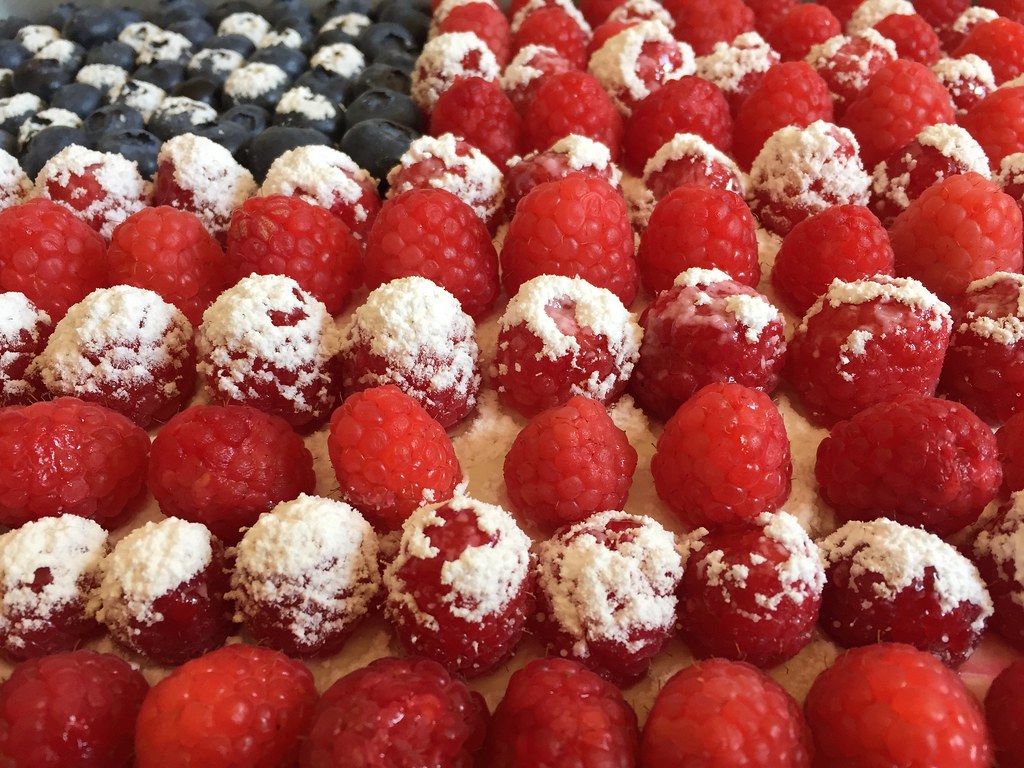
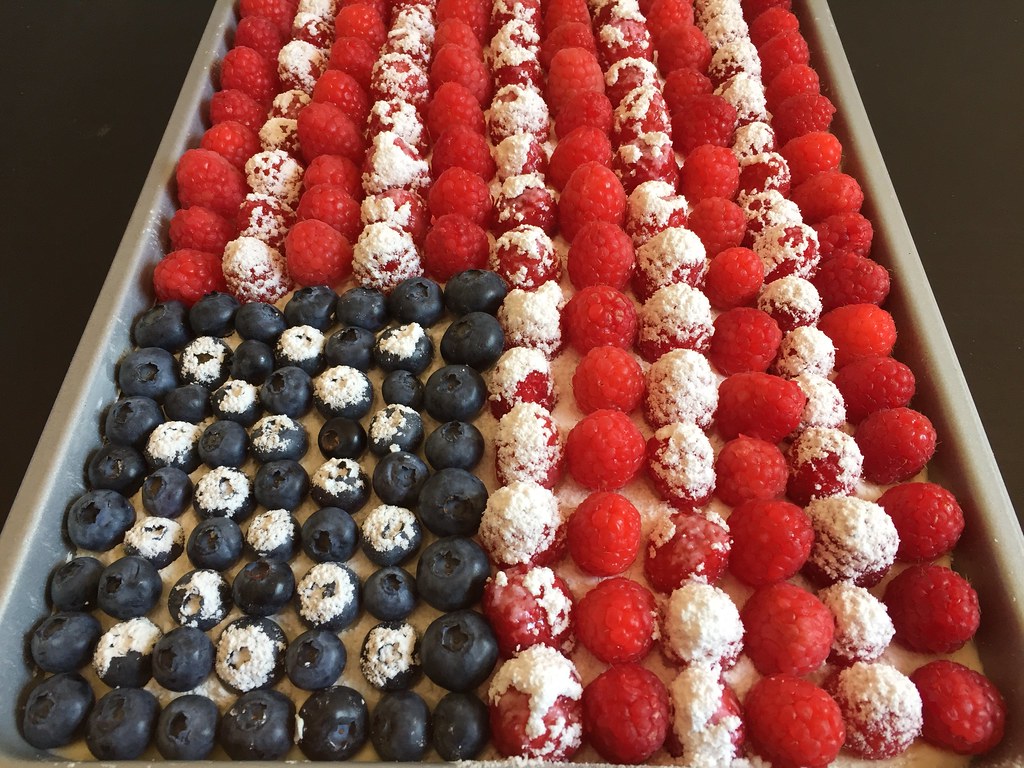
Dust these with powdered sugar, then arrange the rest of the berries into the spaces left for them.
In reality, it took a lot longer to make than I thought. The first batch of raspberries I bought were overripe and broke apart when I was washing them, so I had to go back to the store to buy another pint. Then I made the mistake of not completely drying the raspberries before decorating the cake, so the powdered sugar started to melt before I could even take any pictures. But if you learn from my mistakes, it's actually not that hard to make and totally worth it! Not only is it super impressive to bring to a party, the fresh fruit on top of the cake is really, really delicious!
Fun fact: if you can someone figure out how to make the starburst design, you can also use this template to make the Taiwanese (or more accurately, the R.O.C.) flag!
Next: My Mom's Beef and Broccoli Stir Fry
Previously: Maine Blueberry Gateau
Last Year: Pasta con le Sarde
Two Years Ago: Papaya Milk and Papaya Milk Popsicles
Three Years Ago: Bubble Tea Popsicles
Six Years Ago: Coconut Lime Sorbet


This looks so good! Btw, I have made the food52 version twice and while it was a pain in the a$$ to bake those layers, I loved the challenge and the look on people's faces when they cut into it. :)
ReplyDeleteThanks! Maybe I will have the courage to try the round layer cake next year!
Delete