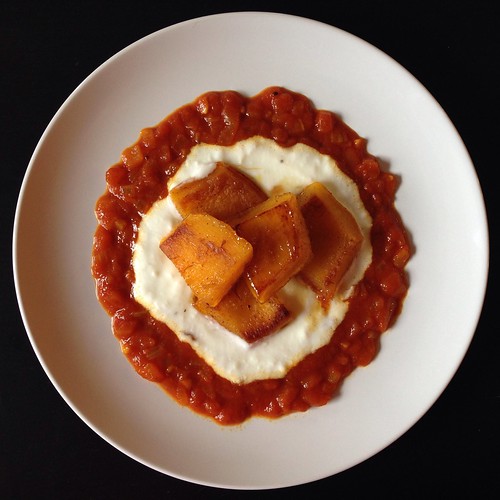
One of my favorite places to bring visitors to Boston is this Afghan restaurant in Cambridge called The Helmand. Usually, it's the first time any of them have had Afghan food, and I love introducing them to the signature appetizer there, the kaddo. It's a "pan-fried then baked baby pumpkin seasoned with sugar and served on yogurt garlic sauce, topped with ground beef sauce." It sounds like a pretty strange flavor combination and is unlike anything else I've ever tasted, but it's absolutely delicious.
I've had kaddo at another Afghan restaurant before, and it was definitely less sweet, so my guess is that the version served at The Helmand has been "Americanized". I found this recipe on Chowhound that gives a range for the amount of sugar to add and also suggests a vegetarian version. I didn't add the dried mint to the yogurt sauce because I didn't have any, and I reduced the amount of onions for the tomato sauce. Despite the changes, I was really impressed with how close this recipe is to what they serve at The Helmand.
Kaddo (Afghan Pumpkin with Yogurt and Tomato Sauces)
serves 4 as an appetizer
2 - 2 1/2 pound sugar pumpkin
2 tablespoons oil
1/2 -1 1/2 cups sugar (I used about 2/3 cup)
1/2 teaspoon ground cinnamon
1 cup plain yogurt
1 clove garlic, crushed
1/2 teaspoon dried mint (optional)
Salt and pepper to taste
2 tablespoons oil
1 medium onion, chopped
1 clove garlic, crushed
1 1/4 teaspoons ground coriander seed
1/2 teaspoon ground turmeric
1 teaspoon ground black pepper
Salt to taste
1 cup tomato sauce
1/4 cup water
Preheat the oven at 350°F.
Cut
the pumpkin into quarters. Remove seeds and strings, peel the skin with
a vegetable peeler, and cut down into about 2-inch chunks.
Heat 2
tablespoons oil in a dutch oven. Brown the pumpkin
pieces, turning frequently, until golden brown.
Mix sugar and cinnamon and
sprinkle over pumpkin. Cover and
bake for 30 minutes, or until tender.
Mix together yogurt with the mint (if using) and crushed garlic in a bowl; season to taste with salt and pepper.
In a medium saucepan, heat 2 tablespoons of oil and cook the onions
until lightly browned. Add the garlic, coriander, turmeric,
salt, and pepper. Mix well and cook until the spices are toasted and fragrant. Add tomato
sauce and water, mix thoroughly and bring to a simmer. Lower heat and
cook about 20 minutes until it cooks down to a thick sauce.
Serve the pumpkin with the yogurt and tomato sauces.
Next: My Mom's Taiwanese Sticky Rice
Previously: Pão de Queijo (Brazilian Cheese Bread)
Last year: Miso Marinated Black Cod
Tuesday, October 29, 2013
Thursday, October 17, 2013
Pão de Queijo (Brazilian Cheese Bread)
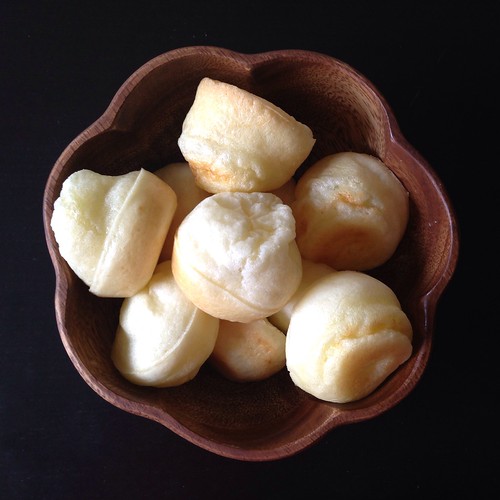
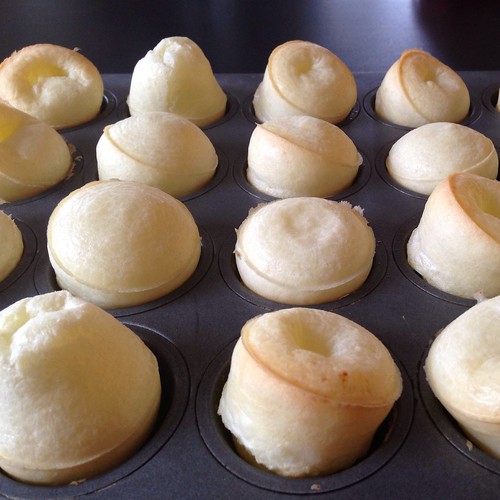
If you're looking for something to serve with moqueca, may I suggest pão de queijo? These Brazilian cheese buns are soooo good and easy to make! They kind of remind me of a savory mochi in that there's a chewiness from the tapioca flour but end up being more light and airy than dense.
The first time I made this recipe from Simply Recipes, I made the mistake of dumping the tapioca flour in my blender before adding all the liquids. When it came time to turn on the Vitamix, nothing happened. At first I was afraid the blender was broken but after digging around in there, I realize the blade just couldn't move around in the cement-like tapioca flour. I ended up dumping everything into a mixing bowl and whisking it by hand, which worked out fine. But if you'd like to make it in the blender, please learn from my mistake and put the tapioca flour in last.
I was able to find a soft farmer's cheese at my grocery store, but I've also read other recipes that use parmesan and cheddar cheeses, so you can probably use any cheese you like. The first batch I made had a way too strong olive oil flavor, so in the second batch I cut the oil with some canola, and it turned out a lot better, in my opinion.
Pão de Queijo (Brazilian Cheese Bread) (adapted from Simply Recipes)
makes 24 small buns
Oil for greasing
1 egg
1/3 cup total olive oil and/or canola oil (adjusted to your preference)
2/3 cup milk
Scant 1 1/2 cups (170 grams) tapioca flour
1/2 cup (packed, about 66 grams) grated cheese
1 teaspoon of salt
Preheat oven to 400°F. Grease a mini-muffin tin.
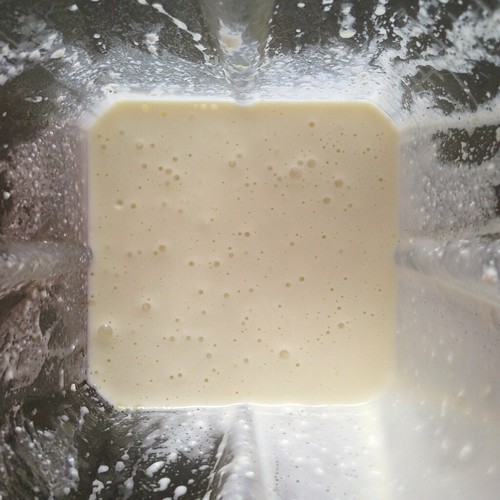
Put all of the ingredients into a blender (tapioca flour last) and pulse until smooth. You may need to use a spatula to scrape down the sides of the blender so that everything gets blended well. At this point you can store the batter in the refrigerator for up to a week.
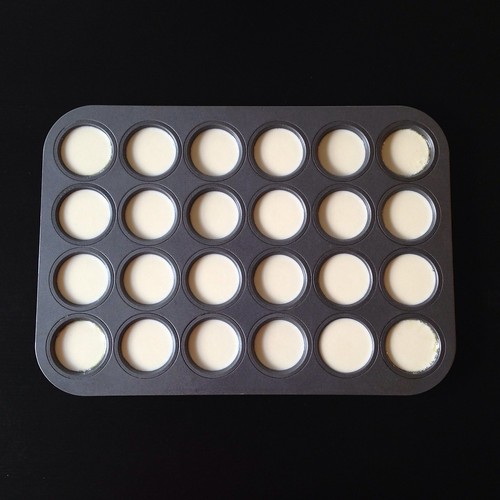
Fill the mini-muffin tin wells until almost full. The buns will puff a lot in the oven but then shrink a lot upon cooling.
Bake in the oven for 15-20 minutes, until all puffy and just lightly browned. Remove from oven and let cool on a rack for a few minutes.
Eat while warm or save to reheat later.
I love how cute they look all puffed up like that, especially the ones with the dimples in the middle. They kind of remind me of minions. ^_^
Next: Kaddo (Afghan Pumpkin with Yogurt and Tomato Sauces)
Previously: Moqueca (Brazilian Fish Stew)
Last year: Magical Pumpkin Spice Latte
Monday, October 14, 2013
Bahian Style Moqueca (Brazilian Fish Stew)
Continuing on to dinner, we passed by a Koni Store, and since I had read about this trendy new restaurant, we just had to stop and try a salmon hand roll. Then there was the churro cart around the corner...but we decided that we absolutely could not eat anything else before we got to dinner (and hoped that the churro cart would still be there on the way home).
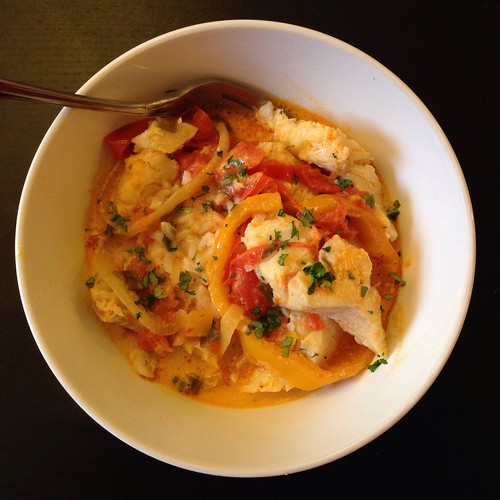
Despite not being the last bit hungry due to all the pre-dinner snacking, I found myself absolutely loving the moqueca. We got ours Bahian style, which means it's cooked with coconut milk, palm oil, and cilantro and served with white rice, pirão (a gravy made from fish broth and cassava flour), and dendê farofa (cassava flour cooked in palm oil).
I haven't been able to find palm oil, but this recipe from The Perfect Pantry uses annatto seeds simmered in canola oil to make a similarly bright orange oil. If you can't find annatto seeds, you can just use sweet paprika instead. When a recipe calls for adding salt at the end to taste, I've started using adobo seasoning instead of just plain salt, especially for Latin-inspired dishes, for even more flavor. Other than that I pretty much followed this recipe from Simply Recipes to make the rice and stew. I've made the stew with haddock and cod and had a slight preference for the haddock version. I can only imagine how good it would taste with sea bass instead.
Bahian Style Moqueca (Brazilian Fish Stew)
serves 4
For the annatto oil:
1/2 teaspoon annatto seeds
1/4 cup canola oil
For the rice:
1 tablespoon olive oil
1/2 onion, chopped
1 clove garlic, minced
1 1/2 cups white rice
1 teaspoon kosher salt
For the stew:
1 1/2 - 2 lbs. of fillets of firm white fish such as haddock, cod, or sea bass, rinsed in cold water, pin bones removed, cut into large portions
3 cloves garlic, minced
4 tablespoons lime juice
Kosher salt
Freshly ground black pepper
Olive oil
1 medium yellow onion, sliced
1 yellow or red bell pepper, seeded, de-stemmed, and chopped (or sliced)
1 tablespoon paprika (optional)
Pinch red pepper flakes
2 cups sliced plum tomatoes
1/4 cup green onion greens, chopped
1 large bunch of cilantro, chopped with some set aside for garnish
14-ounce can coconut milk
Adobo seasoning, to taste (optional)
In a small saucepan, combine the annatto seeds and canola oil. Cook over medium heat for 10 minutes, until the oil turns orange. Remove from heat, strain out the seeds (and discard), and set the oil aside to cool. This can be done far in advance.
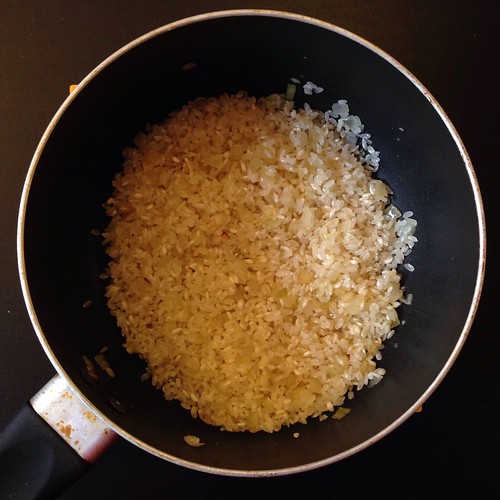
To make the rice, heat one tablespoon of olive oil in a medium saucepan on medium high heat. Add the chopped 1/2 onion and cook, stirring, until the onion is translucent. Add the garlic and cook for 30 seconds more, until the garlic is fragrant. Add the raw white rice and salt and stir to coat completely with the oil, onions, and garlic. Transfer to a rice cooker and add the recommended amount of water (mine uses 2 cups water for 1 1/2 cups of rice). Cook the rice in the rice cooker while you make the stew.
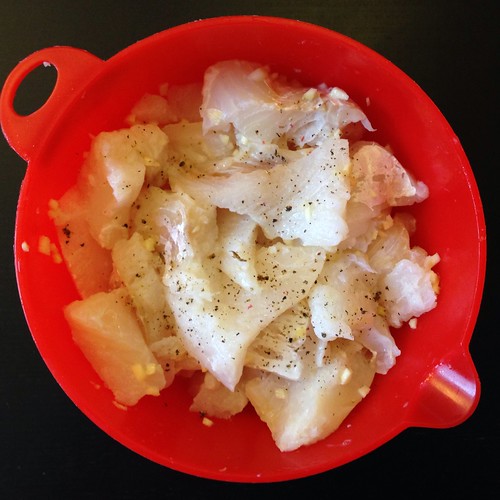
Place the fish in a bowl and add the minced garlic and lime juice so that the pieces are well coated. Sprinkle generously all over with salt and pepper. Keep chilled while preparing the rest of the soup.
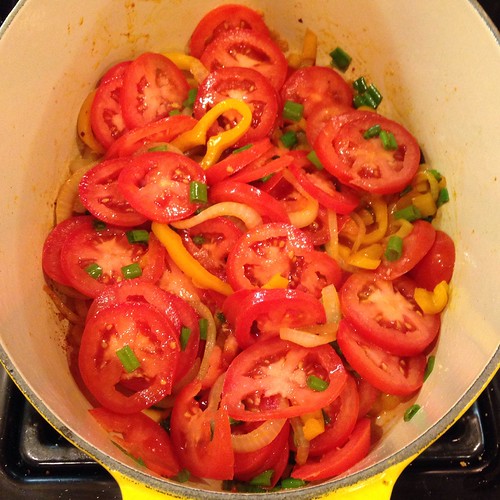
In a large covered pan (such as a Dutch oven), coat the bottom with about 2 tablespoons of olive oil and heat on medium heat. Add the onion and cook a few minutes until softened. Add the bell pepper, paprika (if using), and red pepper flakes. Sprinkle generously with salt and pepper. Cook for a few minutes longer, until the bell pepper begins to soften. Stir in the tomatoes and green onion. Bring to a simmer and cook for 5 minutes, uncovered. Stir in the chopped cilantro.
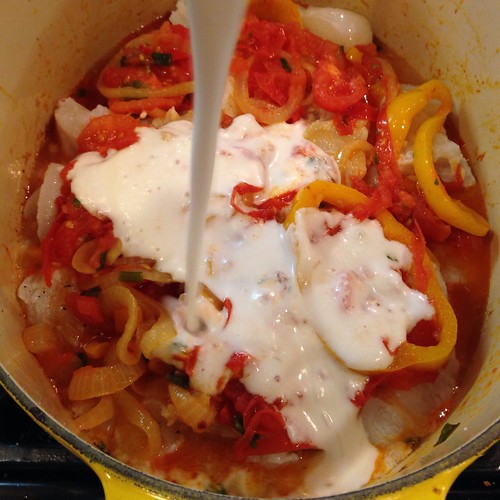
Use a large spoon to remove about half of the vegetables (you'll put them right back in). Spread the remaining vegetables over the bottom of the pan to create a bed for the fish. Arrange the fish pieces on the vegetables. Sprinkle with salt and pepper. Then add back the previously removed vegetables, covering the fish. Pour the coconut milk and annatto oil over the fish and vegetables.
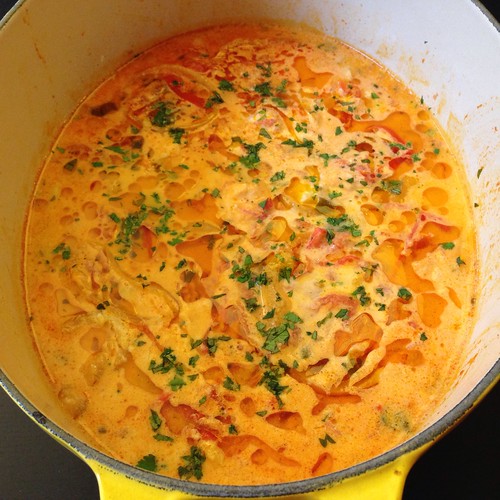
Bring soup to a simmer, reduce the heat, cover, and let simmer for 15 minutes. Taste and adjust seasonings. You may need to add more salt or adobo seasoning, lime juice, paprika, pepper, or chili flakes to get the soup to the desired seasoning for your taste. Garnish with cilantro and serve with the rice.
I was actually pretty surprised at how close to the real thing this tasted considering how exotic the flavors are to me. As with most stews, this tastes even better the next day and the day after that, when the flavors have had a chance to meld together more.
Next: Pão de Queijo (Brazilian Cheese Bread)
Previously: Pluot Lambic Sorbet
Last year: Crispy Kale Pizza
Thursday, October 10, 2013
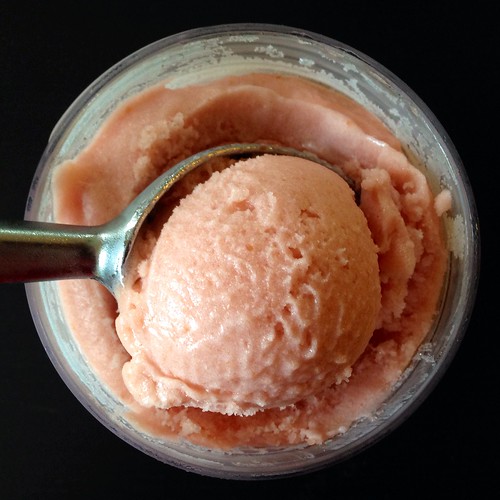
Pluot Lambic Sorbet
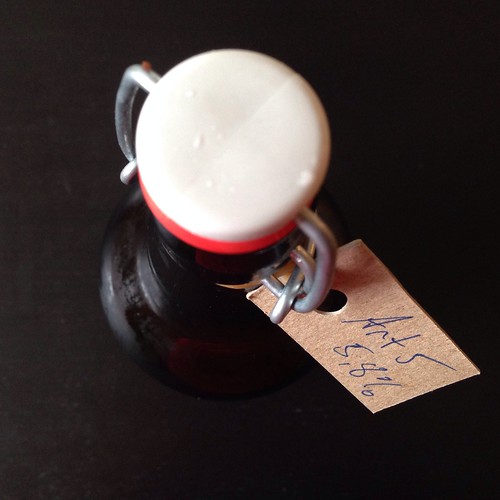
I've heard great things about Jeni's sour beer sorbets, but I never thought I'd make it myself if only because I didn't ever think I would come into possession of any lambic beer. But then my roommate decided to break out her growler of Night Shift Brewing's Art #5, which happens to be an "experimental Berliner Weisse style sour ale aged on fresh raspberries [with] mint leaves added." After one sip I realized it would be perfect for a sorbet!
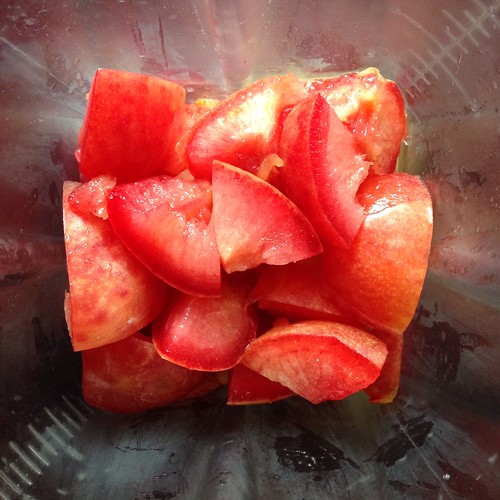
For the fruit I used a couple of pluots from a recent Boston Organics delivery, but you can use any stone fruit: peaches, apricots, cherries, etc.
Pluot Lambic Sorbet (adapted from Jeni's Splendid Ice Creams at Home)
makes a generous quart
1 pound pluots
3/4 cup sugar
1/3 cup light corn syrup
3/4 cup lambic beer, chilled
Remove the stones from the pluots and puree in a food processor or blender until smooth.
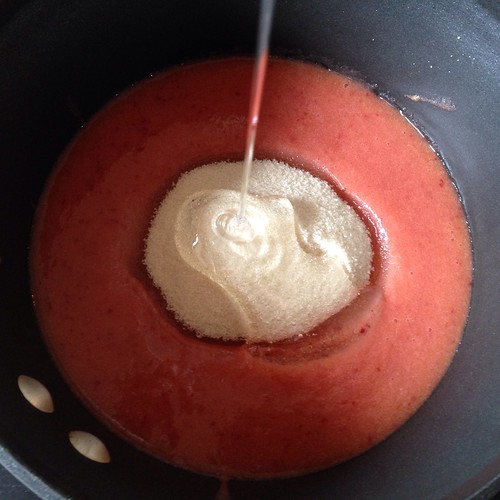
Combine the pureed fruit, sugar, and corn syrup in a 3-quart saucepan and bring to a simmer, stirring to dissolve the sugar. Remove from the heat immediately and put in the refrigerator to chill for at least 2 hours.
Strain through a sieve into a bowl. Add the beer and chill thoroughly.
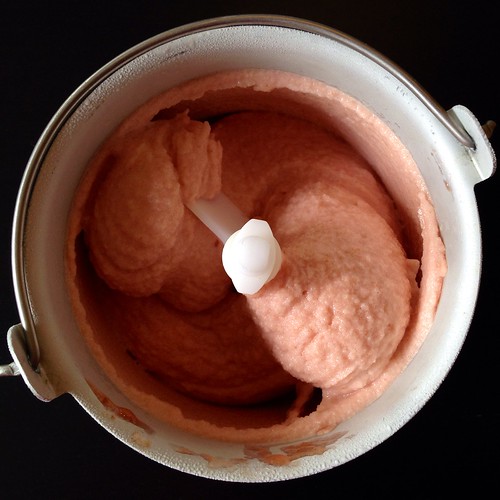
Pour the sorbet base into the frozen canister and spin just until it is the consistency of very softly whipped cream.
Pack the sorbet into a storage container, press a sheet of parchment directly against the surface, and seal with an airtight lid. Freeze in the coldest part of your freezer until firm, at least 4 hours.
I was really surprised at how much I liked this sorbet considering I'm not a big fan of beer. The sweetness and sourness were perfectly balanced, and there was a nice malty finish to each bite. Oh Jeni, once again you have made a believer out of me.
Next: Bahian Style Moqueca (Brazilian Fish Stew)
Previously: Apple Cider Donuts
One year ago: Magical Cold Brew Coffee
Tuesday, October 8, 2013
Apple Cider Donuts
Cider donuts from Honeypot Hill
One of my favorite things about fall is apple cider donuts. They have to come fresh from an apple orchard from New England, though, preferably on a brisk, sunny day. I've tried the ones they sell at super markets and even the state fair, but they're just not the same.
If you've never had one before, you might be disappointed to hear that they don't really taste like apple cider. That said, they're still incredibly delicious and pair perfectly with a nice, cold glass of cider. I like my cider donuts on the small side, coated with cinnamon and sugar, and, most importantly, fresh from the fryer so that they're still warm and crispy. The interior should be cakey, but not dry, and never, ever greasy.
Luckily, even if you don't live in New England, you can make your own as long as you can get your hands on some real apple cider: the cloudy, unfiltered kind that burns just a little bit on the way down your throat, not the weak, see through stuff they sell off-season.
Apple Cider Donuts (from Food52)
makes 10-12 donuts
1 cup apple cider
2 3/4 cups cake flour
1 teaspoon baking powder
1 teaspoon salt
1/4 teaspoon freshly grated nutmeg
2/3 cups sugar
2 tablespoons non-hydrogenated shortening
1 egg
1 egg yolk
1/3 cup buttermilk
canola oil, for frying
1/2 cup sugar, for topping
2 teaspoons cinnamon, for topping
Bring the apple cider to a boil over high heat and cook it until it has reduced to 1/3 cup, 7-10 minutes. Set aside to cool while you prepare the rest of the donuts.
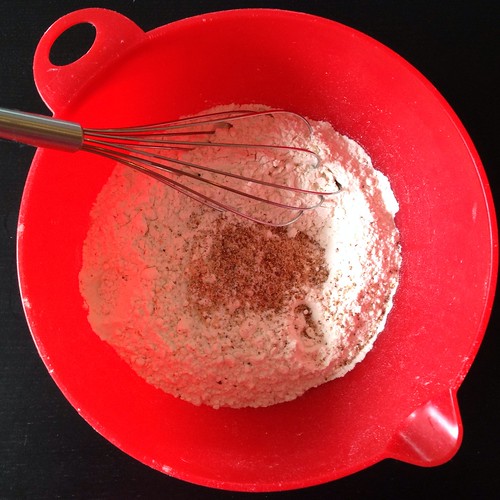
Sift the cake flour, baking powder, salt and nutmeg.
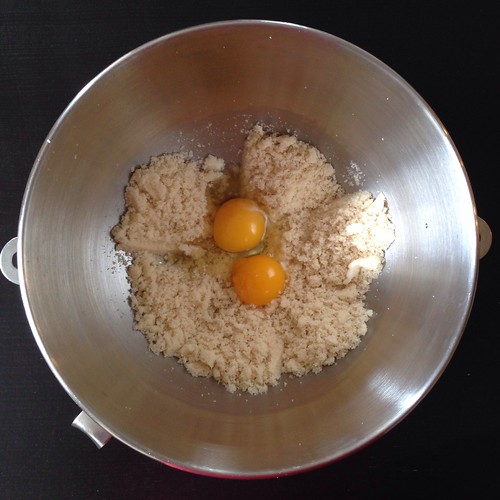
In the bowl of a stand mixer, mix the shortening and sugar together on medium speed until sandy. Add in the egg and egg yolk and mix on high until light and thickened, about 5 minutes.
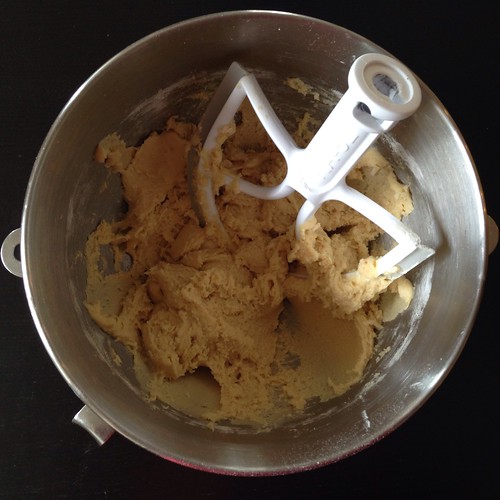
Mix the reduced apple cider and buttermilk together. Then add the flour mixture, alternating with the milk mixture to the mixer in three additions mixing until just combined. The dough will be soft and sticky much like cookie dough.
Transfer the mixture to a clean bowl and cover with plastic wrap. Refrigerate the dough for at least one hour or overnight.
When you are ready to roll and fry the donuts, heat a large pot or dutch oven with at least 2 inches of oil over medium heat until the oil reaches 370ºF on a candy thermometer.
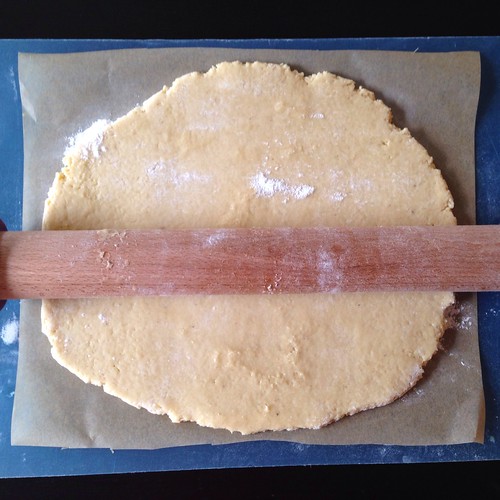
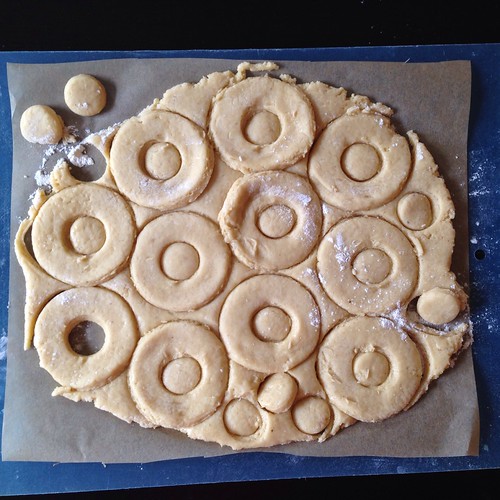
Gently roll the chilled dough out onto a generously floured board or piece of parchment paper into a circle about 1/2'' thick and about 8'' wide.
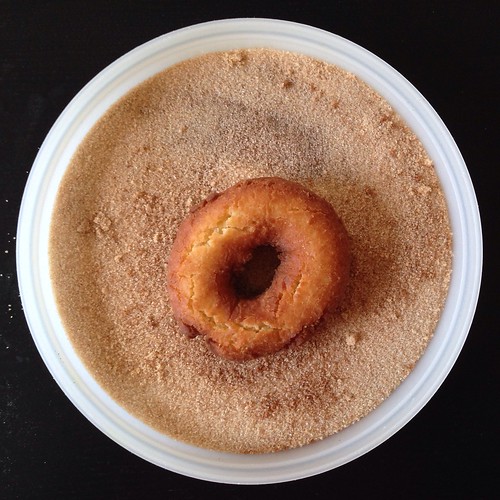
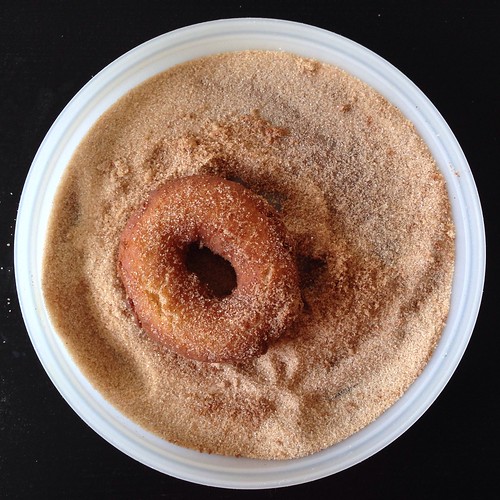
Cut as many donuts as possible, making sure to flour the cutters before each cut. If at any time the dough becomes too soft to handle, just put it in the refrigerator for a few minutes. Place the cut donuts on a parchment lined baking sheet and refrigerate for 15 minutes until they are slightly firm and easier to handle. While the donuts are chilling, stir together the cinnamon and sugar for the topping in a shallow, wide bowl.
Brush off any excess flour and fry the donuts for about 1 minute per side, being careful not to crowd the pan. When the donuts are deep golden brown on each side, remove them from the oil, gently blot off excess oil and toss immediately in the cinnamon sugar.
I had a couple of issues with this version: the finished product was a little too dense for my liking, the outside was only barely crispy, even fresh out of the fryer, and I had a hard time getting the cinnamon and sugar to stick to the donut. My friends who got to try them liked them enough, though, so I probably just have really high standards when it comes to cider donuts. Next time I might try Smitten Kitchen's version, which are fried in Crisco.
Next: Pluot Lambic Sorbet
Previously: Salted Butter Caramel Apple Pie with Vodka Pie Crust
Last year: Caramelized Onion and Swiss Chard Quiche
Subscribe to:
Comments (Atom)
