Friday, September 20, 2013

Salted Butter Caramel Apple Pie with Vodka Pie Crust


My church went apple picking last weekend, and I went with the express purpose of picking apples to make this pie.  Or more precisely, so I could make this pie crust from America's Test Kitchen.  I first made the vodka pie crust three years ago with Tammy.  It made the flakiest, most flavorful pie crust I had ever eaten, but it uses shortening, an ingredient I don't usually have on hand.  Luckily, my new roommate had some from when she made this same pie crust (it's her favorite, too!).

*photo by Tammy Hui

According to America's Test Kitchen, the addition of the vodka helps to keep the pie dough tender because it inhibits the formation of gluten while still acting like a binder for the dry ingredients.  The shortening also helps to prevent gluten from forming because unlike butter, it doesn't contain any water.  Yay, science! 

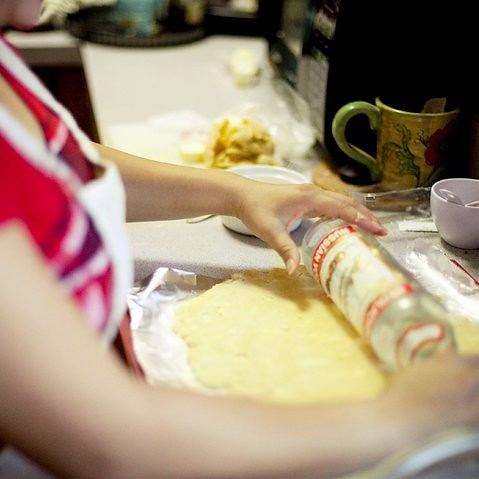
*Pro-tip:  If you don't have a rolling pin, the vodka bottle works!

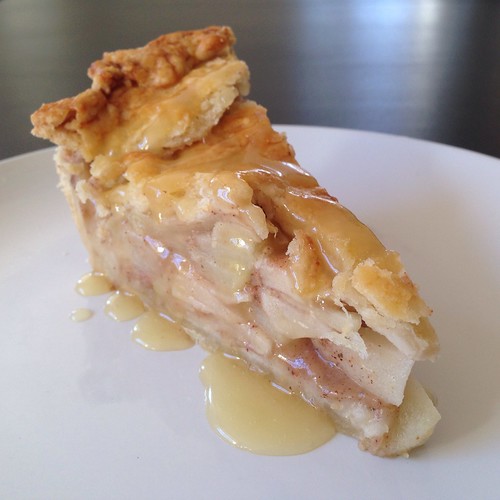
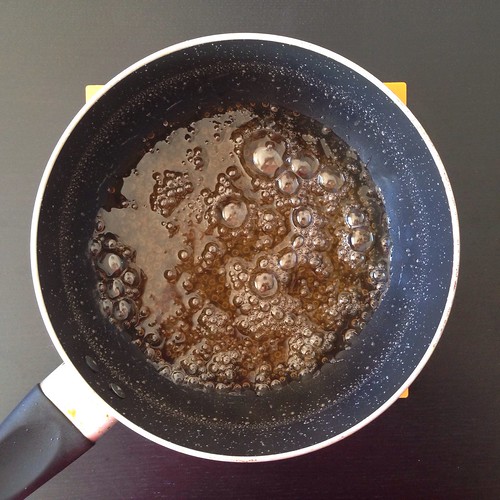
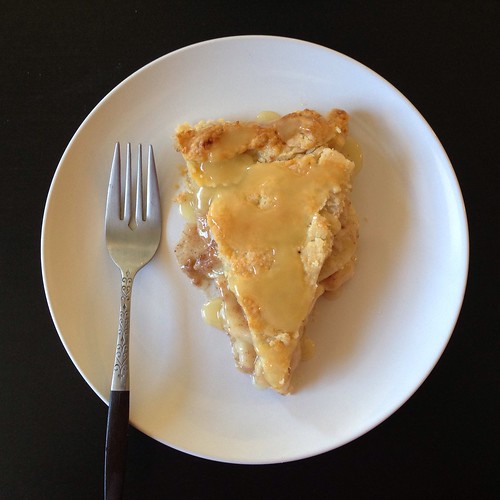
I adapted the filling and salted caramel sauce from Sally's Baking Addiction.  Sadly, I took my sugar off the heat too soon, and my sauce is more of a blond sweet butter sauce than a caramel, but it still tastes uber delicious!


If you can, try to use a variety of apples for the pie so you have some sweet and some tart, some softer and some firmer.  I picked Macintosh, Golden Supreme, and Honeycrisp apples for this pie.


Salted Butter Caramel Apple Pie with Vodka Pie Crust
makes 1 pie

For the pie crust:
2 1/2 cups all-purpose flour
2 tablespoons sugar
1 teaspoon salt
12 tablespoons unsalted butter, cut into 1/4-inch pieces and chilled
8 tablespoons vegetable shortening, cut into 4 pieces and chilled
1/4 cup vodka, chilled
1/4 cup ice water


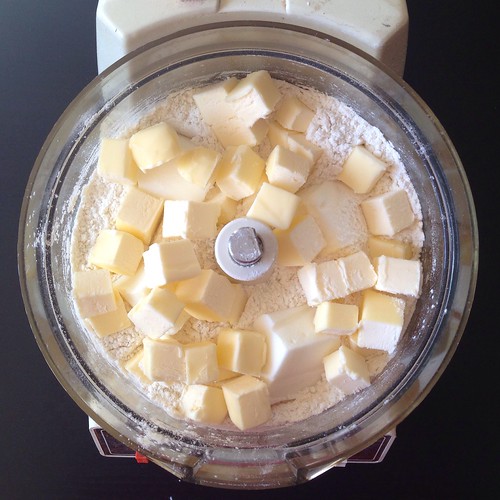
Process 1 1/2 cups flour, sugar, and salt together in food processor until combined.  Scatter butter and shortening over top and continue to process until incorporated and mixture begins to form uneven clumps with no remaining floury bits.  Sprinkle remaining 1 cup flour over dough and pulse until mixture has broken up into pieces and is evenly distributed around the bowl.


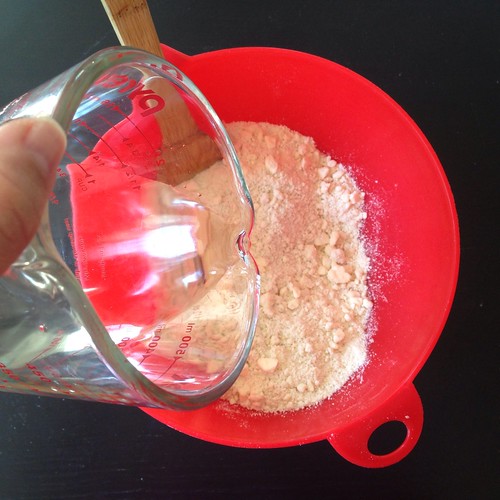
Transfer mixture to a large bowl.  Sprinkle vodka and ice water over mixture.  Stir and press dough together, using stiff rubber spatula, until dough sticks together.


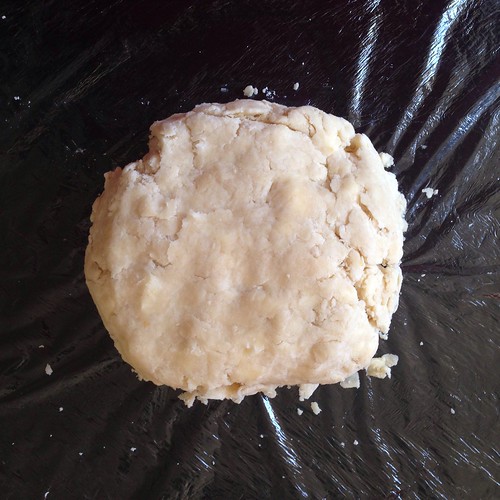
Divide dough into 2 even pieces.  Turn each piece of dough onto a sheet of plastic wrap and flatten each into a 4-inch disk.  Wrap each piece tightly in plastic and refrigerate for at least 1 hour.

For the caramel sauce:
1 cup granulated sugar
1 1/2 teaspoons salt
1/2 cup room temperature water
12 tablespoons unsalted butter, softened to room temperature
2 tablespoons heavy cream


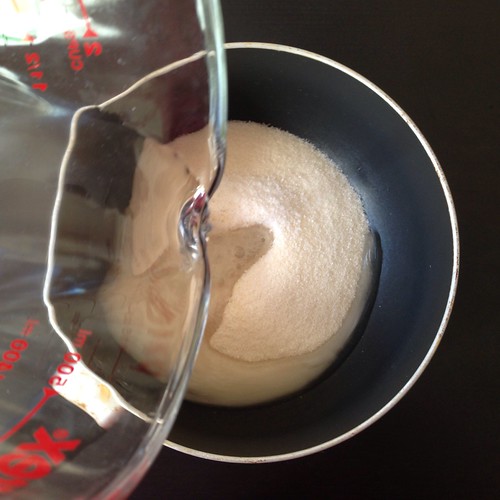
Combine the granulated sugar, salt, and water in a medium saucepan over medium-high heat, stirring constantly, until the sugar is dissolved.  Turn the heat down to medium-low and cook without stirring, until the syrup becomes a medium dark amber caramel, about 15 minutes.


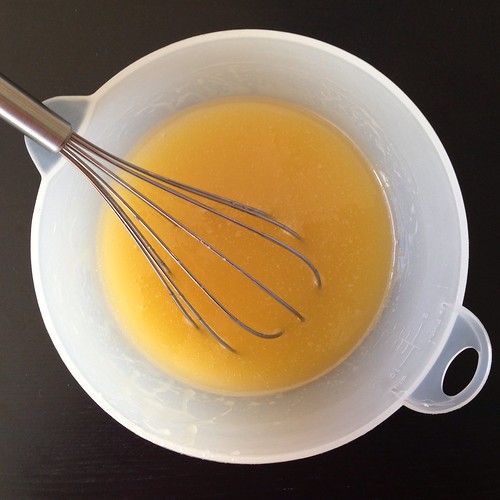
Remove the pan from heat and immediately stir in the room temperature butter and cold heavy cream. Do not worry if the butter starts to separate; it will come together as the caramel cools. Transfer the caramel to a medium bowl and whisk until the caramel begins to come together.  Set aside.


For the apple pie:
2 teaspoons fresh lemon zest
1/4 cup fresh lemon juice
6 large apples, cored, peeled, and thinly sliced (use a variety for better flavor, such as Macintosh, Golden Supreme, and Honey Crisp)
1/4 cup all-purpose flour
1/4 teaspoon ground cloves
1/4 teaspoon ground nutmeg
1 1/2 teaspoons ground cinnamon
1/2 cup granulated sugar
1 egg yolk
1 tablespoon milk


Put the lemon zest and lemon juice into a very large bowl. Add the apples and toss gently. In a small mixing bowl, combine the flour, cloves, nutmeg, cinnamon, and sugar. Pour over the apples and gently toss to combine. Set aside.

Preheat oven to 400°F.

On a floured work surface, roll out one of the balls of chilled dough (keep the other one in the refrigerator). Turn the dough about a quarter turn after every few rolls until you have a circle about 12" in diameter. Carefully place the dough into a 9"x2" pie dish. Tuck it in with your fingers, making sure it is smooth.


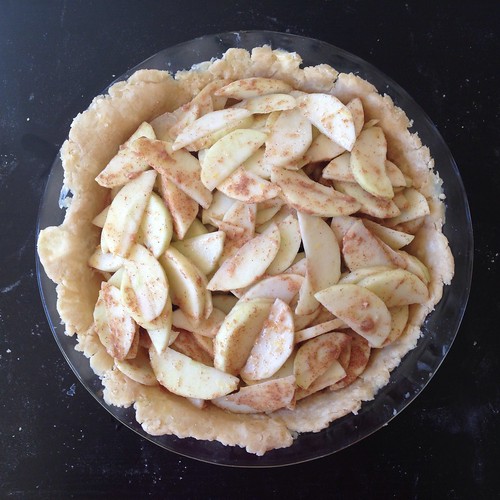
Fill the pie crust with the apples. There are a lot of apples, but pile them tightly and very high. Drizzle with 1/2 cup of the salted caramel, reserving the rest for topping.

Roll out the other ball of dough to a 10" circle.  Carefully place on top of the pie.  Fold over any excess dough and crimp all the way around.  Cut a few slits into the top with a sharp knife.


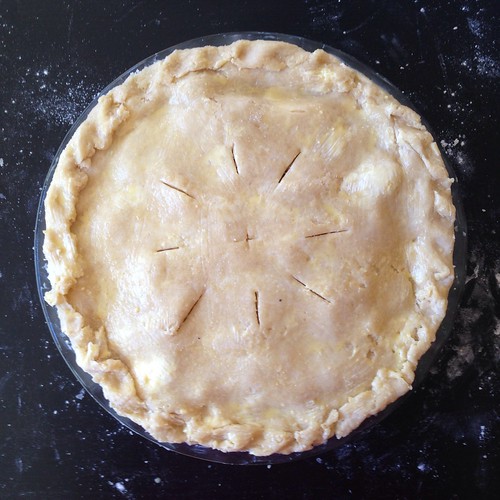
Make an egg wash by beating the egg yolk with the milk.  Brush the top with a very thin coating.


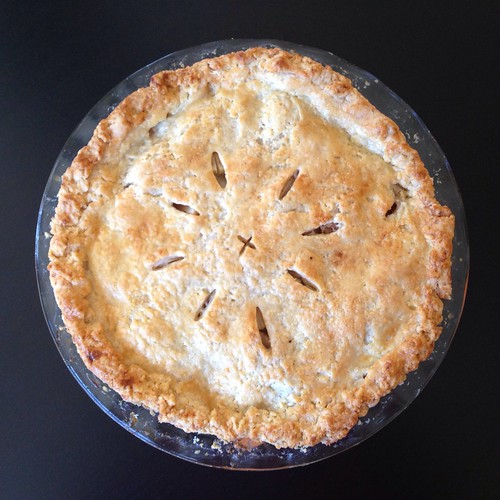
Place the pie onto a large baking sheet and bake for 20 minutes. Keeping the pie in the oven, turn the temperature down to 350°F and bake for an additional 40-50 minutes. If the top of your pie is getting too brown, cover loosely with aluminum foil. The pie will be done when the caramel begins to bubble up. A small knife inserted inside should come out relatively clean.


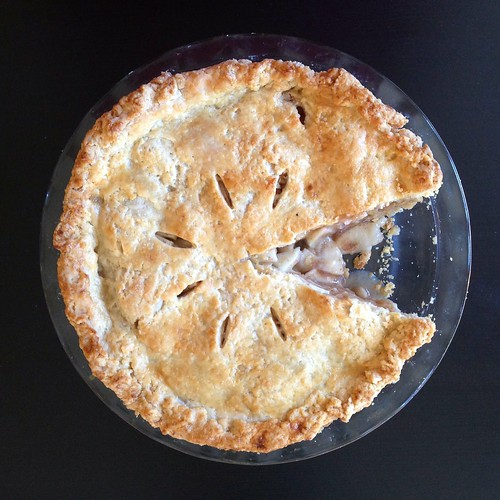
Allow the pie to cool for 4 hours before serving. Drizzle the pie with the extra caramel sauce to serve.


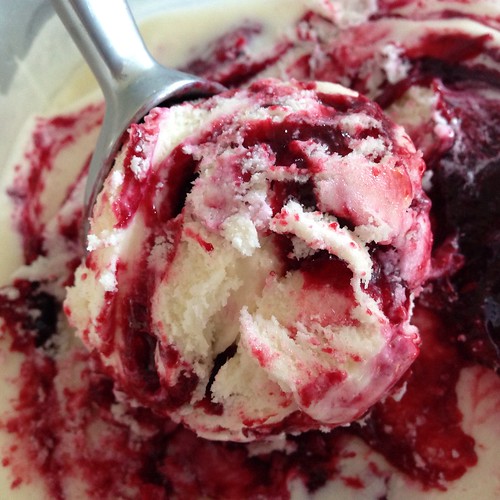
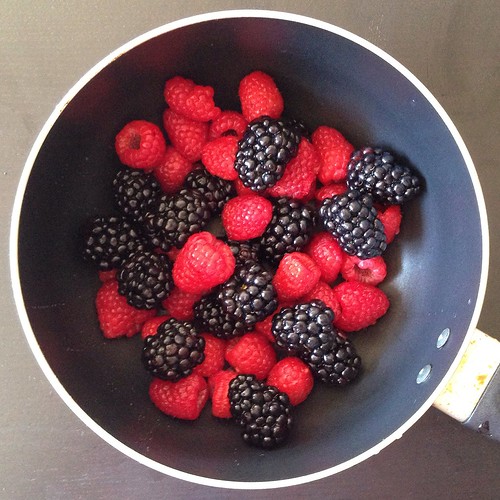
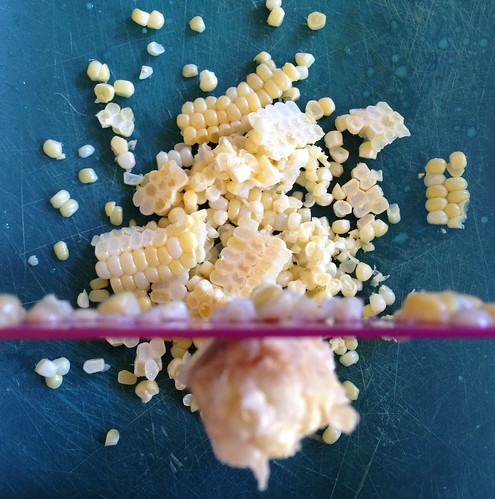
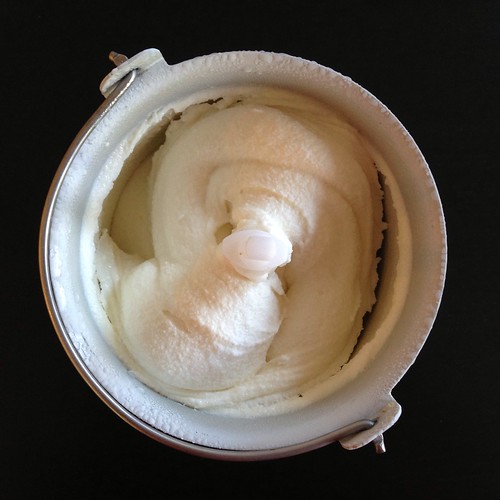
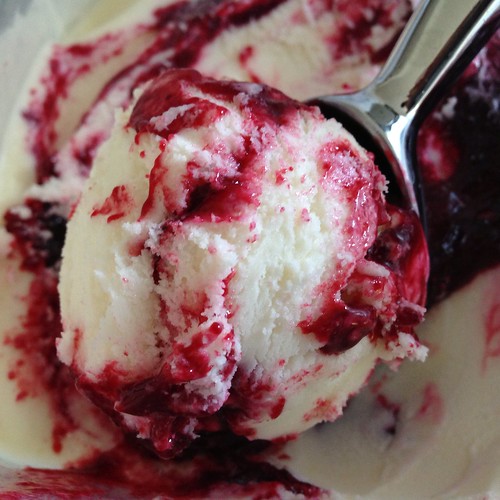
Previously:   Sweet Corn Ice Cream with Black Raspberry Swirl
Next:  Apple Cider Donuts

Tuesday, September 17, 2013

Sweet Corn Ice Cream with Black Raspberry Swirl

I finally got some corn in my Boston Organics delivery and knew immediately that I wanted to make this ice cream.

Growing up in Ohio has its share of pros and cons, but one of the perks is being able to buy sweet corn in the summer from roadside stands.  You can actually see the fields where the corn was harvested, and it's so amazingly fresh and sweet that all other corn just tastes like dust in comparison.

This recipe is another one from Jeni's Splendid Ice Creams at Home, which has basically become my ice cream making bible.  I couldn't find any black raspberries at the farmer's market or the grocery story, so I did as she suggested and made the sauce with half red raspberries and half blackberries.


Sweet Corn Ice Cream with Black Raspberry Swirl (from Jeni's Splendid Ice Creams at Home)
makes about 1 quart

To make the black raspberry swirl: 
2 cup black raspberries or red raspberries and blackberries
1 cup sugar

To make the ice cream base:
1 ear of fresh, sweet corn, husked
2 cups milk
4 teaspoons cornstarch
3 tablespoons cream cheese, softened
1/4 teaspoon kosher salt
1 1/4 cups heavy cream
2/3 cup sugar
2 tablespoons light corn syrup


Combine berries and 1 cup sugar in a 1-quart saucepan over medium-high heat, and cook, stirring, until thickened, about 8 minutes; strain and chill.


Slice the kernels from the corn cob, then "milk" the cob by scraping it with the back of your knife to extract the liquid; reserve the kernels and liquid.

Mix about 2 tablespoons of the milk with the cornstarch in a small bowl to make a smooth slurry.  Whisk the cream cheese and salt in a medium bowl until smooth.

Combine the remaining milk, cream, sugar, corn syrup, corn kernels and juices in a 4-quart saucepan, bring to a rolling boil over medium-high heat, and boil for 4 minutes.  Remove from the heat and force the mixture through a sieve into a bowl, leaving the corn "cases" behind.

Return the mixture to the saucepan and gradually whisk in the cornstarch slurry.  Bring back to a boil over medium-high heat and cook, stirring, until thickened, about 1 minute.  Remove from the heat.


Gradually whisk the hot milk mixture into the cream cheese until smooth. Pour mixture into a 1-gallon Ziploc freezer bag, seal, and submerge in a bowl of ice water until chilled. Pour mixture into an ice cream maker and spin until thick and creamy.


After churning, alternate layers of ice cream and berry sauce in a storage container before freezing.


The black raspberry sauce is really yummy but may overpower the delicate flavor of the sweet corn.  When I make this again I'll probably reduce the amount of sauce I layer in and increase the salt in the ice cream base a bit just to bring out the flavor of the sweet corn even more.

Previously:  Lobster Bisque
Next up:  Salted Butter Caramel Apple Pie with Vodka Pie Crust

Thursday, September 12, 2013

Lobster Bisque

The first (and only other) time I made lobster bisque was during grad school with my friend Anthony.  We were cooking for our church small group, and halfway through making it, he realized that we had added twice as much butter as the recipe called for.  But when we tried it, it tasted fine, and probably even a little better because of the added butter.  ^_^

If you're going through the trouble of steaming your own lobsters, you might as well save the steaming liquid and all the juices that drip out of the lobster when you crack it open to make lobster bisque the next day.  You'll also want to save all the lobster shells to make the stock with.


I used this recipe from Bon Appetit as a guideline, but I used 4 lobsters, doubled the sherry (because I didn't have any brandy), and used water instead of the fish stock or bottled clam juice.  I also omitted the tarragon because I couldn't find any in the store, and instead of thickening the bisque with cornstarch I used a blond roux (had to add the butter in somewhere).  Four lobsters will give you way more meat than you need for the bisque, but you shouldn't have any problems using it in another dish. (May I suggest brown butter vinaigrette lobster buns or ramen lobster rolls?)


Lobster Bisque (adapted form Bon Appetit)
makes 6 servings

2-4 one-pound lobsters, steamed in salted water
2 tablespoons olive oil
1 onion, sliced
1 large celery stalk, sliced
1 small carrot, sliced
1 garlic head, cut in half crosswise
1 tomato, sliced
2 tablespoons chopped fresh thyme
2 bay leaves
8 whole black peppercorns
1 cup dry sherry
1/4 cup tomato paste
4 tablespoons butter
4 tablespoons flour
1/2 cup whipping cream

Crack tail and claw shells over the pot you used to steam the lobsters to catch any juices and remove lobster meat. Reserve the steaming liquid and juices.  Coarsely chop lobster meat; cover and chill. Coarsely chop lobster shells and bodies; transfer to medium bowl.


Heat olive oil in heavy large pot over high heat. Add lobster shells and bodies and sauté until shells begin to brown, about 8 minutes. Add onion and next 8 ingredients.  Boil until almost all liquid has evaporated, about 4 minutes. Add the reserved steaming liquid and lobster juices and enough water to make a total of 6 cups of liquid. Simmer 1 hour.

Strain soup through sieve set over large saucepan, pressing firmly on solids. Whisk tomato paste into soup. Simmer until soup is reduced to 3 cups, about 15 minutes. (Can be prepared 1 day ahead. Cover and refrigerate.)

In a separate saucepan, melt the butter over medium heat.  Add the flour and whisk together.  Cook until the roux turns a pale blonde.  Whisk in the lobster stock and cream and bring to a boil.  Continue stirring to ensure that the roux is dissolved and doesn't burn.  After a few minutes the bisque should thicken slightly.


Divide the lobster meat among 6 soup bowls.  Ladle in the bisque and serve hot.


I was surprised at how flavorful the bisque was even though I didn't add any salt (other than the original amount I added to the steaming liquid, which was like a large pinch).  I was tempted to add a drizzle of flavored oil on top, but then I realized it would only be to make the bowl more photogenic.  It honestly needs absolutely nothing added to it, so I just kept it that way.

Previously:  Ramen Lobster Rolls
Next up:  Sweet Corn Ice Cream with Black Raspberry Swirl

Monday, September 9, 2013

Ramen Lobster Rolls

So you've probably heard about the ramen burger, the latest food craze to hit NYC.  Well now you've heard of the ramen lobster roll.  As my friend Mitchell said, "You're getting kind of ridiculous, Joy."  (I'm pretty sure he meant that as a compliment.)

I followed the instructions I found on-line for how to make the ramen bun:  cook the noodles, mix with a beaten egg, mold into shape, chill in the fridge, and then pan fry.  Since I wanted the bun for a lobster roll, I molded the noodles into a square shape and then folded it in half after frying it.

For the lobster salad, I mixed the chopped lobster meat with some Kewpie (Japanese-style) mayonnaise and sprinkled in a little bit of the ramen seasoning and sesame oil to taste.  If I had had scallions, I would have chopped some up and added them too, just continue on with the Asian theme.


Ramen Lobster Rolls
makes 2 rolls

1 package instant ramen
1 egg, beaten
Oil for frying
Meat from one 1 1/2 lb. lobster, chopped and chilled
Kewpie or regular mayonnaise
1/4 teaspoon toasted sesame oil (optional)
Scallions, chopped (optional)

Bring a small pot of water to boil and cook the ramen noodles until they are cooked but still firm.  Drain and rinse with cold water.

Mix the noodles with the beaten egg.  Divide the noodles between two 6" square containers.  Top with plastic wrap nest one of the containers in the other.  Nest another square container in the top container and weigh down with something heavy.  Chill in the refrigerator for at least 15 minutes.


In the meantime, make the lobster salad by mixing the chopped lobster meat with just enough mayonnaise to bind the meat together.  Sprinkle in some of the ramen seasoning to taste.  Add the sesame oil and chopped scallions, if using, and mix.  Chill until ready to use.

Heat a couple tablespoons of oil in a non-stick frying pan.  Carefully release the ramen buns into the pan and cook for a few minutes on each side until nicely browned.  Remove from the pan and immediately fold in half.


Once the ramen buns are cool enough to handle, fill each with half the lobster salad and enjoy!


I really, really, really, really, really liked this lobster roll.  I loved how the cool, creamy lobster salad contrasts with the warm, crunchy ramen buns.  The texture of the ramen buns was really interesting, but the taste was a little bland.  Next time I might add some of the ramen seasoning to the beaten egg to add a little more flavor to the bun.  Or fry it in bacon fat.  Yissss.....

Previously:  Brown Butter Vinaigrette Lobster Buns
Next up:  Lobster Bisque

Friday, September 6, 2013

Brown Butter Vinaigrette Lobster Buns

This past week the Stop & Shop circular advertised lobsters for only $3.99/lb!  I was already planning on having friends over for a dinner party so I decided to pick up 6 lobsters and have a lobster crackin' party outside on my patio.  Sadly, when I got to the seafood section, I found out that the sale had ended on Labor Day, and the lobsters were now $5.99/lb.  Boo.....

So I ended up just picking up 4 lobsters and decided to make lobster rolls instead.  Traditionally, lobster rolls consist of lobster meat dressed with mayonnaise in a buttered top-split bun.  If you don't live in New England, you've probably never seen a top-split hot dog bun.  When I first moved to Boston, I thought they were kind of weird and reminded me of a slice of Wonder Bread folded in half.  But that was before I realized that they provide a better meat to bread ratio than regular hot dog buns and also toast up nicer.


Last year I went to Portland, Maine for the first time and had the best lobster rolls in my life at the Eventide Oyster Co.  Theirs is rather nontraditional in that they swap out the mayonnaise for a brown butter vinaigrette, and they serve it in a homemade steamed bun.  It was soooooooo good, I had to try to recreate it!

First of all, the lobster meat.  This was my first time cooking lobsters by myself, and it was not my finest moment.  Lobsters already creep me out a bit because 1) they look like bugs and 2) they're still alive and moving around when you cook them.  I know you can kill them by putting a knife through their head before cooking them, but I wasn't about to do that because see 1) and 2) above.  And even after you kill them that way they still move around!  Nope!


Instead I put them in the freezer for about 20 minutes before cooking them so that they were nice and relaxed.  Even then I couldn't handle touching them so I used tongs to transfer them to the pot or just slid them in from the bag.  I chose to steam them rather than boil them because it takes a lot less time to bring an inch of water to boil vs. a whole pot.

I followed this video to crack the lobster and extract the meat, making sure to crack the lobsters over the pot with the steaming water in order to catch all the juices.  (I saved this liquid to make lobster bisque the next day.)  You'll find the majority of the meat in the claws, knuckles, and tail.  There's pockets of meat in the body, and you can squeeze out little tubes of meat from the legs, but that was a lot more work than I was interested in doing, so I just left the bodies for my friends to pick at if they wanted to (they wanted to).


Now let's talk about the buns.  I'd recommend making them from the dough in my hua juan recipe, but if you're lucky enough to live near an Asian grocery story that sells steamed buns you can use those too.  I was kind of lazy and just bought some from Super 88.  I think they worked out okay, but using homemade bao buns would've been infinitely better.

For the brown butter vinaigrette I just browned a stick of butter and added the juice from one lemon and salt to taste.  Quickly sauté with the lobster meat just to heat through, top with some chopped chives, and it's ready for the steamed buns.


Brown Butter Vinaigrette Lobster Buns (inspired by Eventide Oyster Co.)
makes 6 small buns

3 one-pound lobsters
1/2 cup unsalted butter
Juice from one lemon (about 1/4 cup)
Salt to taste
Chives, chopped
6 steamed buns

Fill a large pot with 1" of water and throw in enough salt to make it as salty as the sea.  Bring to a boil.  Add the lobsters (one at a time if your pot isn't big enough), cover, and steam for 10 minutes.  Remove the lobsters to a rimmed baking sheet and allow to cool.


Once they are cool enough to touch, twist off the claws and tail and remove the meat.  Coarsely chop and set aside.


Heat a medium pot on medium heat and melt the butter.  Swirl the pot around occasionally and continue to heat until the milk solids at the bottom turn brown and the butter smells starts to smell nutty.  Immediately remove from heat and continue to swirl the pot around so that the milk solids don't burn.  Add the lemon juice and salt to taste.  Toss in the chopped lobster meat and return the pot to heat just until the lobster meat is heated through.


If needed, reheat the steamed buns in the microwave.  Fill the buns with the lobster salad and top with the chopped chives.  Serve warm.

Previously:  Jim Lahey's No-Knead Bread
Next up:  Ramen Lobster Rolls