A few years ago, I visited Rio de Janeiro with my friend Ellen, a fellow foodie. Our second night there, we had planned to walk from our hotel in Copacabana to Azul Arinho, a restaurant on Ipanema known for their moqueca. Along the way, we found a cute gelato shop, Beijo Carioca, and, upon realizing that they would be closed by the time we would be done with dinner, we had to stop and get a pre-dinner treat. The gelato was so good that on our last day in Rio, with only an hour left before we had to head to the airport, we made a mad dash back for a last taste of paradise.
Continuing on to dinner, we passed by a Koni Store, and since I had read about this trendy new restaurant, we just had to stop and try a salmon hand roll. Then there was the churro cart around the corner...but we decided that we absolutely could not eat anything else before we got to dinner (and hoped that the churro cart would still be there on the way home).
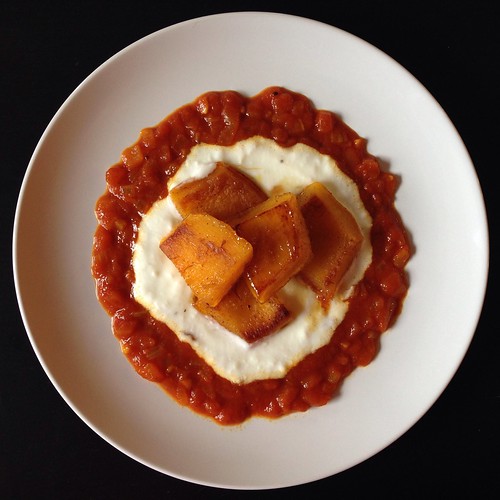
Despite not being the last bit hungry due to all the pre-dinner snacking, I found myself absolutely loving the moqueca. We got ours Bahian style, which means it's cooked with coconut milk, palm oil, and cilantro and served with white rice, pirão (a gravy made from fish broth and cassava flour), and dendê farofa (cassava flour cooked in palm oil).
I haven't been able to find palm oil, but
this recipe from The Perfect Pantry uses annatto seeds simmered in canola oil to make a similarly bright orange oil. If you can't find annatto seeds, you can just use sweet paprika instead. When a recipe calls for adding salt at the end to taste, I've started using adobo seasoning instead of just plain salt, especially for Latin-inspired dishes, for even more flavor. Other than that I pretty much followed
this recipe from Simply Recipes to make the rice and stew. I've made the stew with haddock and cod and had a slight preference for the haddock version. I can only imagine how good it would taste with sea bass instead.
Bahian Style Moqueca (Brazilian Fish Stew)
serves 4
For the annatto oil:
1/2 teaspoon annatto seeds
1/4 cup canola oil
For the rice:
1 tablespoon olive oil
1/2 onion, chopped
1 clove garlic, minced
1 1/2 cups white rice
1 teaspoon kosher salt
For the stew:
1 1/2 - 2 lbs. of fillets of firm white fish such as haddock, cod, or sea bass, rinsed in cold water, pin bones removed, cut into large portions
3 cloves garlic, minced
4 tablespoons lime juice
Kosher salt
Freshly ground black pepper
Olive oil
1 medium yellow onion, sliced
1 yellow or red bell pepper, seeded, de-stemmed, and chopped (or sliced)
1 tablespoon paprika (optional)
Pinch red pepper flakes
2 cups sliced plum tomatoes
1/4 cup green onion greens, chopped
1 large bunch of cilantro, chopped with some set aside for garnish
14-ounce can coconut milk
Adobo seasoning, to taste (optional)
In a small saucepan, combine the annatto seeds and canola oil. Cook over medium heat for 10 minutes, until the oil turns orange. Remove from heat, strain out the seeds (and discard), and set the oil aside to cool. This can be done far in advance.
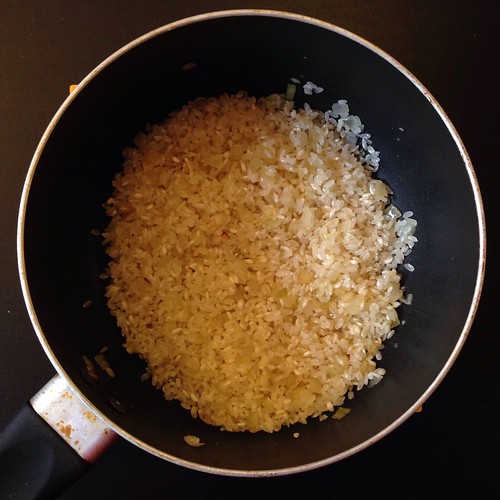
To make the rice, heat one tablespoon of olive oil in a medium saucepan on medium high heat. Add the chopped 1/2 onion and cook, stirring, until the onion is translucent. Add the garlic and cook for 30 seconds more, until the garlic is fragrant. Add the raw white rice and salt and stir to coat completely with the oil, onions, and garlic. Transfer to a rice cooker and add the recommended amount of water (mine uses 2 cups water for 1 1/2 cups of rice). Cook the rice in the rice cooker while you make the stew.
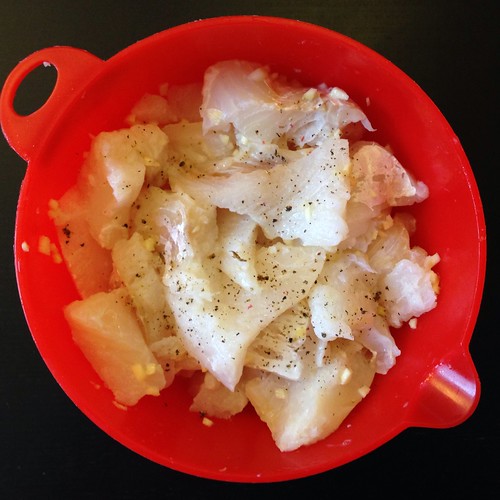
Place the fish in a bowl and add the minced garlic and lime juice so that the pieces are well coated. Sprinkle generously all over with salt and pepper. Keep chilled while preparing the rest of the soup.
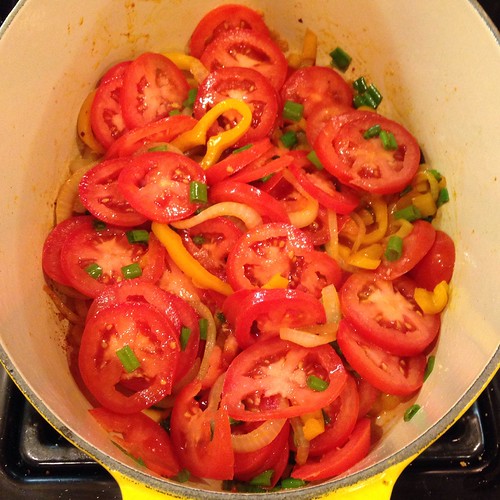
In a large covered pan (such as a Dutch oven), coat the bottom with about 2 tablespoons of olive oil and heat on medium heat. Add the onion and cook a few minutes until softened. Add the bell pepper, paprika (if using), and red pepper flakes. Sprinkle generously with salt and pepper. Cook for a few minutes longer, until the bell pepper begins to soften. Stir in the tomatoes and green onion. Bring to a simmer and cook for 5 minutes, uncovered. Stir in the chopped cilantro.
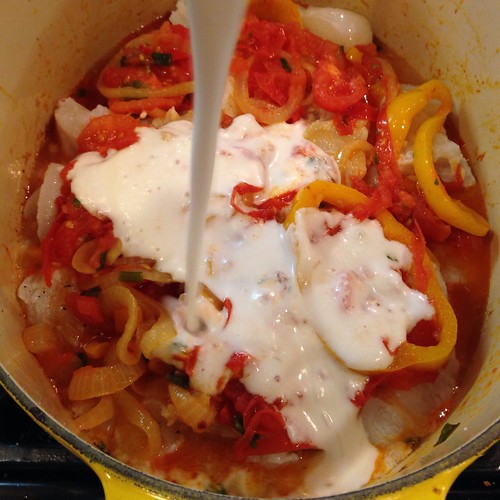
Use a large spoon to remove about half of the vegetables (you'll put them right back in). Spread the remaining vegetables over the bottom of the pan to create a bed for the fish. Arrange the fish pieces on the vegetables. Sprinkle with salt and pepper. Then add back the previously removed vegetables, covering the fish. Pour the coconut milk and annatto oil over the fish and vegetables.
Bring soup to a simmer, reduce the heat, cover, and let simmer for 15 minutes. Taste and adjust seasonings. You may need to add more salt or adobo seasoning, lime juice, paprika, pepper, or chili flakes to get the soup to the desired seasoning for your taste. Garnish with cilantro and serve with the rice.
I was actually pretty surprised at how close to the real thing this tasted considering how exotic the flavors are to me. As with most stews, this tastes even better the next day and the day after that, when the flavors have had a chance to meld together more.
Next:
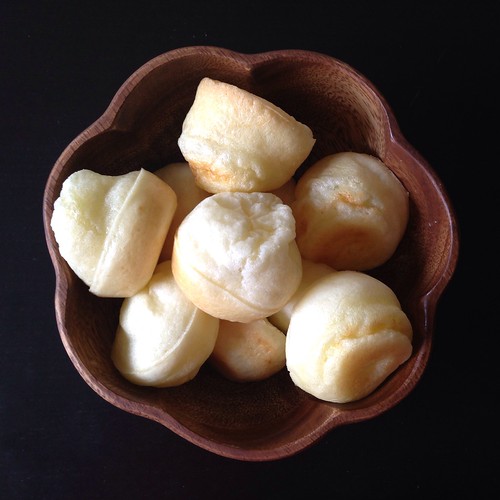
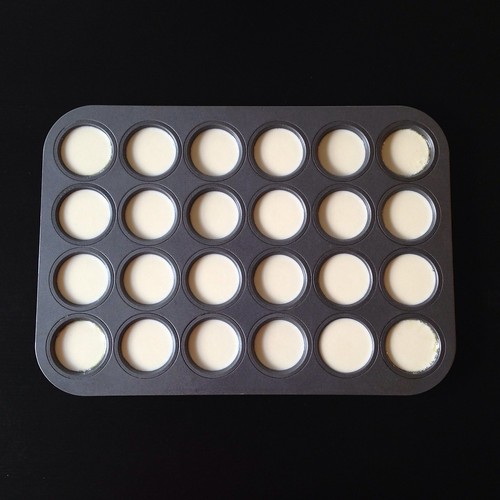
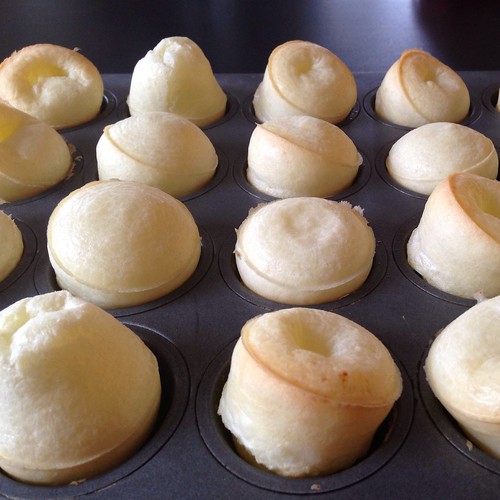
Pão de Queijo (Brazilian Cheese Bread)
Previously:
Pluot Lambic Sorbet
Last year:
Crispy Kale Pizza