Friday, June 27, 2014

Shakshuka with Polenta

https://www.flickr.com/photos/joyosity/14288758258/

I had shakshuka for the first time in Israel, so when I decided to make dinner for some friends who had just returned from there, it was the first thing I thought of to make.  It's basically eggs poached in a spicy tomato sauce, and I posted a pizza version of it before.  Shakshuka is traditionally eaten with bread, but since one of my guests had a gluten sensitivity, so I decided to pair it with polenta instead.  It's one of those pairings that really made me wonder why I didn't think of it before.  The polenta is substantial enough to stand up to the flavorful tomato sauce, but creamy enough so that you can eat everything with a spoon.  And the best part is, I was able to get the timing down so that you can start both roughly around the same time and have them done at about the same time.

I based my shakshuka recipe on the one from The New York Times and cooked the polenta using the "no stir" instructions from Marcella Hazan (she of the legendary butter tomato sauce fame).  I found that a good way to "chop" the canned tomatoes is to take kitchen shears and cut the tomatoes up in the can.  That way you don't have to worry about getting tomato juices dripping and squirting everywhere if you used a cutting board.  I didn't have any cayenne pepper on hand, so I substituted some hot chili powder and red pepper flakes.  I really liked the addition of the feta, but you can leave it out if you want a dairy free dish (just add a little more salt or adobo seasoning to make up for the loss in flavor).

https://www.flickr.com/photos/joyosity/14289294540/

Shakshuka with Polenta (adapted from The New York Times)
serves 4-6

6 cups water
3 tablespoons olive oil
1 large onion, chopped
1 large red bell pepper, seeded and chopped
1 1/2 cups polenta
3 garlic cloves, thinly sliced
1 teaspoon ground cumin
1 teaspoon sweet paprika
1/8 teaspoon cayenne pepper, hot chili powder, and/or red chili flakes, or to taste
One 28 oz. can whole plum tomatoes with juices, roughly chopped
2 teaspoons salt or adobo seasoning, more as needed
1/4 teaspoon black pepper, more as needed
5 oz. feta cheese, crumbled (optional)
6-8 large eggs
Chopped parsley or cilantro, for serving

Preheat oven to 375°F.  Start boiling the water in a large pot.

Heat oil in a large skillet over medium-low heat.  Add the chopped onions and bell pepper.  Cook gently until very soft, about 20 minutes.

In the meantime, once the water is at a rolling boil, start whisking the water and pouring the polenta in in a steady stream.  Turn the heat down to low and continue stirring until the polenta has thickened enough that it doesn't settle back to the bottom when you stop stirring, about 1-2 minutes.  Cover and stir every 10 minutes for 30-40 minutes.

Add the garlic to the onions and peppers and cook until tender, about 1 to 2 minutes.  Stir in the cumin, paprika, and cayenne, chili powder, or red chili flakes and cook another minute.  Pour in the tomatoes and juices and season with salt and pepper.  Simmer until the tomatoes have thickened, about 10 minutes.  Taste and season with more salt, adobo seasoning, pepper, cayenne, chili powder, or red pepper flakes as needed.  Stir in the feta, if using.

Gently crack the eggs into the skillet over the tomatoes.  Transfer the skillet to the oven and bake until the eggs are just set, about 8-10 minutes.  Sprinkle with parsley or cilantro.

Portion out the polenta into serving bowls.  Spoon the tomato sauce with an egg or two onto the polenta.  Serve warm with hot sauce, if desired.

https://www.flickr.com/photos/joyosity/14288892927/

As you can see, I actually didn't have enough room to fit all the eggs in my skillet.  What I ended up doing was cooking four first, carefully transferring just the eggs to another dish, and then cracking another four eggs onto the sauce and sliding the skillet back into the oven.  During service, after the four eggs were plated, I transferred the remaining eggs back onto the sauce.

https://www.flickr.com/photos/joyosity/14288893837/

Next:  Papaya Milk and Papaya Milk Popsicles
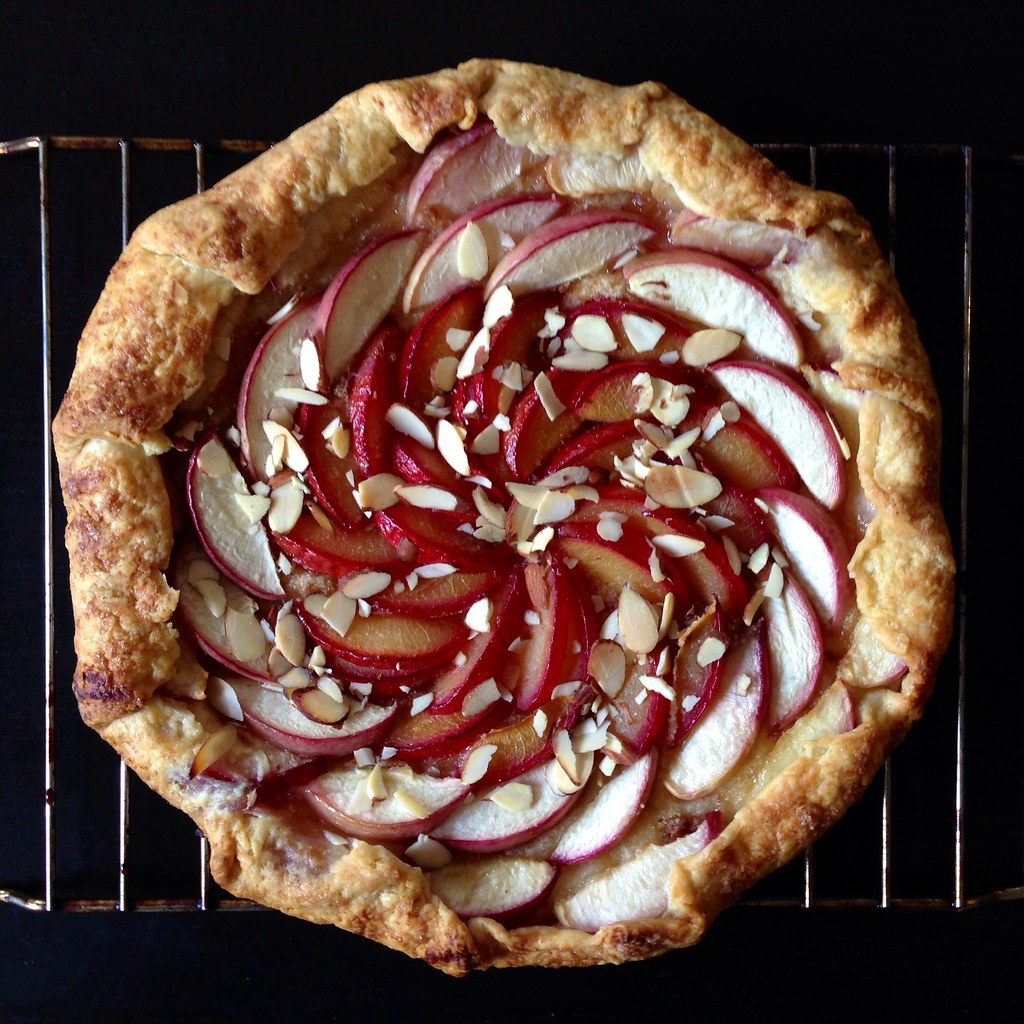
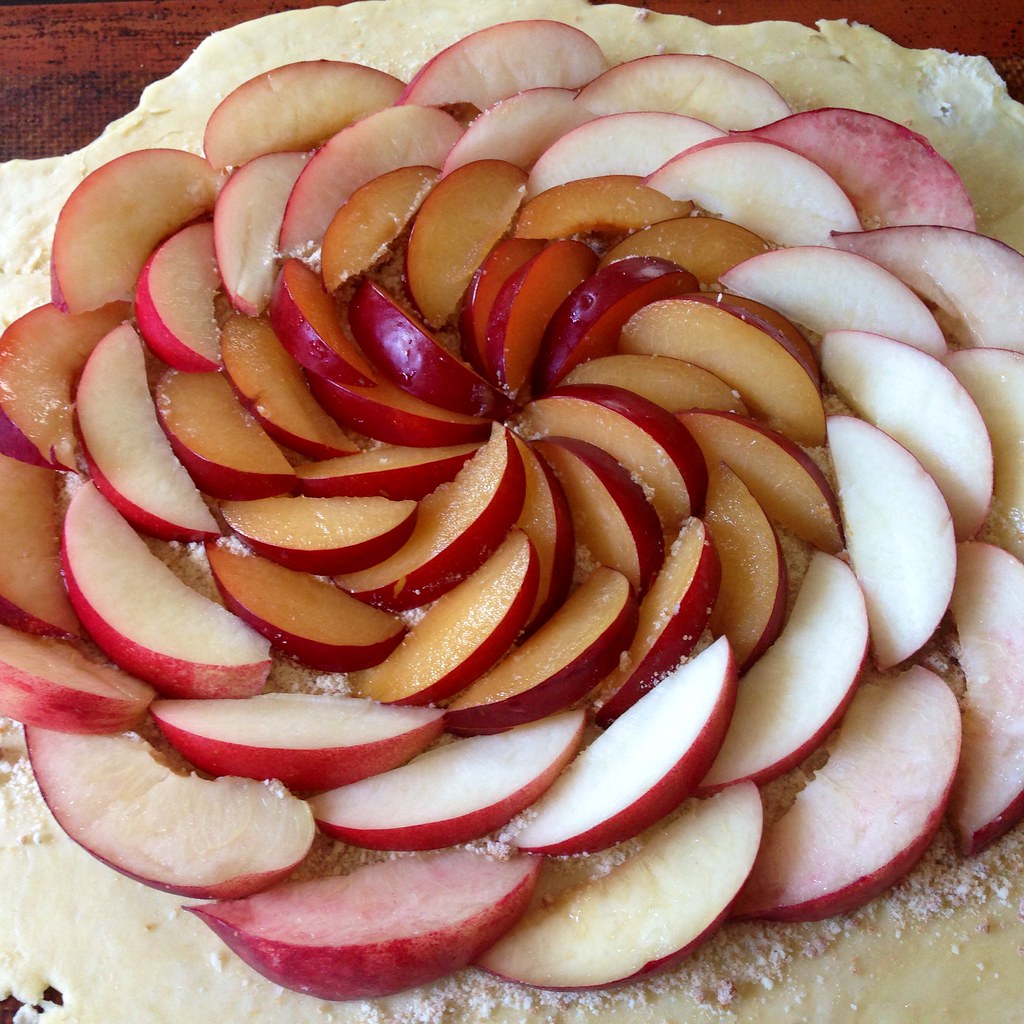
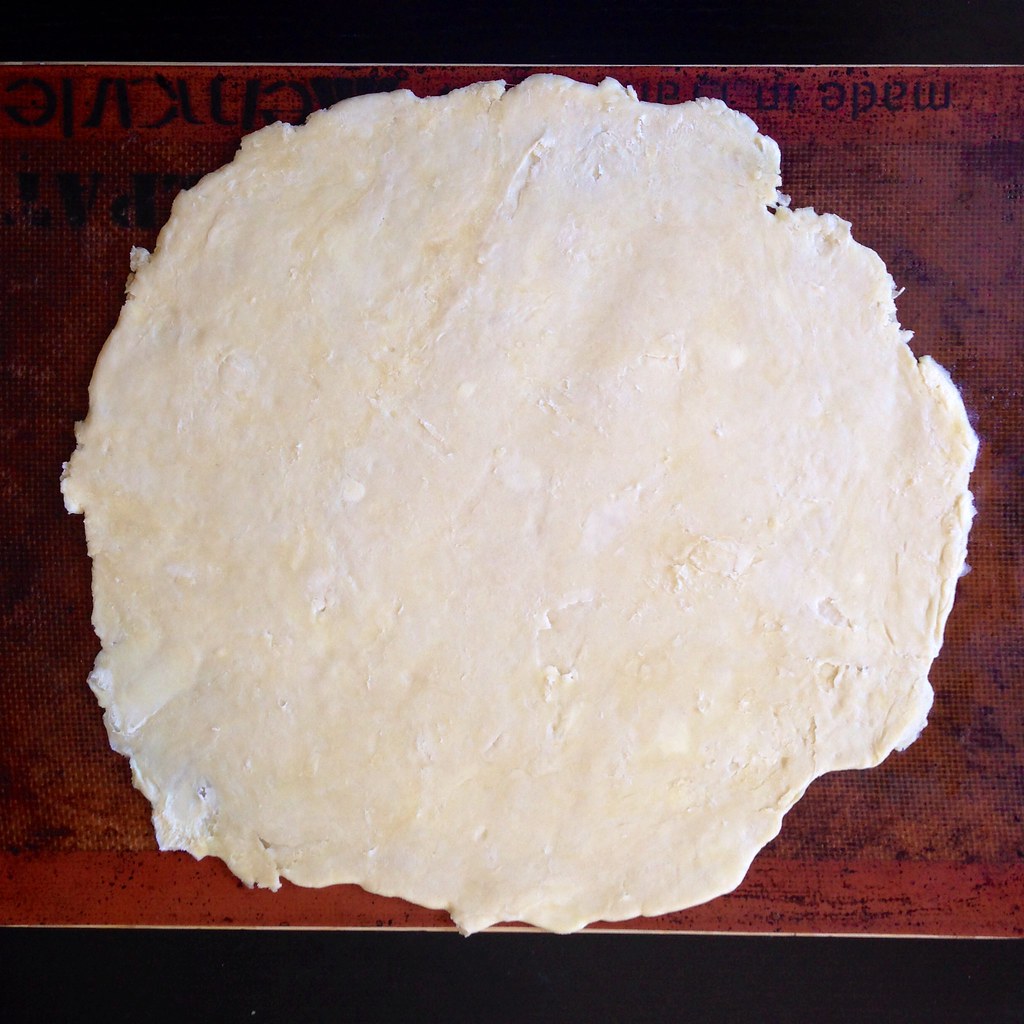
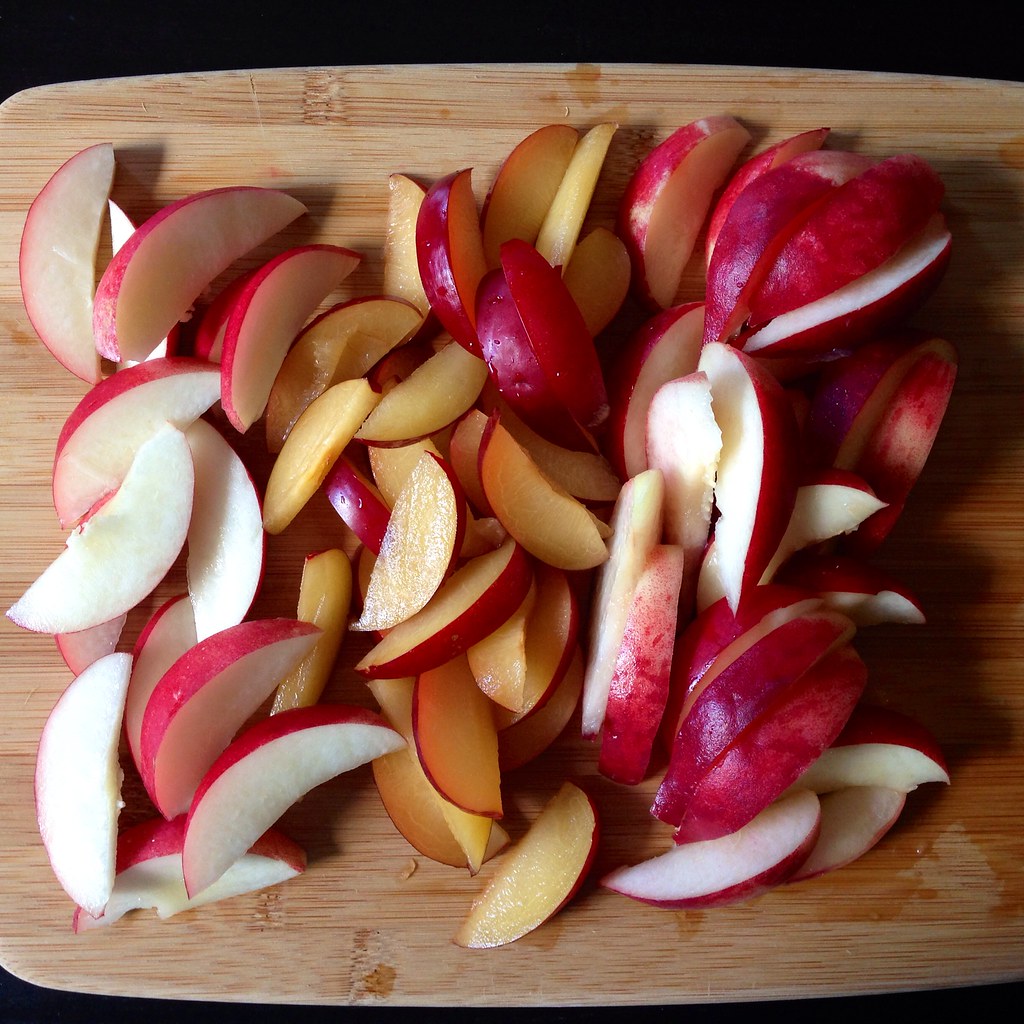
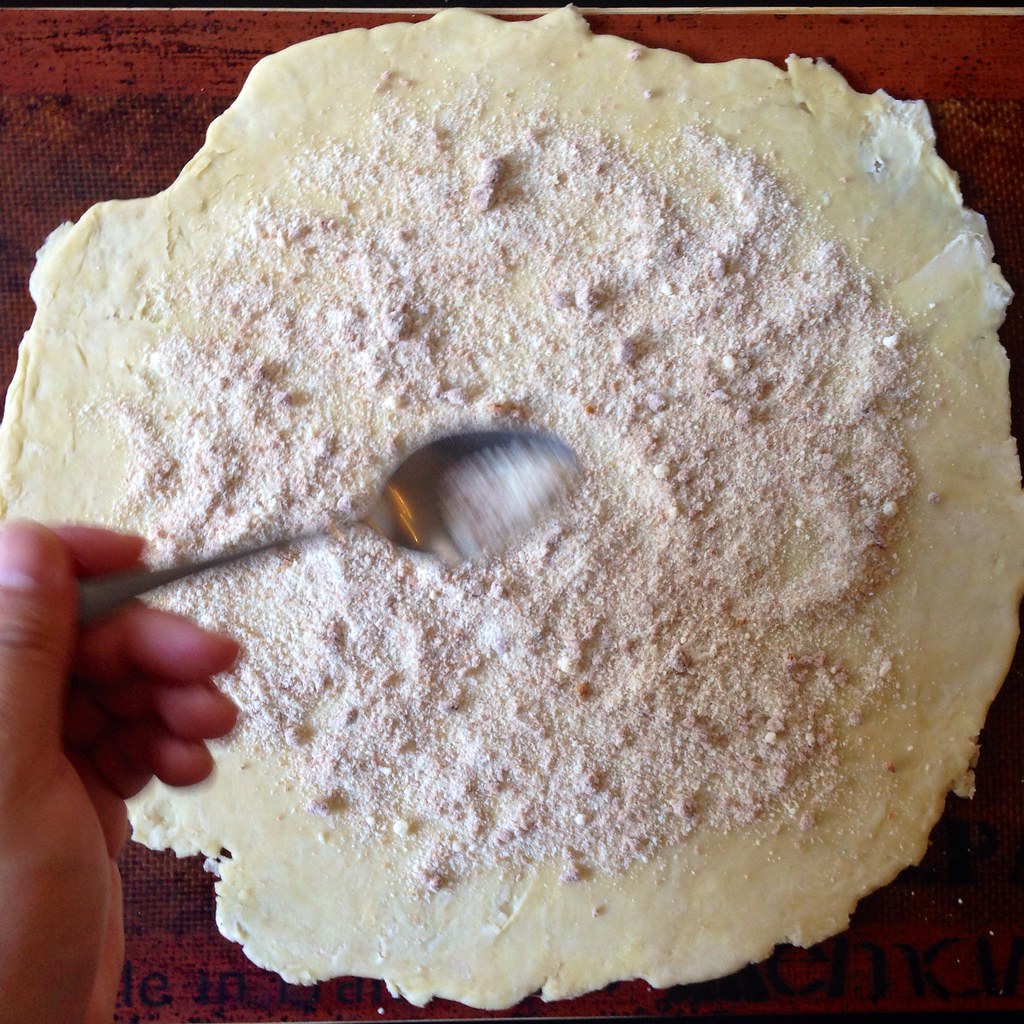
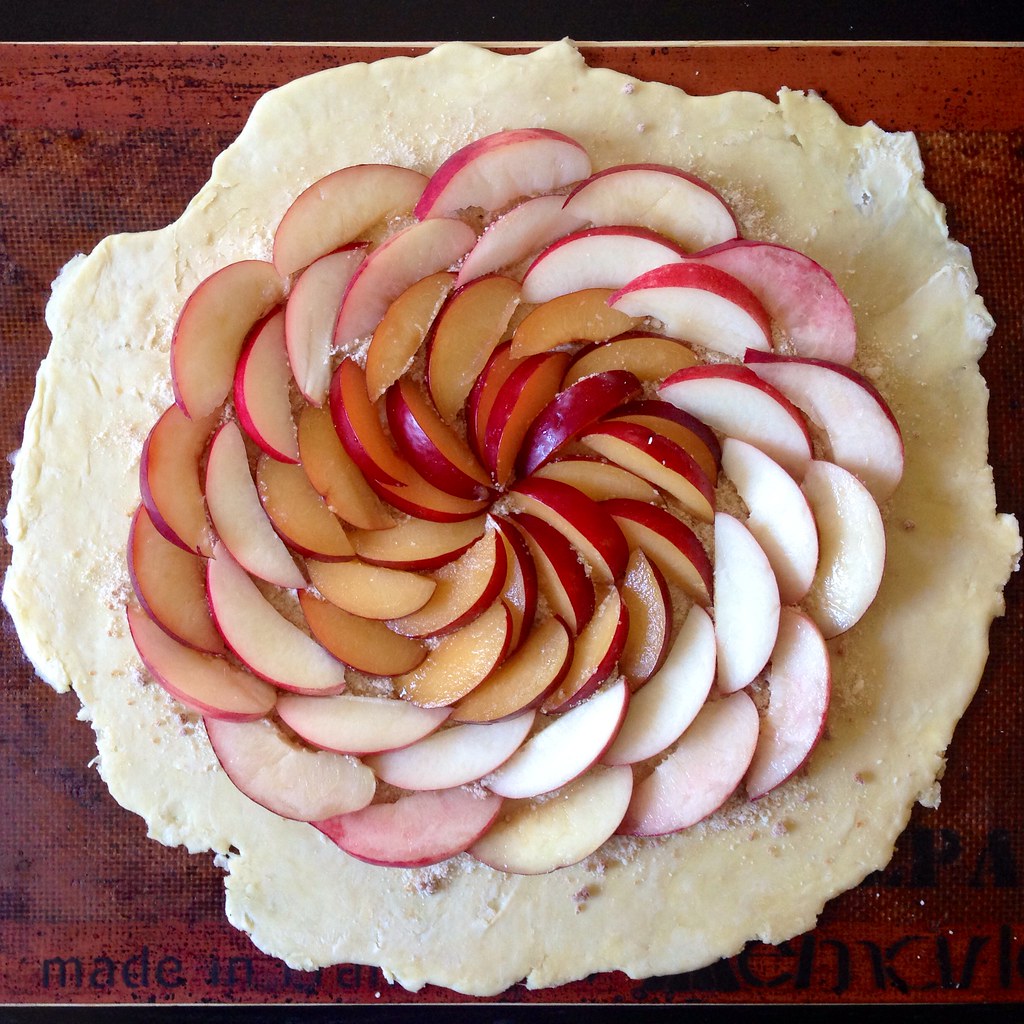
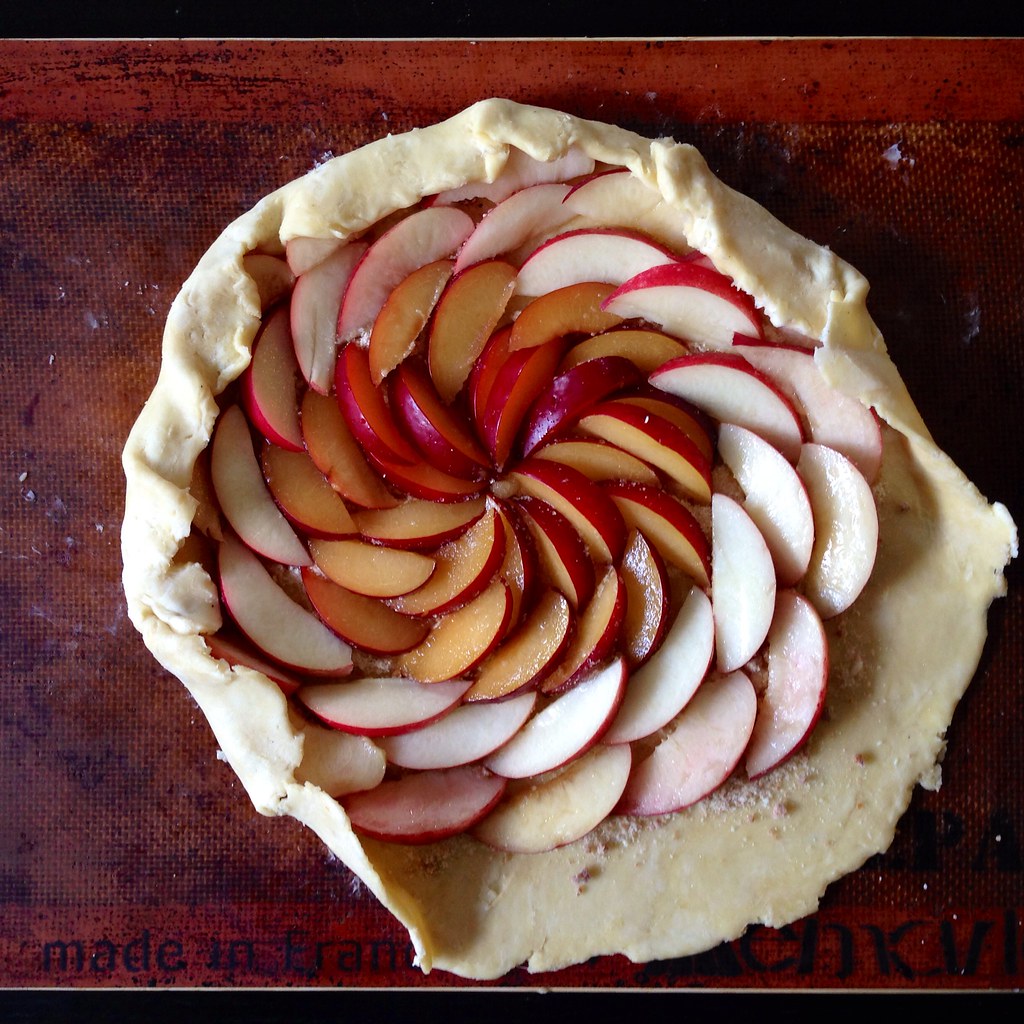
Previously:  Plum, Nectarine, and Peach Galette
Last Year:  Ken Forkish's Same Day Straight Pizza Dough
Four Years Ago:  Bruschetta

Wednesday, June 25, 2014

Plum, Nectarine, and Peach Galette

https://www.flickr.com/photos/joyosity/14437942746/

I've made all sorts of pies and tarts before, but never attempted to make a galette.  But that's exactly what came to mind when I ended up with 2 plums, 2 nectarines, and a peach in my latest Boston Organics delivery.  I imagined perfect spirals of ombré fruit enclosed by a rustic, sugar-flecked dough.  The ombré part didn't really pan out, but I think the rest turned out okay!

https://www.flickr.com/photos/joyosity/14459928594/

I based my recipe on the nectarine galette posted by Smitten Kitchen, which itself is adapted from Alice Water's apricot tart.  I didn't have any amaretti cookies, but I did have some speculoos cookies leftover from a recent flight, so I took a chance and used those.  I also had no apricot jam (or any other jam) on hand, so the fruit looks a little sad and dried out, but just imagine how lovely it would've been if they were glazed and glistening.

https://www.flickr.com/photos/joyosity/14437963906/

Plum, Nectarine, and Peach Galette (adapted from Smitten Kitchen)
serves 6

For the crust:
1 cup unbleached all-purpose flour
1/2 teaspoon sugar
1/8 teaspoon salt
6 tablespoons unsalted butter, chilled and cubed
6 tablespoons ice water

For the filling:
1 tablespoon ground almonds
1 tablespoon flour
1/4 cup sugar, divided
1 tablespoon speculoos cookies, pulverized (or 1 extra tablespoon ground almonds plus an extra teaspoon sugar)
1 lb. stone fruit (I used 2 plums, 2 nectarines, and 1 peach)
1 tablespoon butter, mlted
2 tablespoons sliced almonds
Apricot jam (optional)

https://www.flickr.com/photos/joyosity/14274435040/

Combined the flour, sugar, salt, and butter in a food processor.  Pulse until the dough resembles coarse cornmeal.  Transfer to a medium bowl and dribble 4 tablespoons of the ice water over the mixture.  Mix until it comes together, adding more ice water if needed, a tablespoon at a time.  Gently knead a few times and then shape into a flat disk, wrap in plastic, and refrigerate for at least 30 minutes before rolling out.

https://www.flickr.com/photos/joyosity/14459927154/

On a Silpat or parchment paper, roll out the dough into a 14" circle, about 1/8" thick.  Refrigerate for at least another 30 minutes before using.

Preheat the oven to 400°F.  Place a pizza stone, if you have one, on a lower rack.

https://www.flickr.com/photos/joyosity/14274451188/

Slice the stone fruit into thin slices, about 3/4" thick.  

https://www.flickr.com/photos/joyosity/14437941036/

Toss the ground almonds, flour, one tablespoon of sugar, and the pulverized cookies (or mix of extra ground almonds and sugar) together.  Sprinkle evenly on the dough, leaving a 1 1/2" to 2" border uncoated.

https://www.flickr.com/photos/joyosity/14481229223/in/photostream/

Arrange the fruit slices in concentric circles, leaving the border bare.  Sprinkle 1 1/2 tablespoons of sugar evenly over the fruit.

https://www.flickr.com/photos/joyosity/14461067755/

Fold the edges of the dough up and over the fruit, crimping every couple of inches.  Brush the border with the melted butter and sprinkle with the remaining sugar.

https://www.flickr.com/photos/joyosity/14457724641/

Bake in the lower third of the oven (preferably on a pizza stone) for about 45 to 50 minutes, until the crust is well browned and the edges are slightly caramelized.  Sprinkle the sliced almonds over the filling 15 minutes before the baking time ends.  As soon as the galette is out of the oven, use a spatula to slide it onto a cooling rack to keep the bottom from getting soggy.  Let cool for 20 minutes.  If you want to glaze the tart, lightly brush the fruit with a little warmed apricot jam.  Serve warm, with ice cream or whipped cream if you like.

https://www.flickr.com/photos/joyosity/14274455608/

This galette keeps at room temperature for at least two days, and even longer in the fridge. The unbaked dough, wrapped in plastic, will keep in the freezer for a few weeks, the fridge for a day or more. Rolled-out dough may be frozen and used the next day.

Next:  Shakshuka with Polenta
Previously:  Orange Mocha Frappuccino!
Four Years Ago:  Bacon Caramel Maple Ice Cream

Monday, June 23, 2014

Orange Mocha Frappuccino!

https://www.flickr.com/photos/joyosity/2567370431

Ten years ago I paddled in my first dragon boat race.  Two years later, I started my own team and named it The Boat for Kids Who Don't Paddle Good.  Every year, before the Boston Dragon Boat Festival, we get together for a potluck and watch Zoolander.  Every year, in the official program, our team bio reads, "We're pretty sure there's a lot more to life than being really, really, ridiculously good looking, and we plan on finding out what that is."  Every year, I look forward to paddling with my team, making new friends, and leaving it all on the water.

Every year, that is, until this year.  =(  So when the team admiral told me I could make up for not being on the team by bringing orange mocha frappuccinos to this year's potluck, I thought, "challenge accepted."  Unfortunately, the same busy travel schedule that kept me from joining the team kept me from making these in time for the potluck, but I hope creating this recipe from scratch and posting it goes toward making amends.  Because you know what can really help you sort through these important issues?

https://www.flickr.com/photos/joyosity/14450993935/

Orange Mocha Frappuccino!
makes 3 large frappes

3/4 cup coffee beans, ground
1 large orange
2/3 cup sugar
1/3 cup plus 1 tablespoon cocoa powder
Pinch of salt
1 1/2 cups milk
3 cups ice
Whipped cream (optional)

Zest and juice the orange.  Combine the ground coffee and orange zest in a 2-cup French press or measuring cup.  Add enough water to reach the 2 cup line.  Stir to make sure all the coffee grounds get wet.  Let sit a few minutes and then stir one more time to disperse all the coffee grounds that have floated to the top.  Cover and let sit overnight at room temperature.

https://www.flickr.com/photos/joyosity/14264380670/

Add the orange juice to a measuring cup and add enough water to reach 2/3 cup.  Pour into a small saucepan and add the sugar, cocoa powder, and pinch of salt.  Whisk and heat over medium-low heat until it starts to simmer and is slightly thickened.  Cool and transfer to another container.  Store in the refrigerator until needed.

https://www.flickr.com/photos/joyosity/14471164813/

The next day, press and/or filter the cold brew coffee. 

For each frappuccino, combine 1/2 cup of orange cold brew coffee, 1/2 cup of milk, 3 tablespoons of the orange chocolate syrup, and a cup of ice in a blender.  Blend until frothy and pour into a tall glass.  Garnish with whipped cream (I used coconut whipped cream) if desired and more orange chocolate syrup.  Enjoy!

https://www.flickr.com/photos/joyosity/14264559107/

Alternatively, you could also freeze the cold brew coffee into ice cubes and blend those with the milk for a stronger frappe.  And you could also add some finely chopped candied orange peel or orange sugar on top for even more garnish.  You'll have more than enough orange chocolate syrup left over which you can use to make orange chocolate milk (seriously yum), drizzle over ice cream, eat with a spoon straight out of the jar....

Note:  No gasoline fights were started as a result of drinking these frappuccinos.

Next:  Plum, Nectarine, and Peach Galette
Previously: Tofu and Shiitake Potstickers
Last Year:  Passion Fruit Macarons
Four Years Ago:  Amnesty Bread

Friday, June 20, 2014

Tofu and Shiitake Potstickers

https://www.flickr.com/photos/joyosity/14443992303/

When I cut out most meats from my diet a few years ago, the one thing I missed the most wasn't steaks or burgers.  It was my mom's pork and cabbage dumplings.  To be honest, I still make and eat them once in a while because they're so good, but my tummy always feels funny after.

Enter this lovely vegetarian recipe from The Kitchn that gave me the courage to try using pressed tofu as a substitute for the pork.  Their recipe actually uses baked tofu, which may be easier to find in an American supermarket; either way, you want to use a very firm, dense tofu.  If you can only find plain firm tofu, you can press and bake it yourself to get it to the consistency you need for this recipe.

Because tofu can be pretty bland on its own, I like the addition of the shiitake mushrooms to add more umami to the filling.  I also added bean thread vermicelli because I really like the texture they add to the dumplings.  A big difference between this recipe and the one I usually make is that the cabbage is cooked first before being used in the filling.  This allows you to squeeze a lot more water out of the cabbage so the filling isn't as watery.

https://www.flickr.com/photos/joyosity/14237159429/

Tofu and Shiitake Potstickers (adapted from The Kitchn)
makes about 60 dumplings

6-8 dried shiitake mushrooms
1 bundle bean thread vermicelli
1 small napa cabbage, roughly chopped
Vegetable oil
Kosher salt
24 oz. pressed tofu
2 scallions, thinly sliced
6 tablespoons soy sauce
2 tablespoons sesame oil
2 tablespoon sugar
1 egg, beaten
60 dumpling wrappers

Soak the shiitake mushrooms and bean thread vermicelli in cold water.  Remove the bean thread vermicelli after about 15 minutes.  Continue to soak the mushrooms until they are easy to slice,.

Use a food processor to finely chop the vermicelli, napa cabbage, and reconstituted mushrooms separately.

Heat 2 teaspoons of oil in a large skillet over medium-high heat.  Add the mushrooms and saute for a few minutes until softened.  Add the cabbage and a few pinches of salt.  Stir fry until the cabbage is completely wilted, about 3-4 minutes.  Set aside and allow to cool.

https://www.flickr.com/photos/joyosity/14237352437/

Meanwhile, crumble the tofu into a large mixing bowl.  Add the vermicelli, scallions, soy sauce, sesame oil, sugar, and egg.  Stir to combine.

Squeeze handfuls of the cooled mushroom-cabbage mixture in your fist to squeeze out as much moisture as possible and add to the tofu mixture.

https://www.flickr.com/photos/joyosity/14422670284/

Prepare plates or trays with flour for dipping and have a small bowl of warm water ready. Hold the wrapper in one hand and use the other to dip a finger in the water and wet the edges of the wrapper.

https://www.flickr.com/photos/joyosity/14237207460/

Put a spoonful of the filling in the middle of the wrapper and fold in half.  Seal center portion of the joined edges.  Make two pleats on both the left and right side of the dumpling.  Make sure that the whole thing is totally sealed and then dip the bottom in the flour and place on the tray.  Repeat 59 times.  (You can find a small video of how to fold the dumplings here.)

Once a tray is filled, if you are planning on freezing the dumplings, place it in your freezer and work on the next tray.  By the time the second tray is ready, the dumplings on the first tray should be solid enough to place in a freezer bag.

https://www.flickr.com/photos/joyosity/14237157379/

When you are ready to cook the dumplings, heat a tablespoon of oil in a frying pan on medium-high. Add the dumplings one at a time so that they are sitting upright.  Once the bottoms are browned, add about a 1/4 cup of water (about 1/2 cup if cooking frozen dumplings). If you like your potstickers extra crispy, add some flour or cornstarch to the water and mix to get rid of the lumps before you add it to the pan.  Cover and let cook for a few minutes until the water is almost all gone and the dumpling skins are translucent.  Remove the lid and let the rest of the water cook off.

https://www.flickr.com/photos/joyosity/14423805705/

Serve with a dipping sauce made with soy sauce, rice wine vinegar, sesame oil, and a pinch of sugar.

https://www.flickr.com/photos/joyosity/14422517212/

I was quite impressed with how good of a ground meat substitute the crumbled, pressed tofu was.  Seriously, if I wasn't paying attention, I might not have noticed that I was eating a vegetarian dumpling at all!

Next:  Orange Mocha Frappuccino!
Previously:  Speculoos (Cookie Butter) Ice Cream and Mini Stroopwafel Ice Cream Sandwiches
Four Years Ago:  World Peace Cookies

Wednesday, June 18, 2014

Speculoos (Cookie Butter) Ice Cream and Mini Stroopwafel Ice Cream Sandwiches

https://www.flickr.com/photos/joyosity/14245385560/

The Dutch have definitely got the monopoly on fun food names.  Stroopwafels?  Speculoos?  The only thing better than saying these things is eating them.  You might know speculoos better as the cookie that goes into Trader Joe's Cookie Butter or the Biscoff cookies you get on Delta flights.  They're kind of like gingerbread cookies but less spicy and more caramelized.

I was introduced to stroopwafels back when I worked at a company that had their European headquarters in the Netherlands.  It was pretty much required for all colleagues visiting our office in the U.S. to bring stroopwafels as a gift since we loved them so much.  They're basically two thin, crispy waffles sandwiching a layer of delicious caramel.  You're supposed to put them on top of a mug of hot coffee or tea so that the steam melts the caramel before you eat it.

https://www.flickr.com/photos/joyosity/14421770572/

When my cousin brought me a jar of real speculoos spread as a souvenir from her trip to Europe, I decided to try and make an ice cream out of it.  Then I thought about making it into an ice cream sandwich with a pair of stroopwafels.  And because I have this obsession with making mini versions of everything, I decided to use the mini stroopwafels from Trader Joe's.

https://www.flickr.com/photos/joyosity/14421772082/

For the speculoos ice cream, I decided to try following the two ingredient recipe I used in the past for Nutella ice cream, substituting the speculoos spread for the Nutella.  The resulting ice cream is amazingly velvety and unctuous, pretty much like cookie butter itself.

https://www.flickr.com/photos/joyosity/14423057035/

Speculoos (Cookie Butter) Ice Cream
makes about 3/4 quart

1 1/4 cup speculoos spread (cookie butter)
One 12 oz. can (1 1/2 cups) evaporated milk

https://www.flickr.com/photos/joyosity/14443238963/

Whisk together the speculoos spread and the evaporated milk until fully combined.  There will be small lumps of cookie bits, and that's okay.  Chill completely in the refrigerator.

https://www.flickr.com/photos/joyosity/14236459990/

Churn in the ice cream maker according to the manufacturer's directions.  Transfer to an air-tight container and freeze in the freezer until hard.

https://www.flickr.com/photos/joyosity/14236413979/

For the ice cream sandwiches, I experimented with freezing the stroopwafels vs. warming the stroopwafels in the microwave first.  Surprisingly, the warmed stroopwafels worked better for the ice cream sandwiches because the cookies were soft enough to bite through without smooshing the ice cream out the other side.  Of course, the warmed stroopwafels cause the ice cream to melt more quickly, but because these are mini ice cream sandwiches, it's pretty easy to finish them in just a couple of bites.

https://www.flickr.com/photos/joyosity/14245385560/

Next:  Tofu and Shiitake Potstickers
Previously:  Orange and Fennel Salt-Baked Salmon
Last Year:  Mango Coconut Rice Pudding Pops and Ice Cream

Monday, June 16, 2014

Orange and Fennel Salt-Baked Salmon

One of the best meals I've ever had was at Alain Passard's L'Arpège in Paris.  My friend Ellen and I were lucky enough to score reservations for lunch there and chose to go with the tasting menu.  After what seemed like a dozen divine courses, the main entree was brought out for us to see:

https://www.flickr.com/photos/joyosity/14439094663/

An entire salmon, roasted in a salt crust!  After they showed it to us, it was brought back to the kitchen and filleted and plated.  

https://www.flickr.com/photos/joyosity/14395796846/

The technique of baking in a salt crust seals in the moisture and essentially allows the fish to steam in its own juices.  Because you remove as much salt as you can before plating the fish, it doesn't get overly salty and is just seasoned perfectly.  Best of all, it makes for a really impressive main course at your next dinner party.

So when I was in Seattle a couple of weeks ago and found out that Copper River salmon was back in season, I knew I had to get one and try salt-baking at home.  I bought a whole fish from Pike Place Fish Co., had it packed in a 48 hour box, and hauled it all the way back home with me.

https://www.flickr.com/photos/joyosity/14232281179/

I was a little disappointed that the fish came headless, but in the long run, it was probably better for me since I was squeamish enough having to deal with the fins and all.  Thankfully it was already gutted and cleaned for me.

https://www.flickr.com/photos/joyosity/14418595605/

Regardless of whether you get a whole or headless fish, you definitely want to make sure the skin is left on so that there's a barrier between the meat and the salt crust. 

https://www.flickr.com/photos/joyosity/14417334272/

When the fish is done, the crust should be really hard; don't be afraid to give it a couple of good whacks to break it open.  If you're lucky like I was, the top of the crust will come off in one big piece.  I recommend doing this in front of your dinner guests, receiving yours oohs and ahs, and then bringing the fish back to the kitchen to plate.

https://www.flickr.com/photos/joyosity/14417476794/

I chose to pair the fish with an orange fennel salad so that the crunch and acidity would complement the rich, tender salmon. 

Orange and Fennel Salt-Baked Salmon (adapted from Food and Wine)
serves 5-6

One 3-lb. salmon, gutted and cleaned, with skin on
2 large oranges
1 large fennel bulb
48 oz. (3 lbs.) kosher salt, plus more for seasoning
2 egg whites
1/2 cup water
1 tablespoon fresh lemon juice
2 tablespoons olive oil
1 tablespoon capers, rinsed

Preheat the oven to 450°F.

https://www.flickr.com/photos/joyosity/14395479296/

Slice one of the oranges and juice the other one.  Cut the feathery tops off of the fennel bulb and save.

https://www.flickr.com/photos/joyosity/14246245907

In a large bowl, mix the salt, egg whites, and a 1/4 cup of water.  It should feel like wet sand.  Add more water if needed, to get a consistency where you can pack the salt together.  Spread about half of the salt on a large sheet pan in the approximate shape of the fish.


https://www.flickr.com/photos/joyosity/14418594405/

Remove the fins from the salmon and pat dry.  Stuff the fish with the orange slices and fennel tops.  Place on top of the salt.  Use the rest of the salt to cover the body of the fish entirely; you may leave the head and tail uncovered.  Pack the salt tightly to seal.  Bake in the oven for 25 minutes.

https://www.flickr.com/photos/joyosity/14438779643/

In the meantime, slice the fennel bulb in half, remove the core, and slice the rest thinly.  Toss with the orange juice, lemon juice, olive oil, and capers.  Salt and pepper to taste.

https://www.flickr.com/photos/joyosity/14231973729/

When the fish is done, allow to rest in the salt for 10 minutes.  Using a knife or spoon, tap the salt crust sharply to crack.  

https://www.flickr.com/photos/joyosity/14417318962/

Remove the crust and brush off any remaining salt.  Portion out the top half of the fish.  Remove the bones, orange slices, and fennel tops, and portion out the bottom half.

https://www.flickr.com/photos/joyosity/14417462704/

Serve the fillets with orange fennel salad on top.

Honestly, this is such a fool-proof way of cooking fish that I could've probably used regular farm-raised salmon and gotten similar results.  But just look at how red that Copper River salmon is!  I think the next time I get my hands on one, I want to try citrus curing it.

Next:  Speculoos (Cookie Butter) Ice Cream and Mini Stroopwafel Ice Cream Sandwiches
Previously:  Sesame-Crusted Tofu
Last Year:  Homemade Cronuts
Four Years Ago:  Elote (Mexican Grilled Corn)

Friday, June 13, 2014

Sesame-Crusted Tofu

https://www.flickr.com/photos/joyosity/14405233634/

Back in grad school, I had a friend who was a vegan, and I was so fascinated (and honestly, a little horrified) by the concept.  But then she taught me how to make this dish, and the first time I tasted it I realized it's possible to be vegan and still eat really yummy things.

The marinated tofu is so moist and full of flavor you really don't need an extra sauce to go with it, and the sesame and cornstarch crust adds a nice crispy texture.  I like to serve this over brown rice with some sauteed greens.

The only things I changed to her simple recipe was to press the tofu first so that it's a little sturdier and can absorb more of the soy sauce and orange juice marinade.  I also like to add a little sesame oil to the marinade to bring out the sesame flavor a little more.  If I had had black sesame seeds, I would have used a 1:2 mix of black to white sesame seeds in the crust for more visual contrast.

https://www.flickr.com/photos/joyosity/14405229834/

Sesame-Crusted Tofu
serves 2-4

1 block firm tofu
1/4 cup soy sauce
1/4 cup orange juice
1/2 teaspoon sesame oil (optional)
5 tablespoons sesame seeds
5 tablespoons cornstarch
Vegetable oil, for frying

Drain the tofu and set on a plate lined with a couple of layers of paper towels.  Place another couple layers of paper towels on top and another plate on top of that.  Add some weights (I usually use some canned goods) to the top plate and press the tofu for 30 minutes. replacing the paper towels after 15 minutes.

Discard the wet paper towels, and slice the tofu half and then into 1" wide sticks.  

Combine the soy sauce, orange juice, and sesame oil in a large Ziploc bag and add the tofu sticks.  Remove as much air as possible from the bag and seal.  Marinate in the refrigerator for at least an hour or overnight.

Mix 2 tablespoons each of sesame seeds and cornstarch in a small plate.  Add enough oil in a small saucepan to reach 1/4" height and start heating over medium heat.

https://www.flickr.com/photos/joyosity/14402986251/

Remove a few tofu sticks from the bag and coat all over with the sesame seed mixture.

https://www.flickr.com/photos/joyosity/14405225964/

Fry in batches until golden brown on all sides.  Add more sesame seeds and cornstarch to the plate as needed to continue coating the tofu.  When done, remove from the pan and let drain on a paper towel-lined plate.

https://www.flickr.com/photos/joyosity/14219900447/

Next:  Orange and Fennel Salt-Baked Salmon
Previously:  Vegan Almond Joy Ice Cream and Bon Bons
Last Year:  Bucatini all'Amatriciana
Five Years Ago:  Bulgogi Dumplings