Friday, October 12, 2012

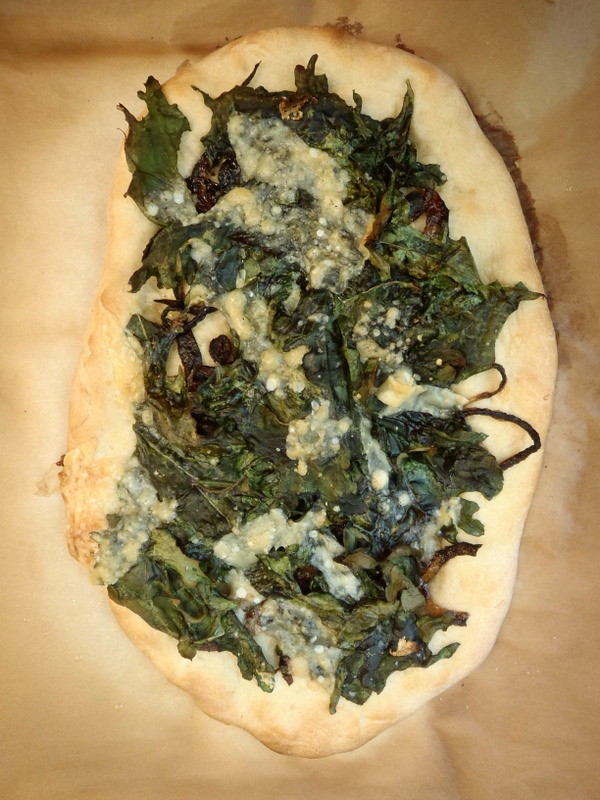
Crispy Kale Pizza

If I hadn't already restarted this blog after making the Caramelized Onion and Swiss Chard Quiche, I would have done so after making this--it's that good.  It's pizza week over at The Kitchn, and I just happened upon this post for garlicky kale as a pizza topping.  I had a bunch of kale sitting in my fridge from my latest Boston Organics delivery so I thought I'd try it out.  I also had some onions, so I thought I'd add some crispy, burnt onions à la Mark Bittman.  The thin crust pizza dough recipe is the same that I've used before for Chicken Masala Pizza, and comes from The Kitchn, as well.

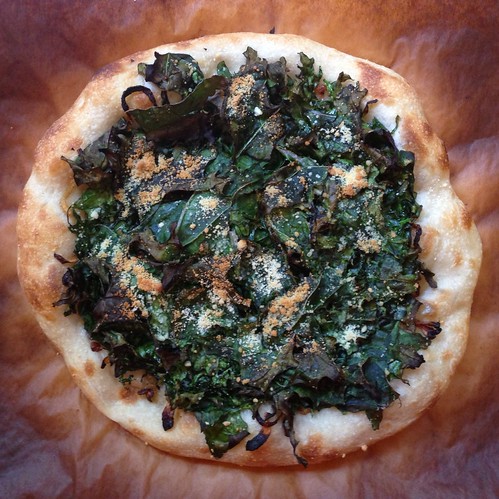
Crispy Kale and Onion Pizza
 
Crispy Kale Pizza
makes two 10" pizzas

For the dough:
3/4 cups (6 ounces) lukewarm water
1 teaspoon active-dry or instant yeast
2 cups (10 ounces) unbleached all-purpose flour (I substituted in a half cup of white whole wheat flour)
1 1/2 teaspoons salt

For the pizza:
1 bunch kale
2 garlic cloves
2 small onions
Olive oil
Kosher salt
Black pepper
Shaved parmesan cheese (not the kind that you shake out of the green can)

Set the oven to 500°F or as hot as it will go and let it heat for at least a half an hour before making the pizza. If you have a pizza stone, put it in the lower-middle part of the oven now.
PA113174

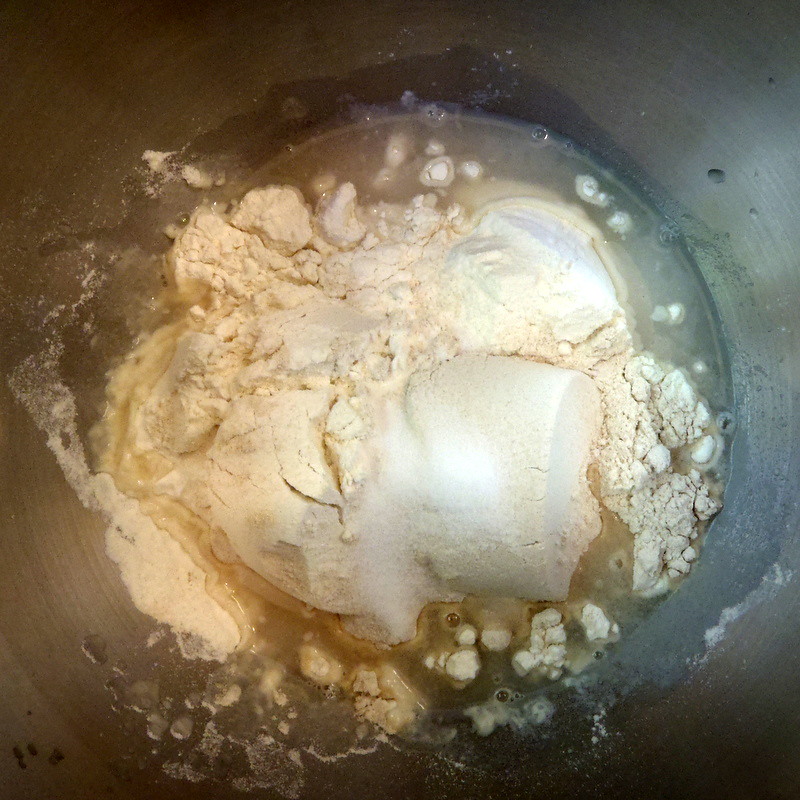
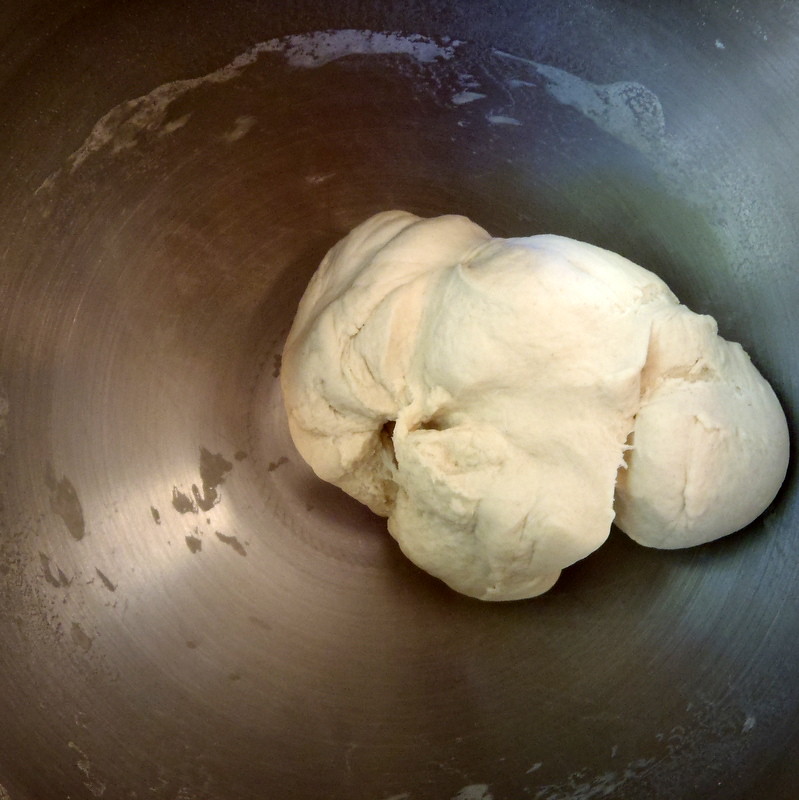
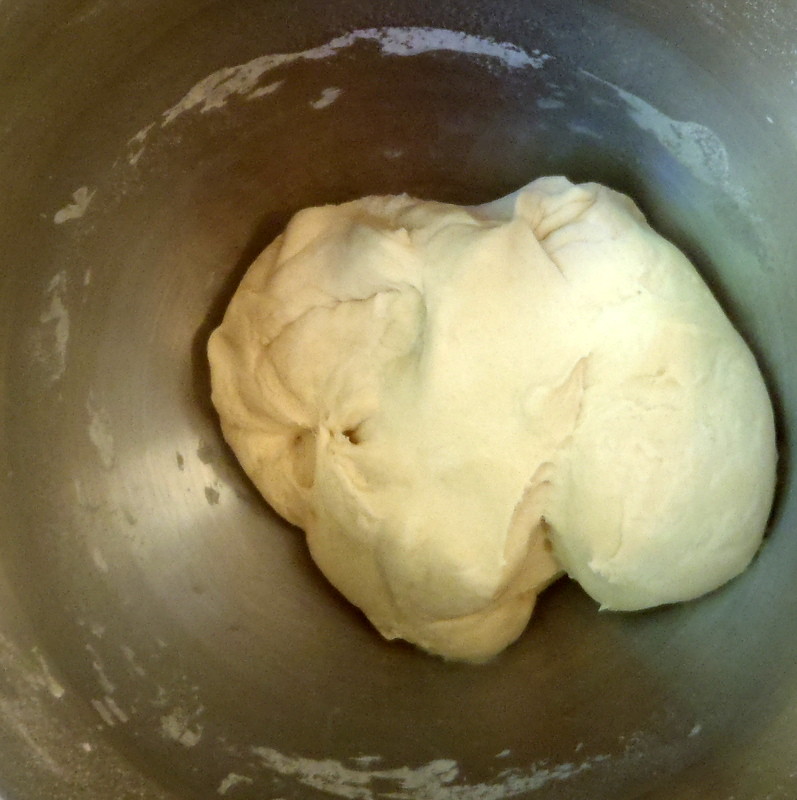
Combine the water and yeast in a mixing bowl, and stir to dissolve the yeast. The mixture should look like thin miso soup. Add the flour and salt to the bowl and mix until you've formed a shaggy dough. Knead for 5 minutes (I used my stand mixer and the dough hook).
PA113175
 
Cover the dough with a moist towel and let rise for an hour.  (According to the recipe, you can skip the wait and go ahead and use the pizza dough now, but you might as well let it rise while you prepare the toppings.)
PA113180
 
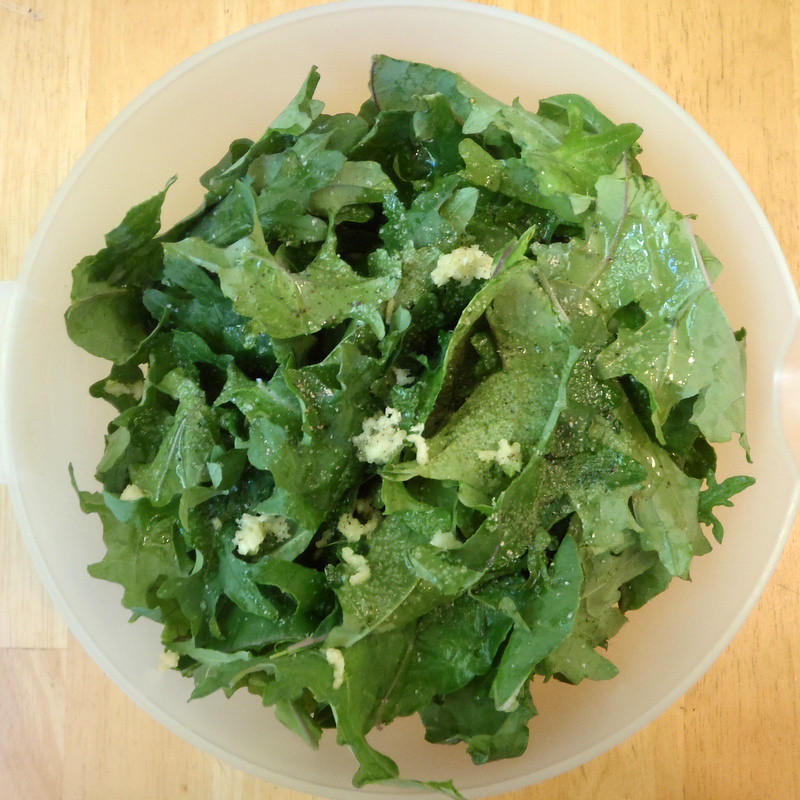
In the meantime, wash and tear up the kale into bite-sized pieces.  Dry well (I used a salad spinner) and dress with a few glugs of olive oil; add salt and black pepper to taste.
PA113178
 
Mince or press 2 garlic cloves and add to the kale.  Mix well and set aside.
PA113177
 
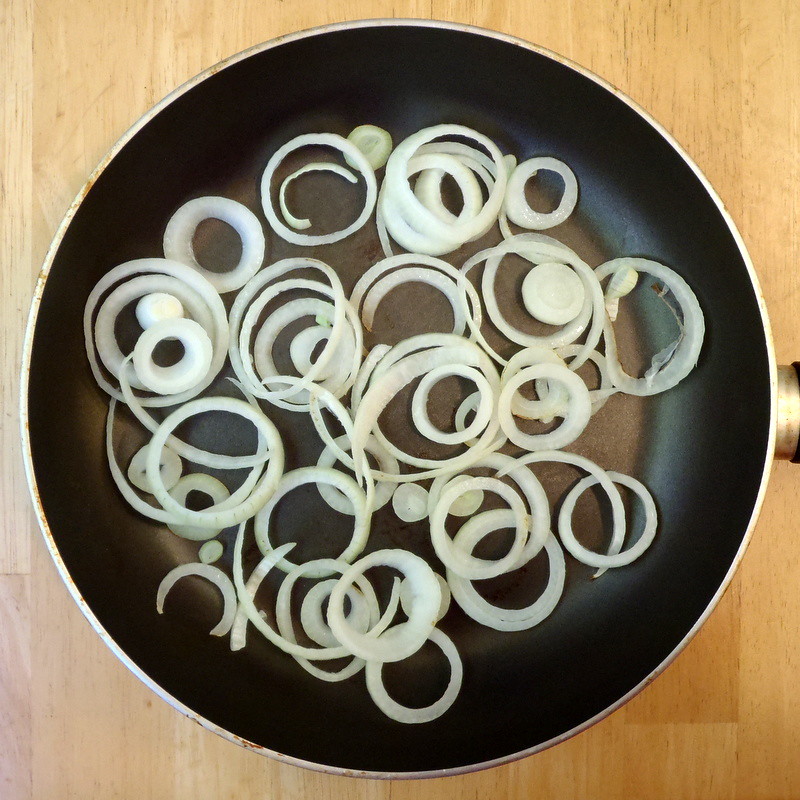
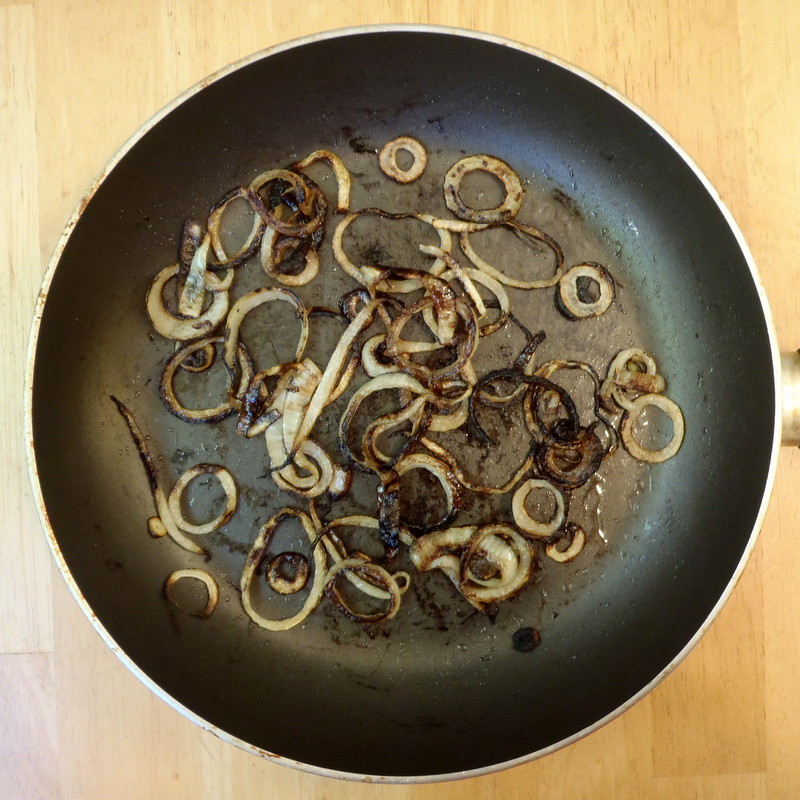
Slice the onions into thin rings.  Heat a non-stick pan on medium high and add the onions.  Stir occasionally, and once the onions start to blacken and stick, add a little olive oil.  Continue to stir and cook the onions, adding a little more olive oil when dry, until crispy and slightly burnt.
PA113179

When ready to make the pizza, tear off two pieces of parchment paper roughly 12-inches wide. Divide the dough in two. You can refrigerate this dough (covered in olive oil) for up to 3 days at this point. Working with one piece of the dough at a time, form it into a large disk with your hands and lay it on the parchment paper.

Work from the middle of the dough outwards, using the heel of your hand to gently press and stretch the dough until it's about 1/4 of an inch thick or less. For an extra-thin crust, roll it with a rolling pin. If the dough starts to shrink back, let it rest for five minutes and then continue rolling.
PA113182

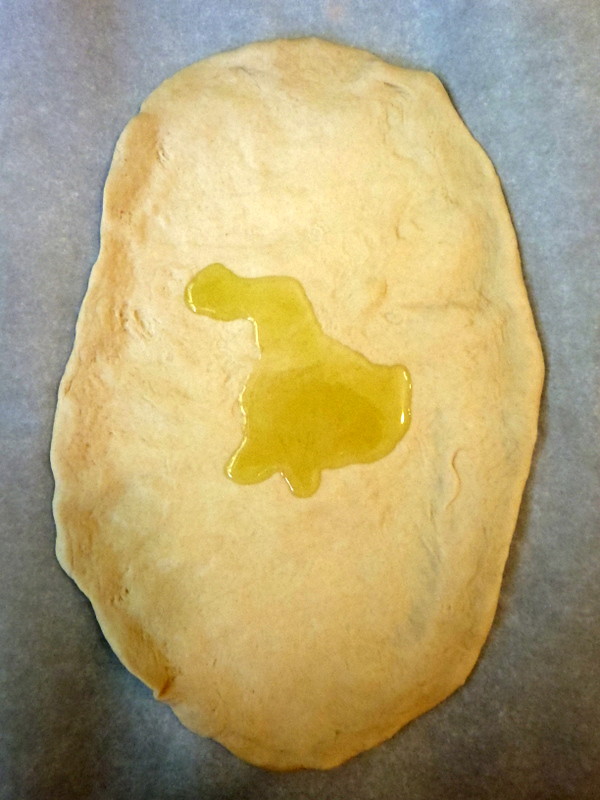
Spoon a few tablespoons of olive oil into the center of the pizza and use the back of a spoon to spread it out to the edges.
PA113183
 
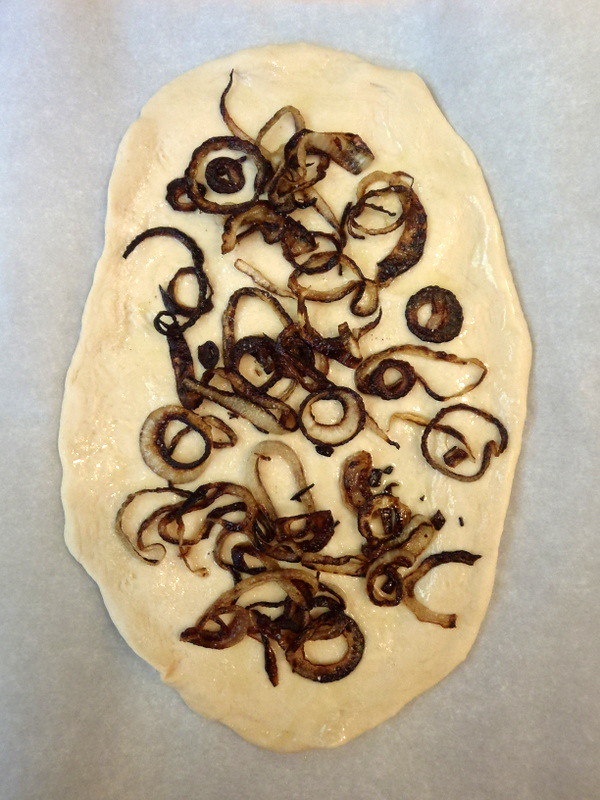
Add half of the crispy, burnt onions.
PA113184
 
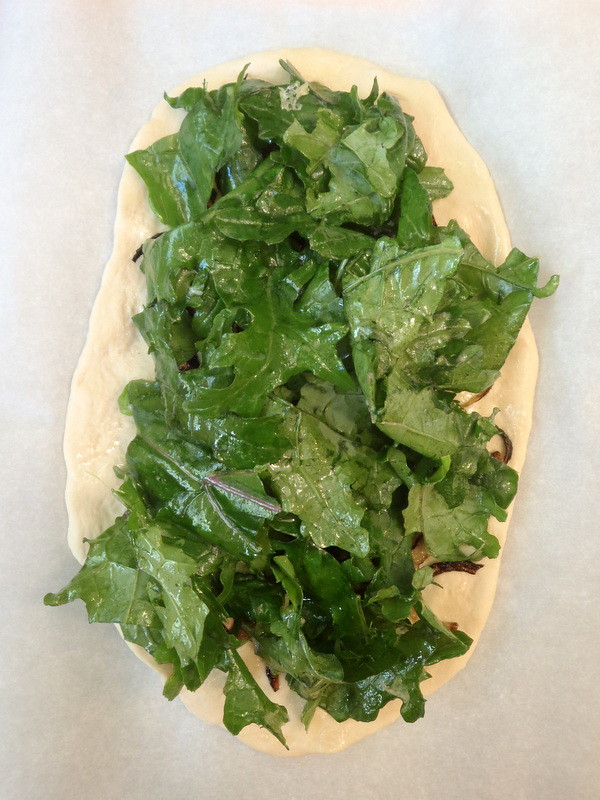
Pile on half the kale.  (It will seem like a lot, but don't worry, the kale will shrink a lot in the oven.)
Crispy Kale and Onion Pizza
 
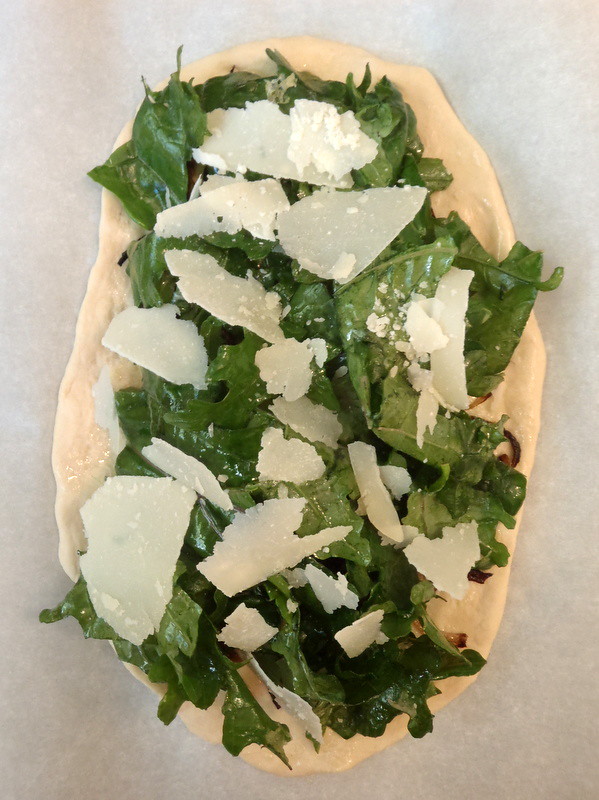
Top with a few shavings of parmesan cheese.

Using a bread peel or the backside of a baking sheet (I used a flexible cutting board), slide your pizza (still on the parchment) onto the baking stone in the oven. If you don't have a baking stone, bake the pizza right on the baking sheet.

Bake for about 5 minutes and then rotate the pizza. Bake for another 3 to 5 minutes until the crust is golden-brown and the cheese looks toasty.

Remove the pizza from oven and let it cool on a wire rack. Repeat with shaping, topping, and baking second pizza.

Let both pizzas cool for about five minutes before slicing and serving.
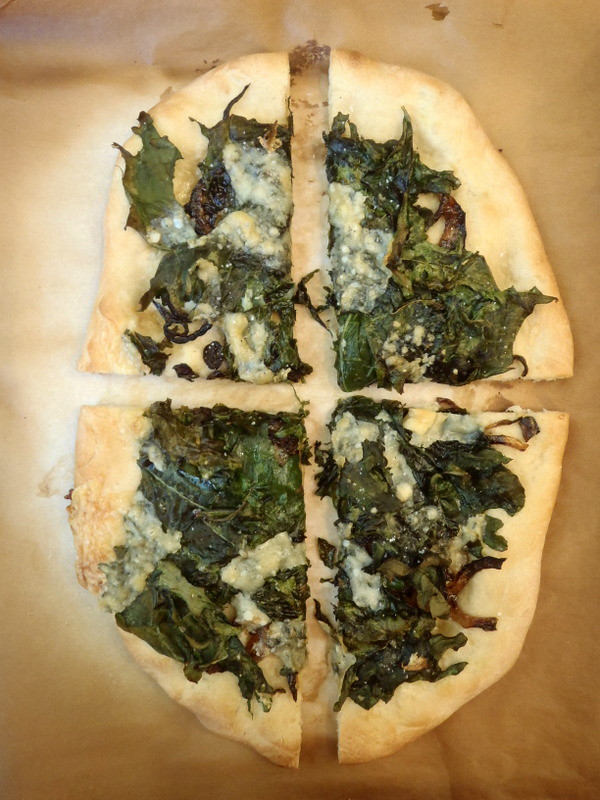
Crispy Kale and Onion Pizza

I really loved how all the ingredients came together in this pizza.  The pizza crust was thin enough to get a nice crunch but still has some chew.  I was surprised to find that the kale crisped up almost as much as kale chips, and the onions added a nice sweetness while the parmesan added a good shot of umami.  I only made one of the pizzas and stored half of the dough in the fridge, but I'm definitely going to be making this again very soon.

Update:  I've made this pizza again using Ken Forkish's Same Day Straight Dough Pizza Dough.  That dough is so much better!

Wednesday, October 10, 2012

Brown Butter Marshmallow Popcorn

PA083125

When I saw this recipe for Caramel Marshmallow Popcorn, I just knew I had to make it.  Rice Krispies Treats are one of my favorite snacks, and well, you all know how much I love popcorn.  The only thing is, I noticed in a couple of the comments that the popcorn would get really, really hard after it cooled down, and I wanted something more like the softer texture of Rice Krispies treats rather than caramel corn.

I figured the reason it was getting hard was the addition of brown sugar, so I decided to stick with a more traditional Rice Krispies treat recipe with just marshmallows and butter.  But I couldn't help tweaking it a bit based on my friend Ilene's Brown Butter Rice Krispies Treats post by first browning the butter and adding some vanilla bean and salt.

Brown Butter Marshmallow Popcorn

1 stick (1/2 cup) butter
1/2 vanilla bean
1 10 oz. bag mini marshmallows
1/2 teaspoon kosher salt
9 cups popped popcorn (unpopped kernels removed)

PA083110
 
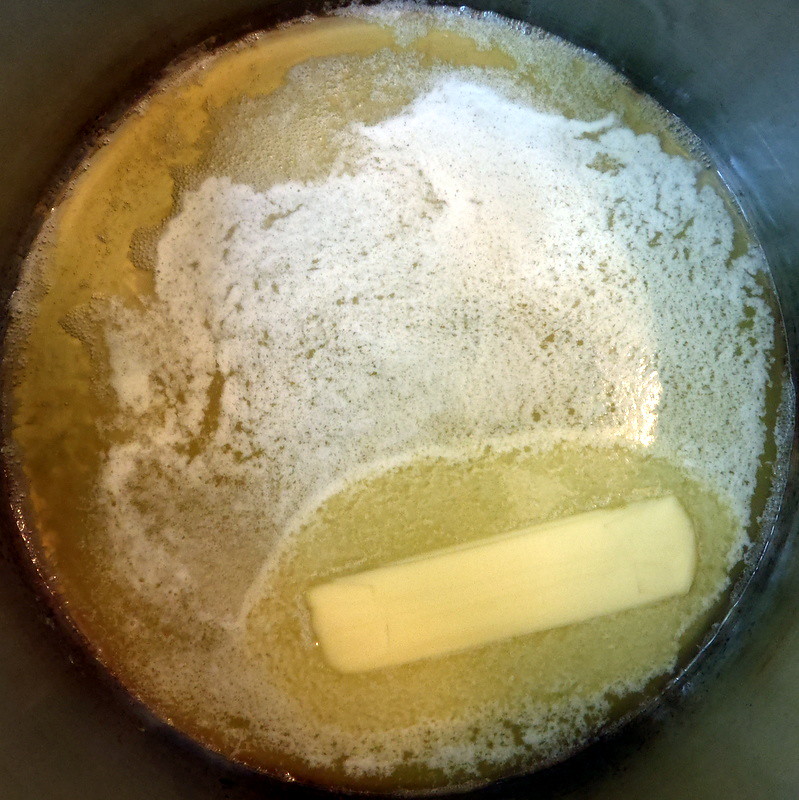
In a large pot, melt the butter on low heat.

PA083112
 
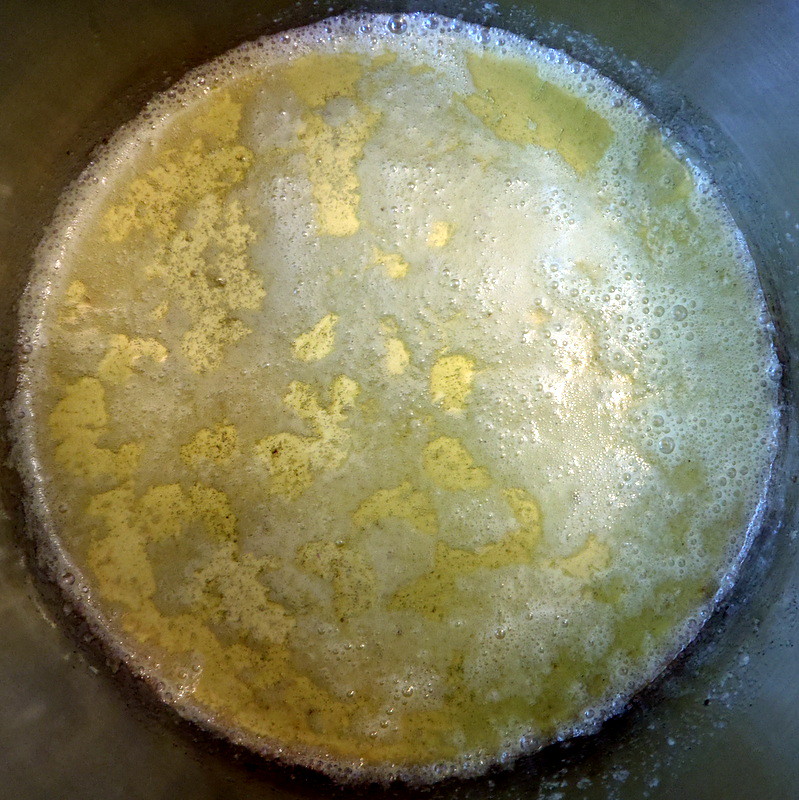
Split the vanilla bean in half lengthwise, and scrape out the seeds.  Add to the melted butter.

PA083113

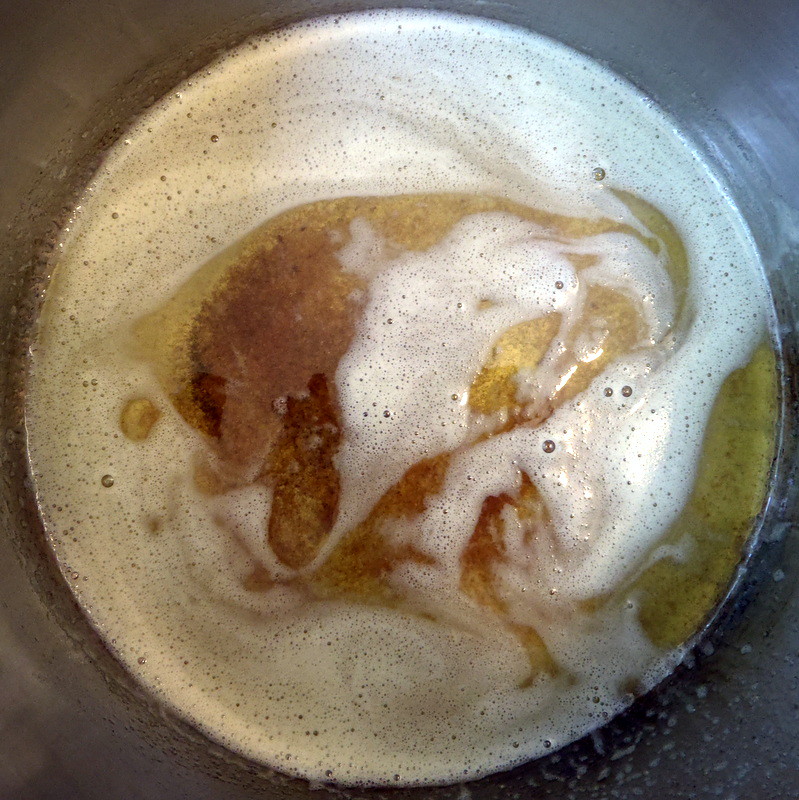
Continue to cook the butter on low until the milk solids start to brown.

PA083114

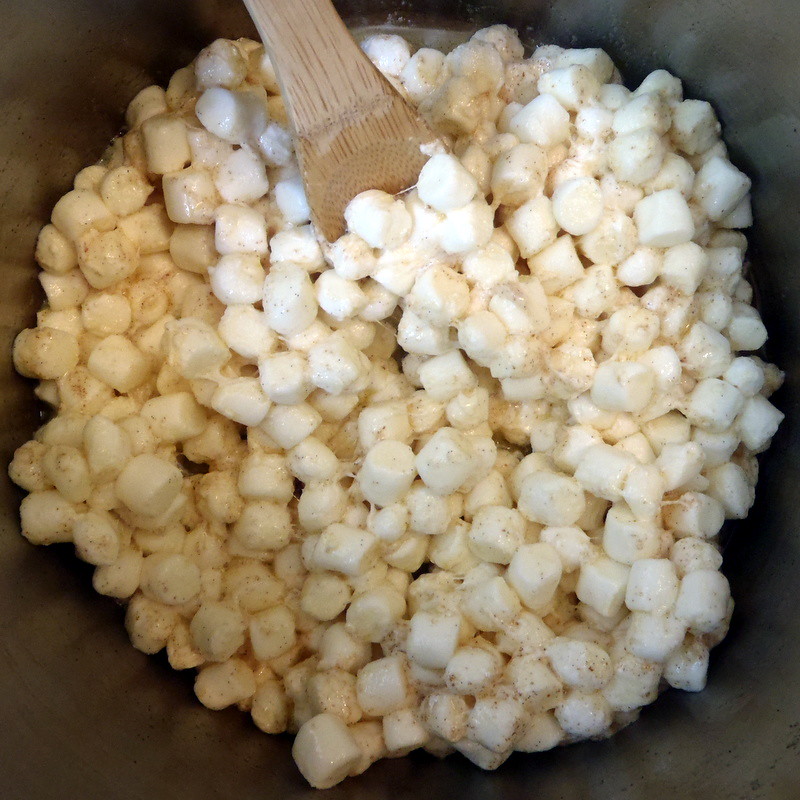
Remove from heat, add the salt and mini marshmallows and stir to combine.

PA083115
 
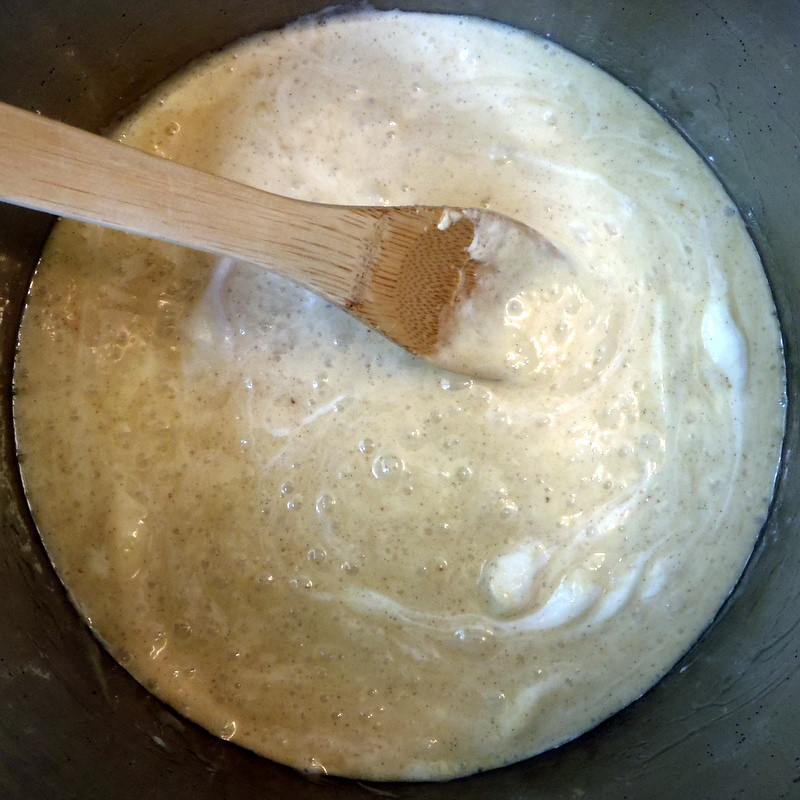
Return the pot to low heat and stir to completely melt the marshmallows.

PA083116
 
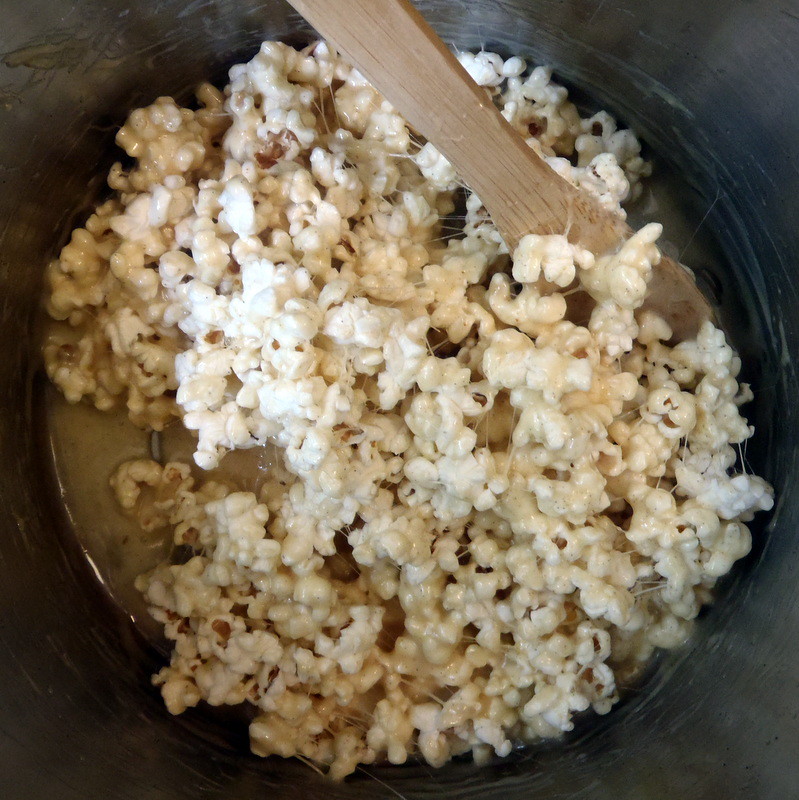
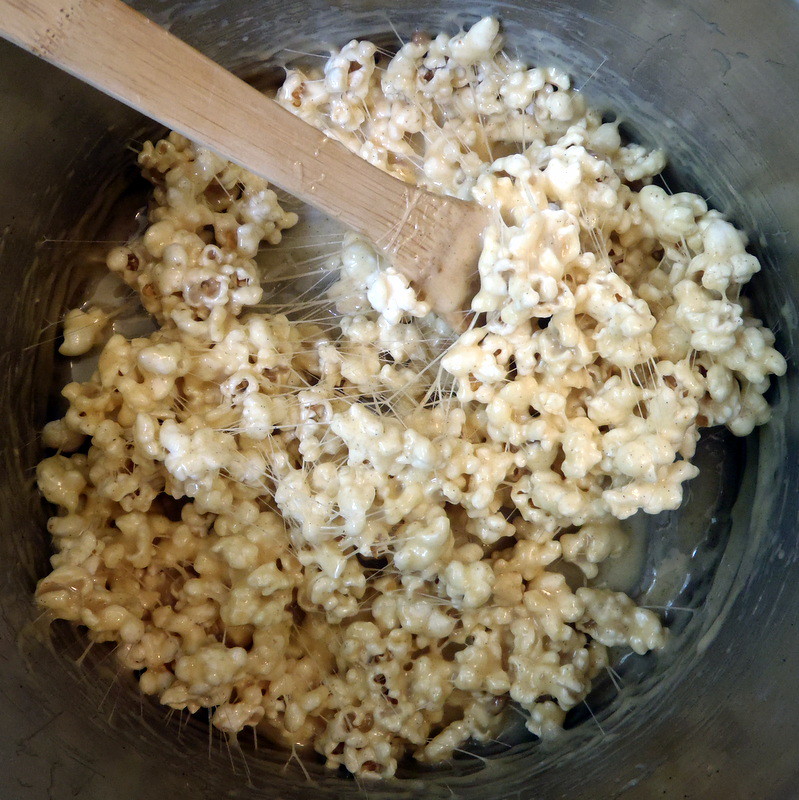
Once the marshmallows have completely melted, add the popcorn and stir to combine.

PA083119
 
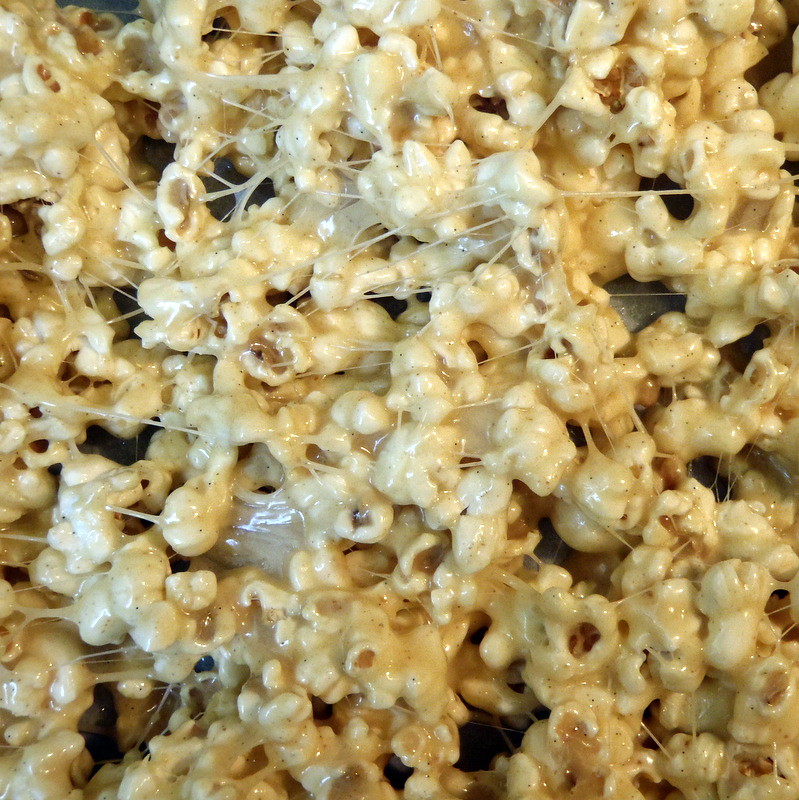
Line a baking dish with parchment paper and spray with baking spray.  Pour the popcorn into the dish and allow to cool.

PA083124

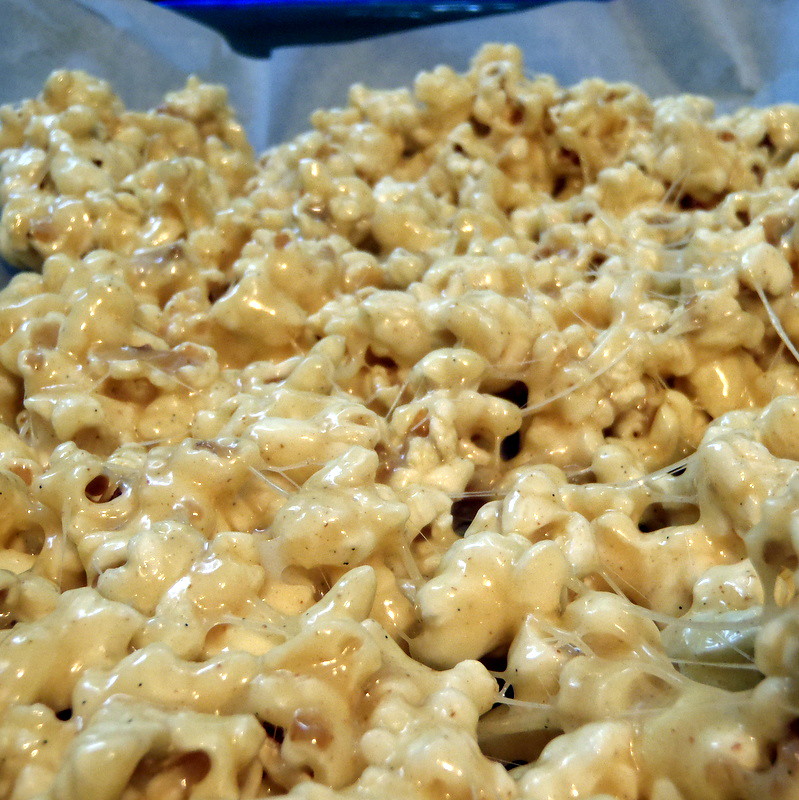
The cooled popcorn never got as crunchy as Rice Krispies Treat do, but that might be because I didn't use a full 9 cups of popcorn and the popcorn to marshmallow ratio was off.  I really loved how the vanilla bean and browned butter brought the marshmallows and popcorn to a-whole-nother level.  When I make this again, I'd probably add more salt and maybe some butter flavoring to reinforce the popcorn flavor (as well as make sure I have enough popcorn to start off with). Or just use a bag of butter flavored microwave popcorn!  =)
Monday, October 8, 2012

Hot Crash Potatoes

I got this recipe from The Pioneer Woman, who calls these Crash Hot Potatoes, but for whatever reason, I keep calling them Hot Crash Potatoes in my head.  Maybe because it sounds more like hot cross buns or hot mashed potatoes.  Regardless, whenever I get small potatoes in my Boston Organics delivery, I get really excited because it means I can make these.

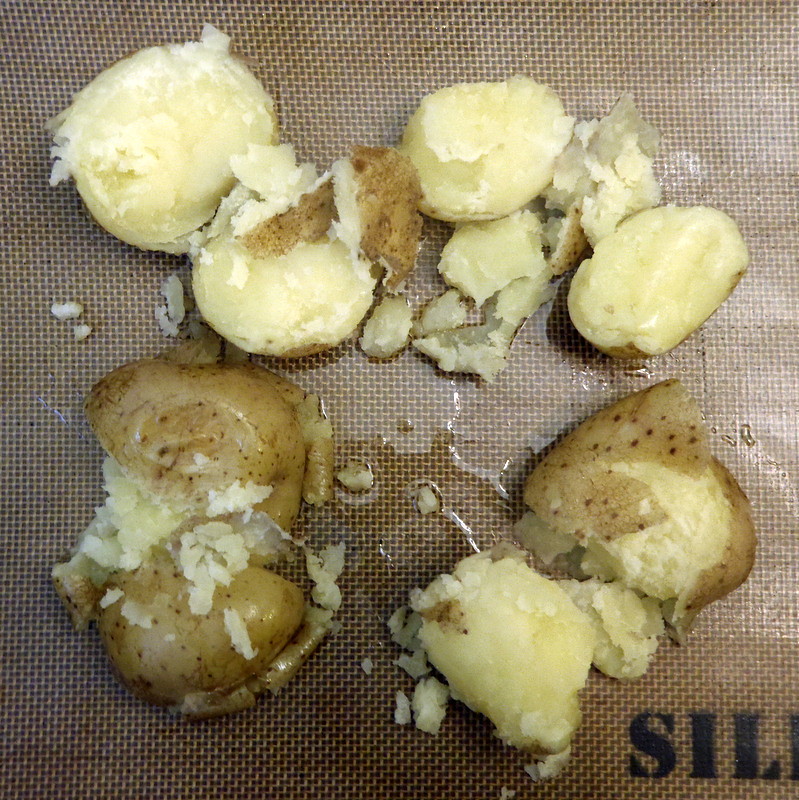
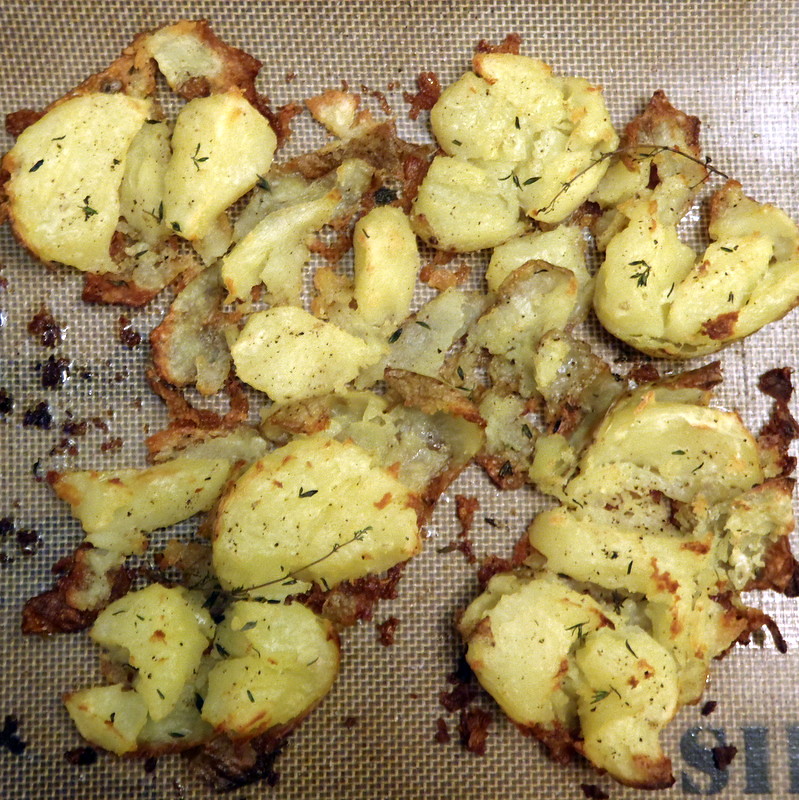
It's not the fastest recipe, and you end up having to use multiple pieces of cookware (since you have to first boil and then bake the potatoes), but in my opinion, it's worth it.  These potatoes end up exponentially crispier than regular roasted potatoes without all the mess and greasiness involved with frying.  The only thing is, my potatoes have never been as photogenic as the ones on The Pioneer Woman's site.  Hers remain in one piece, and she writes that, "you almost want it to resemble a cookie."  Mine split in half and look more like Humpty Dumpty after he fell off the wall.

PA020003
 
But since I'm usually just making these for myself to eat, I don't really care.  I just continue to smoosh them until there's plenty of surface area for the olive oil to catch onto and make crispy.

Hot Crash Potatoes (from The Pioneer Woman)

New Potatoes (or other small, round potatoes)
Olive Oil
Kosher Salt to taste
Black Pepper to taste
Rosemary (or other herbs, I used Thyme) to taste

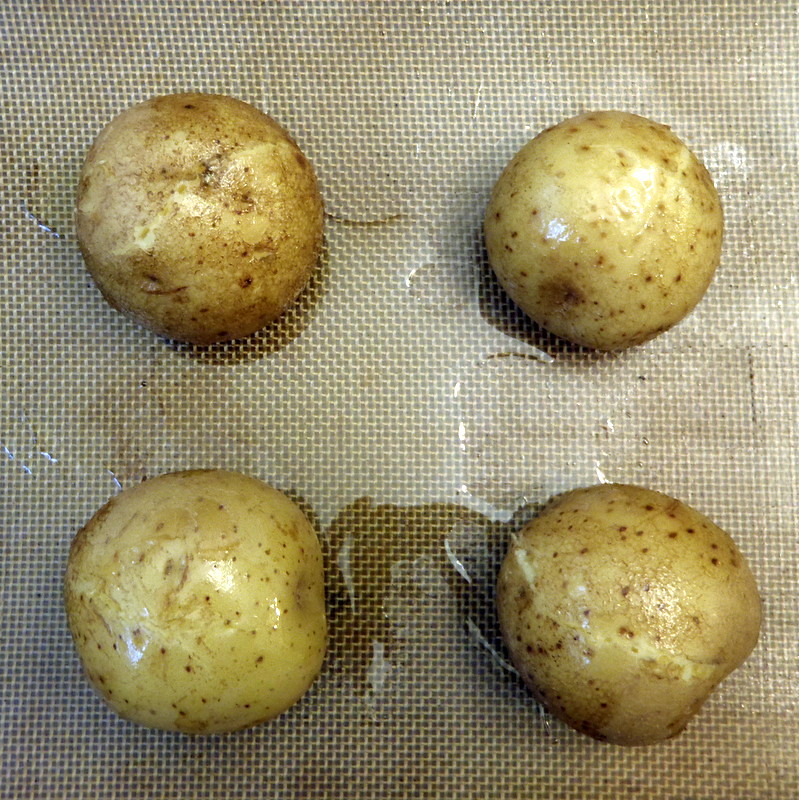
Bring a pot of salted water to a boil. Add in as many potatoes as you wish to make and cook them until they are fork-tender, about 20-30 minutes depending on the size of the potatoes.  Drain well.

PA020002
 
Preheat oven to 450°F.  On a sheet pan (I line mine with a Silpat), generously drizzle olive oil. Place tender potatoes on the cookie sheet and with a potato masher (I use a slotted spoon), gently press down each potato until it slightly mashes, rotate the potato masher 90 degrees and mash again.

PA020007
 
Crowd the potatoes close to each other and carefully drizzle olive oil on top, making sure that almost all the surfaces are covered with oil.

PA020008
 
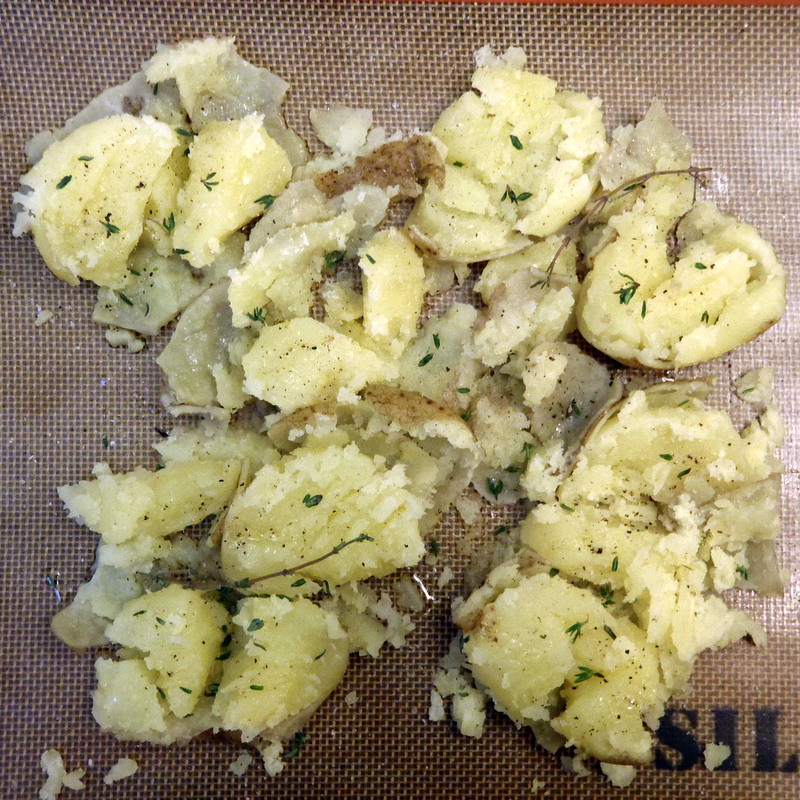
Sprinkle potatoes with kosher salt, fresh ground black pepper and fresh chopped rosemary (or chives or thyme or whatever herb you have available).  Now spread the potatoes further apart on the sheet.

Bake for 20-25 minutes until golden brown.

PA020010

Edited to add:   I wanted to make these today but the only potatoes I had were a little too large so I just cut them in half before adding them to the boiling water.  Then I put them skin side down on the sheet before smooshing them.  They looked a lot more like the Pioneer Woman's potatoes this way but turned out less crispy because the cut side was exposed to the boiling water.  They were still really delicious, though, and it took less time to boil them so this was definitely a "why didn't I think of that before?" moment.

Friday, October 5, 2012

Garlic Thyme Popcorn

I still had a lot of fresh thyme left after making the Caramelized Onion and Swiss Chard Quiche so when I saw this recipe on Gilt Taste, I got really excited.  I already had all the ingredients, and I love popcorn!

PA013110
 
Well, I had all the ingredients except for the duck fat.  =(  But I remember reading somewhere that popping corn in coconut oil was really delicious, so I used that instead for the popping oil and used substituted butter for the dressing.  You can't go wrong with butter on popcorn, right?

PA013119
 
Garlic Thyme Popcorn (based on Francis Lam's recipe)
Makes 2 quarts, enough for 2-4 people as a serious snack
3 tablespoons butter
7 fresh thyme sprigs, leaves stripped and chopped (about 1 tablespoon leaves)
1-2 garlic cloves, smashed (1 is lovely and balanced, 2 is more heady)
1 1”x2” strip orange peel
3 tablespoons coconut oil
1/3 cup popping corn
Fine salt, to taste
Grated orange zest, to taste, for garnish
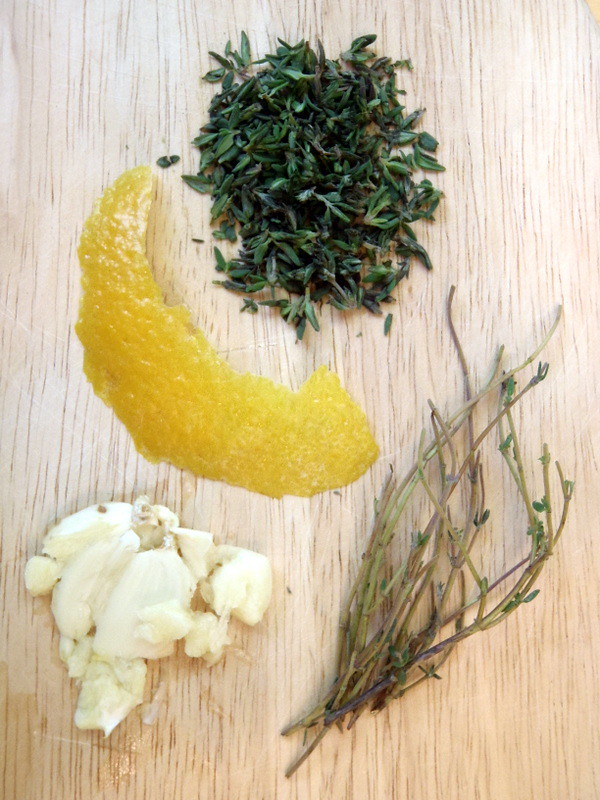
In the smallest saucepan you have, melt the butter over very low heat. Add about 2/3 of the thyme leaves, the thyme stems, garlic, and orange peel and gently infuse for 12-15 minutes. If the butter gets hot enough to start sizzling more than just a whisper, take it off heat for a minute or two, then place it back on the heat.
Heat the coconut oil and 4 kernels of popcorn over medium-high heat in the 3-quart saucepan. Cover the pot.
Once the tester kernels have popped, add the rest of the corn and shake the pan so that they’re laying in one layer. Add a few pinches of salt, cover the pan, take it off the heat, and count to 30.
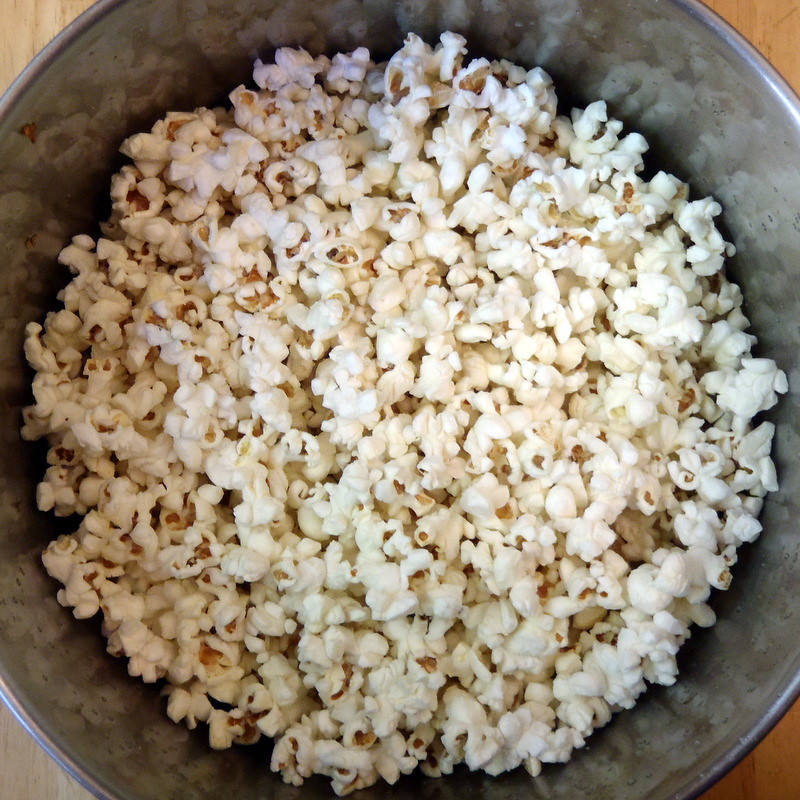
Put the pan back on the heat, and wait for some hot popping action. As it starts to go, gently shake the pan to let the unpopped kernels fall back to the bottom, and every few seconds lift the lid ever so slightly to let some steam escape. Once the popping slows to a few seconds between pops, turn off the heat and uncover the pot.
PA013114

Taste a few pieces for salt. Sprinkle on some more salt, if needed. Remove the garlic cloves, thyme stems, and orange peel from the butter, and evenly spoon the “dressing” onto the popcorn, stirring and tossing to get an even coat. Taste the popcorn 2/3 of the way through the dressing; you may like it less dressed. Add remaining dressing if you’d like.
 PA013117
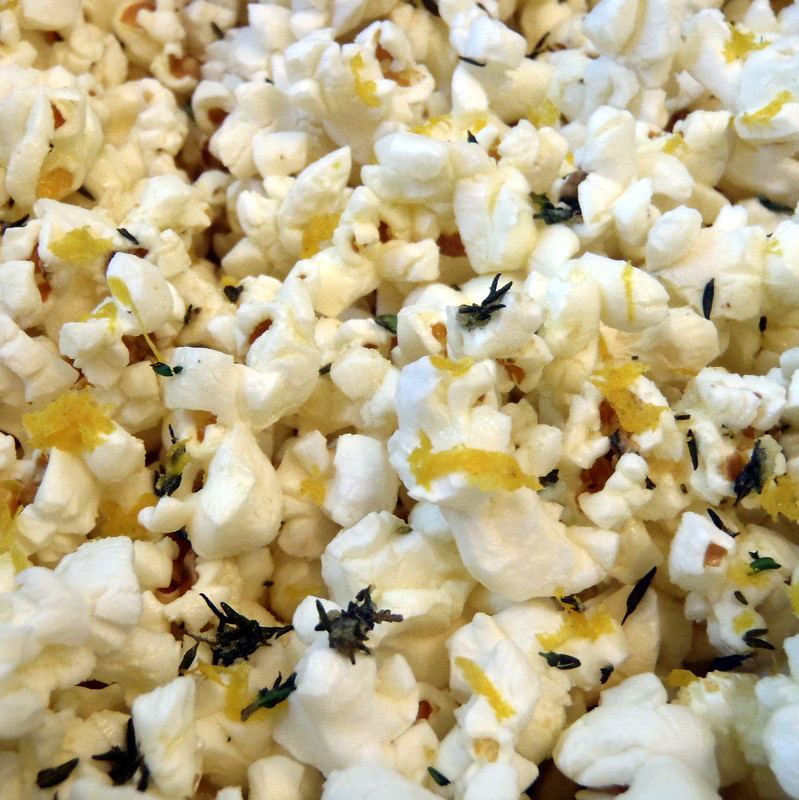
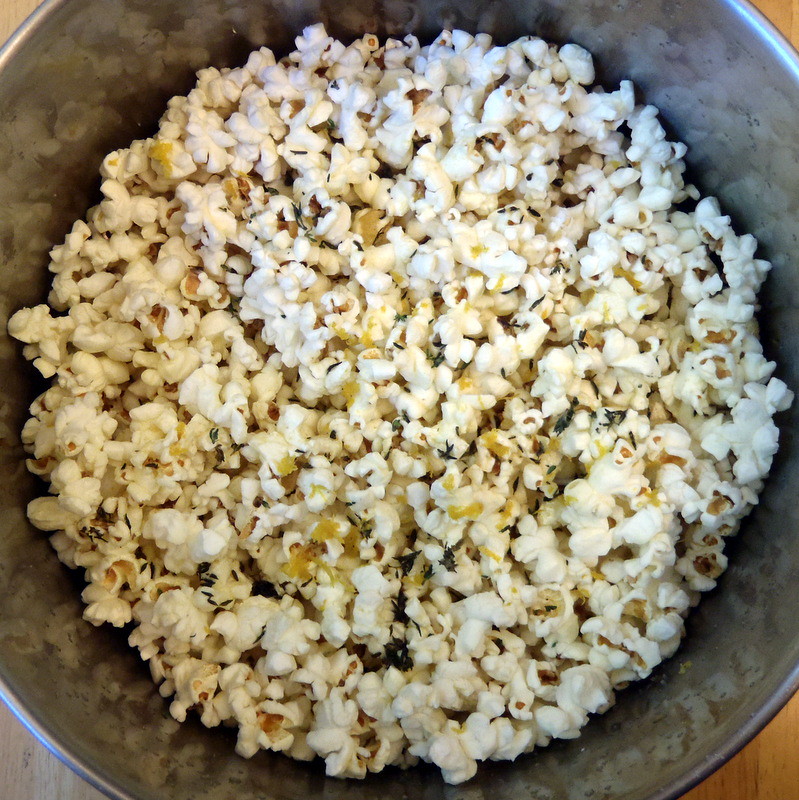
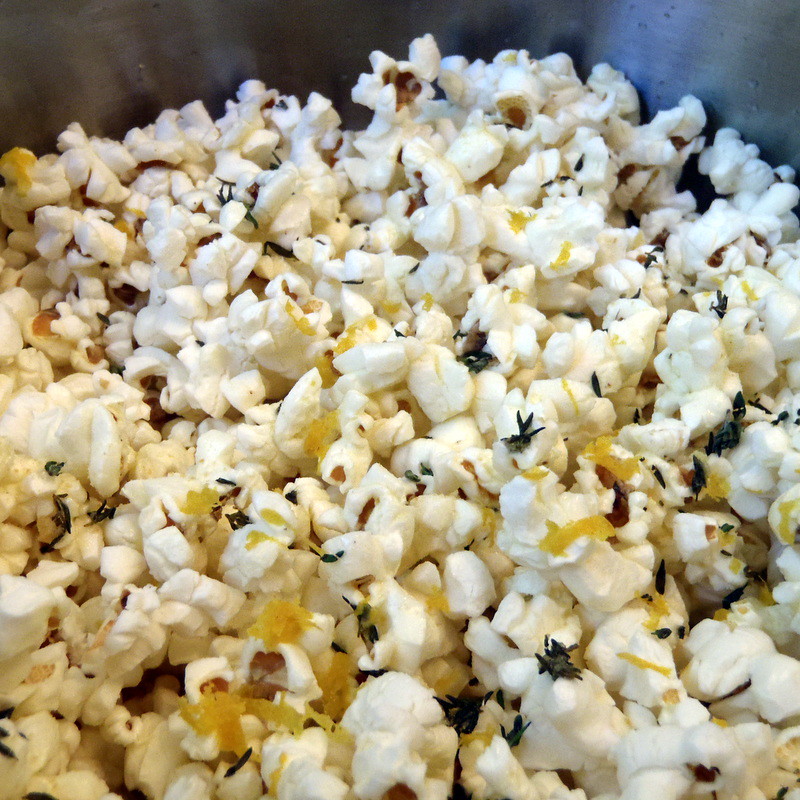
Finish popcorn by sprinkling the remaining thyme leaves all over the top. Grate on a little more orange zest (I used a Microplane for this), and serve. It keeps in a covered container for 2-3 days. If you like, you can refresh it in a warm oven for a few minutes before serving.

PA013118
I'd like to repeat that you should taste the popcorn after dressing it with 2/3 of the butter.  I forgot that step and added all the butter to the popcorn.  It was definitely too much for me, which is saying a lot, considering how much I like buttered popcorn.

Wednesday, October 3, 2012

Magical Hot Cereal

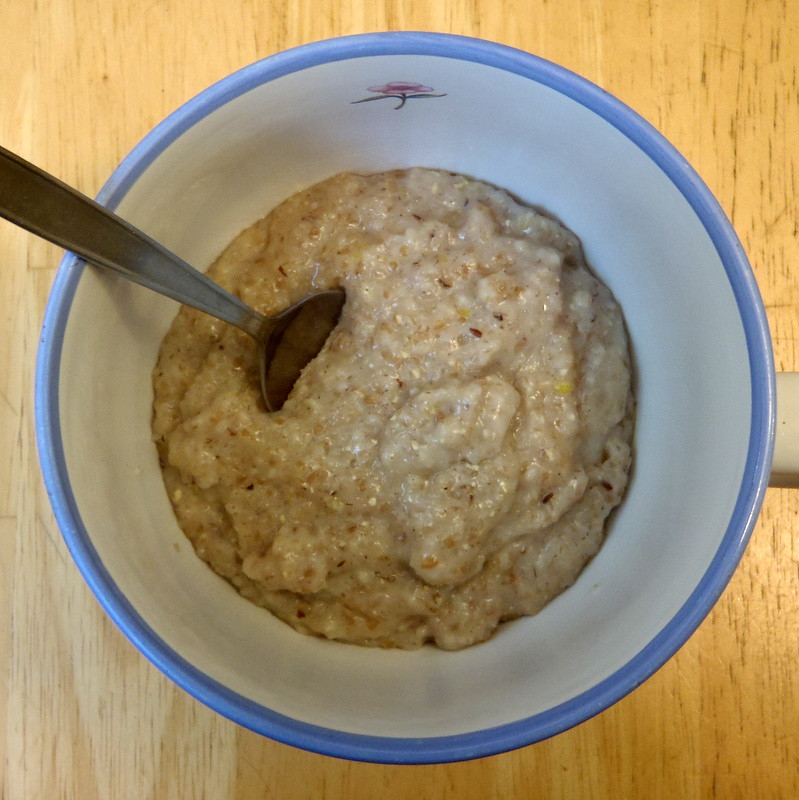
While we're on the topic of magical breakfast items, there's this restaurant in Union Square called Neighborhood Restaurant & Bakery that serves the best Cream of Wheat I've ever tasted.  It's creamy and just the perfect sweetness with the added depth that comes from a pinch of salt.  There's a velvetiness that probably comes from cream and/or butter.  And then there's a bright note of citrus and the comfort of vanilla and cinnamon.

I've asked for the recipe, or at the very least the ingredients, but they've never shared it with me.  There's whole posts on Chowhound where people try to figure out what's in it.  After some experimentation, I think I've found a recipe and method that gets pretty close to the real thing.  I use Bob's Red Mill 7 Grain Hot Cereal instead of Cream of Wheat for some extra fiber and protein, but it turns out almost as creamy as Cream of Wheat due to the constant stirring and risotto-style method of adding small amounts of liquid when the previously added liquid has been absorbed.

I use terms like pinch and dash below because I'm not measuring any of the ingredients except the water and hot cereal when I make this for myself since the amounts are so small.  Just know that a dash is more than a pinch and you should be all set.

PA023142
 
Magical Hot Cereal
makes 1 serving

3/4 cup water
1/4 cup Bob's Red Mill 7 Grain Hot Cereal
1/4 teaspoon orange rind, finely grated
1 dash kosher salt
1 dash ground cinnamon
1 pinch fresh ground nutmeg
4-5 tablespoons vanilla soy milk
2 drops vanilla extract
1 teaspoon butter (I've been using Earth Balance Natural Buttery Spread)
2 tablespoons maple syrup

PA023129
 
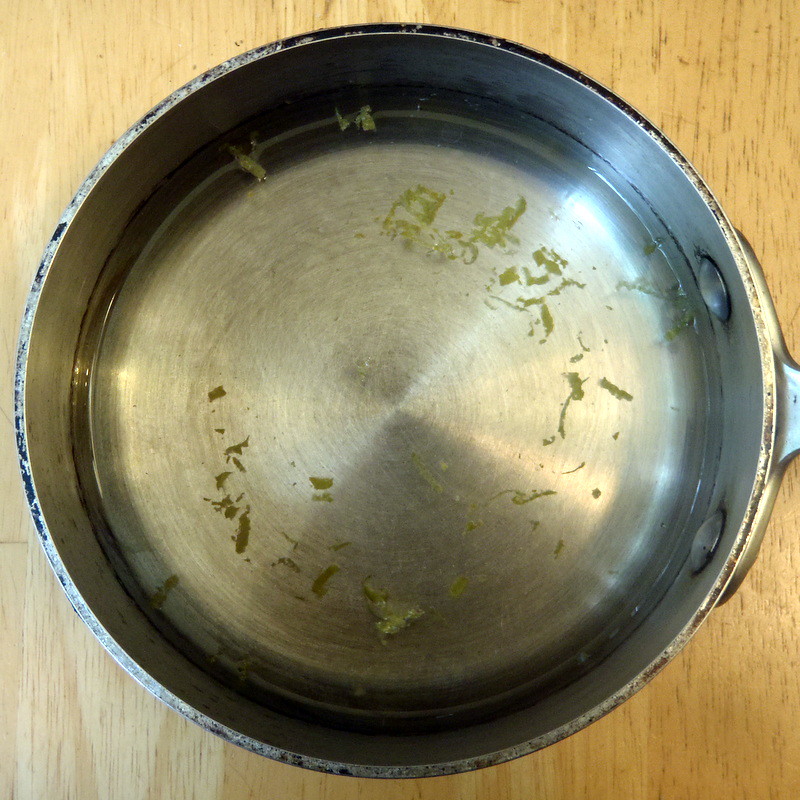
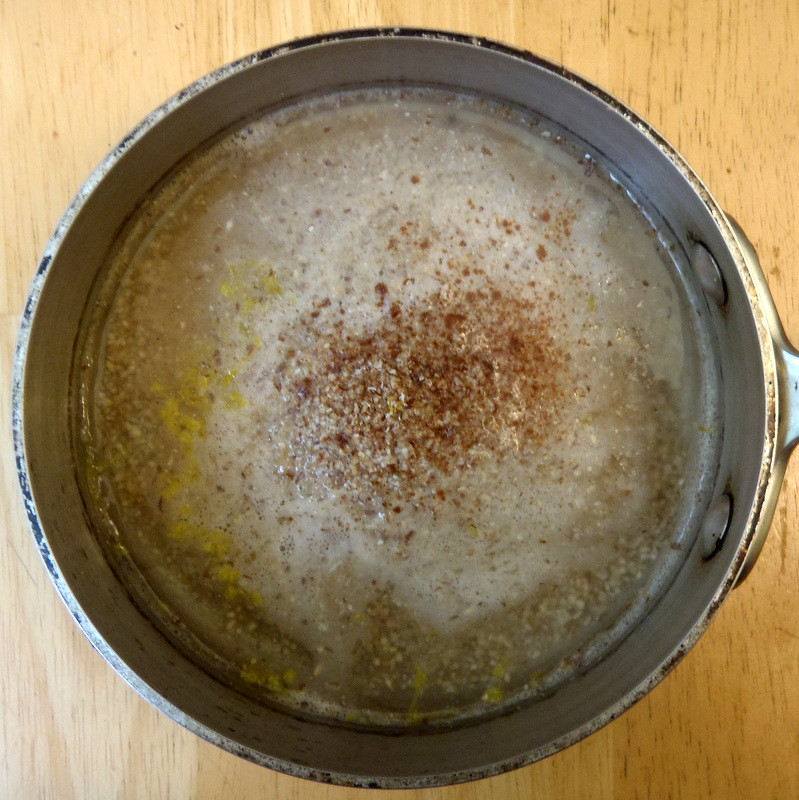
In a small pot, add orange rind to water and bring to a boil.

PA023132
 
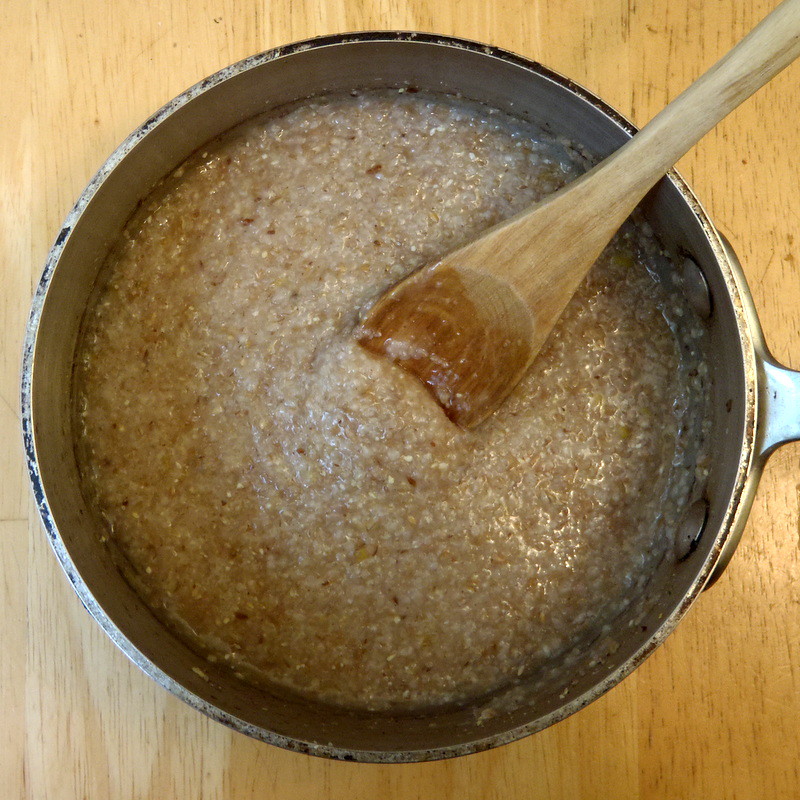
Add cereal, salt, cinnamon, and nutmeg and reduce heat.

PA023135
 
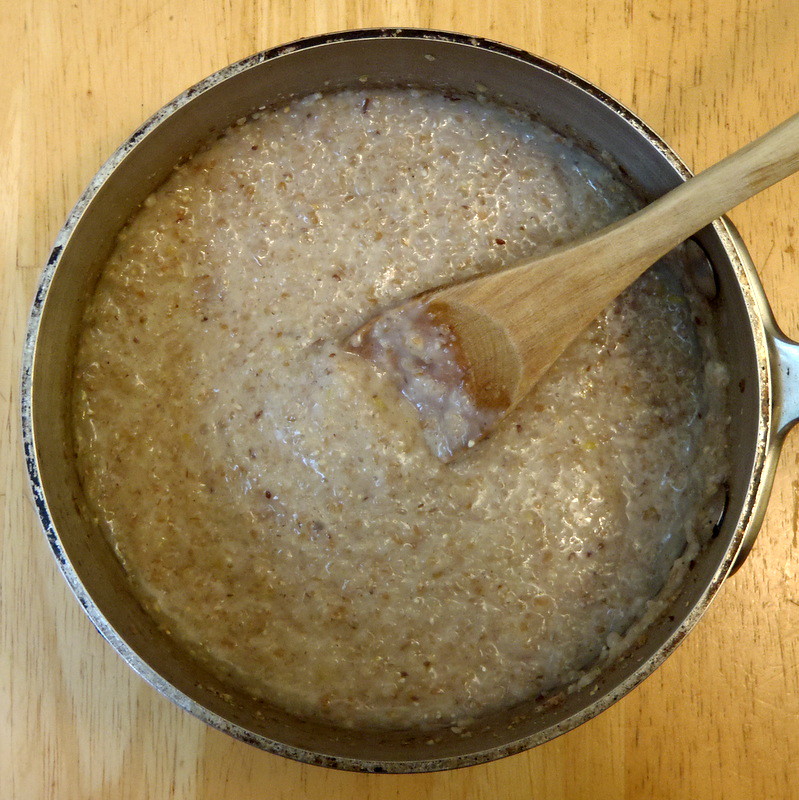
Stir while cooking and add the soy milk a tablespoon at a time when liquid has been fully absorbed by the cereal.

PA023137
 
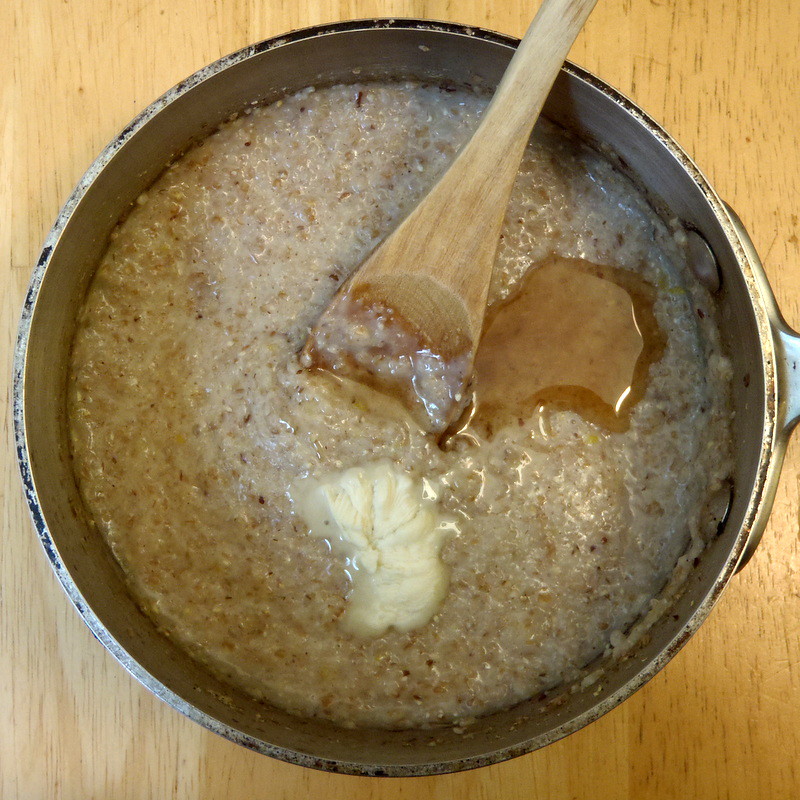
When the cereal is done, about 6 minutes, add vanilla extract, butter, and maple syrup.  Stir to mix and serve hot.

PA023138

Note that while you can certainly leave out the butter, it just won't be as magical without it.

Monday, October 1, 2012

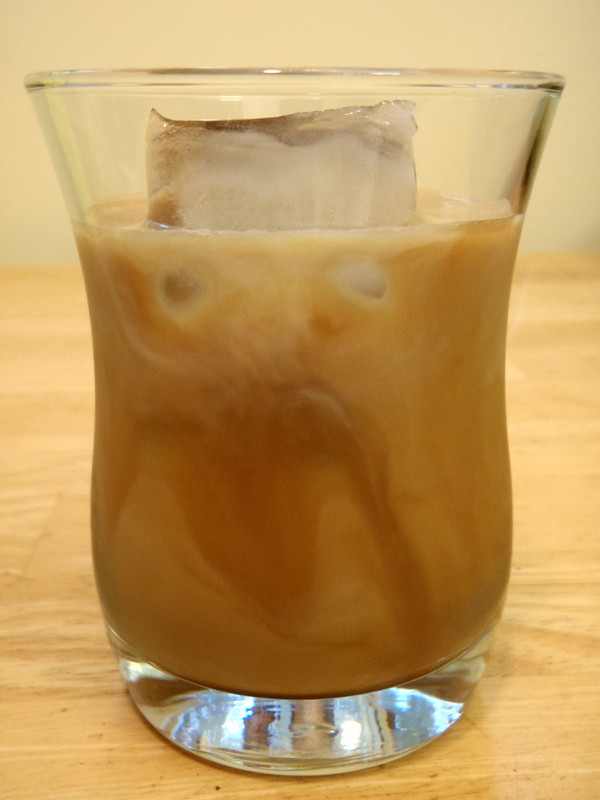
Magical Cold Brew Coffee

P9293152 

One big change that happened this summer is that I got to start working from home full time.  When I was given the option, I hesitated at first because all I could think about was the fact that I wouldn't be able to get free coffee at work anymore.  It's not super great coffee or anything, but it's there.  And it's free.  And I need coffee in the morning.  Then I remembered cold brew coffee.

I've known about it since last summer when this article came out, but never got around to trying it out myself, mostly because I don't have any coffee filters.  Now that I had the motivation, I grabbed a box of filters from Trader Joe's and started cold brewing away.  I discovered that cold brew coffee was smoother than hot brewed coffee and super convenient to keep in the fridge for whenever I wanted some iced coffee.  Life was good.

Then I came across this recipe for Magical Coffee and my life changed.  This coffee isn't just good or better; this coffee is MAGICAL.  It's like there's a party in my cup and everyone is invited.  The flavors sing, the aromas dance.  I used to use coffee to wake me up in the morning.  Now I wake up in the morning to taste this coffee.

Magical Cold Brew Coffee
makes 2-3 servings

1/2 cup coffee beans
1/2 teaspoon cinnamon
1 pinch fresh ground nutmeg (optional)
2 tablespoons brown sugar
2 cups water

P9283130

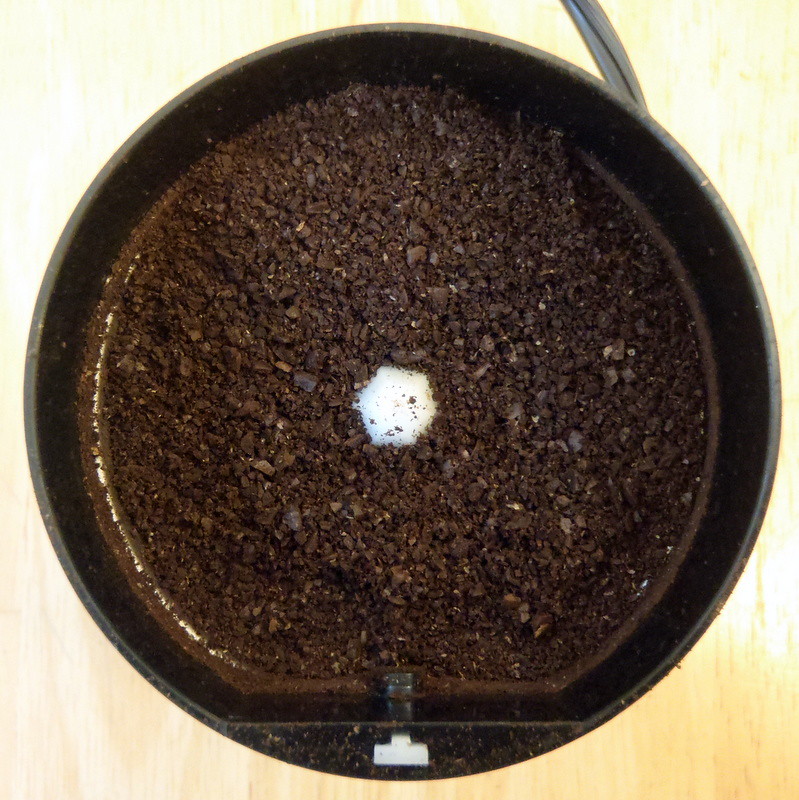
Grind the coffee to a medium-fine texture (stop before you get to espresso fine).

P9283140

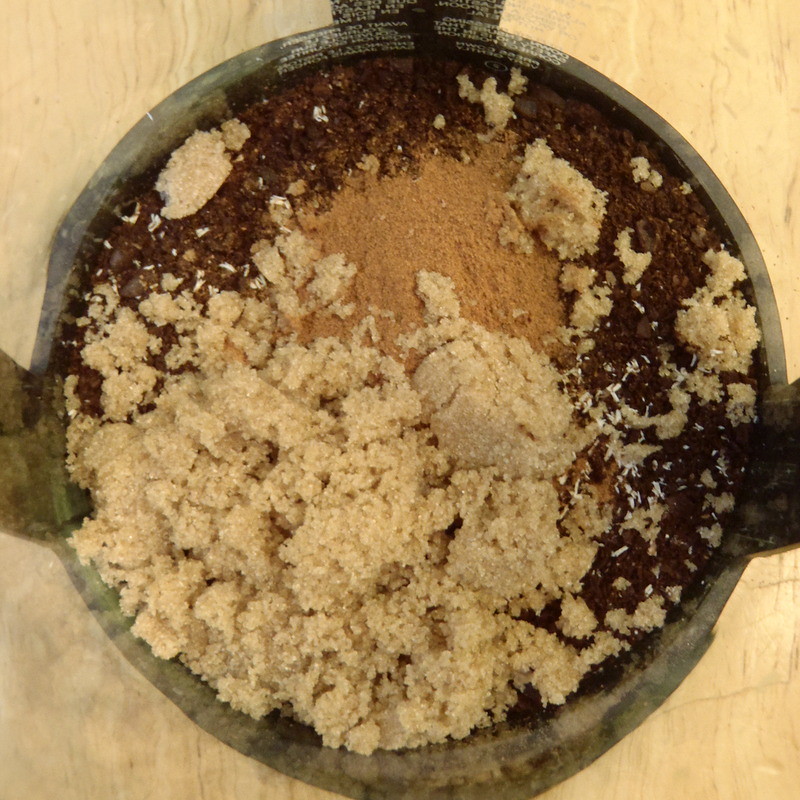
In a French press, add the ground coffee, cinnamon, nutmeg, and brown sugar.

Pour in 2 cups of cold water, stir, and wait 2 minutes for the coffee to float and "bloom".

Stir again and cover.  At this point you can put it in the fridge to steep or leave it on the counter at room temperature.  If I want to drink it in less than 8 hours, I'll leave it on the counter.  Let steep overnight or longer, up to 24 hours.

P9293147
 
Press the grinds and pour through a coffee filter.  You can store this coffee base in the refrigerator for a week.

To serve, pour over ice cubes and add cream, milk, or half & half if you like.  I prefer vanilla soymilk.

Die of happiness.

P9293151

I tweaked the proportions a bit from the original recipe because I like to add a lot of soymilk to my coffee so I wanted the coffee base to be a little stronger.  Now that it's getting colder, I may end up using the French press to brew hot coffee but I'll still probably add the cinnamon, nutmeg, and brown sugar.

Check out how to make magical pumpkin spice latte here!

Update:  I just tried making this with a small handful of torn mint leaves, and it totally reminds me of Philz' Mint Mojito Iced Coffee!

Saturday, September 29, 2012

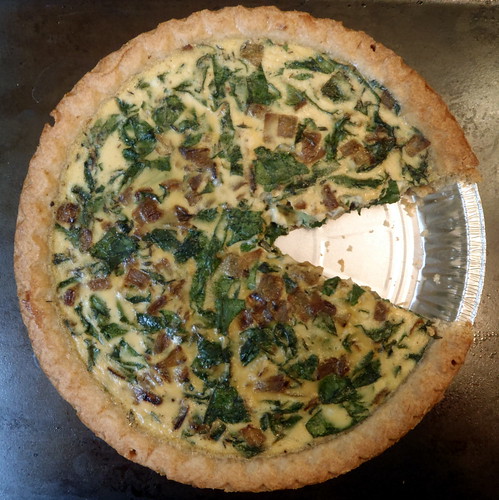
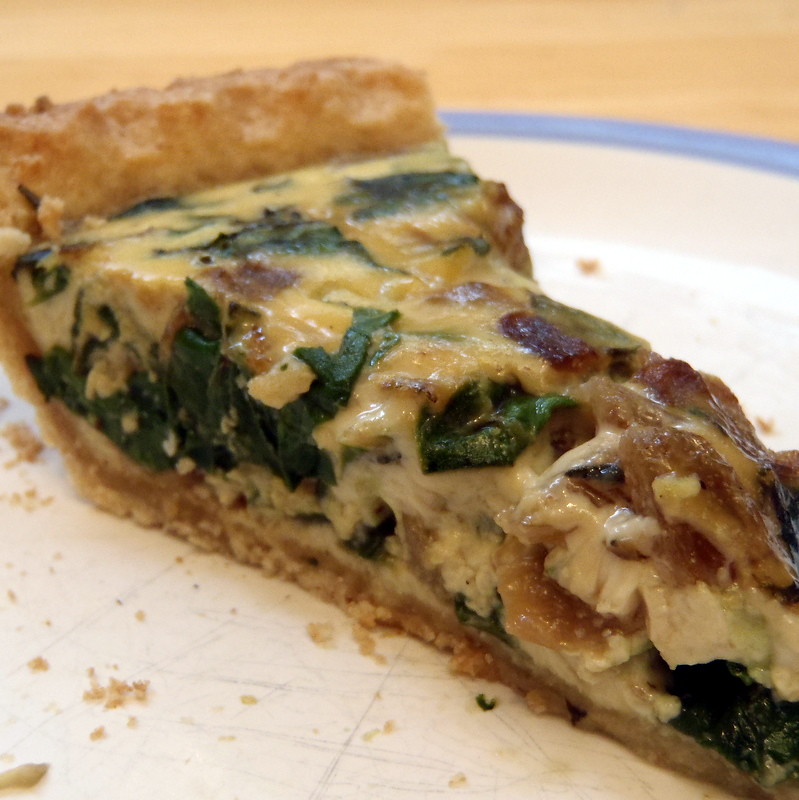
Caramelized Onion and Swiss Chard Quiche

P9293182

This quiche is good.  How good?  Good enough to rouse me out of a 2+ year hiatus to post about it.  That's how good.  It's loosely based on this recipe from Smitten Kitchen, but I had yellow onions instead of leeks, so I decided to caramelize them first, using the dry pan method which has been working pretty well for me.

So what makes this dish so good?  Maybe it's the thyme, which I think is my new favorite herb.  I remember the first time I tasted Stove Top stuffing and wondering what that new, wonderful flavor was.  Growing up in a Taiwanese home, the only herbs I was used to tasting were scallion and cilantro.  But after almost 20 years of wondering, I think I can now identify that herb as thyme!  Now if only I could figure out what goes into the Long John Silver's batter.

P9283131

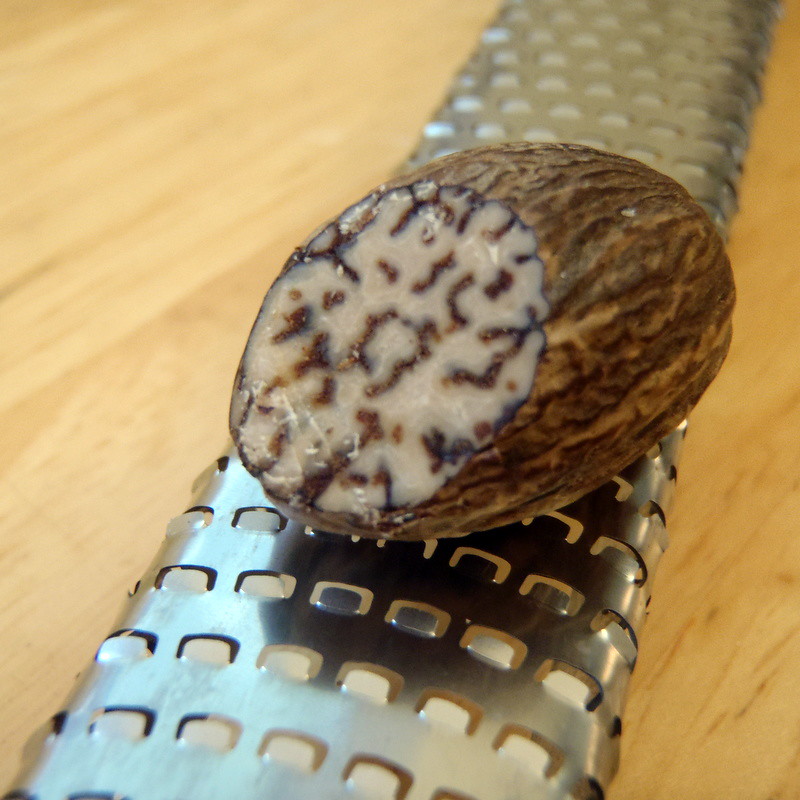
Another new fresh ingredient I've discovered is nutmeg.  I used to just use the stuff that came out of a spice bottle and never really understood what the big deal was.  Then one day I saw some whole nutmeg at the bulk spice rack at Harvest and decided to pick up a couple since I had a Microplane I could use to shave it with.  Well let me tell you, fresh nutmeg is a completely different species from the dried stuff!  I am definitely a fresh nutmeg convert now.  Just remember, a little goes a long way, so don't over do it.

P9293183 
Caramelized Onion and Swiss Chard Quiche
makes 1 quiche

1 prepared whole wheat pie crust, thawed but chilled (regular pie crust would work, too)
2 yellow onions, chopped
1 teaspoon fresh thyme, stems removed
2 tablespoons (1/4 stick) butter
1/2 bunch Swiss chard, ribs removed, leaves chopped (about 2 1/2 cups)
1 cup half and half
4 large eggs
1 teaspoon salt
1/4 teaspoon ground black pepper
Pinch of fresh ground nutmeg

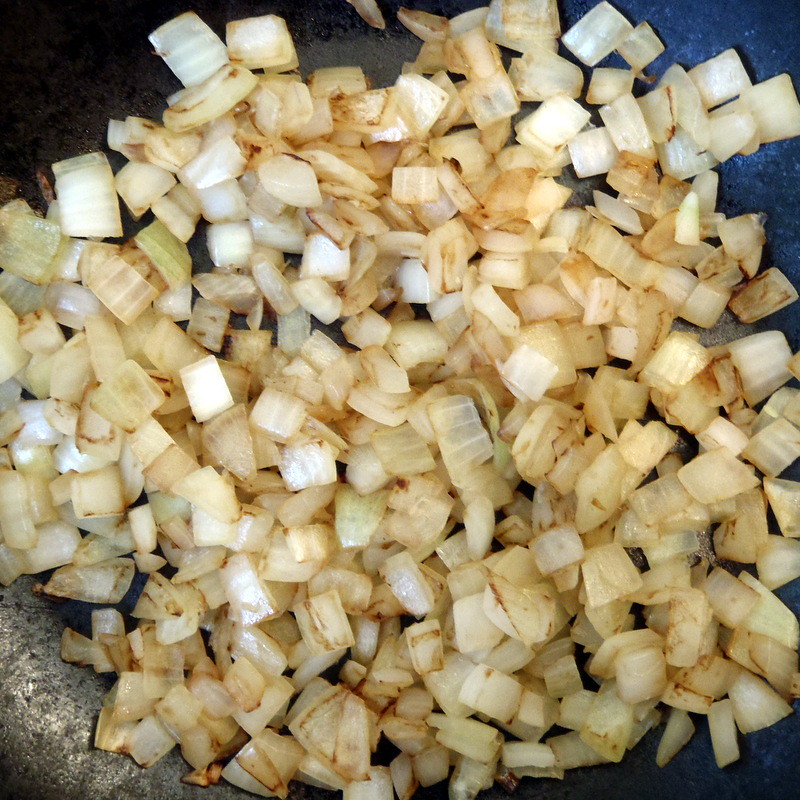
Heat a large non-stick pan to medium high and add chopped onions. Cook until browned but not burnt, about 6 minutes.

P9293156 
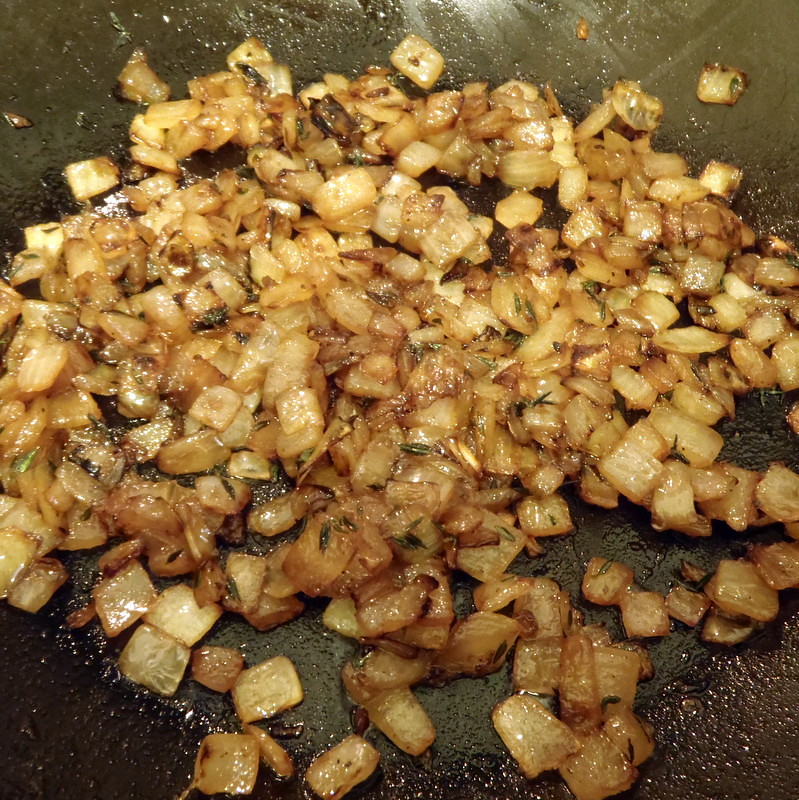
Add a tablespoon of butter, the fresh thyme, and sprinkle with salt and pepper. Lower the heat to medium and continue to stir while cooking.  Add the remaining tablespoon of butter when the onions become dry and start sticking to the pan, about another 5 minutes.

P9293163
 
Once the onions are evenly caramelized, about another 5 minutes, add the chard and sauté until wilted, about 2 minutes. Remove from heat and cool.

P9293169
 
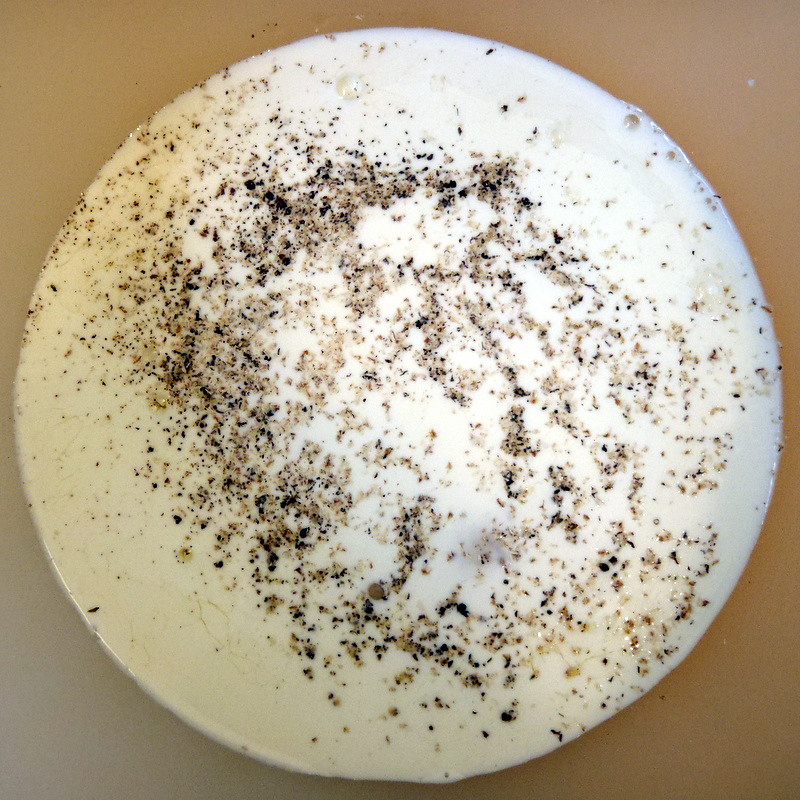
Preheat to 425°F.  In a medium bowl, whisk the half and half and next 4 ingredients.

P9293173 
Mix in cooled onion and chard mixture.  Pour filling into crust.  Place pie on a baking sheet to make it easier to transport and in case the filling overflows in the oven.

Bake quiche for 15 minutes.  Reduce heat to 350°F and bake until filling is puffed and just set in center, about 10-12 minutes longer.  Transfer to rack and cool 10 minutes.  Serve hot or at room temperature.

P9293184
 
You'll probably notice that there was no cheese in this quiche recipe.  Believe me, it doesn't need it.  But if you really want, you could probably throw in a handful of shredded cheddar or Gruyère.