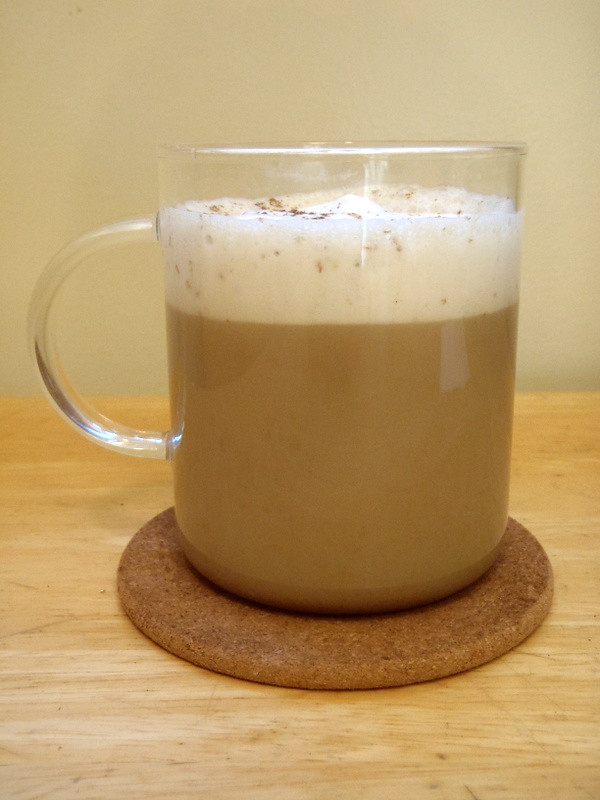
When I saw wild caught black cod in Trader Joe's most recent Fearless Flyer, I'm pretty sure I squealed out loud. I had been wanting to make Nobu's miso marinated black cod ever since I first had it several years ago but could never bring myself to track down the, I assumed, extremely expensive fish. And now it was being sold in my neighborhood TJ's for $12.99/lb, which admittedly, isn't cheap, but is definitely in my price range if I'm only buying enough for one.
This is only of those super simple recipes that only uses the barest minimum of ingredients (four!) but is so, so good. If you've never had black cod (also known as sablefish or butterfish) before, you'll be surprised by how buttery the flaky white meat is. The closest fish that I've tasted is the Chilean sea bass. And the best part is, black cod is a sustainable fish, unlike the Chilean sea bass, so that's one less thing you have to worry about.
The fillets that I ended up buying were only a quarter pound each, but I decided to make the full amount of marinade anyways because, seriously, I don't have a pot small enough to boil 2 tablespoons of liquid. I also didn't have any sake on hand, so I substituted rice wine.
Miso Marinated Black Cod (based on the recipe from Nobu: The Cookbook)
makes 2 servings
2 tablespoons sake or rice wine
2 tablespoons mirin
2 tablespoons white miso
1 1/2 tablespoons sugar
2-4 black cod fillets (about 1/4 pound each)
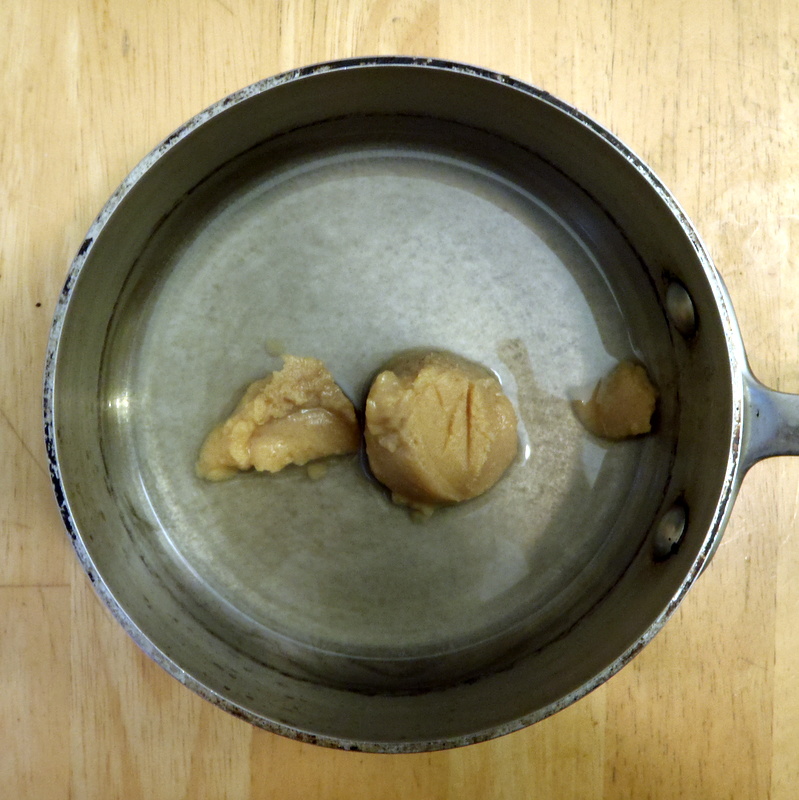
Bring the sake and the mirin to a boil in a small saucepan over high
heat. Turn the heat down to low and stir in the miso until dissolved.
Turn the heat up to high again and add the sugar, stirring constantly. Remove from heat once
the sugar is fully dissolved. Cool to room temperature.
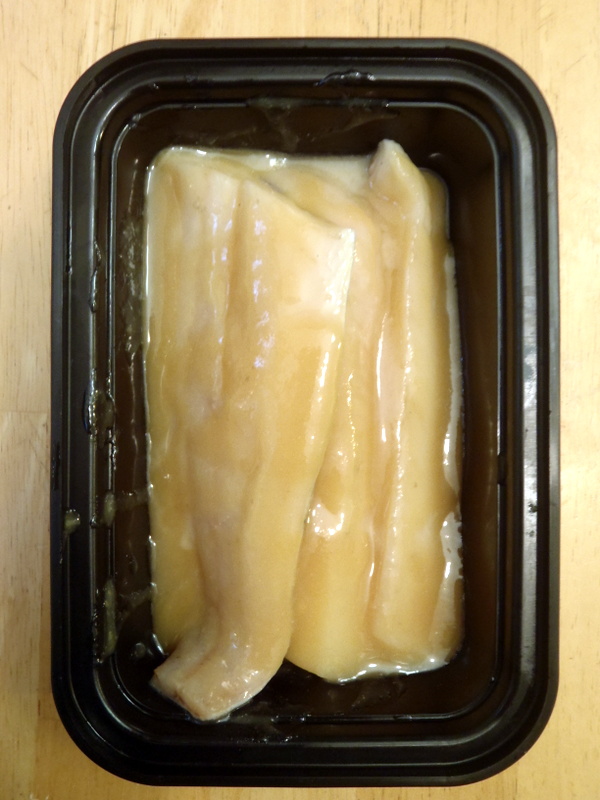
Slather the fish with the miso marinade and place in dish or bowl and
cover tightly with plastic wrap. Leave to steep in refrigerator for 2
to 3 days.
To cook, preheat the broiler. Lightly wipe off any excess miso
clinging to the fillets but don’t rinse it off. Broil the fillets for about 10-15 minutes, until browned on top and flaky when cut with a fork. Do not overcook! Serve warm with rice.
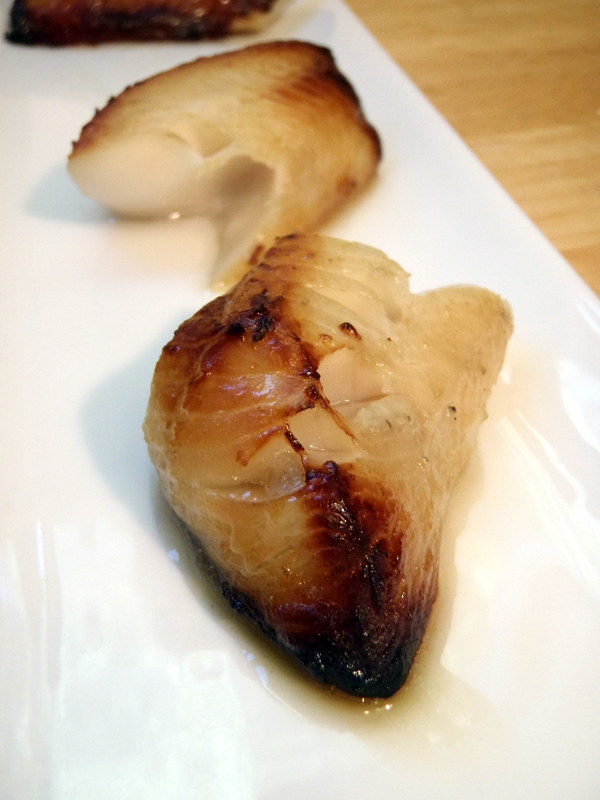
My fillets were pretty thin (less than an inch thick), but if you have thicker fillets, you may want to continue to bake the fish at 400°F for another couple of minutes until it is cooked through. Just remember not to overcook this fish since you'll lose the awesome, buttery texture.
Friday, October 26, 2012
Wednesday, October 24, 2012
Coconut Whipped Cream and Coconut Dulce de Leche
I've mentioned coconut whipped cream a couple of times before so I thought I'd share a quick post on how to make it. I first heard about it on Oh She Glows, and I love the idea because it uses a non-perishable can of full-fat coconut milk instead of whipping cream, which I rarely keep on hand, which means I can have whipped cream just about any time I want. Well, except for the fact that you do need to put the can of coconut milk in the fridge for at least a couple of hours.
Angela flips the can before opening it so that the solid coconut cream is on the bottom, and you can easily pour out the translucent liquid. Since not all cans are easy to open from the bottom, I've just put the cans upside down in the fridge and then opened them right side up. Even if you forget to do this, you can still pretty easily scoop the solid stuff out of the top of the can, leaving the liquid at the bottom. I usually save the liquid to make smoothies out of.
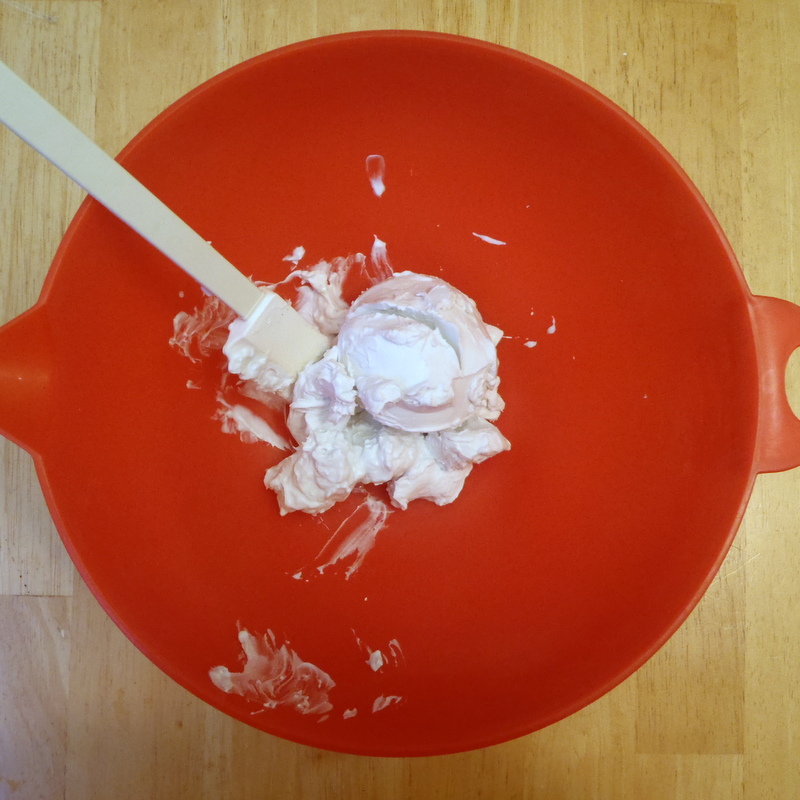
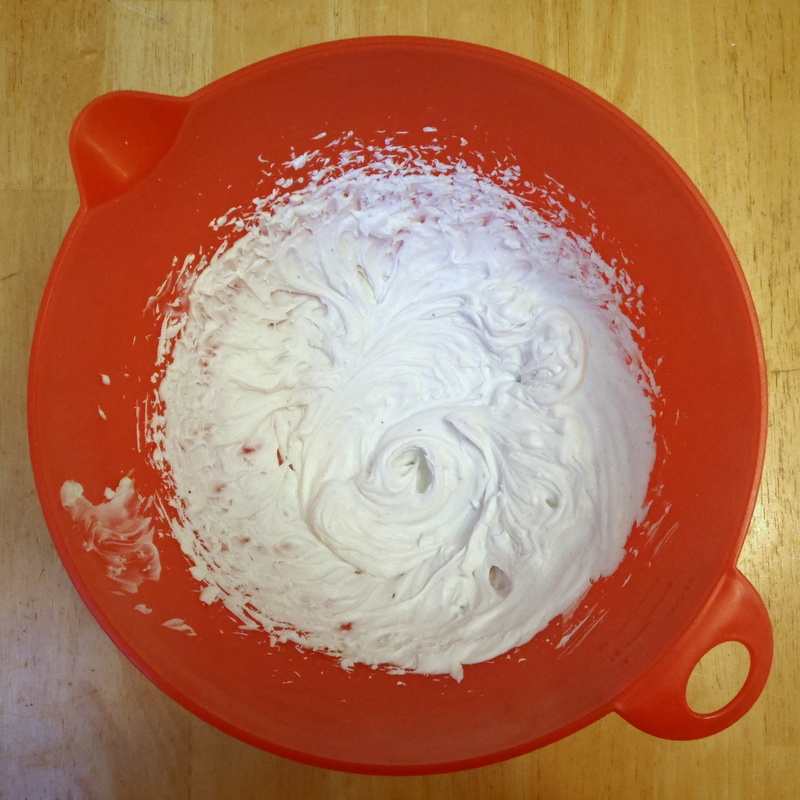
Now put all that nice, solid coconut cream into a large bowl and beat it with a hand mixer. It helps if you've chilled the bowl and the beaters in the fridge or freezer beforehand, but I've done it without chilling them first and it still worked out okay. I like to start off with the regular beater attachments and then if it's not getting fluffy enough, I'll switch to the whisk attachment.
After it's nice and fluffy, go ahead and add some sweetener (I used a tablespoon of sugar ground fine with some cardamon seeds) and vanilla extract if you like.
And that's it! I use this on my magical pumpkin spice lattes, on ice cream sundaes, and anywhere else you'd normally use whipped cream. You can store it in the fridge for up to 10 days in a sealed container, and if it gets too hard, you can always whip it again.
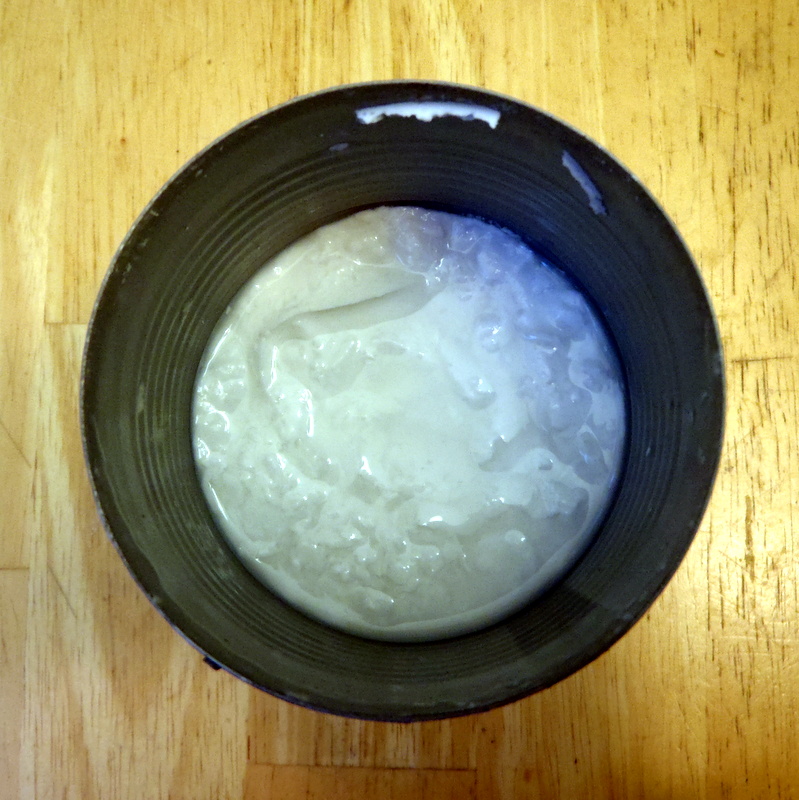
Now sometimes I open a can of coconut milk and find that the cream didn't rise to the top and harden. Instead, I get a homogenous, opaque white liquid. You can try pouring it into a sealed container and chilling it some more to see if it'll separate, or you can make coconut dulce de leche!
Coconut Dulce de Leche (adapted from Bon Appétit)
makes 1 1/4 cups
1 14-oz. can full-fat coconut milk
3/4 cup turbinado sugar
1/4 teaspoon kosher salt
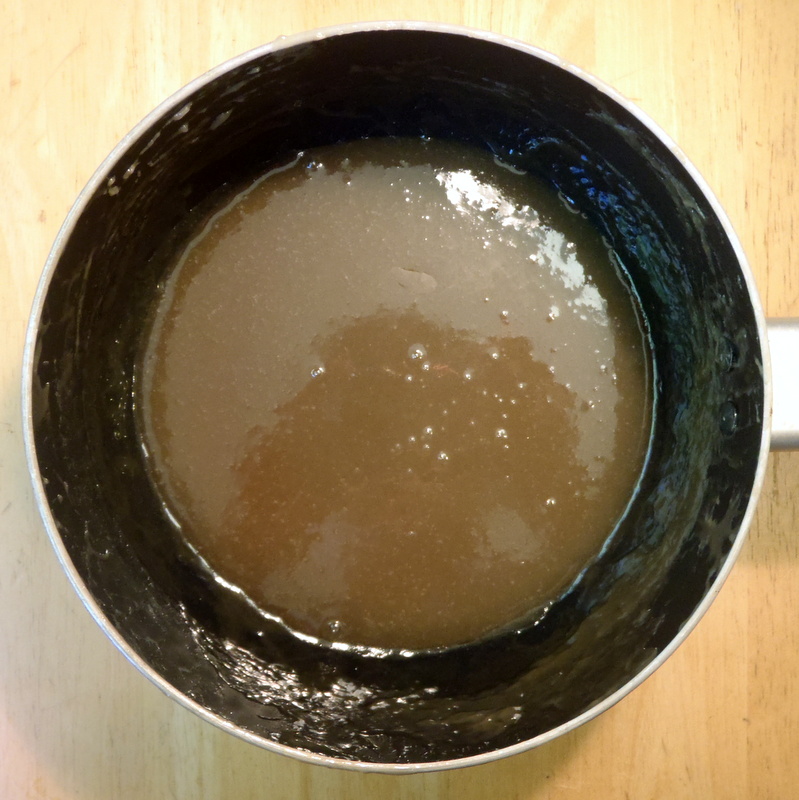
Whisk coconut milk, sugar, and coarse salt in heavy medium saucepan over medium heat until sugar dissolves.
Increase heat to medium-high and boil until mixture is reduced to 1 1/4 cups, stirring occasionally, about 30 minutes.
Transfer sauce to small jars. Cool completely, then cover sauce and chill.
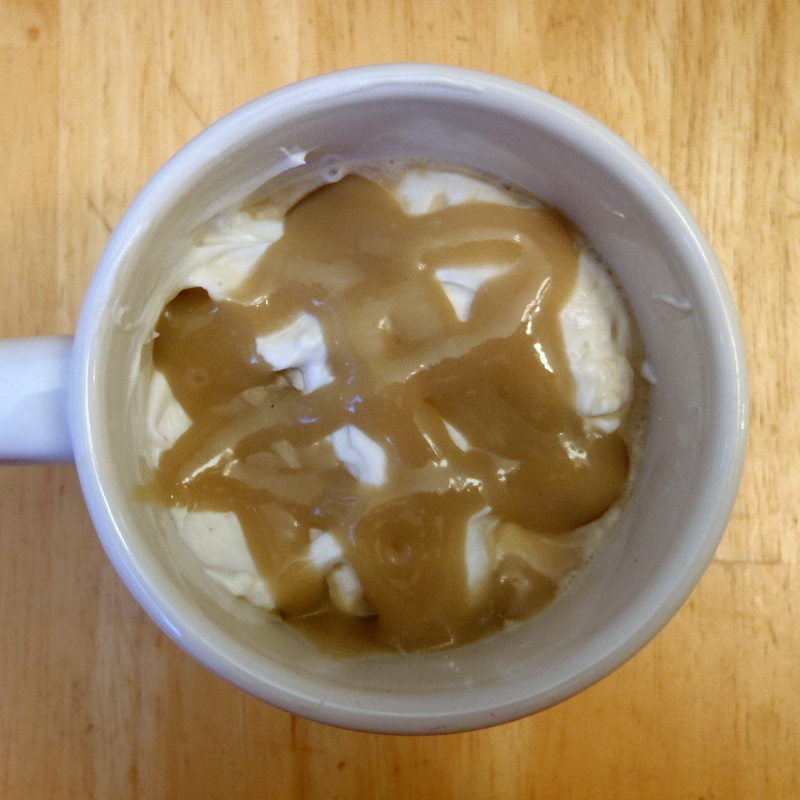
The coconut dulce de leche kind of reminds me of kaya (coconut jam) from Southeast Asia. I've been stirring it into my (unsweetened) magical coffee in the morning and topping it off with coconut whipped cream.

Angela flips the can before opening it so that the solid coconut cream is on the bottom, and you can easily pour out the translucent liquid. Since not all cans are easy to open from the bottom, I've just put the cans upside down in the fridge and then opened them right side up. Even if you forget to do this, you can still pretty easily scoop the solid stuff out of the top of the can, leaving the liquid at the bottom. I usually save the liquid to make smoothies out of.
Now put all that nice, solid coconut cream into a large bowl and beat it with a hand mixer. It helps if you've chilled the bowl and the beaters in the fridge or freezer beforehand, but I've done it without chilling them first and it still worked out okay. I like to start off with the regular beater attachments and then if it's not getting fluffy enough, I'll switch to the whisk attachment.
After it's nice and fluffy, go ahead and add some sweetener (I used a tablespoon of sugar ground fine with some cardamon seeds) and vanilla extract if you like.
And that's it! I use this on my magical pumpkin spice lattes, on ice cream sundaes, and anywhere else you'd normally use whipped cream. You can store it in the fridge for up to 10 days in a sealed container, and if it gets too hard, you can always whip it again.
Now sometimes I open a can of coconut milk and find that the cream didn't rise to the top and harden. Instead, I get a homogenous, opaque white liquid. You can try pouring it into a sealed container and chilling it some more to see if it'll separate, or you can make coconut dulce de leche!
Coconut Dulce de Leche (adapted from Bon Appétit)
makes 1 1/4 cups
1 14-oz. can full-fat coconut milk
3/4 cup turbinado sugar
1/4 teaspoon kosher salt
![]() |
Whisk coconut milk, sugar, and coarse salt in heavy medium saucepan over medium heat until sugar dissolves.
![]() |
Increase heat to medium-high and boil until mixture is reduced to 1 1/4 cups, stirring occasionally, about 30 minutes.
Transfer sauce to small jars. Cool completely, then cover sauce and chill.
The coconut dulce de leche kind of reminds me of kaya (coconut jam) from Southeast Asia. I've been stirring it into my (unsweetened) magical coffee in the morning and topping it off with coconut whipped cream.
Monday, October 22, 2012
Cranberry Royale Sorbet
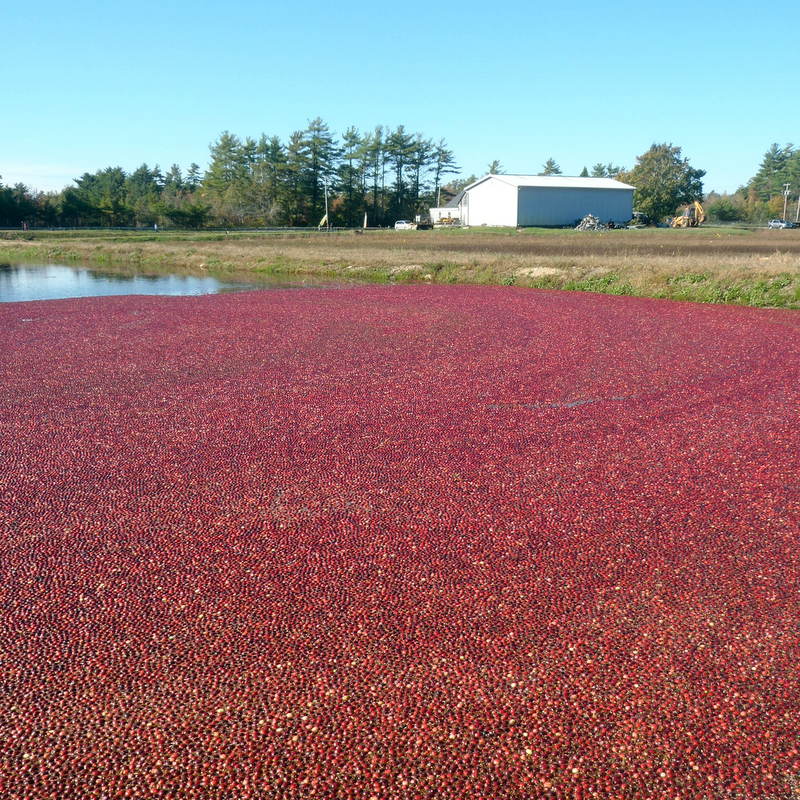
Last week I got to go on a Cranberry Farm Picking Experience with Colonial Lantern Tours. I've gone apple picking and strawberry picking before, but this was the first time I've ever gone cranberry picking. No, we didn't get to put on those rubber overalls and wade in a cranberry bog, but we did get to see how a flooded cranberry bog is harvested and also how cranberries are dry harvested. Lastly, we got to hand pick our own cranberries! Fun fact: only 10% of cranberries are dry harvested, and only the dry harvested cranberries will be sold fresh in stores. The other 90% are wet harvested and will go into cranberry products like cranberry sauce and cranberry juice.
Even before I went on the tour, I started looking up cranberry recipes to try. The ones that caught my eye were a bittersweet cranberry brownie and a pecan topped cranberry cake. Then my friend Ellen suggested that I make Jeni's Cranberry Royale Sorbet. And boy, am I glad she did.
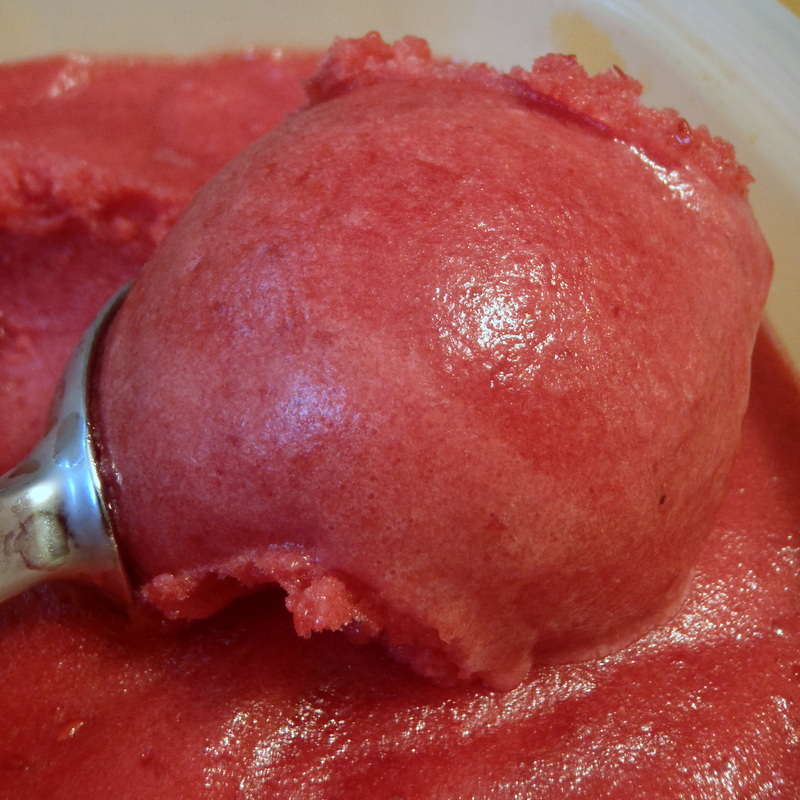
Cranberry Royale Sorbet from Jeni's Splendid Ice Creams at Home
makes about 1 quart
2 grapefruits (you need enough to get 3/4 cup of juice; I needed 1 1/2 large grapefruits)
One 12-ounce bag cranberries (fresh or frozen)
1 cup plus 2 tablespoons water
1/4 cup light corn syrup
1 1/2 cups sugar
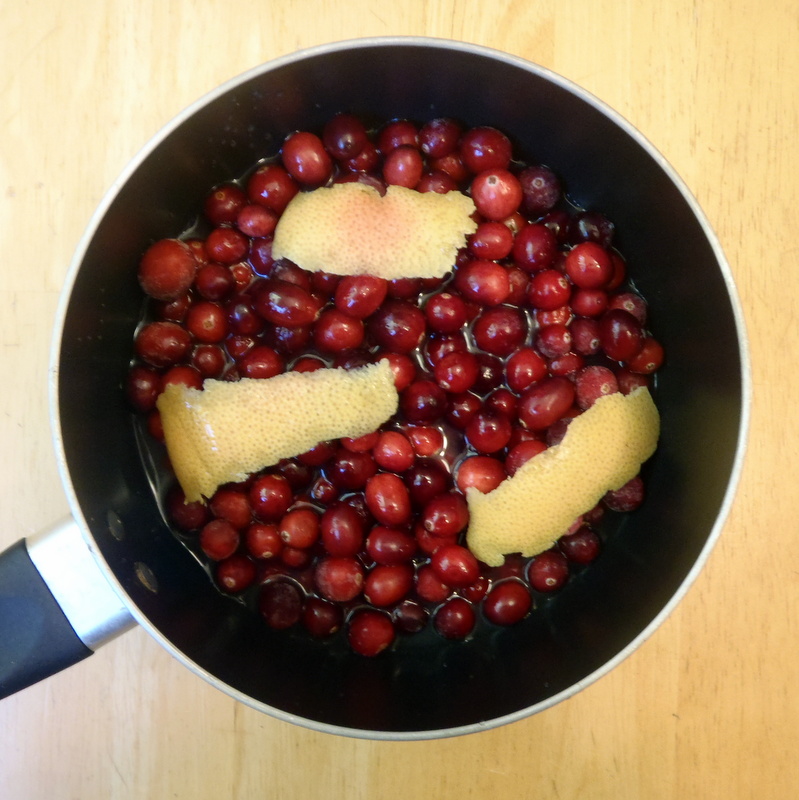
Using a vegetable peeler, remove 3 large strips of zest from 1 of the grapefruits. Halve the grapefruits and squeeze 3/4 cup juice.
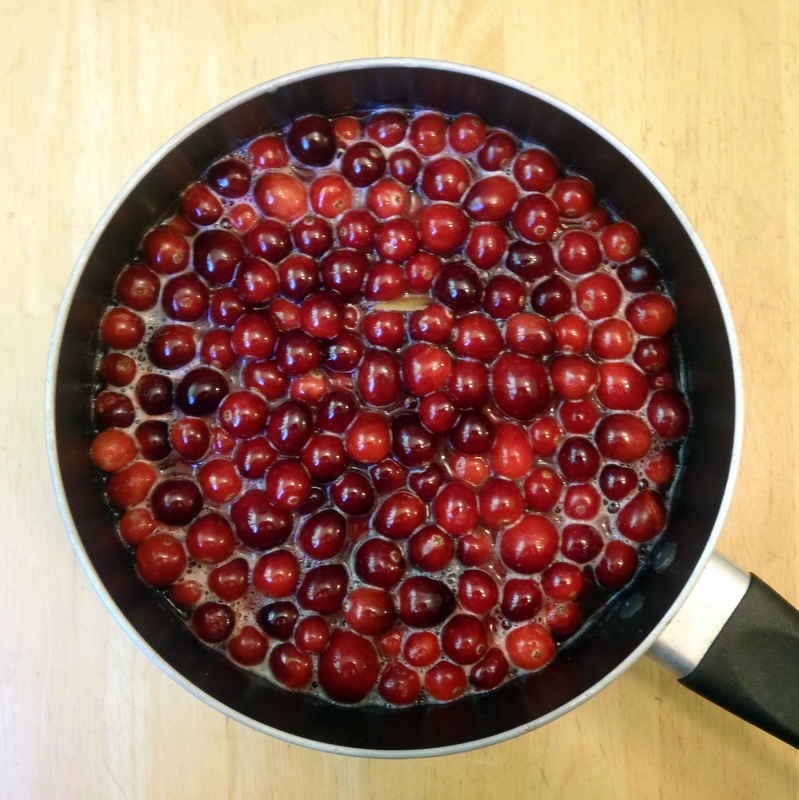
Combine the grapefruit juice, zest, cranberries, water, corn syrup, and sugar in a 4-quart saucepan and bring to a boil. Boil just until the cranberries begin to pop open, about 5 minutes. (My cranberries started to pop before it was anywhere close to boiling, so I just put a splatter screen on top of the saucepan and continued to heat the pan.) Remove from the heat and let cool.
Remove the grapefruit zest. If desired, puree the cranberry mixtures in batches, or leave unpureed for a chunkier sorbet.

Chill the mixtue and then freeze in an ice cream maker. Spin just until the consistency of very softly whipped cream.
Pack the sorbet into a storage container, press a sheet of parchment directly against the surface, and seal with an airtight lid. Freeze in the coldest part of your freezer until firm, at least 4 hours.
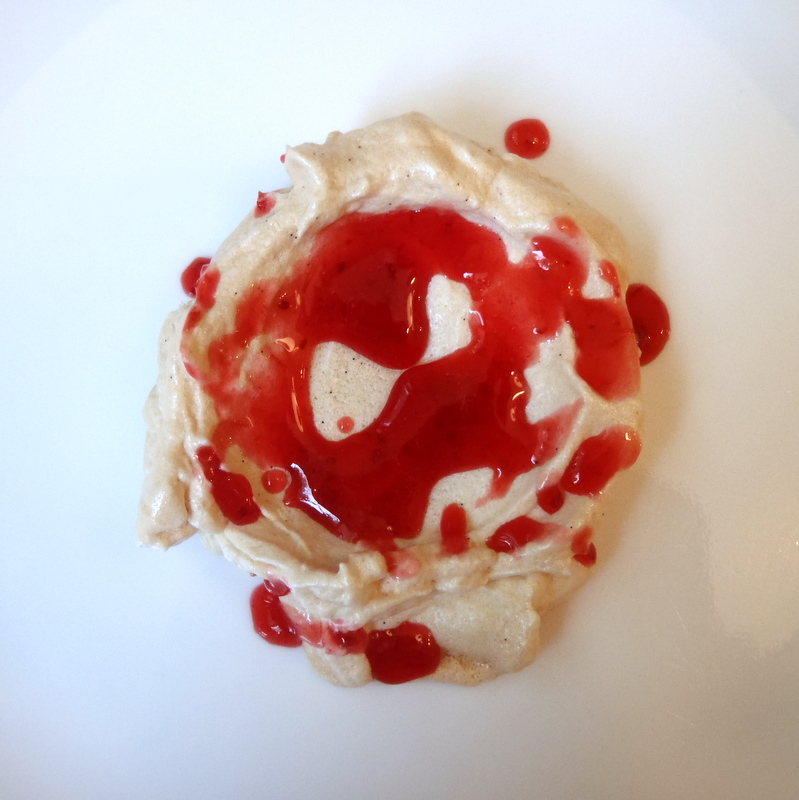
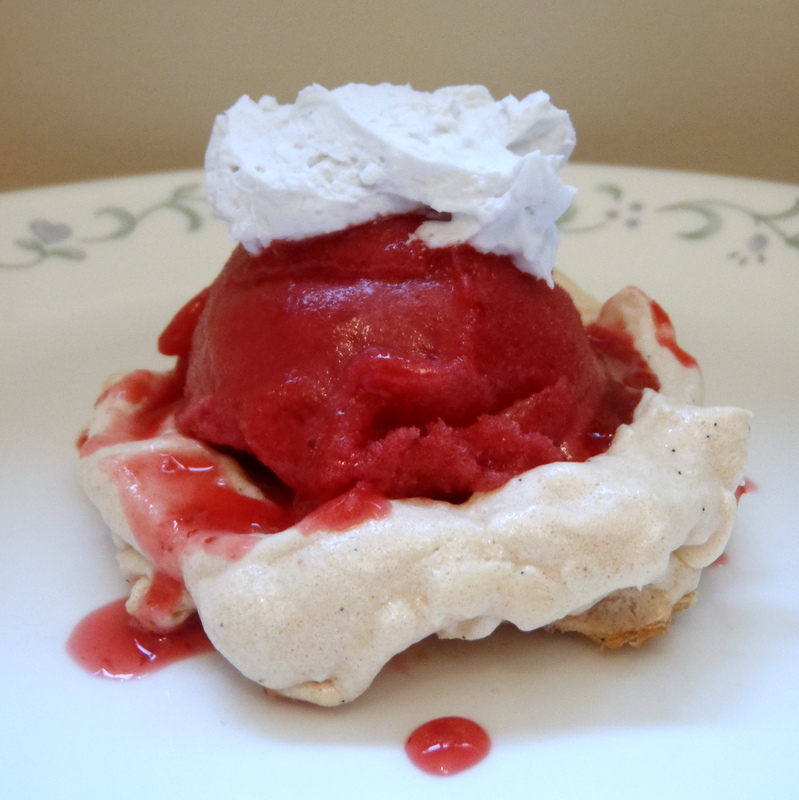
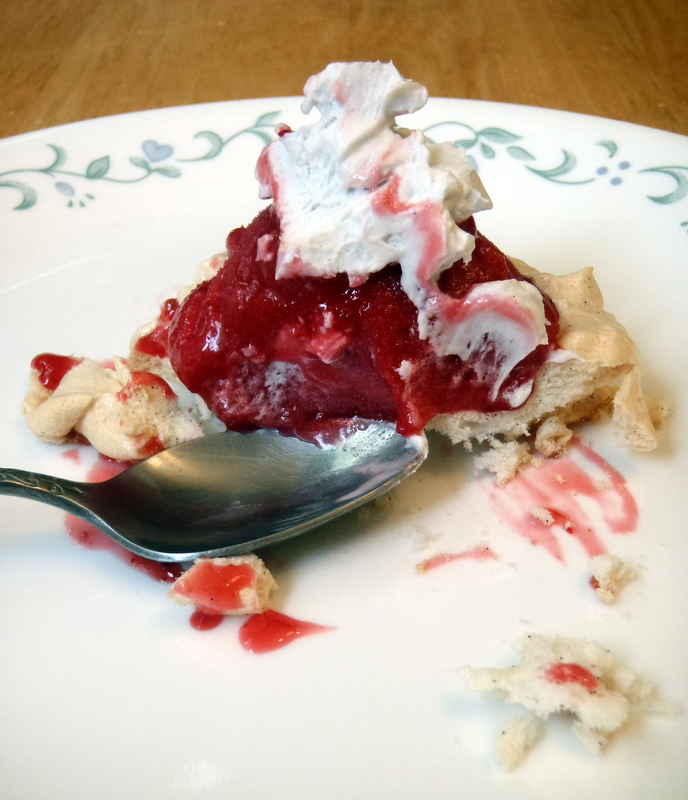
On the following page in her book, there's a gorgeous picture of an Oslo Ambrosia sundae, which consists of a meringue topped with raspberry lingonberry sauce, a scoop of the Cranberry Royale, and topped with cardamon scented whipped cream. I just knew I had to try to make this sundae, if only because it looked so pretty. Instead of making a raspberry lingonberry sauce, though, I just saved a few tablespoons of the sorbet base before it was frozen and added a spoonful of raspberry preserves.
I also used coconut whipped cream instead of dairy whipped cream and should be posting that recipe soon. (Edited to add: here's the post!)

Friday, October 19, 2012
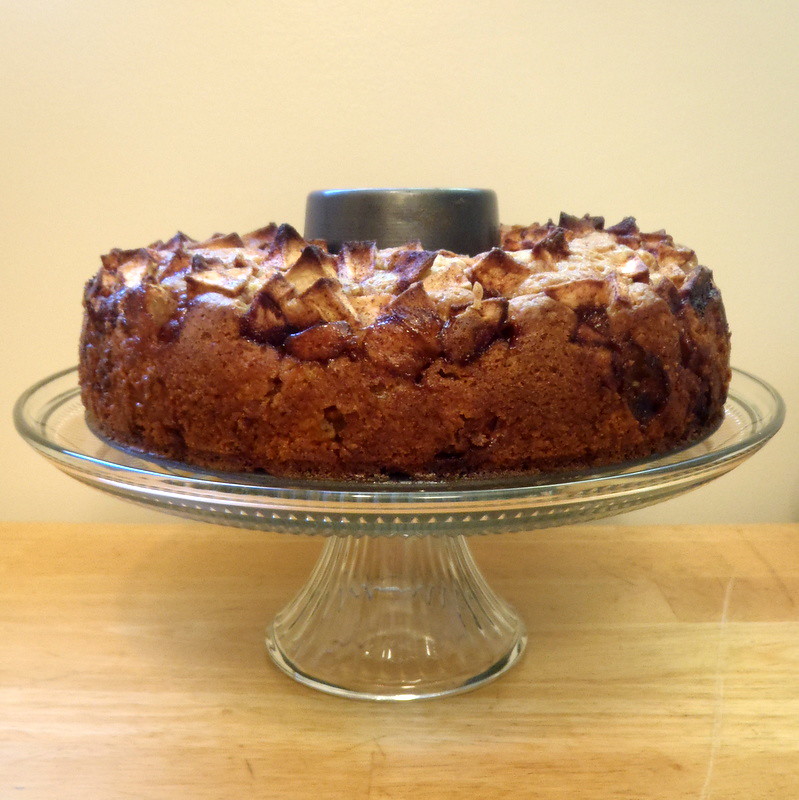
Apple Cake Win
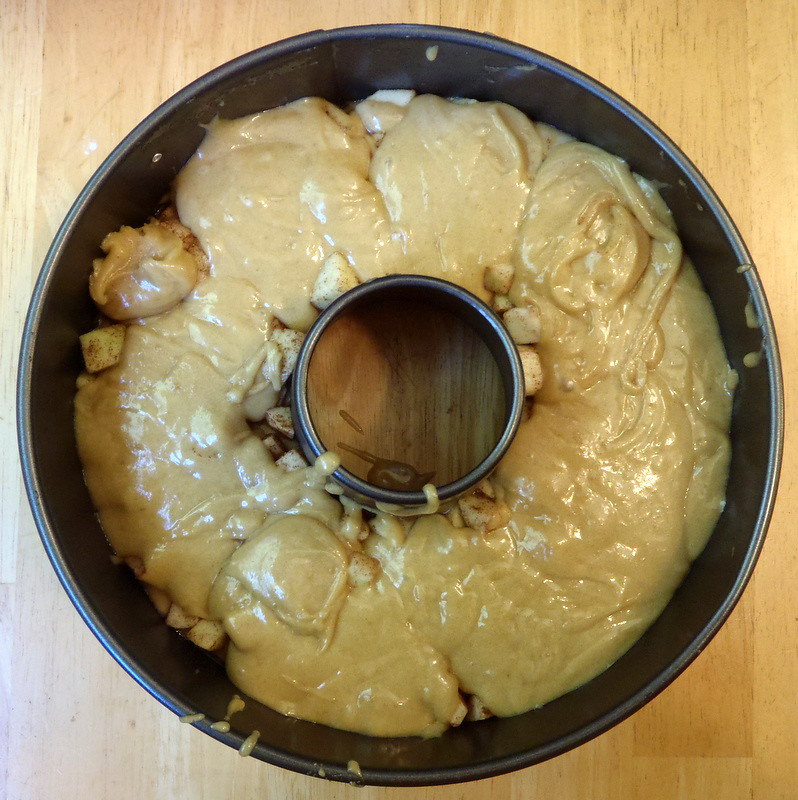
When I found myself in possession of 6 apples (from a combination of apple picking and Boston Organics), I knew it was time for me to redeem myself after this fail a couple of years ago. But first I had to find a tube pan. Luckily, I found one at TJ Maxx that not only was a springform and had a non-stick coating, it also had a second, flat bottom so I could use it was a regular cake pan! And it was only $10! Score!
I remembered my mistakes from before so I tried to follow the recipe more faithfully this time. But I still couldn't resist trying to sneak in some white whole wheat flour and evaporated cane juice in an attempt to make it slightly healthier. Thankfully, it worked out this time. =)
Smitten Kitchen's Mom's Apple Cake
6 apples (I used half McIntosh and half Granny Smith apples)
1 tablespoon cinnamon
5 tablespoons sugar
2 3/4 cups flour (I substituted 3/4 cup of white whole wheat flour)
1 tablespoon baking powder
1 teaspoon salt
1 cup vegetable oil
2 cups sugar (I substituted a cup of Sucanat)
1/4 cup orange juice
2 1/2 teaspoons vanilla
4 eggs
Preheat oven to 350°F. Grease a tube pan.
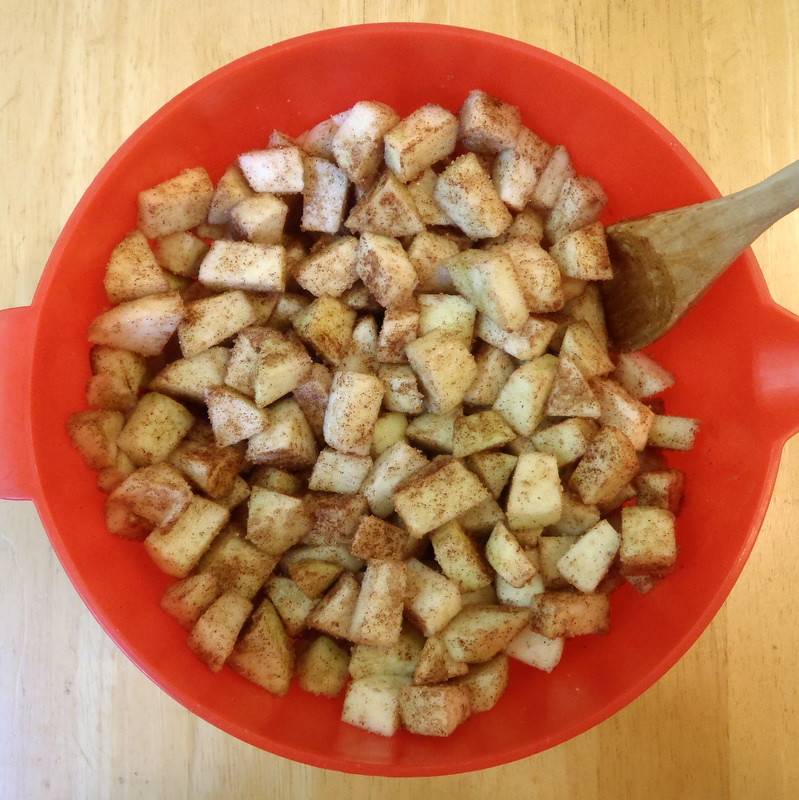
Peel, core and chop apples into chunks. Toss with cinnamon and sugar and set aside.
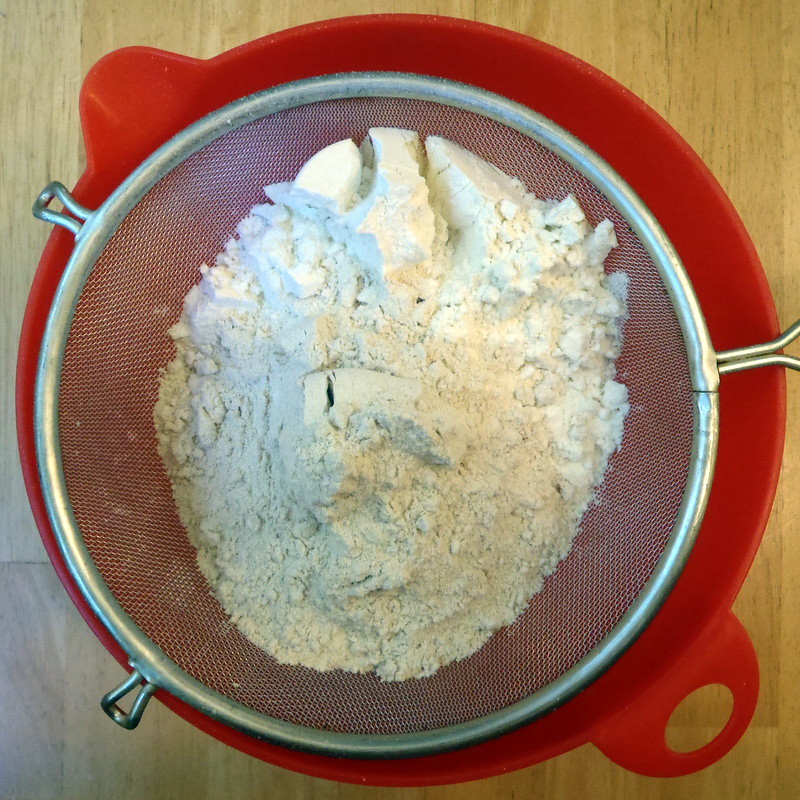
Sift together flour, baking powder and salt in a large mixing bowl.
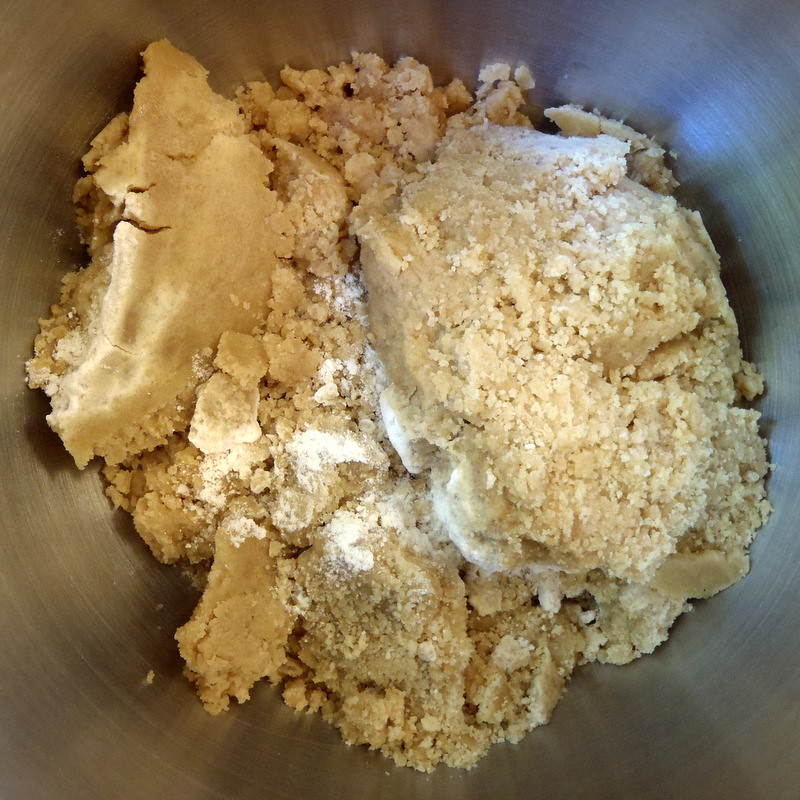
In a separate bowl, whisk together oil, orange juice, sugar and vanilla. Mix wet ingredients into the dry ones, then add eggs, one at a time. (I had to do this in my stand mixer because the batter was so thick.) Scrape down the bowl to ensure all ingredients are incorporated.
Pour half of batter into prepared pan. Spread half of apples over it.
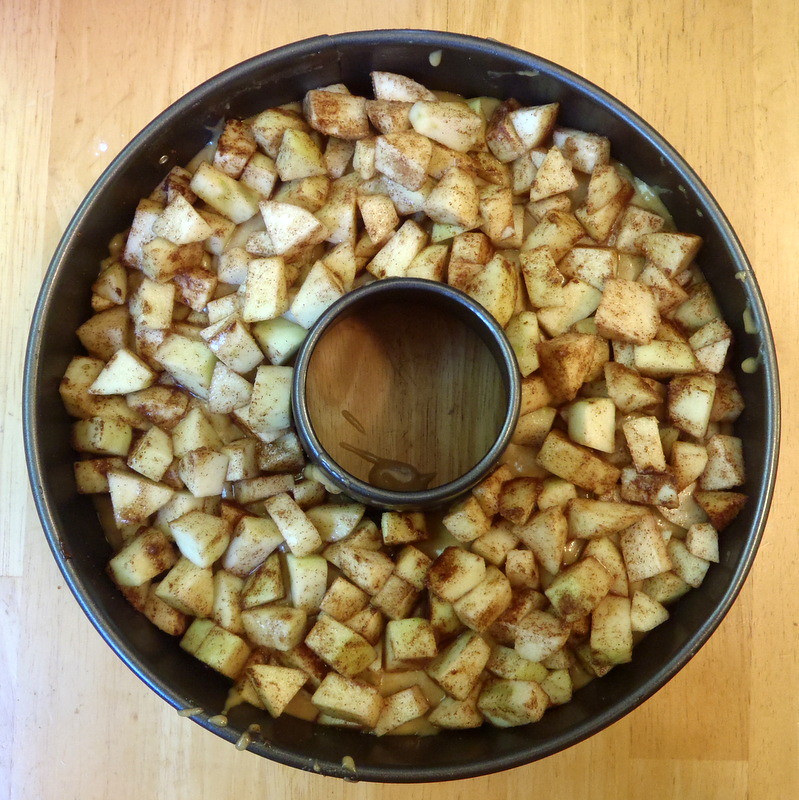
Pour the remaining batter over the apples and arrange the remaining apples on top.
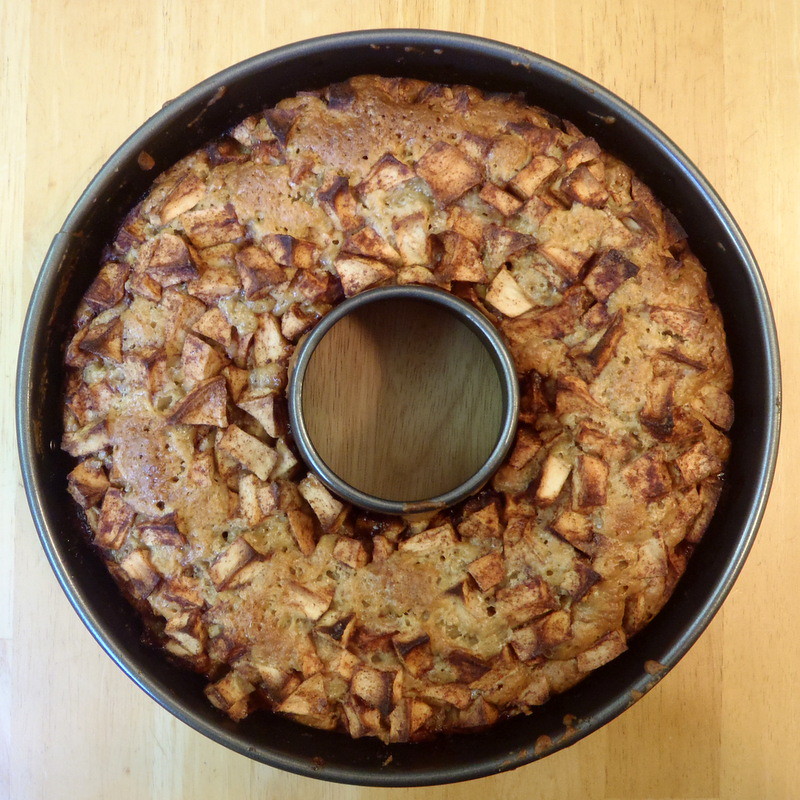
Bake for about 1 1/2 hours, or until a tester comes out clean.
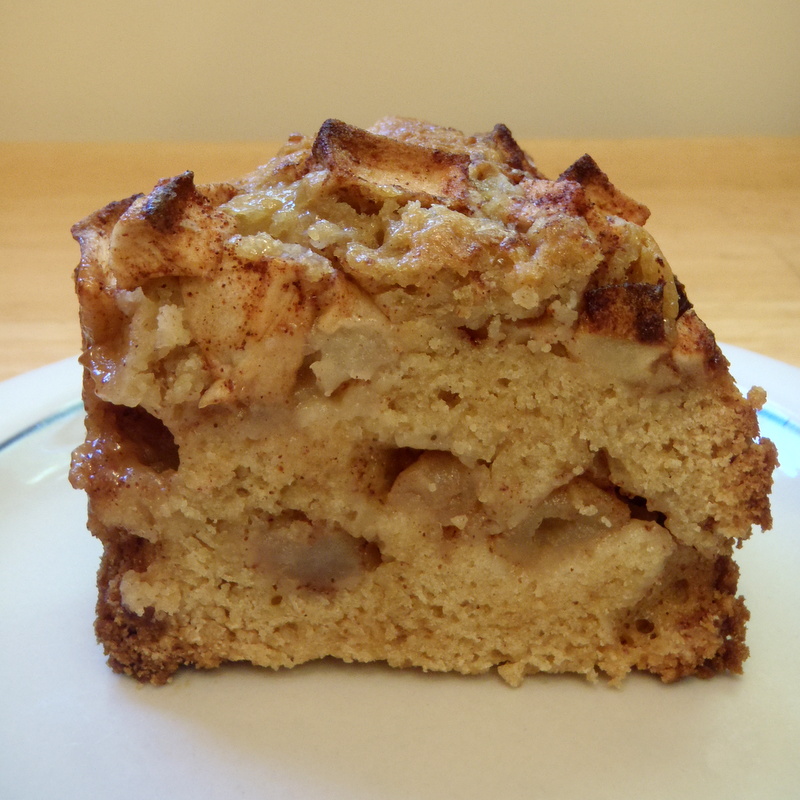
Like Deb said, this cake definitely gets better one the second day, "when the apples juices seep further into the cake." I chose not to top mine with powdered sugar because I always end up either inhaling the powdered sugar or getting it all over my clothes, or both. =)
Wednesday, October 17, 2012
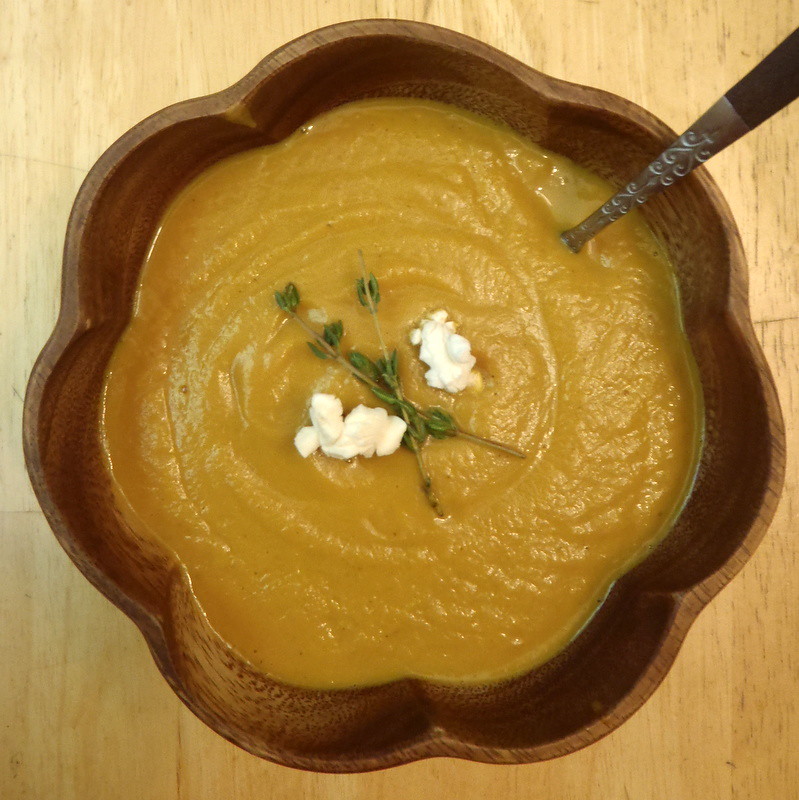
Roasted Carrot Soup
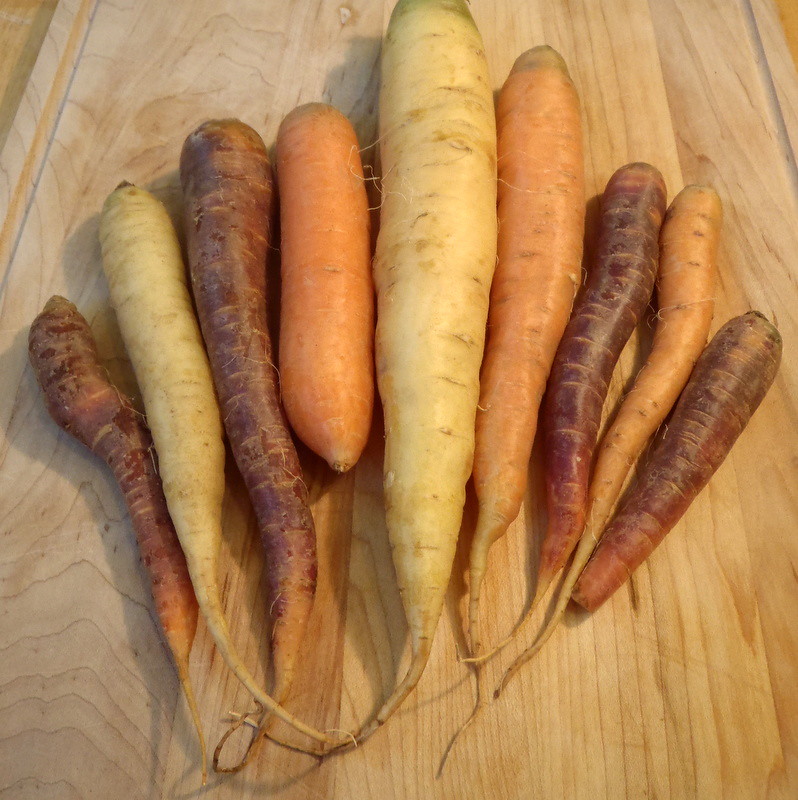
Look at what I got in my last Boston Organics delivery!
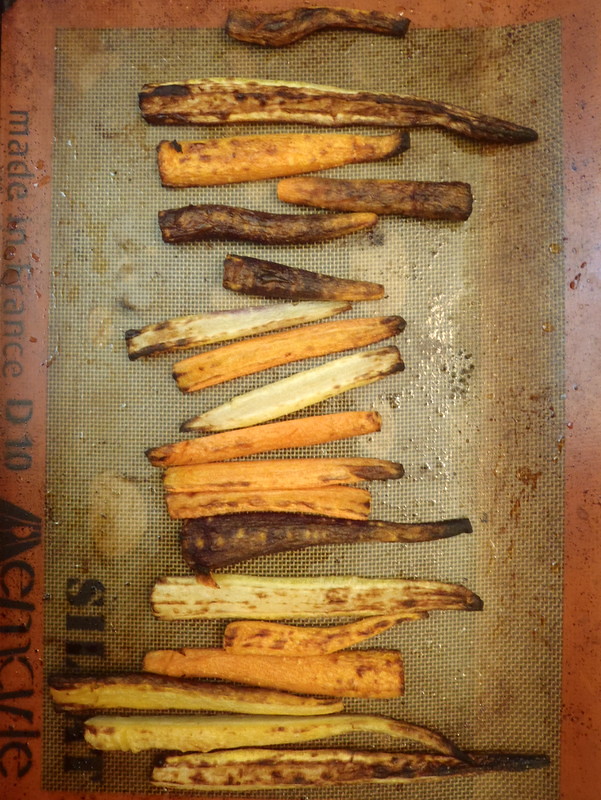
Aren't they cute? I don't even like carrots, and I can't get over how pretty these were. I knew I definitely wanted to roast them because I've always loved how the carrots look in this post on high-heat roasted vegetables from The Kitchn. But I didn't really want to eat them after because, again, I don't like carrots.
Then I found this recipe for roasted carrot soup on Food52 which uses fresh thyme, which I was still trying to use up after the Caramelized Onion and Swiss Chard Quiche and Garlic Thyme Popcorn, and everything magically fell into place. ^_^
Roasted Carrot Soup (adapted from Food52)
makes 4 servings
1 1/4 lbs. carrots (about 9 small carrots)
1/4 cup olive oil
Kosher salt
4 cups vegetable stock (good quality, not too high in sodium)
1 piece ginger, an inch long, peeled
1 sprig thyme, plus more for garnish
1 small sweet onion, chopped
2 large garlic cloves, chopped
Freshly ground black pepper
Popcorn (optional)
Peel the carrots, and halve or quarter the larger carrots lengthwise so that they are all about 1/2-inch thick.
On a rimmed baking sheet, toss the carrots with 2 tablespoons of the olive oil and sprinkle generously with salt.
Set an oven rack 6 to 8 inches from the heat source and turn on the broiler. Broil the carrots until they brown and soften, turning them over with tongs every 5 minutes or so; this should take 15 to 20 minutes. Once the carrots have cooled, chop them up into bite-sized pieces.
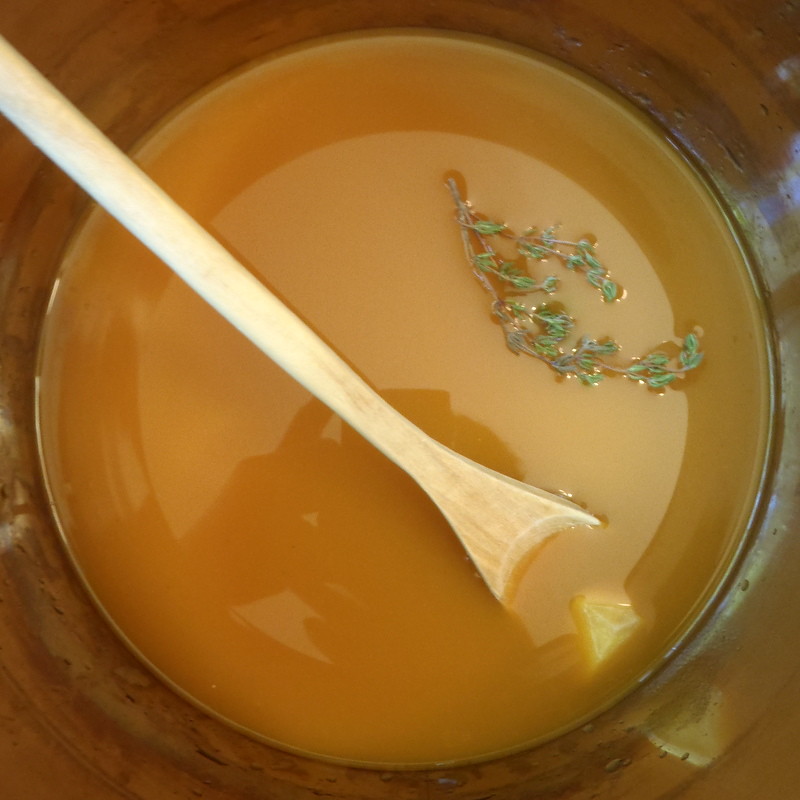
Meanwhile, bring the stock to a boil, add the ginger and the sprig of thyme and simmer gently for 15 minutes.
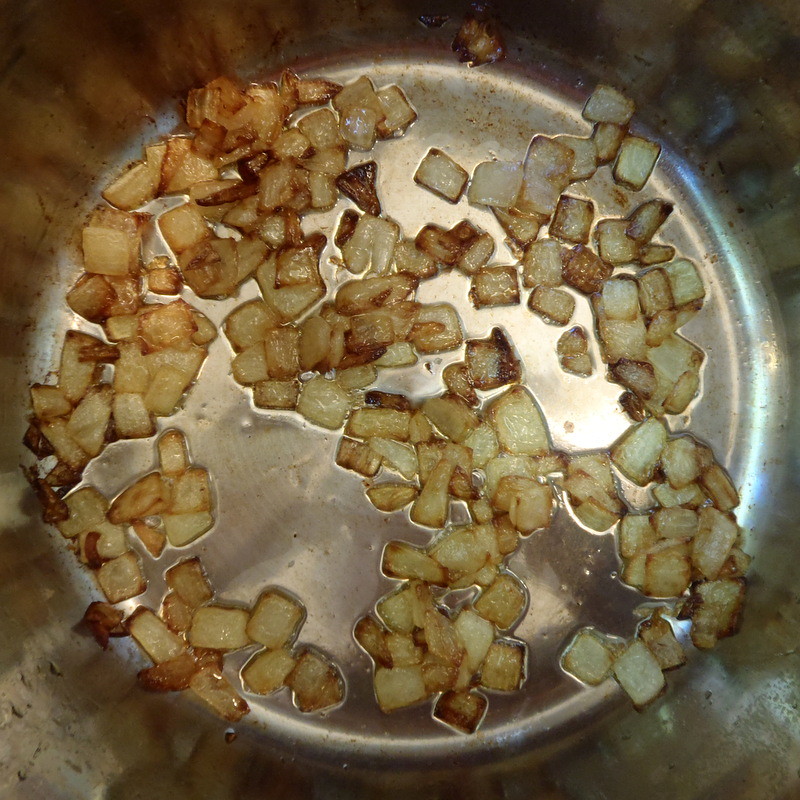
Put the onion in a medium stock pot with the remaining olive oil. Brown the onion over medium heat, stirring frequently.
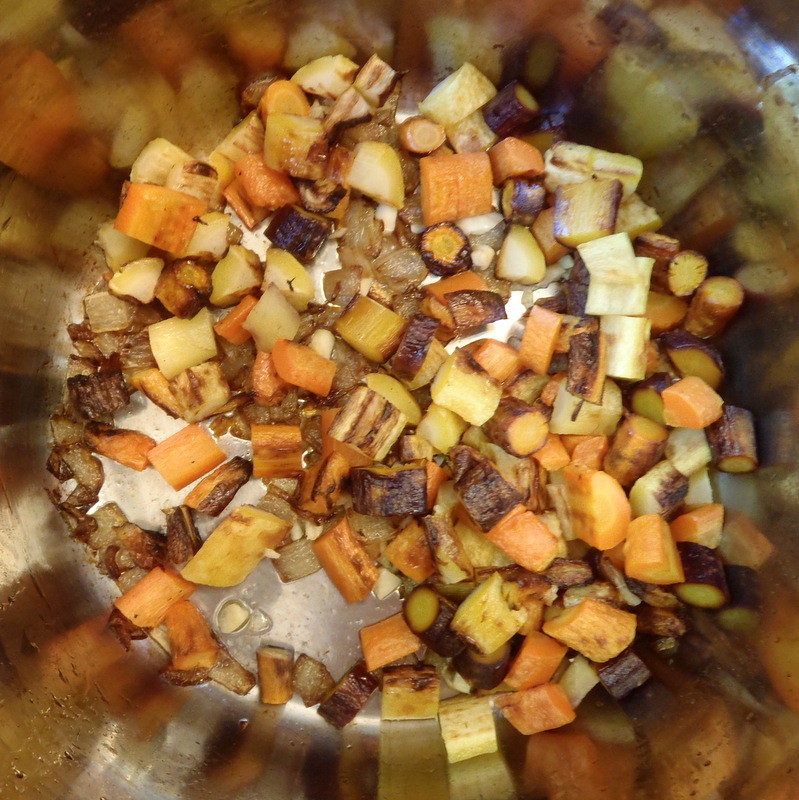
Add the garlic and then add the carrots to the onions once they have browned.
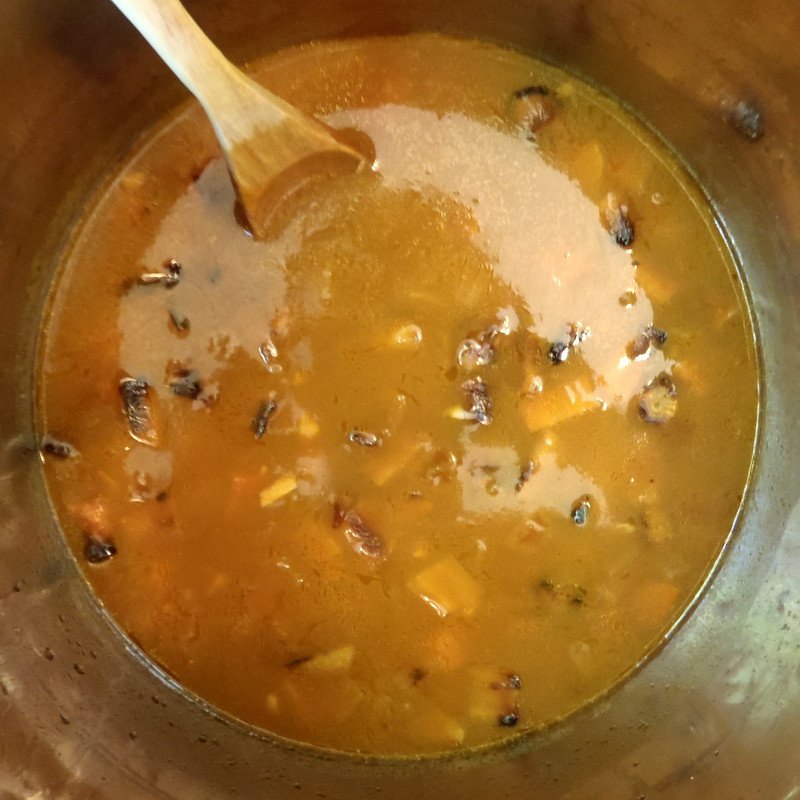
Remove the ginger and thyme from the stock and add the stock to the pot with the onions and carrots. Bring to boil and simmer for 5 to 10 minutes, until the carrots are soft enough to puree.
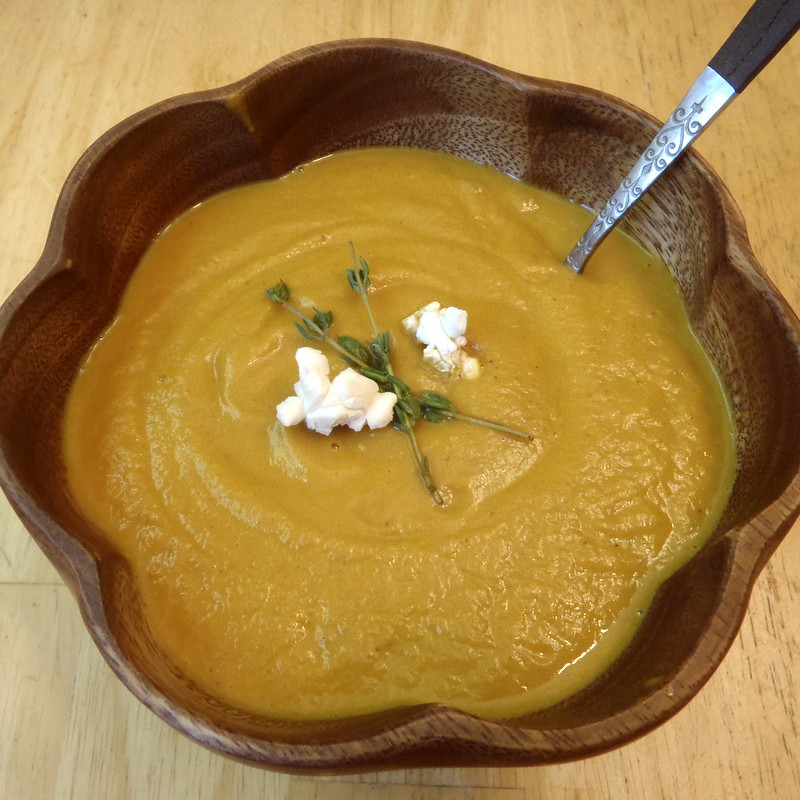
Use an immersion or a standard blender to puree the mixture until smooth. If the soup seems too thick, add more stock or water and reheat gently. Add salt and pepper to taste. To serve, garnish with fresh thyme and a few pieces of popcorn.
The final verdict: I liked how creamy the soup was even without any added cream. But it still tasted like carrots. =/ If you like carrots, you'll like this soup. In the meantime, I think I'll stick to making Carrot Cake Cupcakes with Orange Cream Cheese Frosting, Carrot Cake Ice Cream, or Curried Carrot Soup the next time I get carrots. Or maybe I should just put carrots on my no-list again.
Aren't they cute? I don't even like carrots, and I can't get over how pretty these were. I knew I definitely wanted to roast them because I've always loved how the carrots look in this post on high-heat roasted vegetables from The Kitchn. But I didn't really want to eat them after because, again, I don't like carrots.
Then I found this recipe for roasted carrot soup on Food52 which uses fresh thyme, which I was still trying to use up after the Caramelized Onion and Swiss Chard Quiche and Garlic Thyme Popcorn, and everything magically fell into place. ^_^
Roasted Carrot Soup (adapted from Food52)
makes 4 servings
1 1/4 lbs. carrots (about 9 small carrots)
1/4 cup olive oil
Kosher salt
4 cups vegetable stock (good quality, not too high in sodium)
1 piece ginger, an inch long, peeled
1 sprig thyme, plus more for garnish
1 small sweet onion, chopped
2 large garlic cloves, chopped
Freshly ground black pepper
Popcorn (optional)
Peel the carrots, and halve or quarter the larger carrots lengthwise so that they are all about 1/2-inch thick.
On a rimmed baking sheet, toss the carrots with 2 tablespoons of the olive oil and sprinkle generously with salt.
Set an oven rack 6 to 8 inches from the heat source and turn on the broiler. Broil the carrots until they brown and soften, turning them over with tongs every 5 minutes or so; this should take 15 to 20 minutes. Once the carrots have cooled, chop them up into bite-sized pieces.
Meanwhile, bring the stock to a boil, add the ginger and the sprig of thyme and simmer gently for 15 minutes.
Put the onion in a medium stock pot with the remaining olive oil. Brown the onion over medium heat, stirring frequently.
Add the garlic and then add the carrots to the onions once they have browned.
Remove the ginger and thyme from the stock and add the stock to the pot with the onions and carrots. Bring to boil and simmer for 5 to 10 minutes, until the carrots are soft enough to puree.
Use an immersion or a standard blender to puree the mixture until smooth. If the soup seems too thick, add more stock or water and reheat gently. Add salt and pepper to taste. To serve, garnish with fresh thyme and a few pieces of popcorn.
The final verdict: I liked how creamy the soup was even without any added cream. But it still tasted like carrots. =/ If you like carrots, you'll like this soup. In the meantime, I think I'll stick to making Carrot Cake Cupcakes with Orange Cream Cheese Frosting, Carrot Cake Ice Cream, or Curried Carrot Soup the next time I get carrots. Or maybe I should just put carrots on my no-list again.
Monday, October 15, 2012
Magical Pumpkin Spice Latte
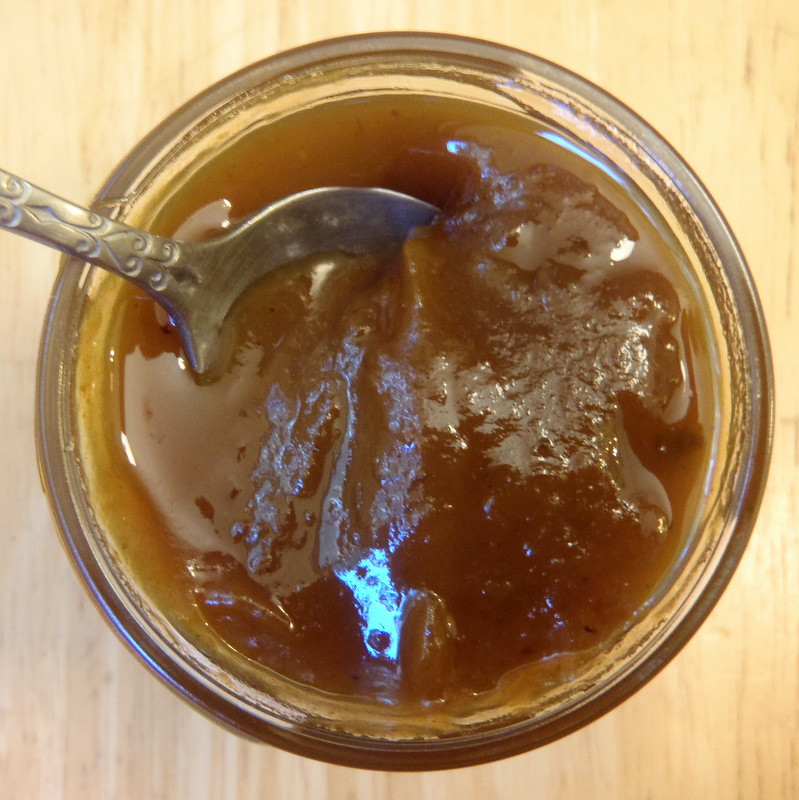
Now that I had my morning magical coffee routine down pat, I wanted to see if I could make a pumpkin spice latte with the magical coffee. There's quite a few recipes on-line which use pumpkin puree, sugar, and store bought pumpkin spice, but I decided to mix it up a little and use pumpkin butter (I got mine from Trader Joe's) instead of the puree and sugar and make my own pumpkin spice since I had all the ingredients already.
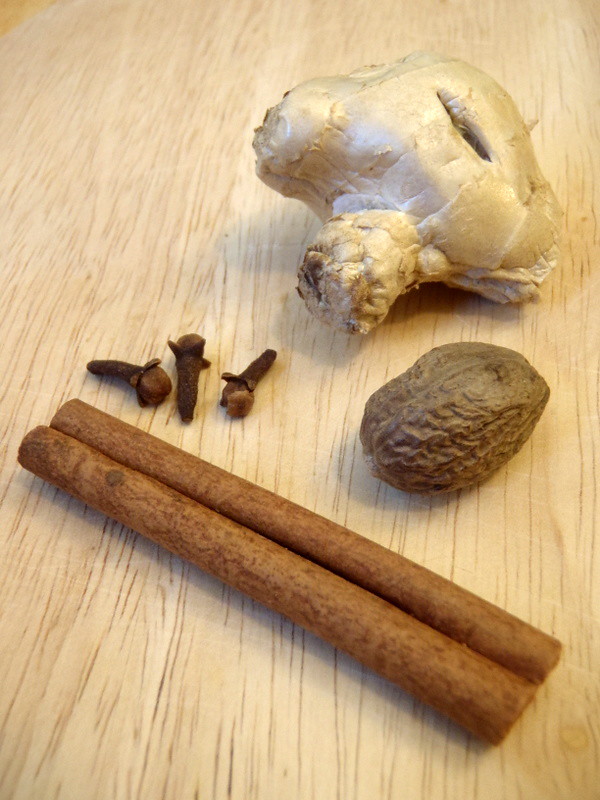
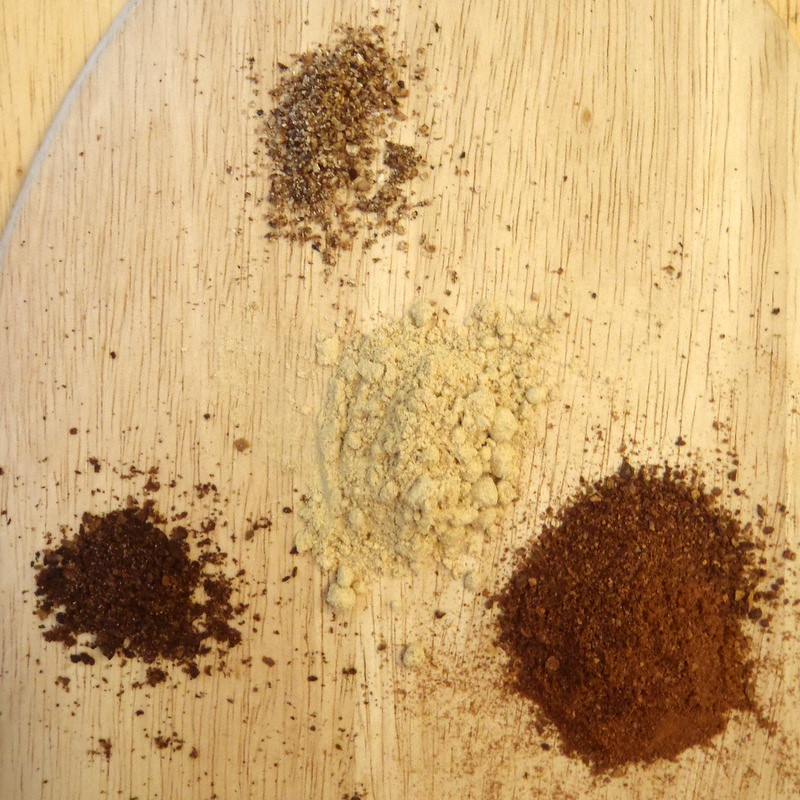
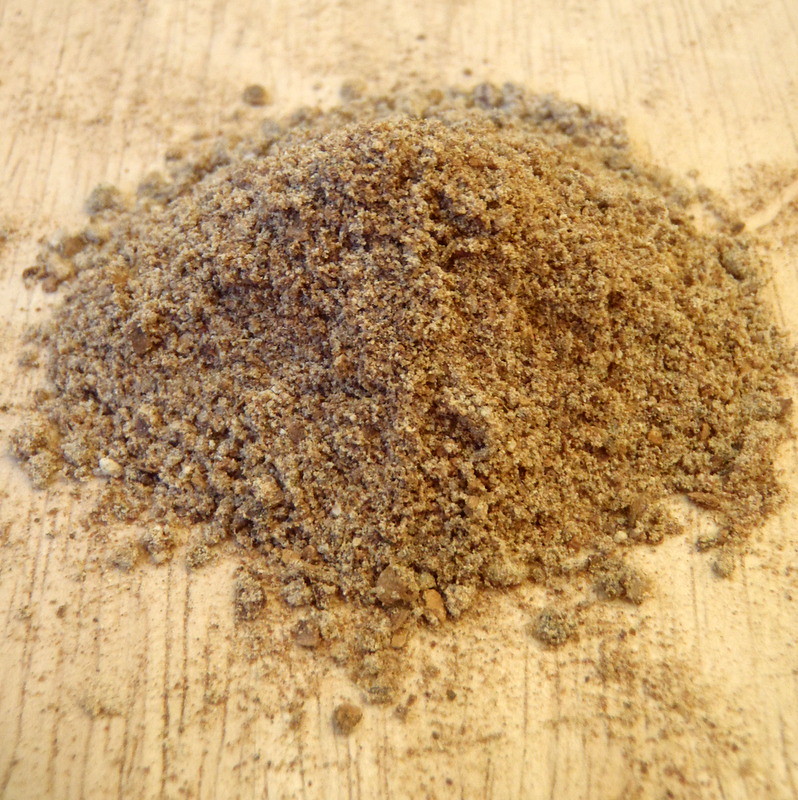
For the pumpkin spice, I ground up a tablespoon of cinnamon, a half teaspoon of nutmeg, and a half teaspoon of cloves and added a teaspoon of ground ginger.
For an easy, iced magical pumpkin spice latte, I cold brew a half cup of coffee with a teaspoon of pumpkin spice, 2 tablespoons of brown sugar, and 2 cups of water.
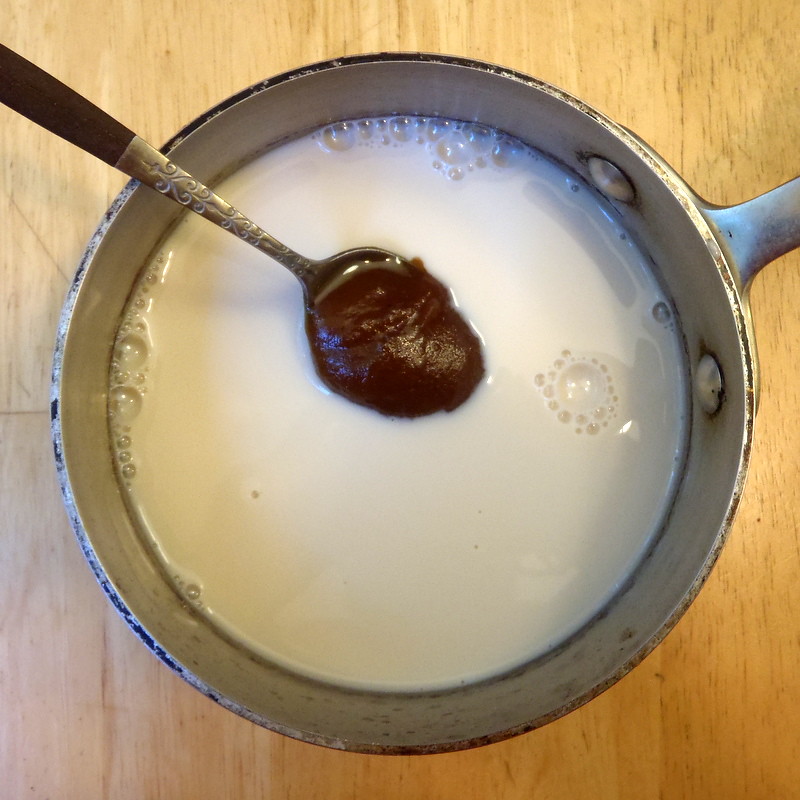
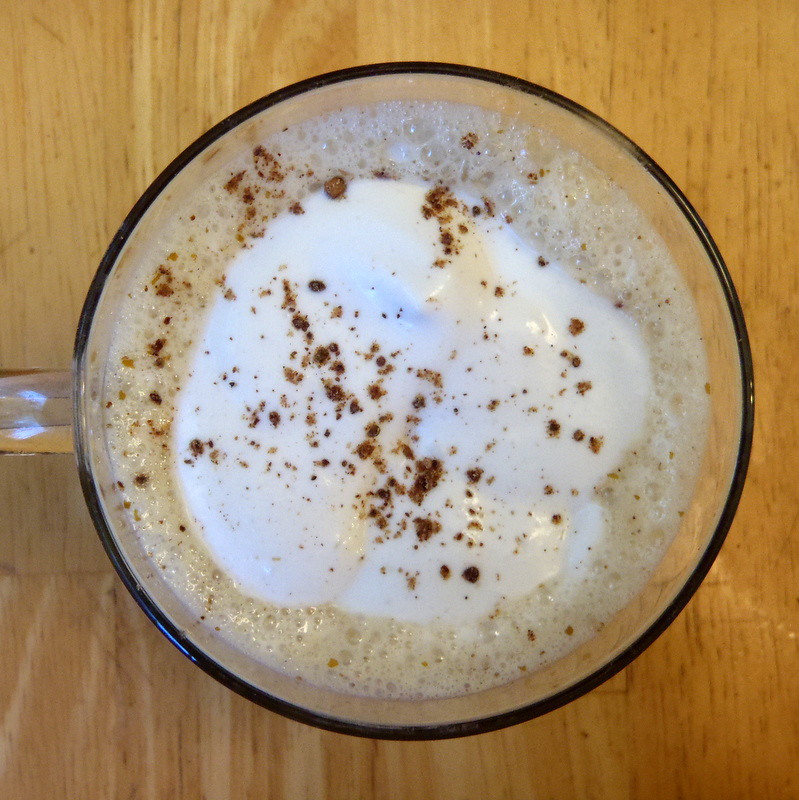
Then I spoon some of the pumpkin butter into a mug, add a dash of the magical coffee and stir so that the pumpkin butter is dissolved. I add more coffee and vanilla soy milk, and if I'm feeling decadent, some coconut whipped cream and top it off with a little more pumpkin spice.
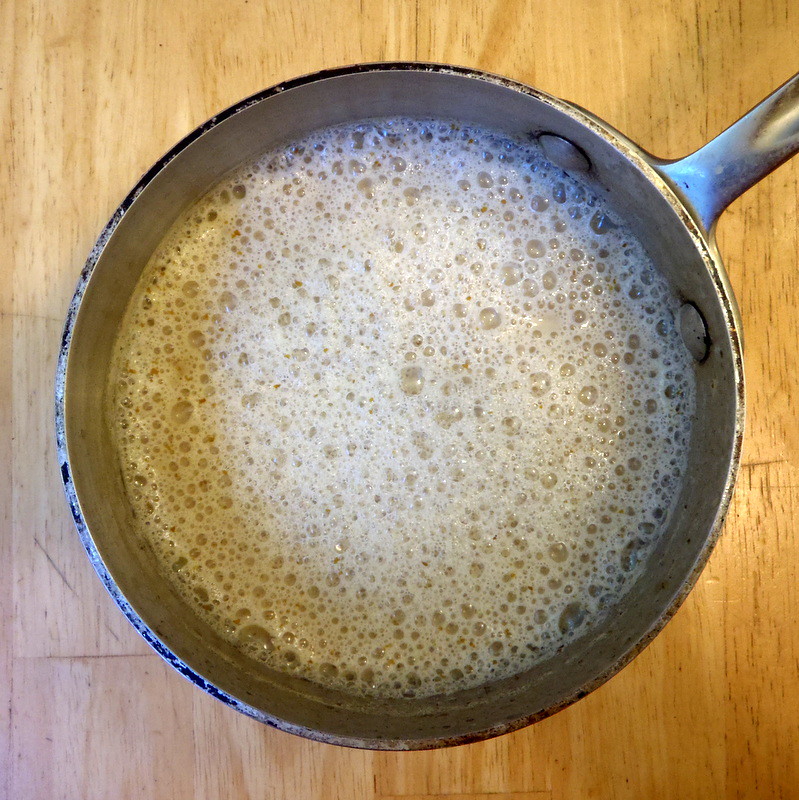
When I want a hot pumpkin spice latte, I make an extra strong cold brew since I'm going to be diluting it with a lot of hot milk. I heat up vanilla soy milk and pumpkin butter until it just starts to simmer and then whip it up so it's nice and frothy.
Transfer the pumpkin milk to a mug and add the extra strong magical coffee, topping off with coconut whipped cream and pumpkin spice.
Since the pumpkin butter, vanilla soy milk, and magical coffee already contain sugar, I find that I don't need to add any more, but feel free to add more sweetener to taste. I like that this homemade pumpkin spice latte isn't super sickening sweet like the Starbucks' one and doesn't have that weird fluorescent orange color either.
As another option, you can make a pumpkin spice frappuccino by blending ice with extra strong cold brew, pumpkin butter, and milk. I've found that the pumpkin butter is also excellent on toasted amnesty bread. =)
Subscribe to:
Posts (Atom)