Monday, June 17, 2013

Homemade Cronuts


I got a request from a friend last week to make some cronuts so that he would know whether or not they were worth waiting in line for at Dominique Ansel's bakery.  If you haven't heard of the cronut yet, it's a cross between a croissant and a donut created by Ansel.  Basically, croissant dough is cut into a donut shape, deep-fried, filled with pastry cream, and then glazed on top.  Only 200-250 are made a day so now there's a whole black market for them with some scalpers selling them for upwards of $40 per cronut (normally priced at $5).  Crazy, right?

At first I was hesitant to make my own because from my previous experience with making croissants, it would take at least 2.5 days, but then while surfing the web for other bloggers' attempts at home, I found this post using "20 minutes croissant dough".  That sounded much more feasible!

I made a few changes to the original recipe:  instead of using a food processor to cut the butter into the flour, I grated frozen sticks of butter and then added that to the flour mixture, partly because my food processor is too small to handle the volume of butter and flour in the recipe and partly because it was fun to do.

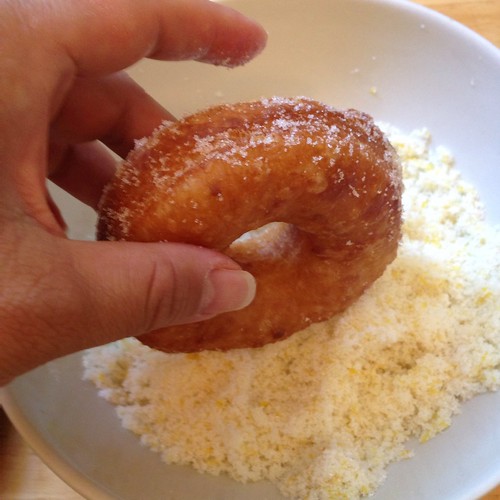
Instead of using caster sugar (a finer sugar than granulated, but not as fine as confectioner's), I used plain granulated sugar for the lemon sugar.  I realized my mistake when I had a hard time making the lemon sugar stick to the just-fried donuts.  Since caster sugar isn't readily available in the States, I'd recommend using a food processor to grind regular granulated sugar into a super-fine, but not powdered, consistency.

Lastly, I tried making the filling in the recipe, but it came out way too thin and drippy for me to consider piping into the cronut.  I guess I was expecting something more the consistency of the cream inside a Dunkin' Donuts Boston Cream donut, which is basically pudding-like.  The filling I made was already dripping out of the pastry bag before I could even apply any pressure to it!  So I ended up just rolling the cronuts in the lemon sugar and glazing it with the lemon icing.  I think it would've been nice to have had a cream filling, but it was fine without it, too.


Lemon Glazed Cronuts (adapted from The Boy Who Bakes)
makes about 10 large cronut, 6 medium size cronuts and 16 mini-cronuts

For the cronuts
120 ml milk, 90-95°F
130 ml water, 90-95°F
12 g dry active yeast
250 g all-purpose flour
250 g bread flour
60 g sugar
1 teaspoon salt
300 g unsalted butter, frozen

For the lemon sugar and glaze
75 g sugar
1 lemon
Confectioner's sugar

Place the milk, water and yeast into a small bowl and mix to combine, set aside. Place the flours, sugar, and salt into a large bowl and mix to combine.


Grate the butter using the largest holes of a grater and toss with the flour mixture once you get a handful grated butter.  Keep grating and tossing with the flour mixture so that the butter doesn't clump together.

Once all the butter has been tossed into the flour mixture, add the yeast solution and stir gently just until combined, trying to moisten everything without making the butter any smaller. Gently knead the dough until it comes together into a ball.  Cover the bowl and let the dough rest in the refrigerator for a few hours.


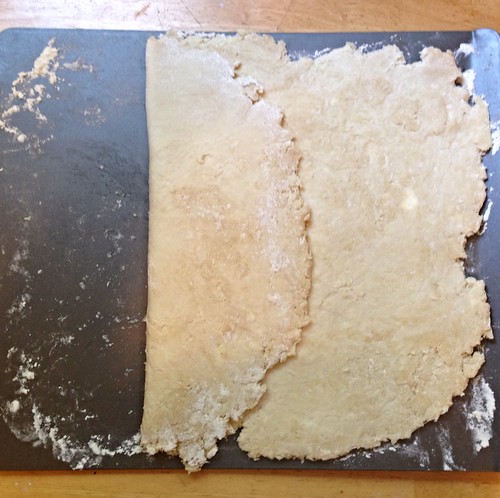
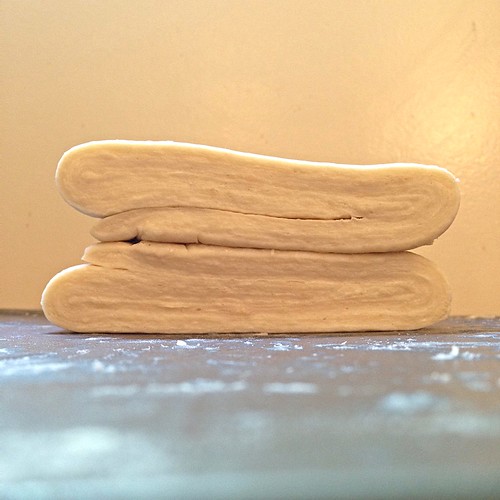
After the dough has rested place it on a well floured work surface. Roll the dough out into a roughly 15"x15" square. Fold the dough in thirds, like a business letter, brushing off any excess flour.  Turn the dough 90° and repeat the rolling,folding, and rotating process two more times, giving the dough a total of three turns.


Using a sharp knife, cut the rectangle in half crosswise.  Wrap both pieces of dough in plastic wrap and refrigerate overnight before using.


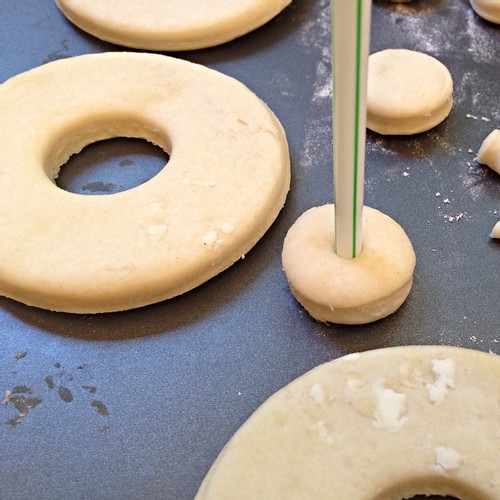
The next day, roll out one of the two pieces of dough to about 1 cm thick, much thicker than you would roll the dough if making a croissant. Using a 3 1/2" cookie cutter (I used a large jar lid), cut out 5 donuts and then using a 1" cutter cut out the holes.


If you want, cut out a hole in the 1" circle with a straw to make mini-cronuts.  I also cut out medium-sized cronuts from the scrap dough.  Repeat with the other piece of dough.  Allow the cronuts to proof at room temperature while you prepare the lemon sugar and lemon glaze.


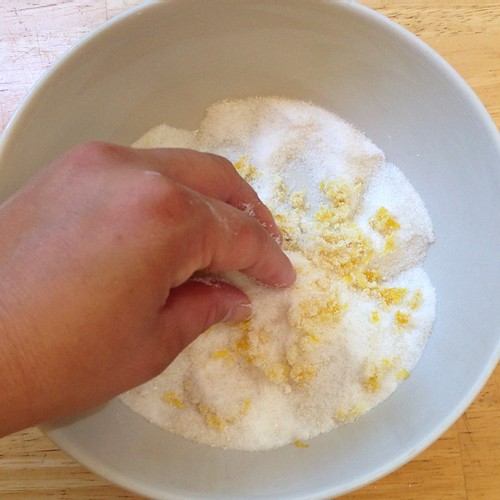
To make the lemon sugar, add the sugar to a food processor and grind until the sugar has a super-fine consistency but is not yet powdered.  Carefully empty the contents into a wide bowl.  Zest the lemon, and add the lemon zest to the sugar.  Rub the zest and the sugar together until thoroughly mixed.  Cover and set aside.


To make the glaze, juice the lemon.  Add enough confectioner's sugar to the lemon juice until you have a thick, pipeable mixture; you are looking for a thickness similar to toothpaste. I think I ended up using over 2 cups of confectioner's sugar, although I stopped keeping track after a while.  Press plastic wrap onto the surface of the glaze to prevent it crusting over and set aside until needed.


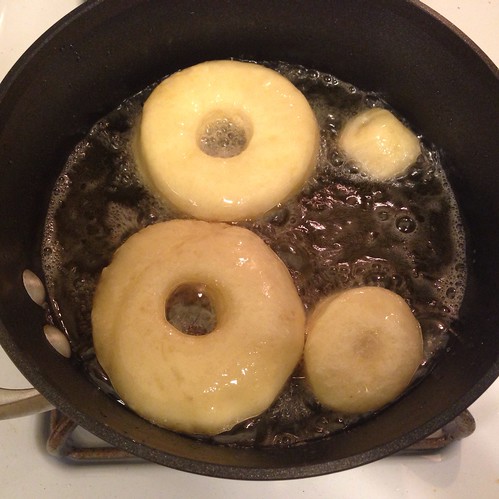
When ready to fry fill a thick bottomed saucepan two thirds full with vegetable oil and place over medium heat and bring to 170°C. When at temperature fry the cronuts two at a time (I also put in a few of the smaller cronuts in at the same time).


Fry the cronuts for a couple minutes each side, or until deep golden brown.


Using a metal slotted spoon remove from the pan and place onto a wire rack set over paper towels. Once cooled enough to handle roll the outside of the cronuts in the lemon sugar, set aside to cool completely.


For the decoration place the glaze into a piping bag, snip off the end, and pipe a ring around the top.  Serve immediately.


So the verdict?  When I took my first bite, it reminded me of something else, but I couldn't quite put my finger on it.  Then I realized, it tasted a lot like the sugared donut holes you sometimes see at Chinese buffets.  Which, don't get me wrong, are delicious.  But I'm not sure making a cronut was worth all the effort, even though I had only made a simplified version.


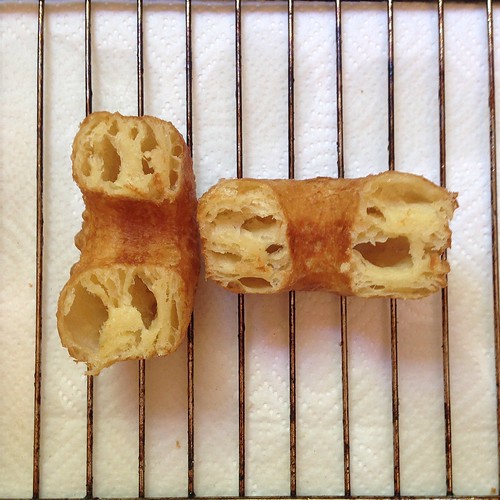
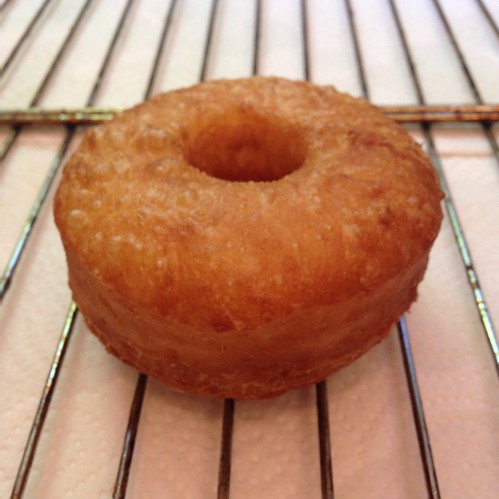
As you can see from the cross-section, I didn't really get the layers you expect from a croissant dough, although there was definitely plenty of air pockets.  If anything, the texture reminded me of the lilikoi malasadas I made, which while really delicious, are definitely not worth $40.

If I were to ever really crave a cronut, I'd probably just pick up a package of frozen croissants from Trader Joe's, thaw them in the fridge, roll and cut them out, and then let them proof before frying them.

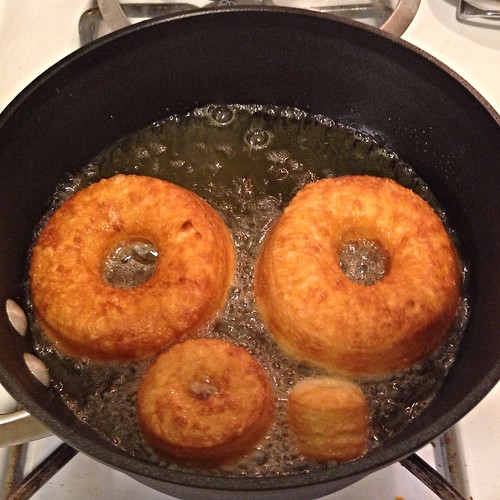
Update:  So the other day while I was cleaning out my freezer, I happened upon some of the homemade croissant dough that I had stashed away and forgotten about.  I saw no other option than to try making cronuts out of it, and the result was drastically different than my above attempt with the "20 minute" croissant dough.  Just look at this:


Even without a pretty ring of glaze you can immediately see how much better it looks with all the different layers.  The texture was a lot crispier, and my friend Christine took to eating her cronut layer by layer, which would've been impossible with the other cronuts I made.  This time I also filled the middle with some coconut whipped cream sweetened with lemon sugar.  The whole thing was still a little too greasy for me, but I'm glad I tried it out nonetheless.

Next:  Mango Coconut Rice Pudding Pops
Previously:  Bucatini all'Amatriciana
Three years ago:  Elote (Grilled Mexican Corn)
Friday, June 14, 2013

Bucatini all'Amatriciana


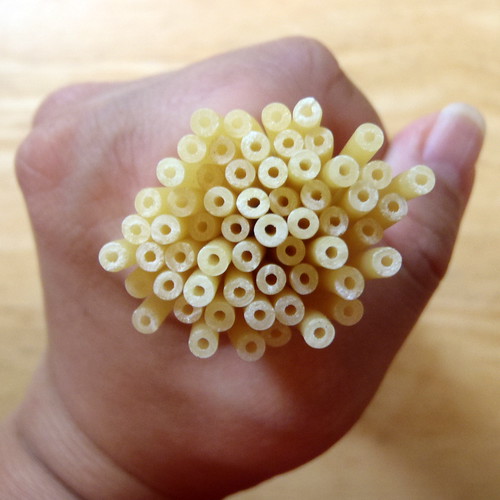
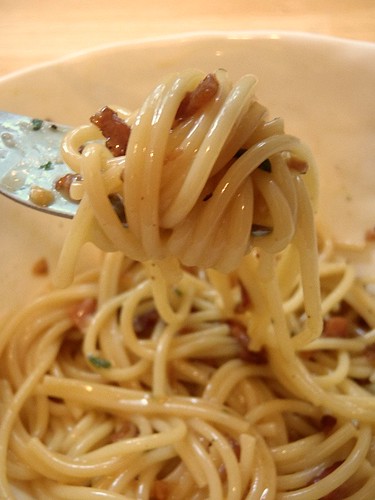
It was our last day in Rome, and I knew exactly what I wanted to eat for dinner:  bucatini all'amatriciana.  I had read that, along with spaghetti carbonara, it was another pasta specialty of Rome.  Bucatini is a long, hollow pasta, kind of like a very narrow straw.  Cooking it all'amatriciana means pairing it with a tomato, guanciale, and pecorina based sauce.  I really wanted to try this fun new shape of pasta, and after having tasted what guanciale can do for carbonara, really wanted to taste it in a tomato sauce.


It was only late afternoon, way too early for a proper Italian dinner, but we had to catch the shuttle back to our hotel, so we found a sidewalk cafe in between two gelaterias we wanted to try:  Grom and Giolitti.  The restaurant's menu advertised a special for bucatini all'amatriciana along with bruschetta and a drink.  Ces and I decided to share the special, and I ordered a Fanta, which in Rome was much more like an Orangina than the disgustingly artificial Fanta we have in the States.

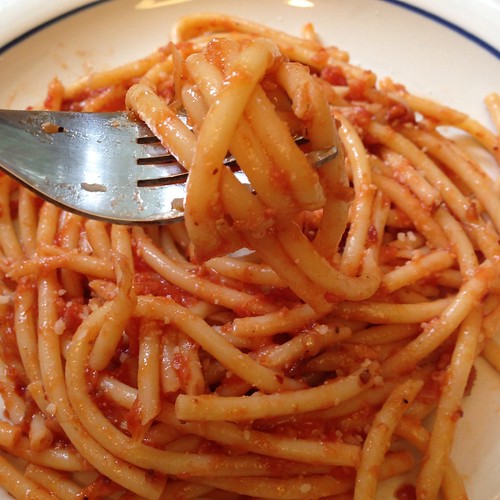
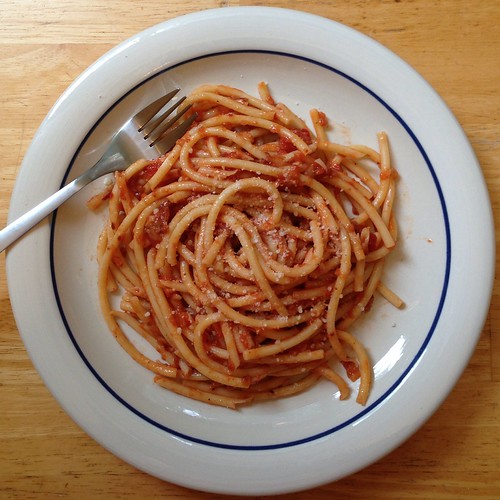
The bucatini came out, and we tucked in.  To say that we liked it would be a gross understatement.  It was so good, I totally forgot to take a picture of it.  I didn't even take down the name of the restaurant, and sadly, I can't seem to find it on Google Maps even though I know exactly where it is.  The bucatini was as fun to eat as I imagined, and the taste of the sauce haunted me all the way through customs in America.


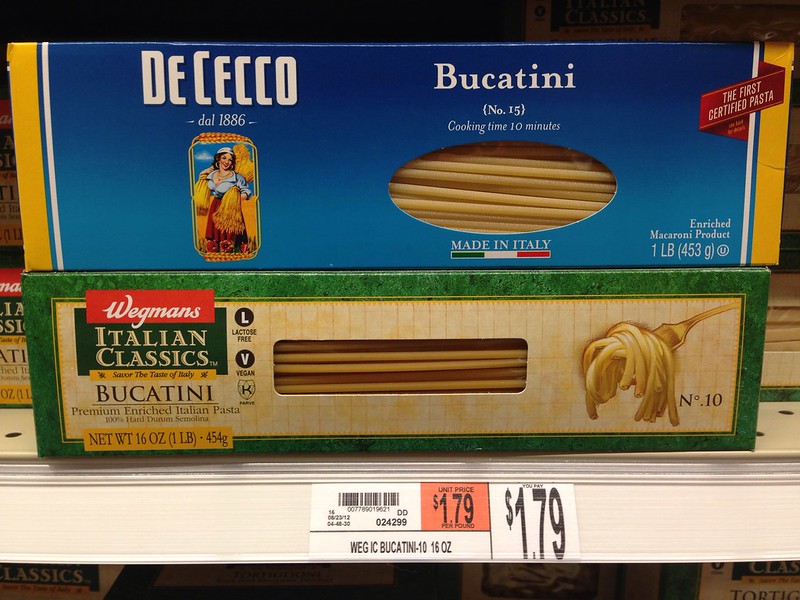
I knew I had to try to make it back home, and luckily I had found a box of bucatini at a grocery store in Rome for only 89 cents.  There were a couple of different packages of bucatini at the Fiumicino airport going for €4-5, and I was almost tempted to pick up another package.  Thankfully, I didn't, because I managed to find two brands of bucatini being sold at Wegmans, and for much cheaper!  Isn't Wegmans the best?


Bucatini all'Amatriciana (adapted from Bon Appétit)
makes 4 servings

2 tablespoons extra-virgin olive oil
4 oz. thinly sliced guanciale, pancetta, or chopped unsmoked bacon
1/2 teaspoon crushed red pepper flakes
1/2 teaspoon freshly ground black pepper
3/4 cup minced onion
2 cloves garlic, minced
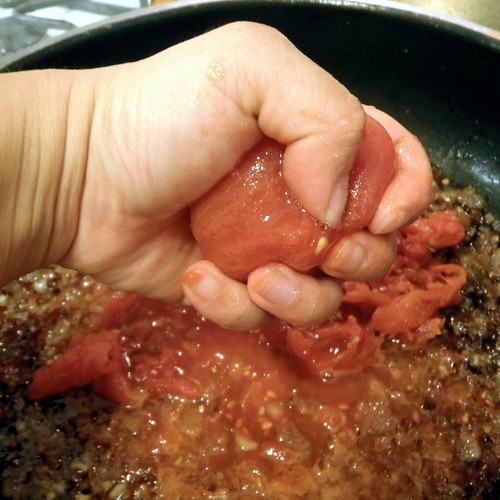
1 28-oz. can peeled tomatoes with juices, crushed by hand
Kosher salt
12 oz. dried bucatini
1/4 cup finely grated Pecorino (about 1 oz.)

Heat oil in a large heavy skillet over medium heat. Add guanciale and sauté until crisp and golden, about 4 minutes. Add pepper flakes and black pepper; stir for 10 seconds. Add onion and garlic; cook, stirring often, until soft, about 8 minutes.

 
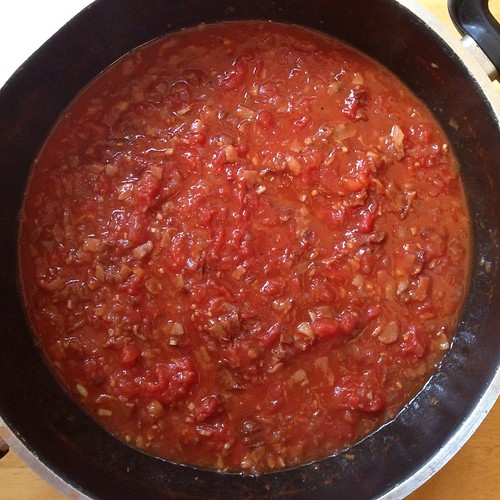
Add tomatoes, reduce heat to low, and cook, stirring occasionally, until sauce thickens, 15-20 minutes.  If desired, purée the sauce in a blender or with an immersion blender. 


Meanwhile, bring a large pot of water to a boil. Season with salt; add the pasta and cook, stirring occasionally, for 9 minutes. Drain, reserving 1 cup of pasta cooking water.


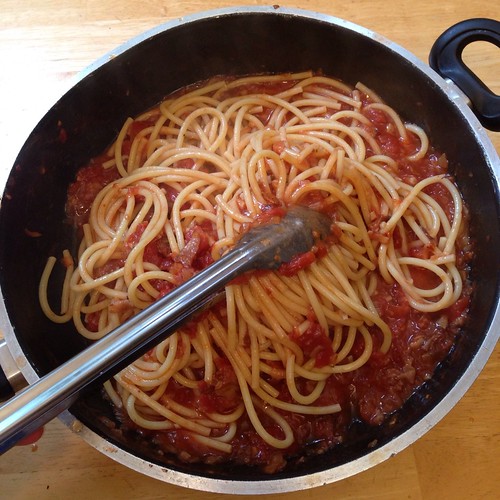
Add drained pasta to sauce in skillet and toss vigorously with tongs to coat. Add 1/2 cup of the reserved pasta water and cook until sauce coats pasta and pasta is al dente, about 2 minutes. (Add a little pasta water if sauce is too dry.) Stir in cheese and serve.


Updated:  Wow.  I just heated some leftovers up in the microwave for lunch today, and dare I say, it was even better?  Whatever loss of texture there might have been in the bucatini from the nuking was more than made up for by the guanciale regaining the crispness it had lost while simmering in the sauce.  Wow.  I can't wait to make this again just so I can eat it as a leftover!

Next:  Homemade Cronuts
Previously:  Spaghetti Carbonara for One
Three years ago:  Homemade Dulce de Leche and Dulce de Leche Ice Cream
Four years ago:  Bulgogi Dumplings

Tuesday, June 11, 2013

Spaghetti Carbonara for One


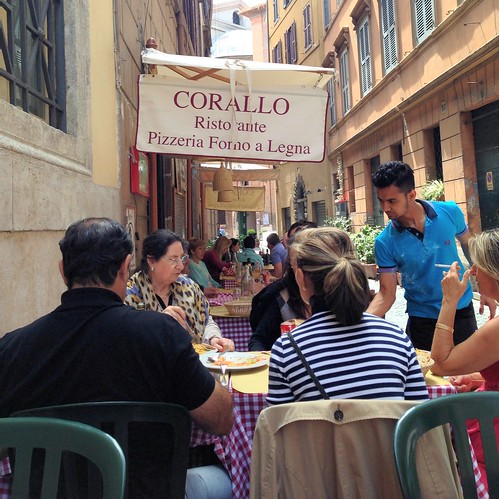
Our first stop in Rome was the Piazza Navona, known for its beautiful Bernini fountains, artists plying their wares, and the overpriced cafes lining the square.  Even though we were hungry, I didn't want to just settle for a potential tourist trap, so I asked one of the artists for his recommendation for lunch.


Him and his friends pointed us towards Ristorante Corallo, just a couple of blocks away from the piazza.  He mentioned that it was better than "baffeto" which at the time I thought meant "buffet" but later on realized was a reference to Pizzeria Baffeto, often listed as one of the best places for pizza in Rome and right around the corner from Corallo.


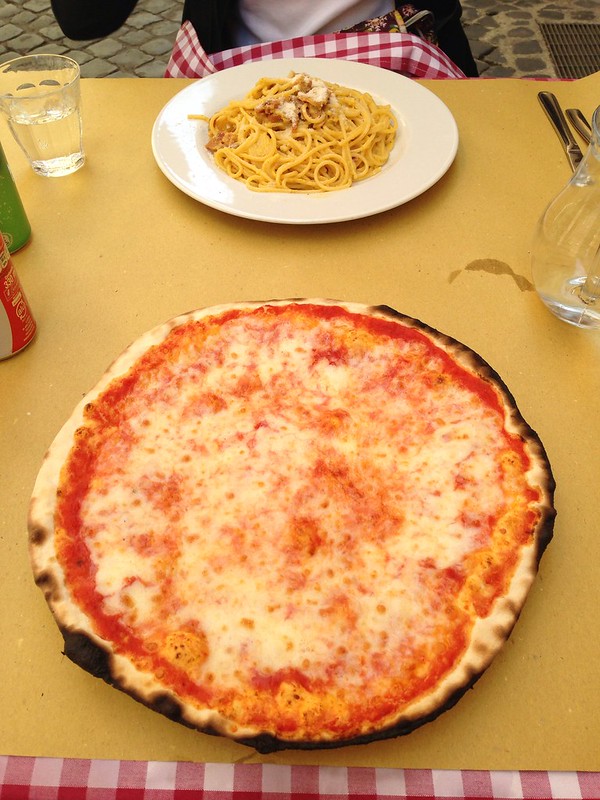
I really wanted to try a pizza in Rome, which is known for having an ultra-thin crust, so I ordered a pizza margherita to share.  Seeing another Roman specialty on the menu, I suggested that Ces order the spaghetti carbonara for us to share as well.  The pizza was good, although I noticed a distinct lack of basil.  It came without basil when I ordered it from a different restaurant the next day, too, so I guess that's just how pizza margherita is served in Rome.


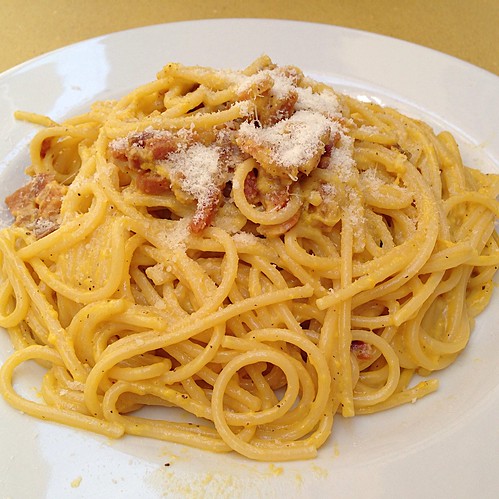
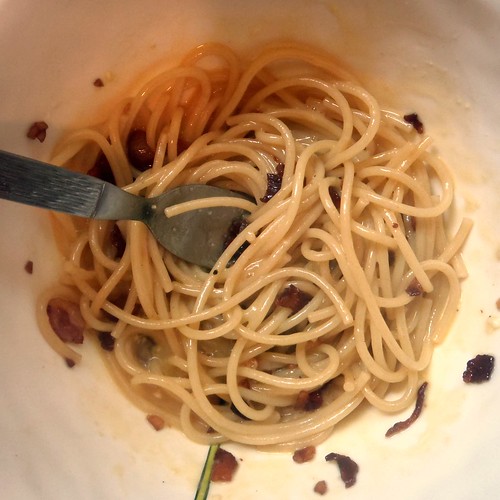
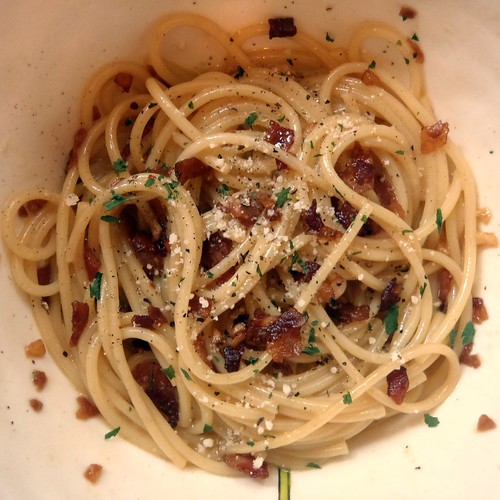
I knew carbonara meant a bacon and egg sauce, but I was unprepared for how it would actually taste.  It was oh so silky and creamy without actually containing any cream, but the highlight was definitely the bacon.  It tasted different from the bacon I was used to having back in the States.  I knew I had to try to recreate the dish at home, but lamented to myself that I probably wouldn't be able to find the same type of bacon there.


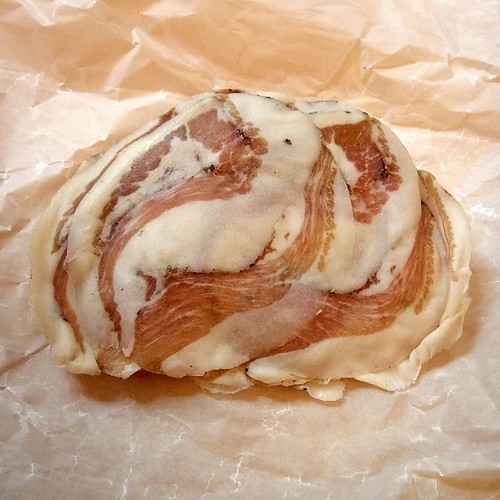
After a little more research, I found out that the type of meat used was actually guanciale, made from cured pig jowl vs. traditional bacon, which is made from pork belly.  Luckily in Boston, there are quite a few places that carry guanciale including Formaggio Kitchen and Savenor's.  If you can't find it, you can try substituting pancetta, and if you can't find that, bacon.

On a recent night, I was really craving some spaghetti carbonara for myself so I googled "single serving carbonara" and this was the first link returned.  It looked simple enough and made a pretty tasty dish, but I modified it just a little the second time I made it so it was more like what I remembered tasting in Rome.

There's a lot I like about this recipe:  it falls under the category of comfort food and comes together rather quickly with a minimum of ingredients, most of which you probably already have on hand.  You do need to serve and eat this immediately, but since you're just making it for yourself, that's not a problem!


Spaghetti Carbonara for One (adapted from Greg's Food)
makes 1 serving, duh

2 slices guanciale, chopped
1 clove garlic, minced
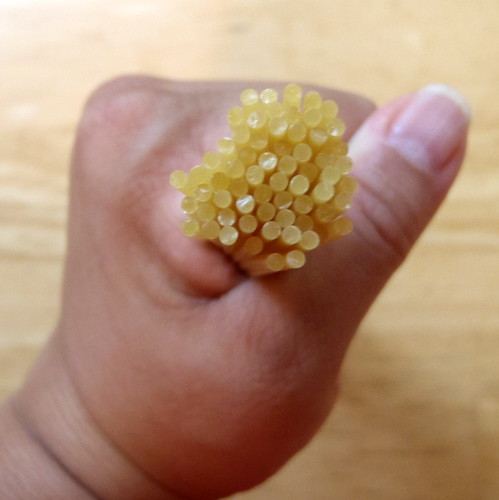
1 serving uncooked spaghetti (for me that's a between a dime and a nickel's circumference of pasta)
1 teaspoon olive oil 
1 egg
1 tablespoon fresh grated parmesan, plus more to taste
Salt and pepper to taste
Chopped parsley (optional)

Bring a pot of salted water to boil.  In the meantime, chop the guanciale and mince the garlic.


Once the water has reached a rolling boil, add the spaghetti and cook for 9 minutes, stirring occasionally so the pasta doesn't stick to itself.


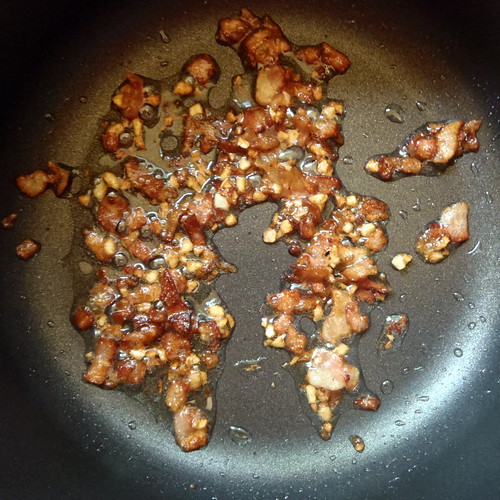
Add the guanciale to an unheated saucepan and place on medium heat.  Once some fat has rendered out and the guanciale is starting to look translucent, add the olive oil and minced garlic.  Continue to cook until browned but not burnt, lowering the heat if you have to.


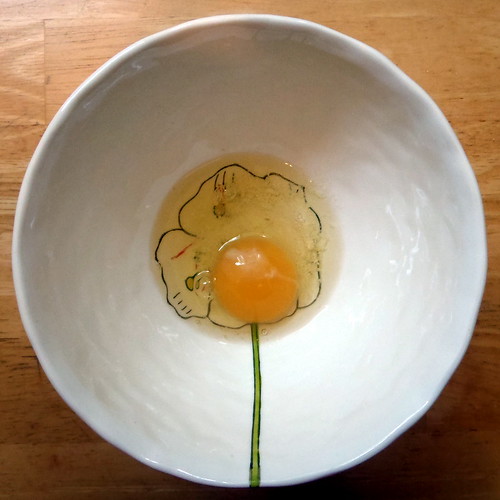
In the meantime, break an egg into a large soup bowl.  Add the tablespoon of parmesan cheese and whisk until well mixed.


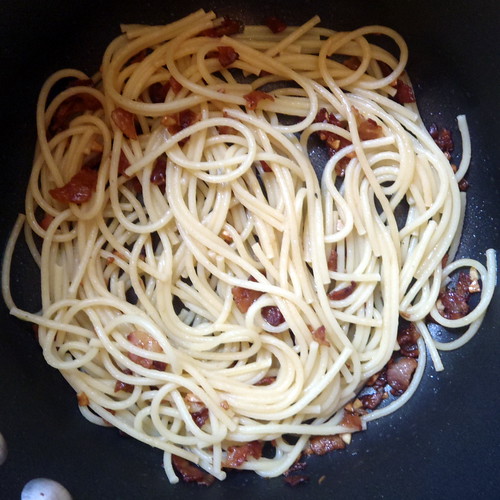
Once the spaghetti is done, use a pasta scoop to transfer the pasta to the saucepan with the bacon and garlic in it, letting most of the water drain off while you do so.  Lower the heat under the saucepan and toss the pasta around to cover it with the hot grease.


Whisk the egg and cheese again real quick and then carefully add the contents of the saucepan into the bowl.  Start tossing the spaghetti with the egg mixture to cook it without curdling.


Once the sauce comes together, add salt and pepper to taste and top with any guanciale left in the saucepan and additional parmesan and/or parsley if you like.  If the sauce is too thick for your liking, add a little of the pasta water to thin it out.  Serve immediately.

Next:  Bucatini all'Amatriciana
Previously:  Rosemary Honey & Lemon Frozen Yogurt
Four years ago:  Kale Chips

Thursday, June 6, 2013

Rosemary Honey and Lemon Frozen Yogurt

I'm back, both figuratively and literally!  I got back last week from a 2 week vacation to Europe.  My friend, Ces, and I went on a Celebrity cruise to Italy, Greece, and Turkey and then stayed an extra couple of days in Rome.  Being on a cruise, we definitely ate our fill, but the most memorable food I ate was all in Rome.


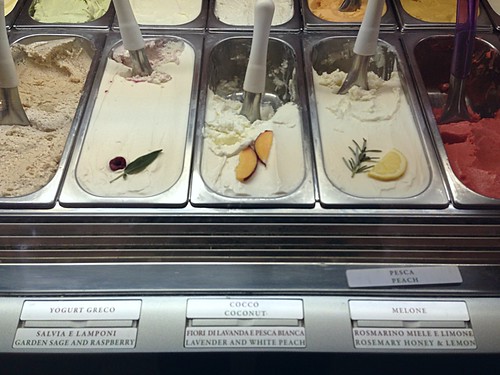
Before we had left for the trip, I had looked up the best gelato in Rome to make sure that we didn't waste any space in our tummies on inferior product.  We tried San Crispino when we were at the Trevi Fountain and Grom near(ish) the Pantheon, but the one that blew me away was Gelateria del Teatro, in between Piazza Navona and Ponte Sant'Angelo.


I chose the Rosemary Honey and Lemon and Sicilian Almond flavors and could not stop raving about them while we made our way to the Vatican.  I love almond flavored anything, and this was the first time that I had tasted an ice cream that really captured the pure almond flavor without tasting buttery or artificial.  And the rosemary was an unexpected first note that mellowed out with the honey and lemon in a way that was completely and perfectly balanced.  Ask Ces; I think I actually stopped walking several times because I was just enjoying the gelato so much.  It was so good we went back for a second round after returning from the Vatican!


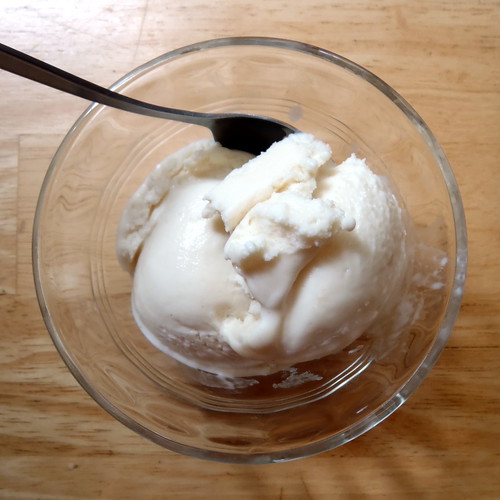
I knew I had to try to make the rosemary honey lemon flavor when I got home so I pulled out Jeni's Splendid Ice Creams at Home and searched for a honey flavored base but didn't find one.  So I tried using her ice cream base, substituted honey for the sugar, and steeped the mixture with rosemary and lemon peel before thickening it.  It ended up tasting way too sweet for me, and I think the honey kept it a little softer than I would have liked.  I decided to try making it again with less honey and using the frozen yogurt base to lighten it up a little and give it a little more tang.  I was really pleased with this version; it's not an exact duplicate of the gelato from Rome, but I think it's just as good!

Rosemary Honey and Lemon Frozen Yogurt (based on on the Frozen Yogurt Base from Jeni's Splendid Ice Creams at Home)
makes about 1 quart

1 1/2 cup whole milk
2 tablespoons cornstarch
2 ounces cream cheese, softened
1/2 cup heavy cream
1/2 cup honey plus more, to taste
2 tablespoons light corn syrup
2 sprigs fresh rosemary
Zest from half a lemon
1 1/4 cup Greek yogurt (I used 2% low fat, but I think nonfat and regular would work fine)

Mix about 3 tablespoons of the milk with the cornstarch in a small bowl to make a smooth slurry.  Whisk the cream cheese in a medium bowl until smooth.  Fill a large bowl with ice and water.

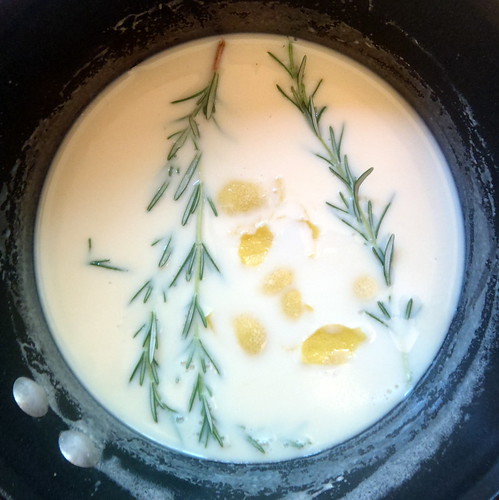
Combine the remaining milk, cream, honey, and corn syrup in a 4-quart saucepan, bring to a rolling boil over medium-high heat, and boil for 4 minutes.  Remove from heat, add the rosemary and lemon zest, and let steep for 20 minutes.


Remove the rosemary and zest with a slotted spoon.  Taste the mixture; if it's not sweet enough, add some more honey (I ended up adding about another tablespoon).  Gradually whisk in the cornstarch mixture and return the mixture to a boil over medium-high heat.  Cook, stirring until slightly thickened, about 1 minute.  Remove from heat.

Gradually whisk the hot milk mixture into the cream cheese until smooth.  Add the yogurt and blend well.

Pour the mixture into a 1-gallon Ziploc freezer bag and submerge the sealed bag in the ice bath.  Let stand, adding more ice as necessary, until cold, about 30 minutes.


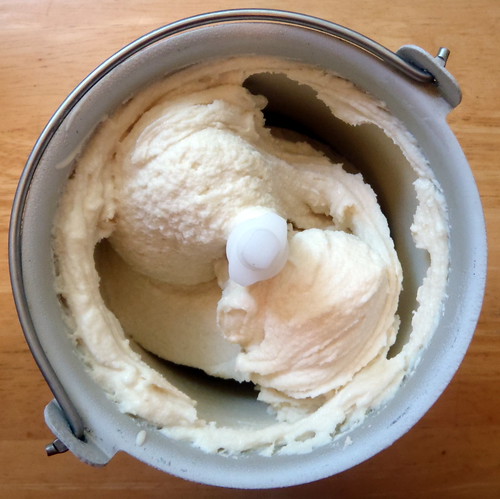
Pour the frozen yogurt base into the frozen canister and spin until thick and creamy.

Pack the frozen yogurt into a storage container, press a sheet of parchment directly against the surface, and seal with an airtight lid.  Freeze in the coldest part of your freezer until firm, at least 4 hours.


Next:  Spaghetti Carbonara for One
Previously:  Happiness Cake
Four years ago:  Black Sesame Ice Cream

Friday, March 8, 2013

Happiness Cake

I've been wanting to make this cake ever since I first saw it in the Momofuku Milk Bar cookbook where it's just called a Chocolate Chip Layer Cake.  I think that simple name does not even begin to describe what it is:  mini chocolate chip butter cake layered with passion fruit curd, chocolate cake crumbs, and coffee buttercream frosting.  Hello.  So I decided to rename it Happiness Cake, because this is what happiness is.  =)

The main reason why it took me so long to make this cake is because according to the cookbook, you needed a cake ring and acetate lining to build up the layers.  I wasn't interested in acquiring any more random stuff for my kitchen so I just kept drooling over the recipe but not making it.  At one point I started thinking about making it into a cupcake form, but then I got the bright idea to just put all the layers in small Mason jars, which I already had!  I love that they can be kept in the freezer for a while and are totally portable, so they make really good gifts for friends!

Assembling the jars
 
There are a lot of different parts to this cake, and some parts take more time than others and need to chill before using or need to use immediately, so this is how I would suggest going about it:
  1. Make the cake and put it in the oven to bake.
  2. While the cake is baking, make the passion fruit curd and let it chill in the fridge.
  3. After the cake is done, let it cool and lower the oven temperature to 300°F.  Make the chocolate crumbs, which will also need to cool after baking.
  4. Just before you are ready to assemble everything, start making the coffee frosting.  This will take a while to come together, so you can go ahead and start with the assembly process while you are waiting.
Another note about the coffee frosting, even after mixing in my stand mixer for more than half an hour, I still wasn't getting it to come together, so eventually I just poured out the liquid coffee milk that was left and paddled until everything was homogenous.  Then I found that I needed a lot more of the coffee frosting than the original recipe called for, so in the recipe below, I increased the amount of frosting but decreased the coffee milk to butter ratio a little.

After assembling the 6 jars, you'll end up with a lot of leftover components.  Feel free to make a Happiness Scrap Heap out of them just for yourself or, if you have more jars, you can try making more Happiness Cakes, just without the perfect circles.

Chocolate Chip Layer Cake
 
Happiness Cake (adapted from Momofuku Milk Bar)
makes 6 small (8 oz.) jars with lots of leftover scraps perfect for snacking on

1 recipe Chocolate Chip Cake (below)
1/3 cup passion fruit puree
1 recipe Passion Fruit Curd (below)
1 recipe Chocolate Crumbs (below)
1 recipe Coffee Frosting (below)

Chocolate Chip Cake
makes one 9"x13" cake

1/2 cup butter, at room temperature
1 1/4 cup sugar
1/4 cup light brown sugar, tightly packed
3 eggs
1/2 cup buttermilk
1/2 cup canola oil
1 tablespoon vanilla extract
1 1/2 cups cake flour
1 teaspoon baking powder
1 teaspoon kosher salt
Nonstick cooking spray
3/4 cup mini chocolate chips

Preheat oven to 350°F.

Combine the butter and sugars in the bowl of a stand mixer fitted with the paddle attachment and cream together on medium-high for 2-3 minutes.  Add eggs and mix on medium-high again for 2-3 minutes.

On low speed, stream in the buttermilk, oil, and vanilla.  Increase the mixer speed to medium-high and paddle for 4-6 minutes, until the mixture is practically white, twice the size of your original fluffy butter-and-sugar mixture, and completely homogenous. 

On very low speed, add the cake flour, baking powder, and salt.  Mix for 45-60 seconds, just until your batter comes together and any remnants of dry ingredients have been incorporated.

P2123186
 
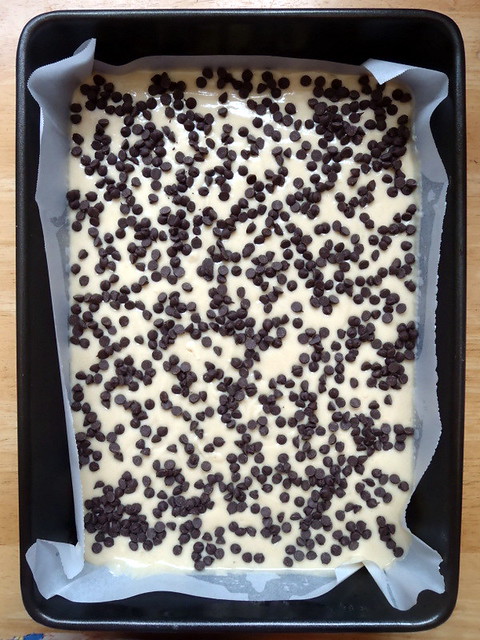
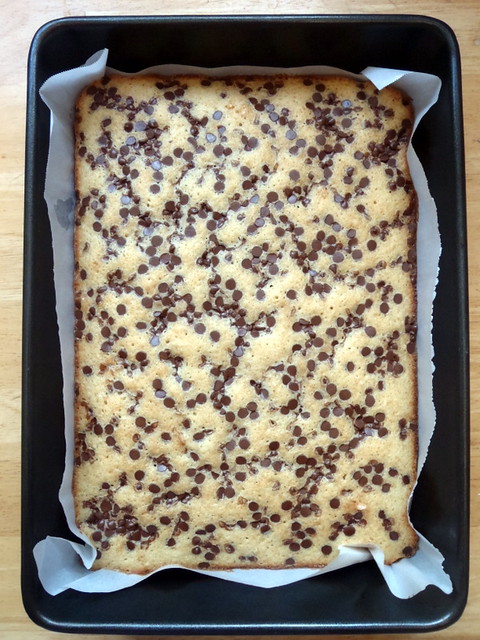
Spray a 9"x13" pan with nonstick cooking spray and line with a piece of parchment paper.  Using a spatula, spread the cake batter in an even layer in the pan.  Give the bottom of the pan a tap on the counter top to even out the layer.  Sprinkle the chocolate chips evenly over the cake batter.

P2123191
 
Bake the cake for 30-35 minutes.  At 30 minutes, gently poke the edge of the cake with your finger; the cake should bounce back slightly and the center should no longer be jiggly.  Leave the cake in the oven for an extra 3-5 minutes if it doesn't pass these tests.

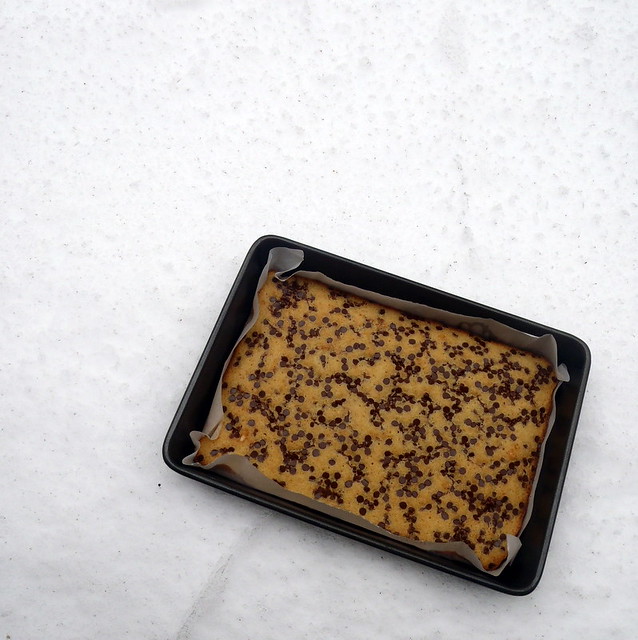
Chilling in the snow
 
Take the cake out of the oven and cool on a wire rack, or in a pinch, in the fridge, freezer, or snow (just make sure, you know, it's stopped snowing).  The cooled cake can be stored in the fridge, wrapped in plastic wrap, for up to 5 days.

Passion Fruit Curd
makes about 1 1/2 cups

1/2 cup passion fruit puree
1/3 cup sugar
2 eggs
1/2 teaspoon powdered gelatin
3/4 cup butter, very cold
1/2 teaspoon kosher salt

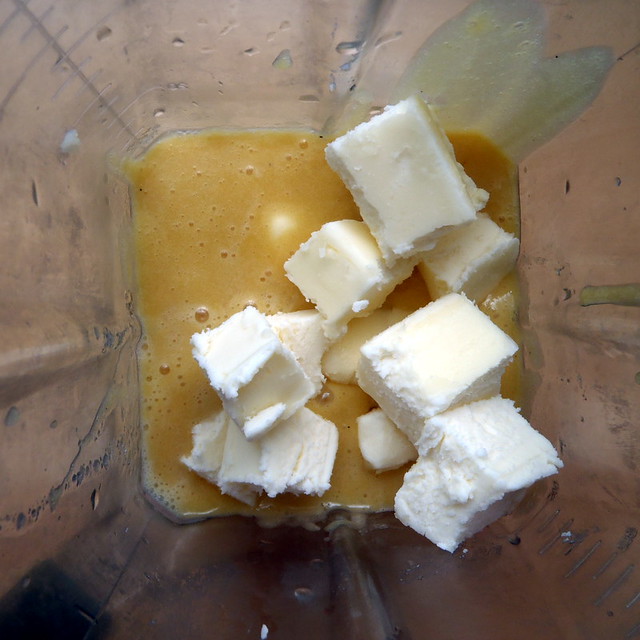
Put the passion fruit puree and sugar in a blender and blend until the sugar granules have dissolved.  Add the eggs and blend on low until you have a bright-orange-yellow mixutre.  Transfer the contents of the blender to a medium saucepan.  Clean the blender canister.

Bloom the powdered gelatin in 2 tablespoons of cold water.

P2123189

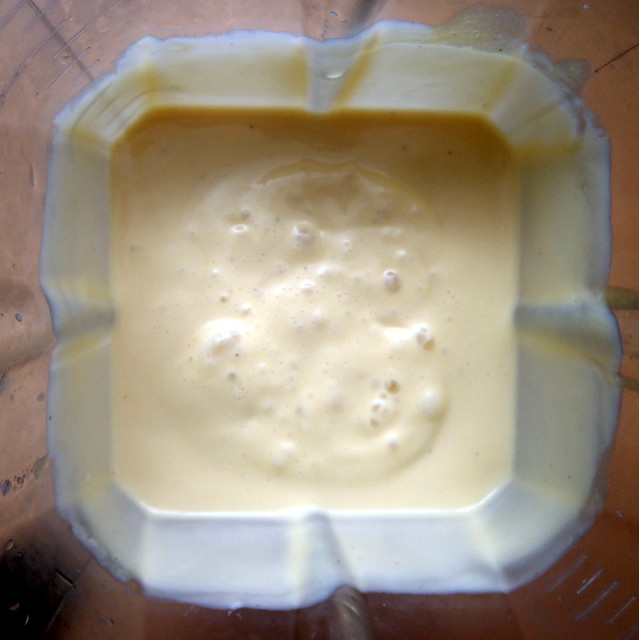
Heat the passion fruit mixture over low heat, whisking regularly.  Once it boils, remove it from the stove and transfer it to the blender.  Add the bloomed gelatin, butter, and salt and blend until the mixture is thick, shiny, and super-smooth.

Passion fruit curd
 
Transfer the mixture to a heatproof container and put in the fridge until the curd has cooled completely, at least 30 minutes.  The curd can be refrigerated for up to 1 week; do not freeze.

Chocolate Crumbs
makes about 1 1/4 cup

1/3 cup flour
1/2 teaspoon cornstarch
1/4 cup sugar
1/3 cup cocoa powder
1/2 teaspoon kosher salt
3 tablespoons butter, melted

Preheat the oven to 300°F.

Combine the flour, cornstarch, sugar, cocoa powder, and salt in the bowl of a stand mixer fitted with the paddle attachment and paddle on low speed until mixed.

Add the butter and paddle on low speed until the mixture starts to come together in small clusters.

Chocolate crumbs
 
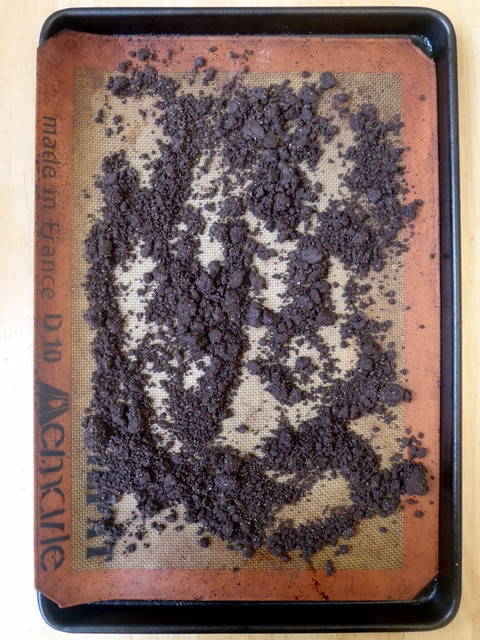
Spread the clusters on a parchment- or Silpat-lined baking sheet.  Bake for 20 minutes, breaking them up occasionally.   The crumbs should still be slightly moist to the touch at that point; they will dry and harden as they cool.

Let the crumbs cool completely before using.  Stored in an airtight container, they will keep fresh for 1 week at room temperature or 1 month in the fridge or freezer.

Coffee Frosting
makes about 2 cups

1 cup butter, at room temperature
1/2 cup confectioners' sugar
1/3 cup milk
1 1/2 teaspoons instant espresso powder
1/2 teaspoon salt

Combine the butter and confectioners' sugar in the bowl of a stand mixer fitted with the paddle attachment and cream together on medium-high for 2-3 minutes, until fluffy and pale yellow.

Meanwhile, make a quick coffee milk:  whisk together the milk, instant espresso powder, and salt in a small bowl.

P2123204
 
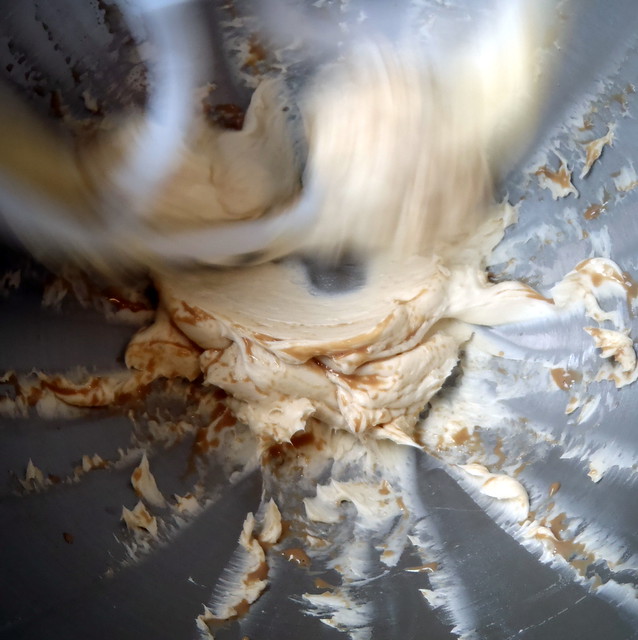
On low speed, gradually stream in the coffee milk.  You are essentially forcing liquid into fat, so be patient.  The butter mixture will clump up and separate upon contact with the coffee milk. 

Coffee buttercream
 
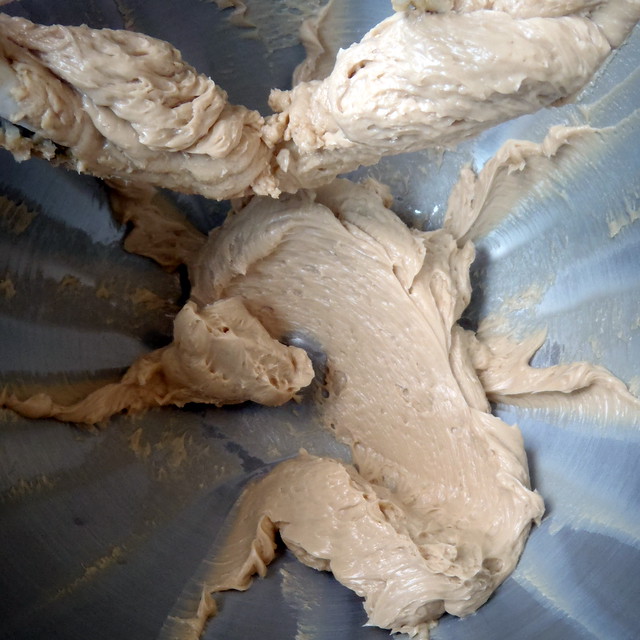
Do not stream more coffee milk into the butter mixture until the previous addition is fully incorporated; keep the mixer on and remain patient.  The result will be a wildly fluffy coffee frosting, pale brown, and super-shiny.  Use immediately.
 
Happiness Cake in a Jar Assembly

P2123201
 
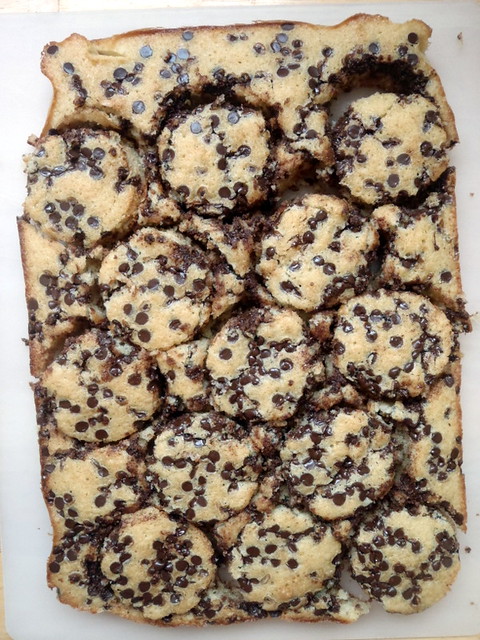
Using an empty jar as a cookie cutter, cut out 12 circles from the chocolate chip cake.  (Yes, there are 13 circles cut out above.  I had to eat one.  For science.)

First layer of chocolate chip cake
 
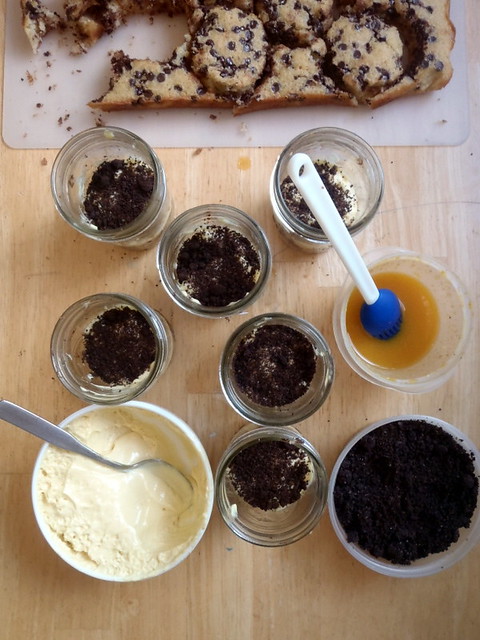
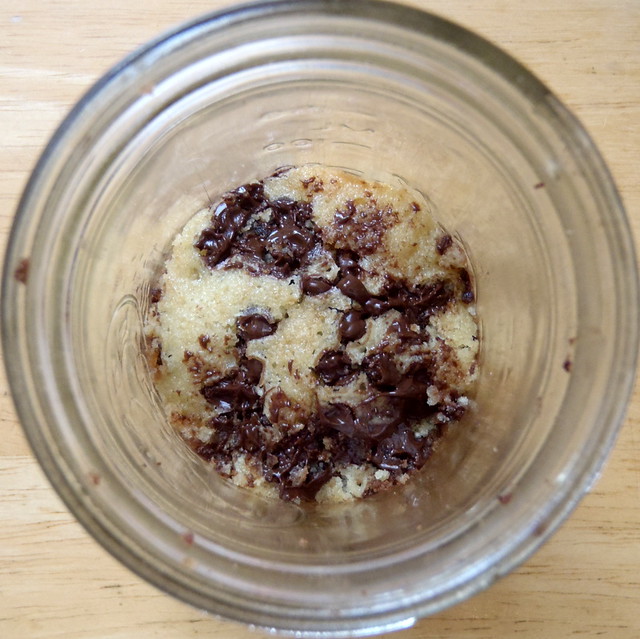
Press one circle into the bottom of a jar.  Brush with a generous amount of passion fruit puree.

Topped with passion fruit curd and chocolate crumbs
 
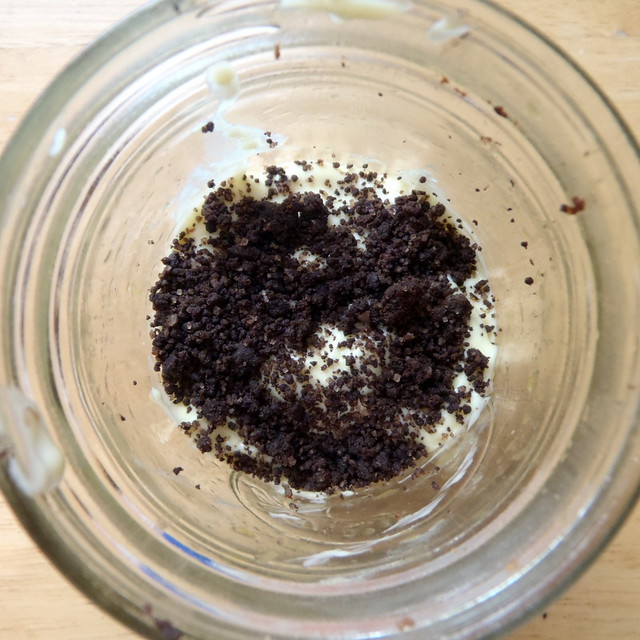
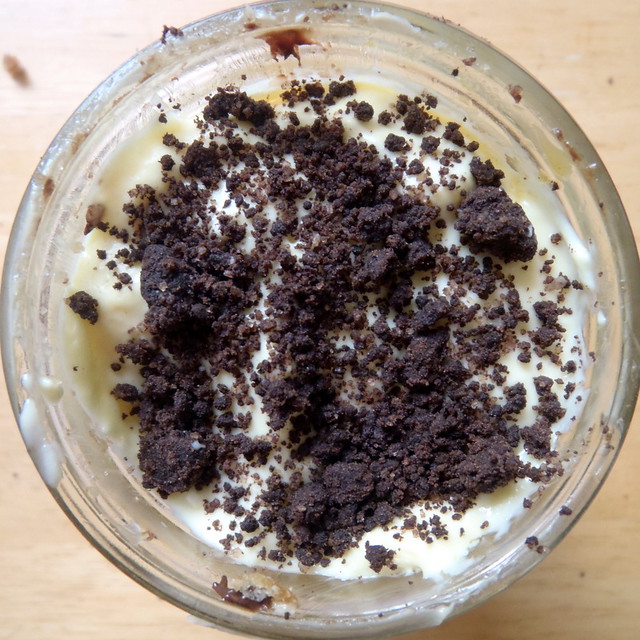
Spoon in a layer of the passion fruit curd.  Top with a layer of the chocolate crumbs.

Topped with coffee buttercream
 
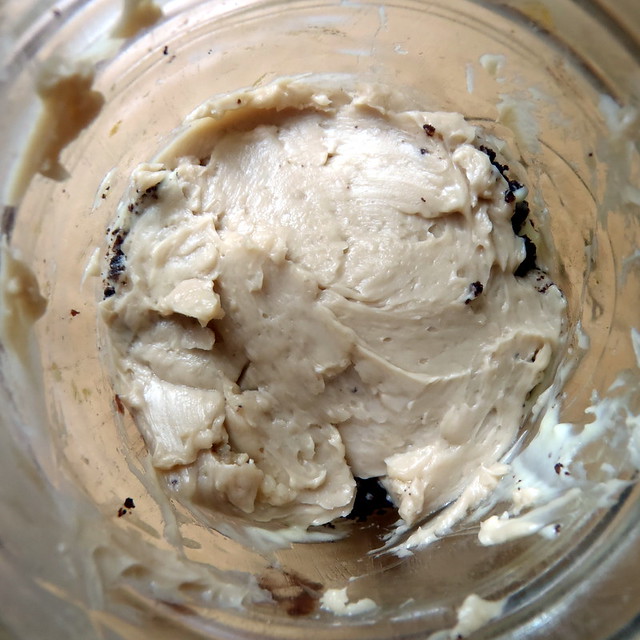
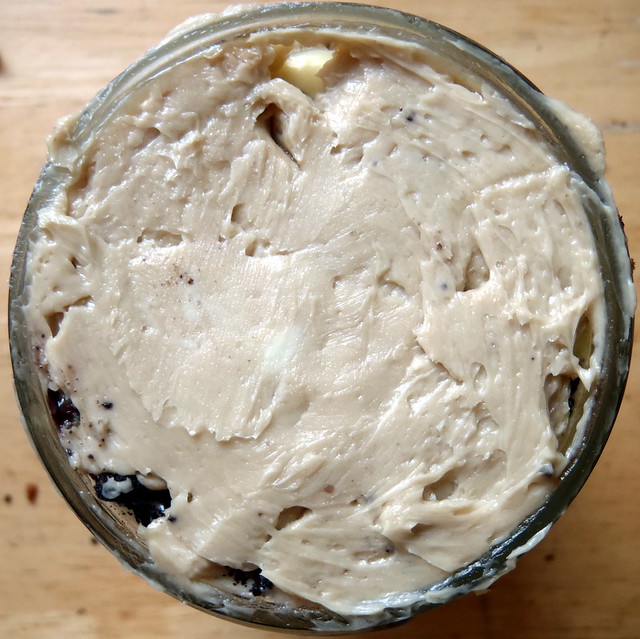
Carefully spread a layer of the coffee frosting on top.

Second cake layer soaked in passion fruit pulp
 
Repeat with another layer of cake, passion fruit puree, passion fruit curd, and chocolate crumbs.

More passion fruit curd and chocolate crumbs
 
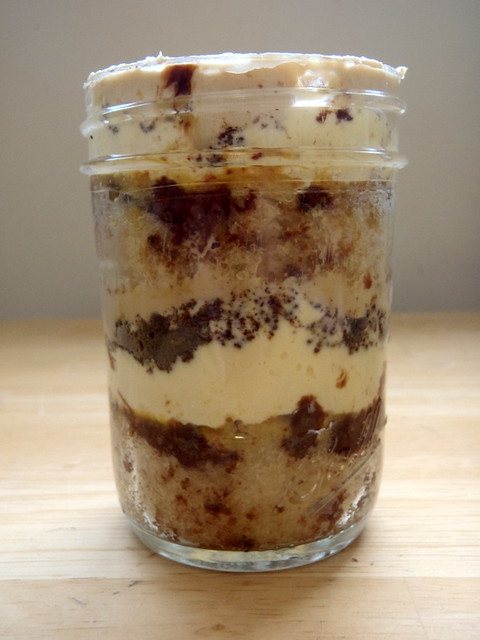
Finish with a final layer of coffee frosting.

Final coffee buttercream layer
 
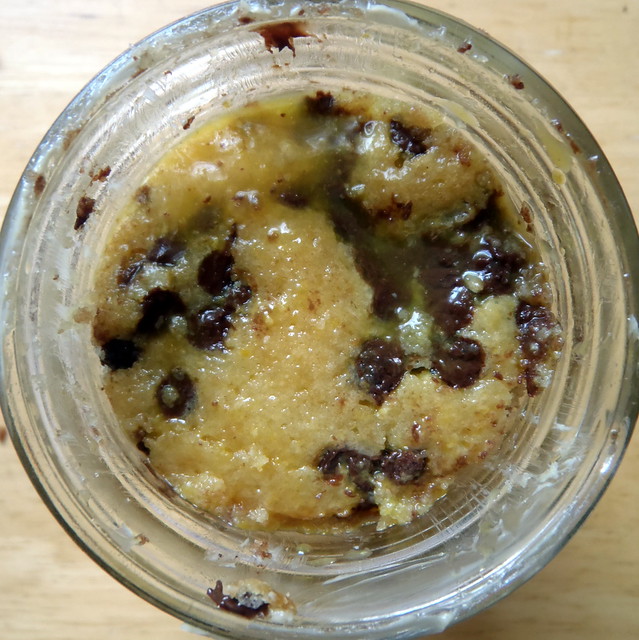
Repeat with the remaining 5 jars.  Cover and place in the freezer for at least 12 hours to set the cake and filling.  The cakes will keep in the freezer for up to 2 weeks.  Defrost in the fridge for at least 3 hours before serving.

P2143177
 
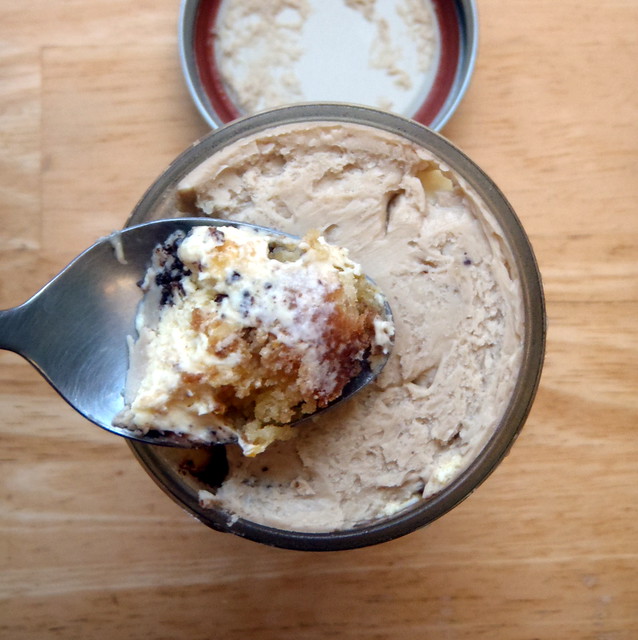
Dig in with a spoon and experience happiness.

Next:  Rosemary Honey & Lemon Frozen Yogurt
Previously:  Peking Duck Pizza
Four years ago:  Panna Cotta, Take 2; The Feng Family Secret Peking Duck Recipe; Korean Pancake Face Off

Friday, March 1, 2013

Peking Duck Pizza

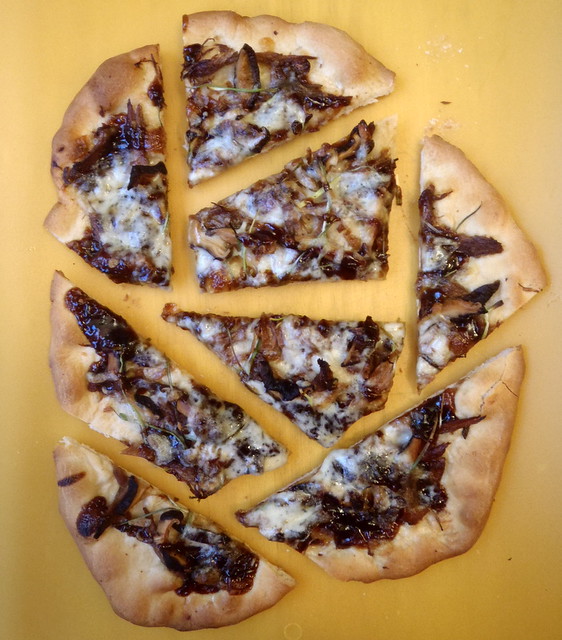
California Pizza Kitchen used to serve a Peking Duck pizza which I loved, but I haven't seen it on the menu in years.  One day I had some leftover duck meat and a ball of pizza dough, so I decided to try to recreate it as best I could.  I didn't have any fried wonton strips to top the pizza with, so I omitted that, but otherwise, I think it turned out pretty good!

Peking Duck Pizza
 
Peking Duck Pizza
makes 1 individual size pizza

1/2 recipe pizza dough
2 teaspoons duck fat or olive oil
3 tablespoons cooked duck meat, shredded
3 shiitake mushrooms, sliced into thin strips 
1 scallion, thinly sliced
Hoisin sauce
1 small handful shredded mozzarella cheese

Set the oven to 500°F or as hot as it will go and let it heat for at least a half an hour before making the pizza. If you have a pizza stone, put it in the lower-middle part of the oven now.

On a 12" square piece of parchment paper, stretch the dough out until it's about 1/4 of an inch thick or less. 

PB153109

Spoon a few teaspoons of duck fat or olive oil into the center of the pizza and use the back of a spoon to spread it out to the edges.

PB153112
 
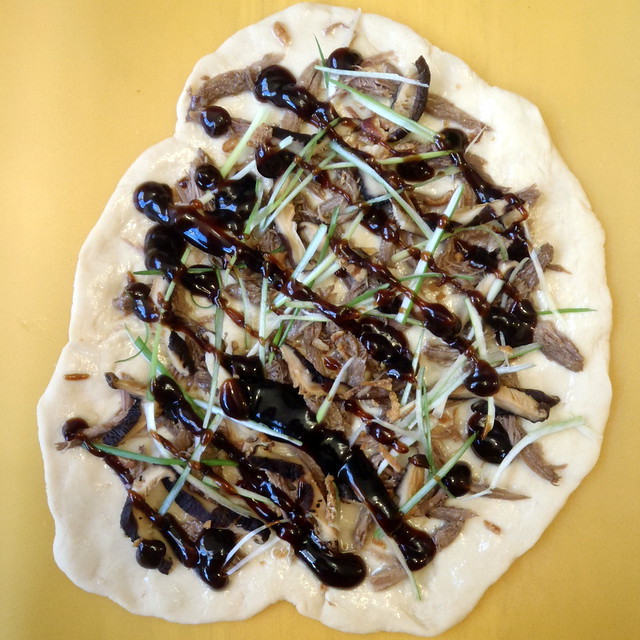
Top with the duck meat, shiitake mushrooms, and scallions.

PB153114
 
Drizzle hoisin sauce on top and top with the mozzarella.

Using a bread peel or the backside of a baking sheet (I used a flexible cutting board), slide your pizza (still on the parchment) onto the baking stone in the oven. If you don't have a baking stone, bake the pizza right on the baking sheet.

Bake for about 5 minutes and then rotate the pizza. Bake for another 3 to 5 minutes until the crust is golden-brown and the cheese looks toasty.

Peking Duck Pizza
 
Remove the pizza from oven and let it cool on a wire rack for about five minutes before slicing and serving.

If you don't have any duck meat, you could probably substitute with some shredded chicken; dark meat would get you closer to the texture of duck than white meat would.  To me, Peking duck is really a hoisin sauce delivery method, so as long as you have that, you'll probably be fine.  =)

Next:  Happiness Cake
Previously:  Kale and Sweet Potato Soup
Three years ago:  Bacon Fat Caramels
Four years ago:  Potato Leek Soup with Bacon