Thursday, August 14, 2014

Citrus Cured Salmon

https://www.flickr.com/photos/joyosity/14901944553/in/photostream/

Ever since I saw Jen's post for Thomas Keller's citrus marinated salmon, I've wanted to try it out.  I love cold-smoked salmon, and the thought that I could make something similar at home was really intriguing to me.  I was in Seattle again recently, and went to Pike Place Market specifically to get another Copper River sockeye salmon just for this purpose.  Since the salmon is never actually cooked, you'll want to get the freshest sushi-grade salmon available and treat it as you would if preparing sushi by keeping it chilled as much as possible.
https://www.flickr.com/photos/joyosity/14695379010/

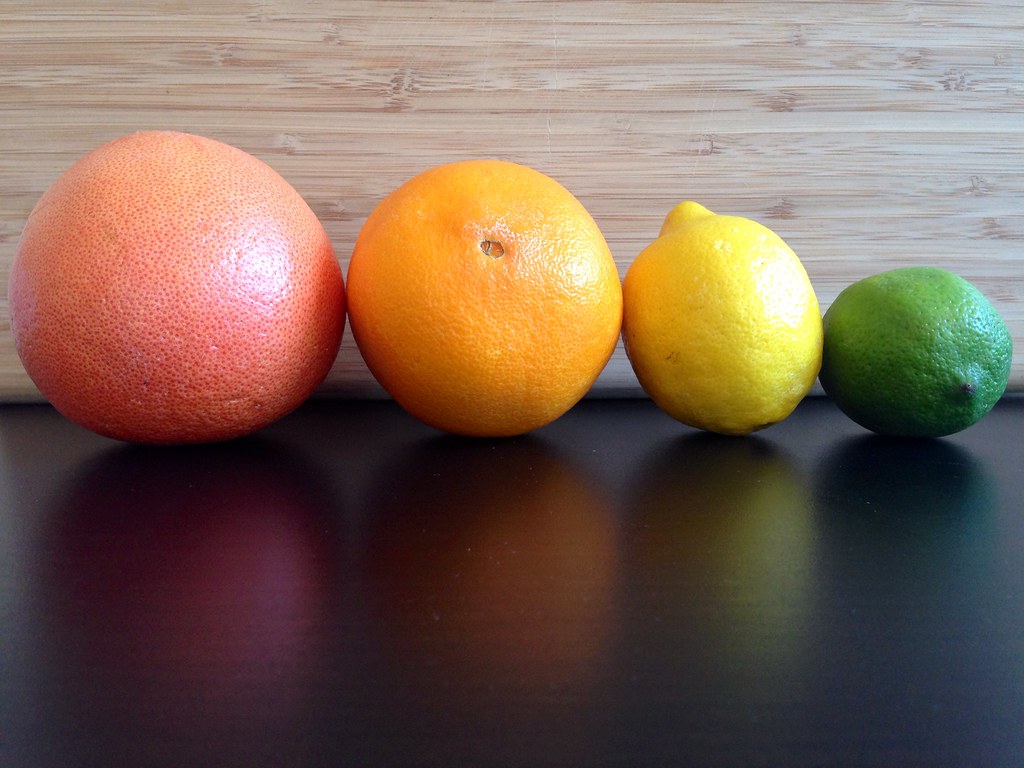
Jen's recipe calls for a teaspoon and a half each of lime zest, lemon zest, orange zest, and grapefruit zest, but it's okay if you don't have all four citrus fruits; you just need about 2 tablespoons total of citrus zest for this recipe.  Since I had the time to cure my salmon for a full 24 hours, I chose not to press the salmon while curing it, trusting that time and salt would perform the necessary osmosis.

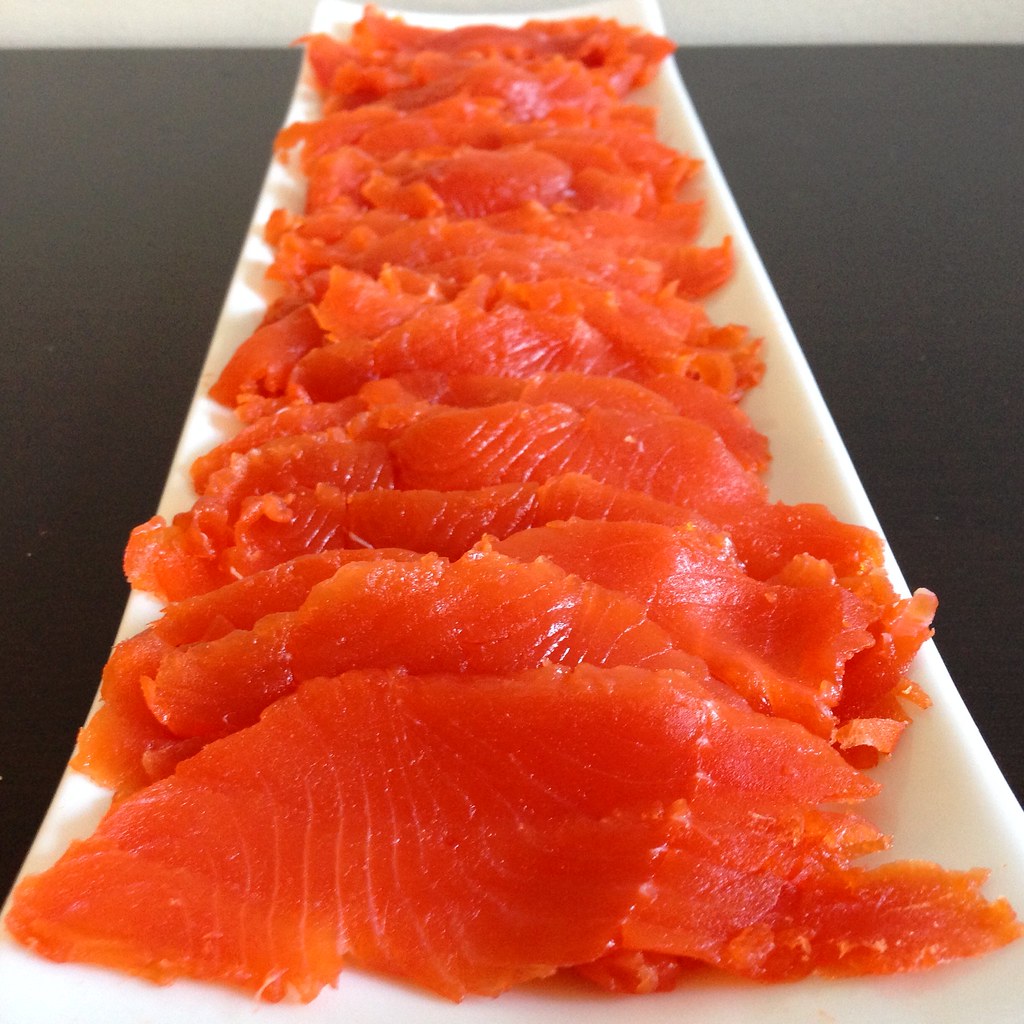
The change in texture of the cured salmon is pretty spectacular.  It's a lot more dense and almost gummy like pâte de fruit.  By itself, the cured salmon can be pretty salty, but served with some crème fraîche or sour cream and crackers, it makes for a wonderfully impressive appetizer!
https://www.flickr.com/photos/joyosity/14901944553/

Citrus Cured Salmon (adapted from Tiny Urban Kitchen)
serves 6-8

Zest from 1 pink grapefruit
Zest from 1 orange
Zest from 1 lemon
Zest from 1 lime
1/2 cup kosher salt
1/2 cup sugar
1 salmon filet, skin removed (about 2 lbs.)
https://www.flickr.com/photos/joyosity/14879604864/

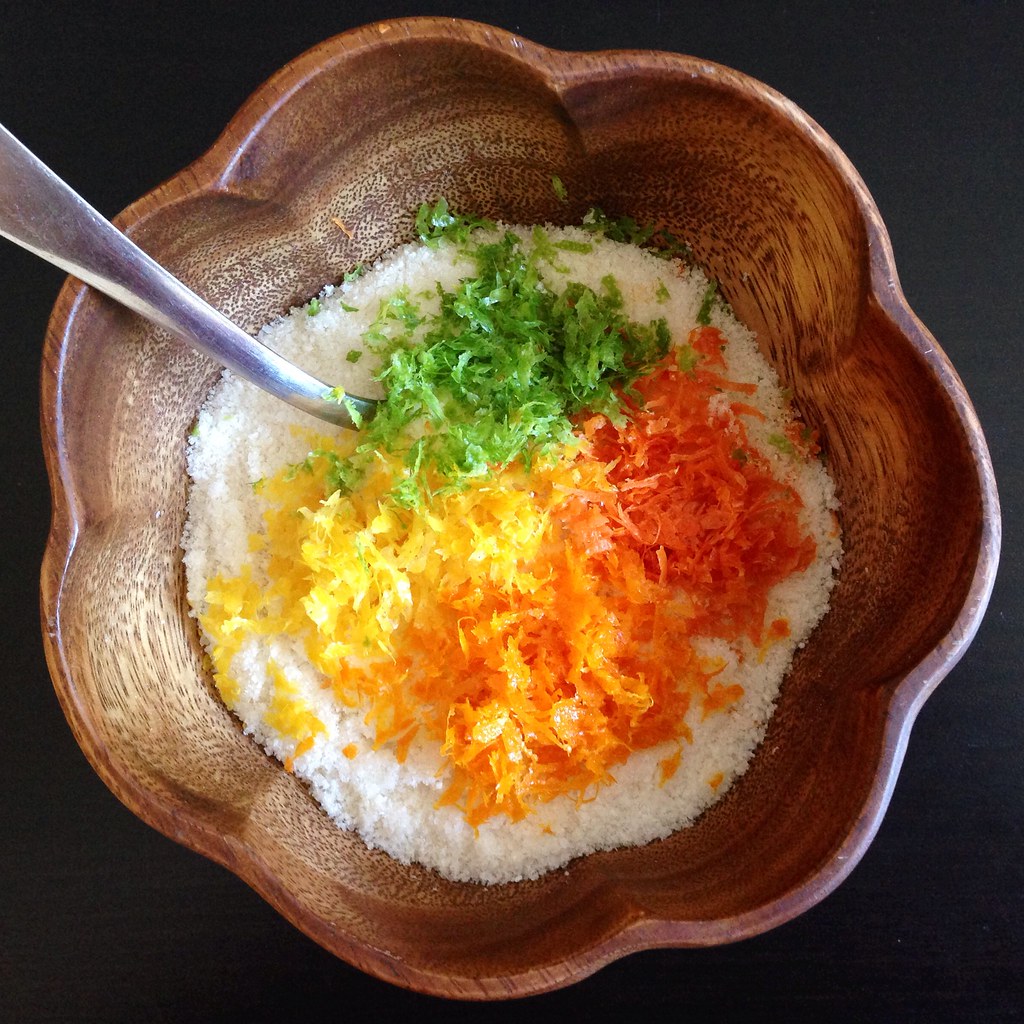
Mix the zests, salt, and sugar together.

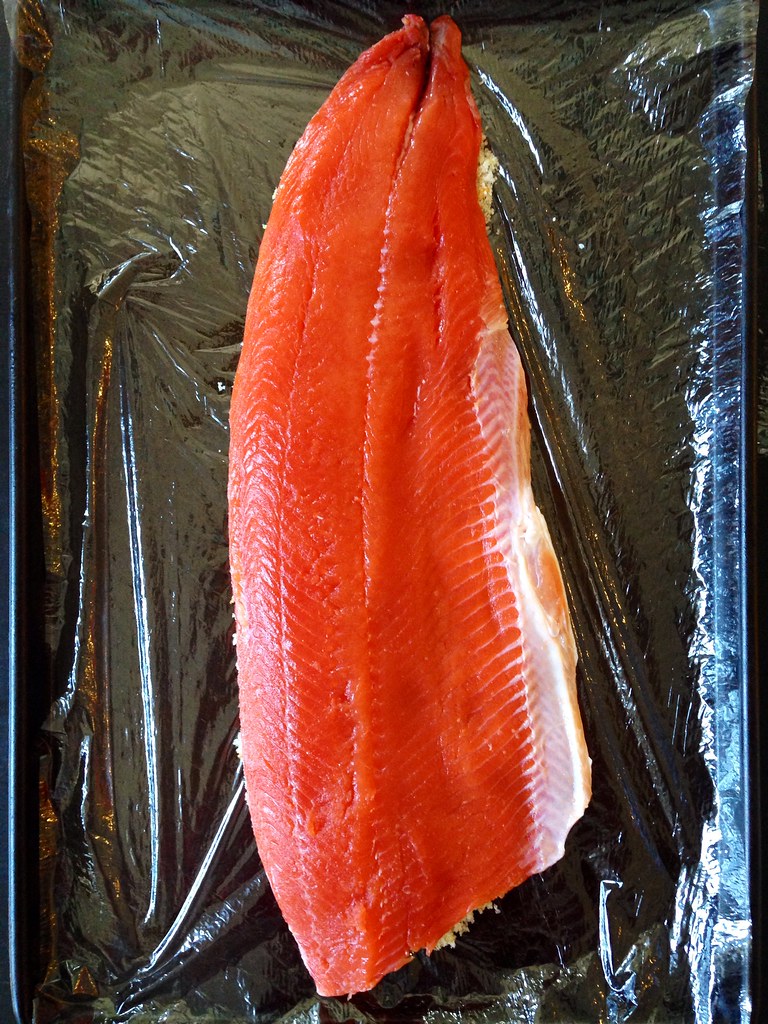
Feel along the salmon and if there are any pin bones, remove them with tweezers or pliers.
https://www.flickr.com/photos/joyosity/14695376000/

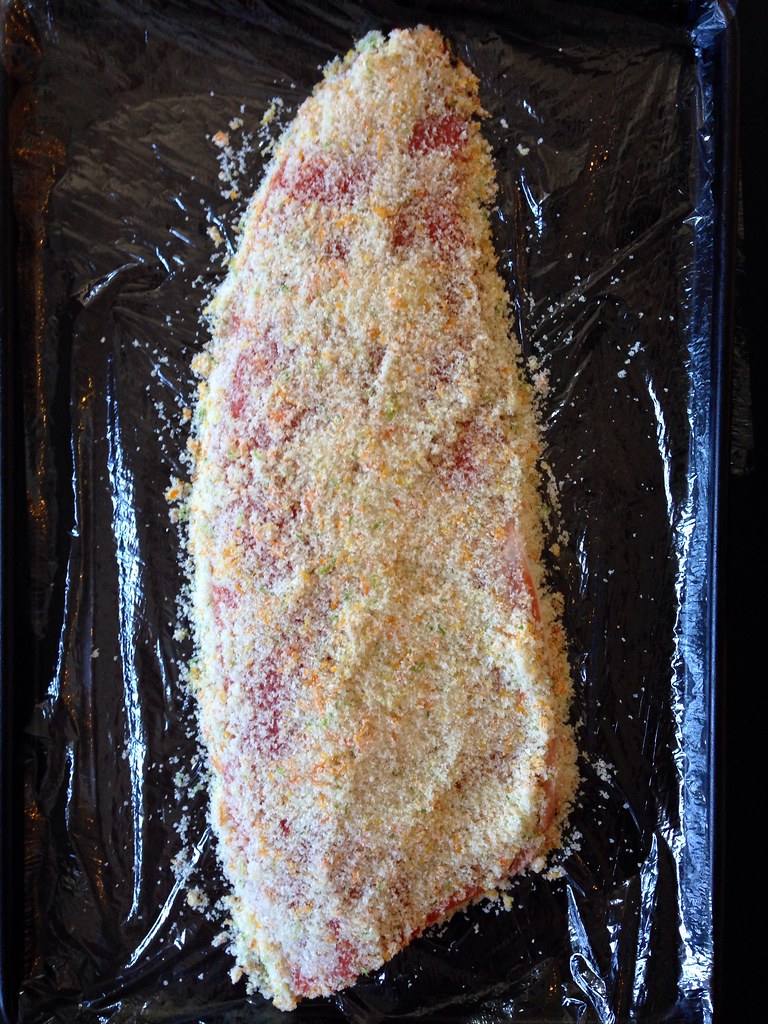
Line a large tray with enough plastic wrap to completely wrap the filet.  Spoon half of the salt mixture onto the tray in the shape of the filet.  Place the filet on top, and spoon the rest of the salt mixture on top of the salmon.  Spread the salt mixture evenly over the fish. 
https://www.flickr.com/photos/joyosity/14695452018/

 Wrap well with the plastic wrap, and transfer the tray to the refrigerator.  Let cure for 24 hours.

https://www.flickr.com/photos/joyosity/14901937893/

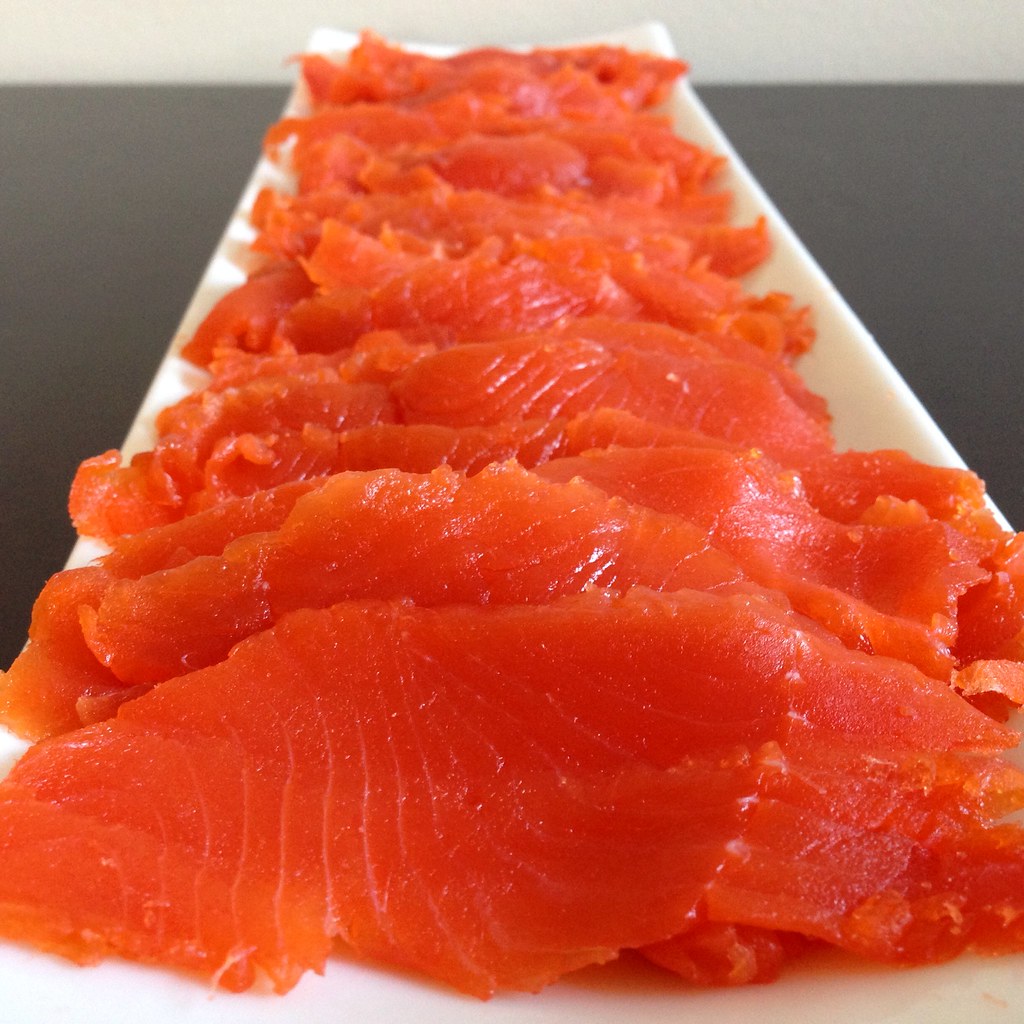
Unwrap the salmon and rinse under cold water.  Pat dry and transfer to a cutting board.  With a sharp knife, cut thin slices at an angle against the grain.
https://www.flickr.com/photos/joyosity/14695538077/

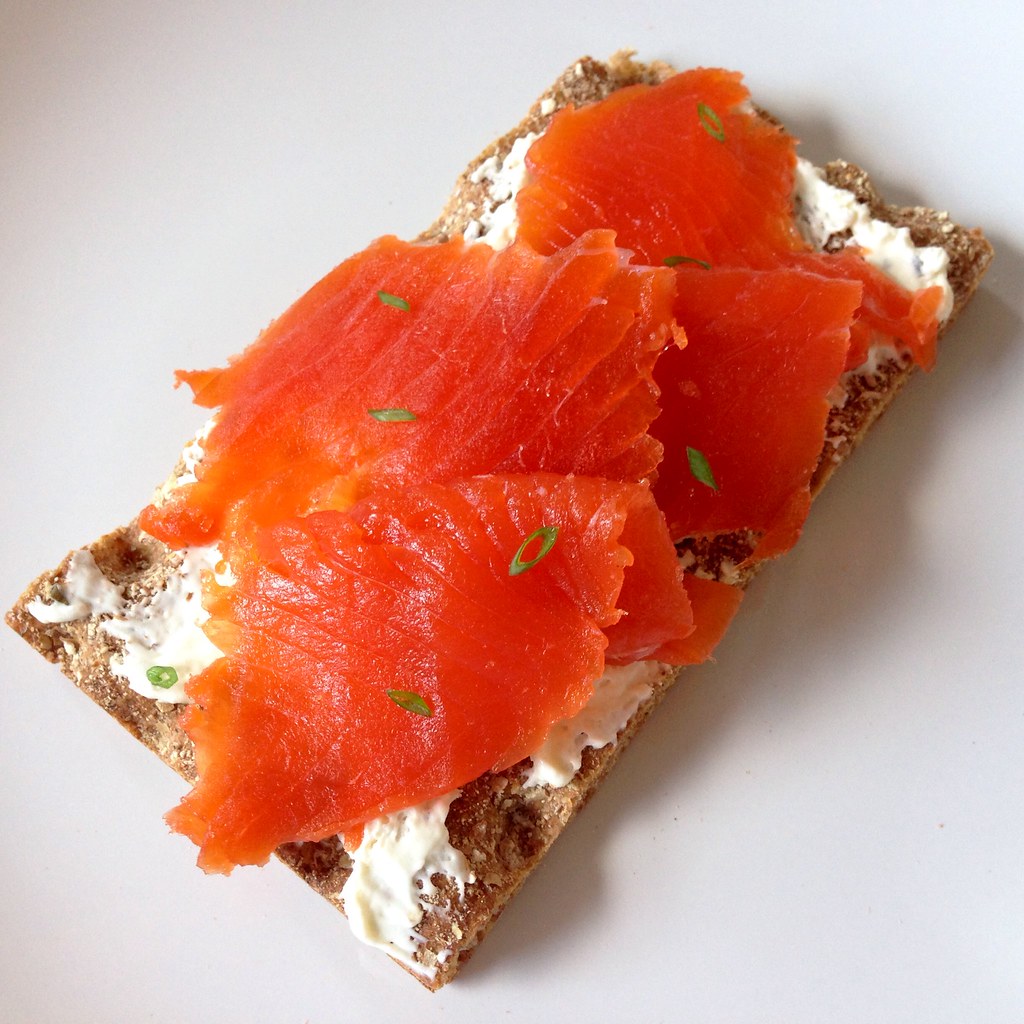
Serve with crème fraîche, sour cream, or cream cheese and crackers or bread.  I served mine with chive cream cheese and hearty crispbread.
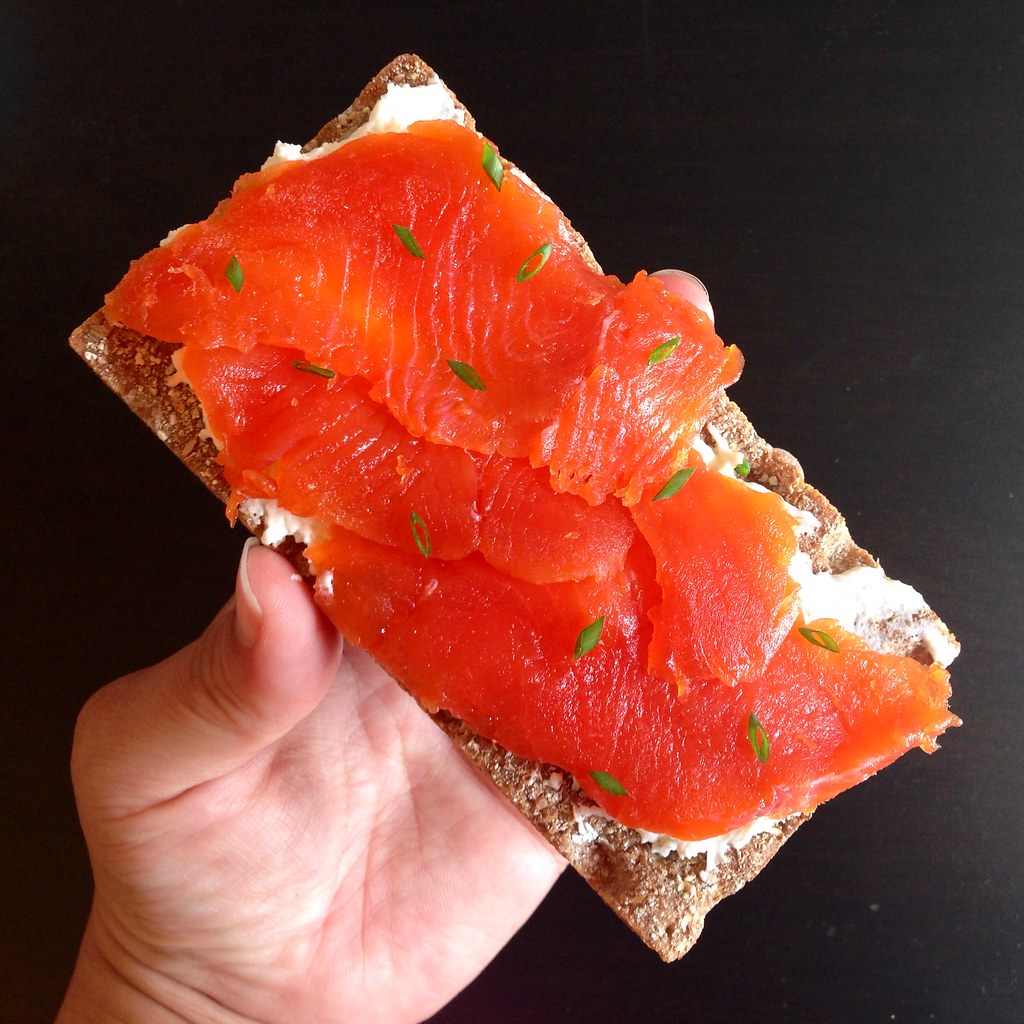
https://www.flickr.com/photos/joyosity/14710143737/

After you've zested the fruits, you'll want to use them right away for something else or else they'll dry up really quickly.  I recommend juicing them; I used the juice to make an Atlantic Beach Pie!

Next:  Bill Smith's Atlantic Beach Pie
Previously:  Coconut Ice Cream with Mango Passion Caramel Swirl
Last Year:  Shakshuka Pizza

Tuesday, August 12, 2014

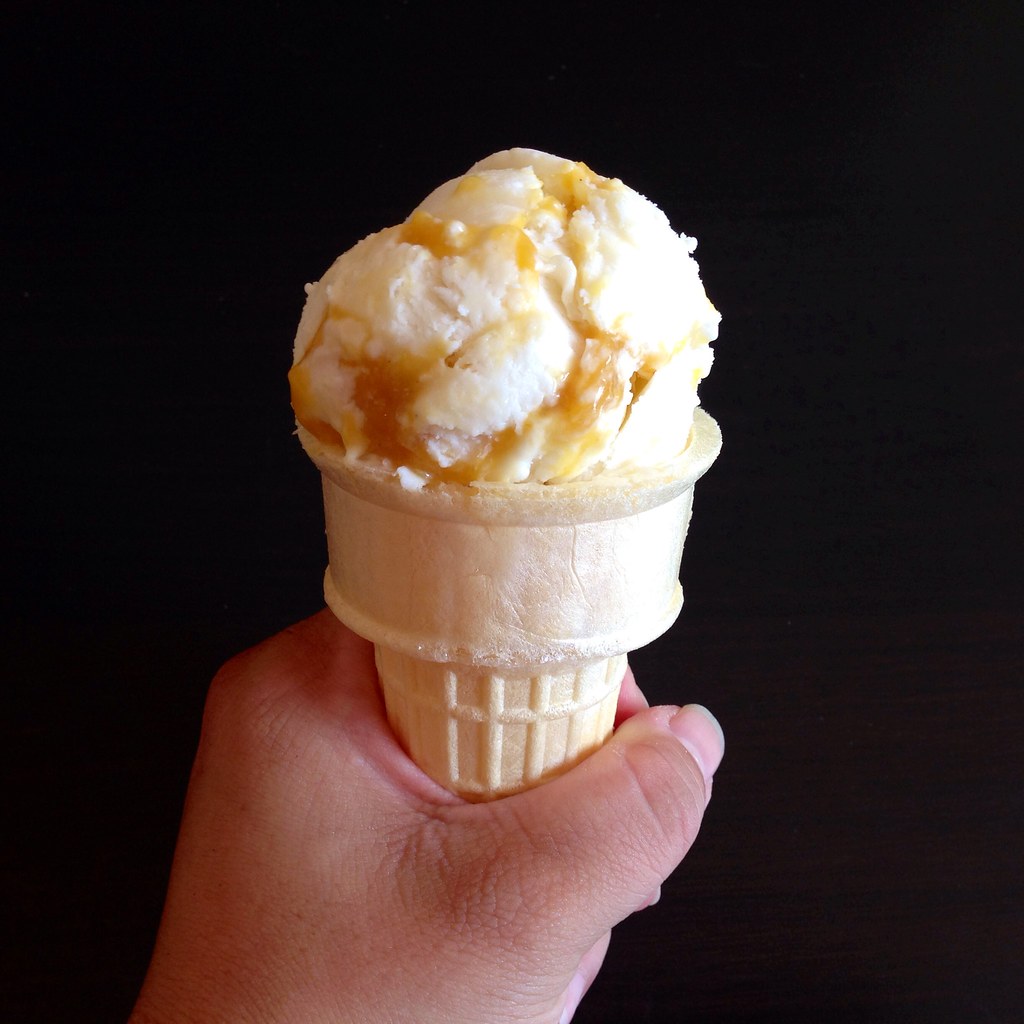
Coconut Ice Cream with Mango Passion Caramel Swirl

https://www.flickr.com/photos/joyosity/14878833631/

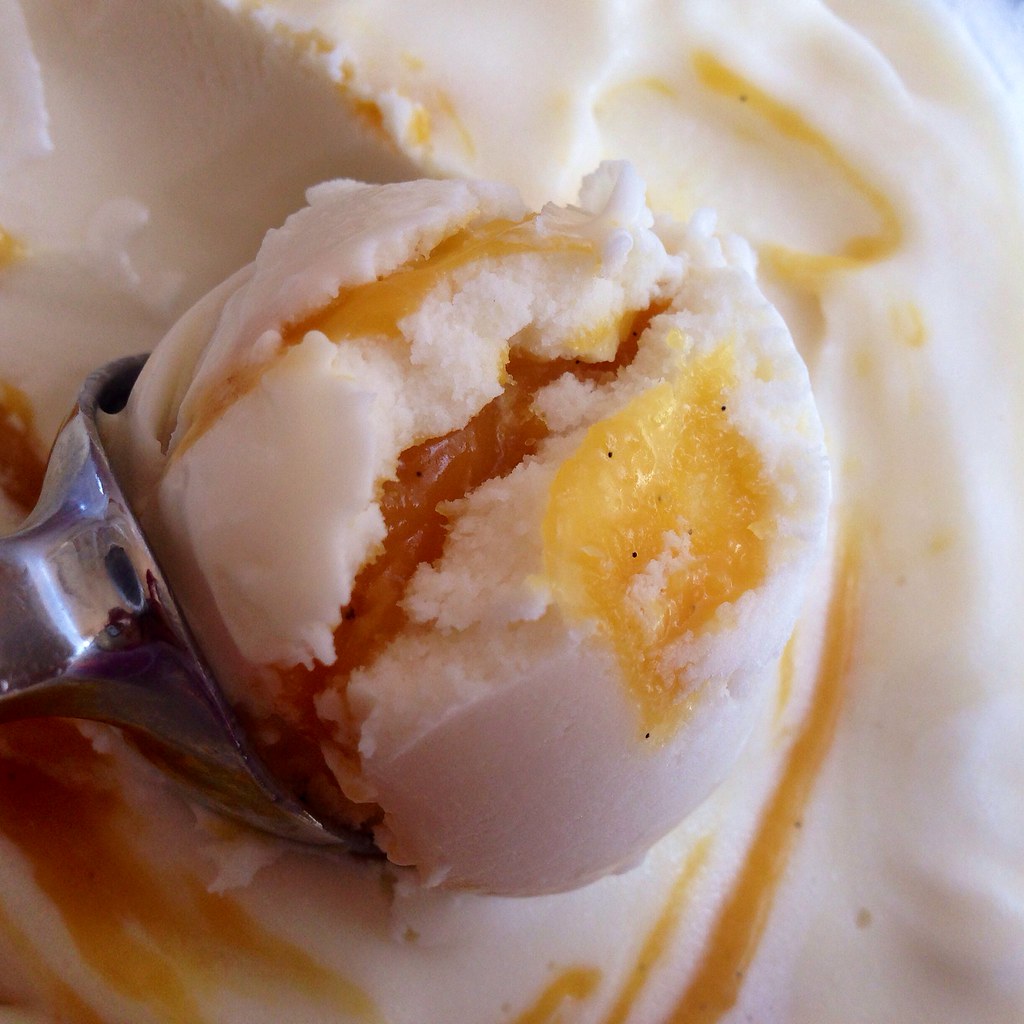
When I messed up my first batch of mango passion caramels by making something more akin to caramel sauce, I knew I didn't want to waste it so I poured it into a jar and left it in my fridge until I could figure out what to do with it.  Since it didn't turn hard when frozen, it seemed ideal to swirl into an ice cream...a white ice cream would be good to showcase the color...what would go well with mango and passion fruit...coconut ice cream!

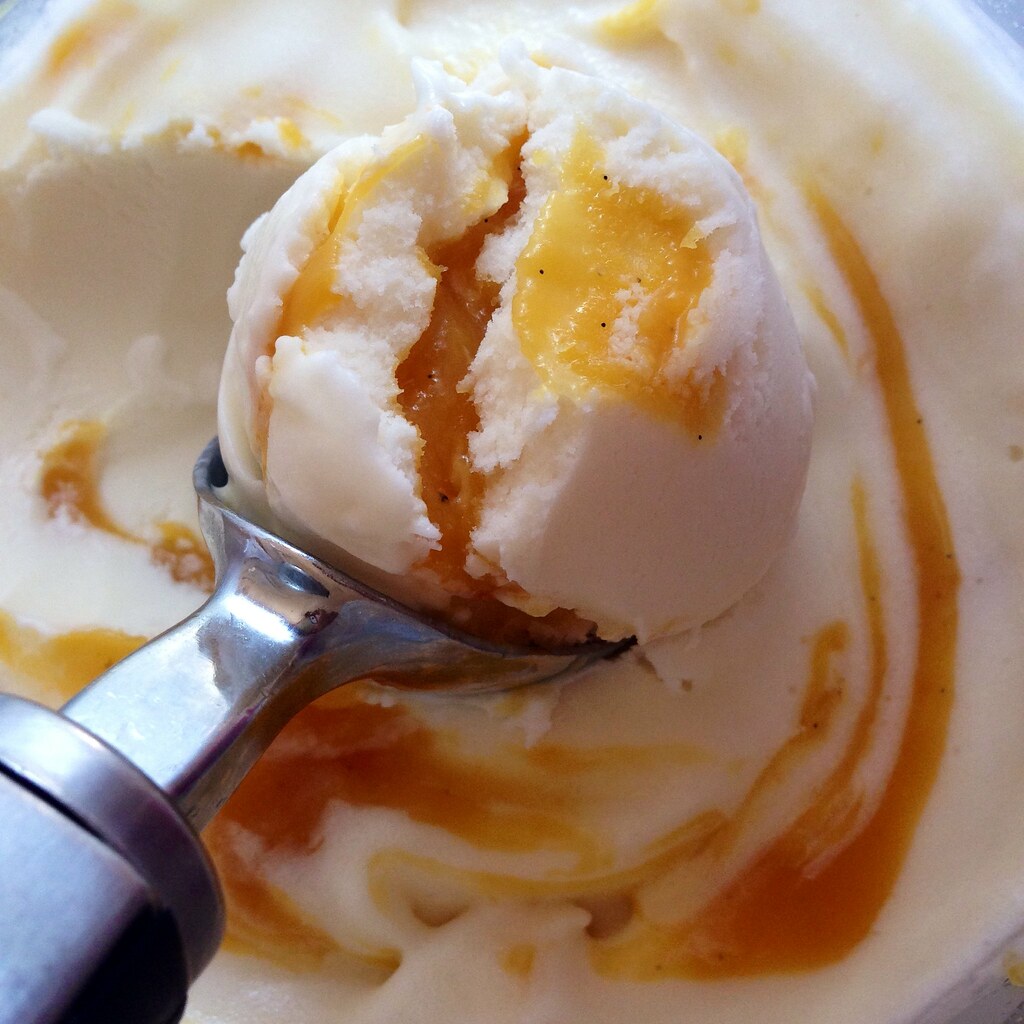
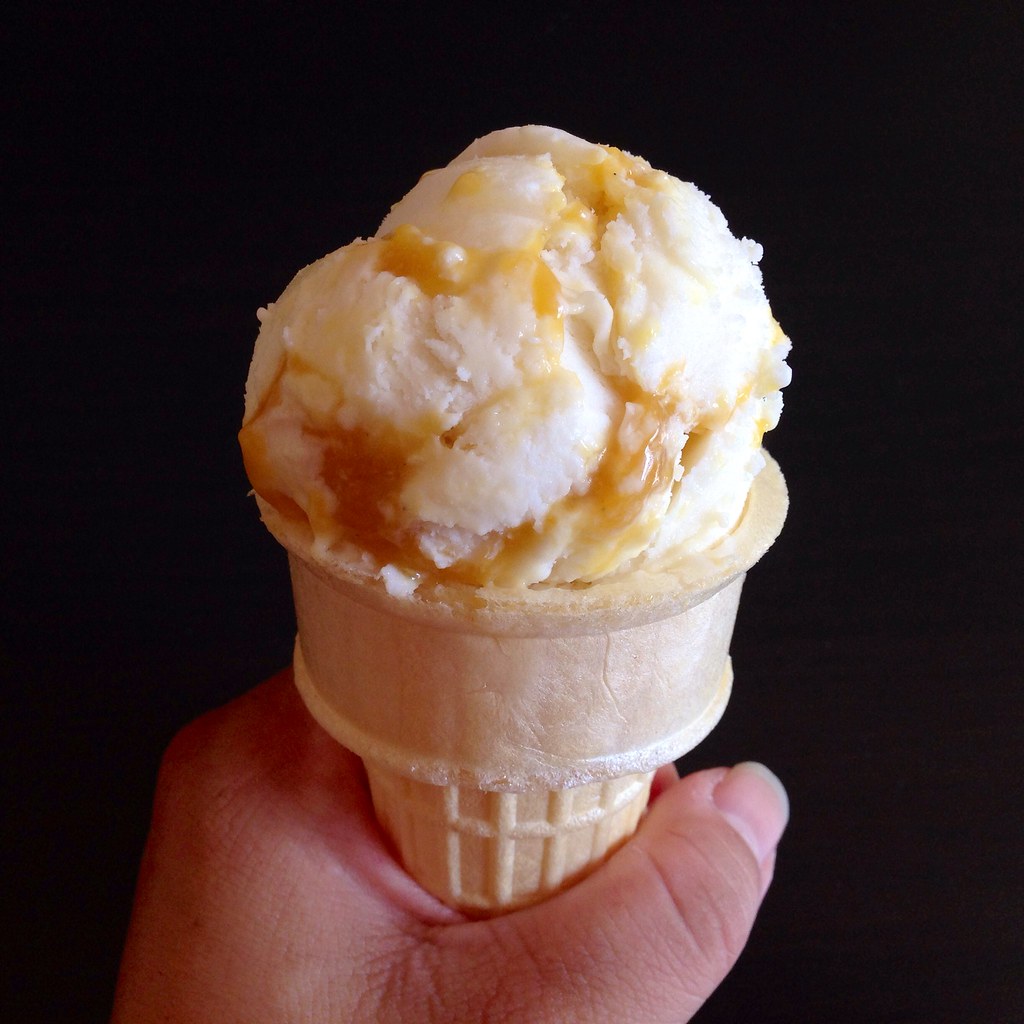
I've made a few coconut ice creams before, but this time I wanted to try making one using Jeni's ice cream base as a template.  Her Bangkok Peanut ice cream used some coconut milk, but I decided to amp up the coconut flavor by using a whole can of coconut milk and cutting back on the whole milk and heavy cream.  The result is unbelievably creamy and a perfect balance for the tart mango passion caramel swirl.  Eating this ice cream is like a free trip to a tropical island!

https://www.flickr.com/photos/joyosity/14879431644/

Coconut Ice Cream with Mango Passion Caramel Swirl
makes about 1 quart

3/4 cup whole milk
1 tablespoon plus 1 teaspoon cornstarch
3 tablespoons cream cheese, softened
1/8 teaspoon kosher salt
13.5 oz. can coconut milk (not light)
1/2 cup heavy cream
2/3 cup sugar
2 tablespoons light corn syrup
Mango Passion Caramel Sauce*

Mix about 2 tablespoons of the milk with the cornstarch in a small bowl to make a smooth slurry.  Whisk the cream cheese and salt in a medium bowl until smooth.

Combine the remaining milk, the coconut milk, cream, sugar, and corn syrup in a 4-quart saucepan.  Bring to a rolling boil over medium-high heat and boil for 4 minutes.  Remove from heat and gradually whisk in the cornstarch slurry.

Return the mixture to a boil over medium-high heat and cook, stirring until the mixture is slightly thickened, about 1 minute.  Remove from heat.

https://www.flickr.com/photos/joyosity/14858890626/

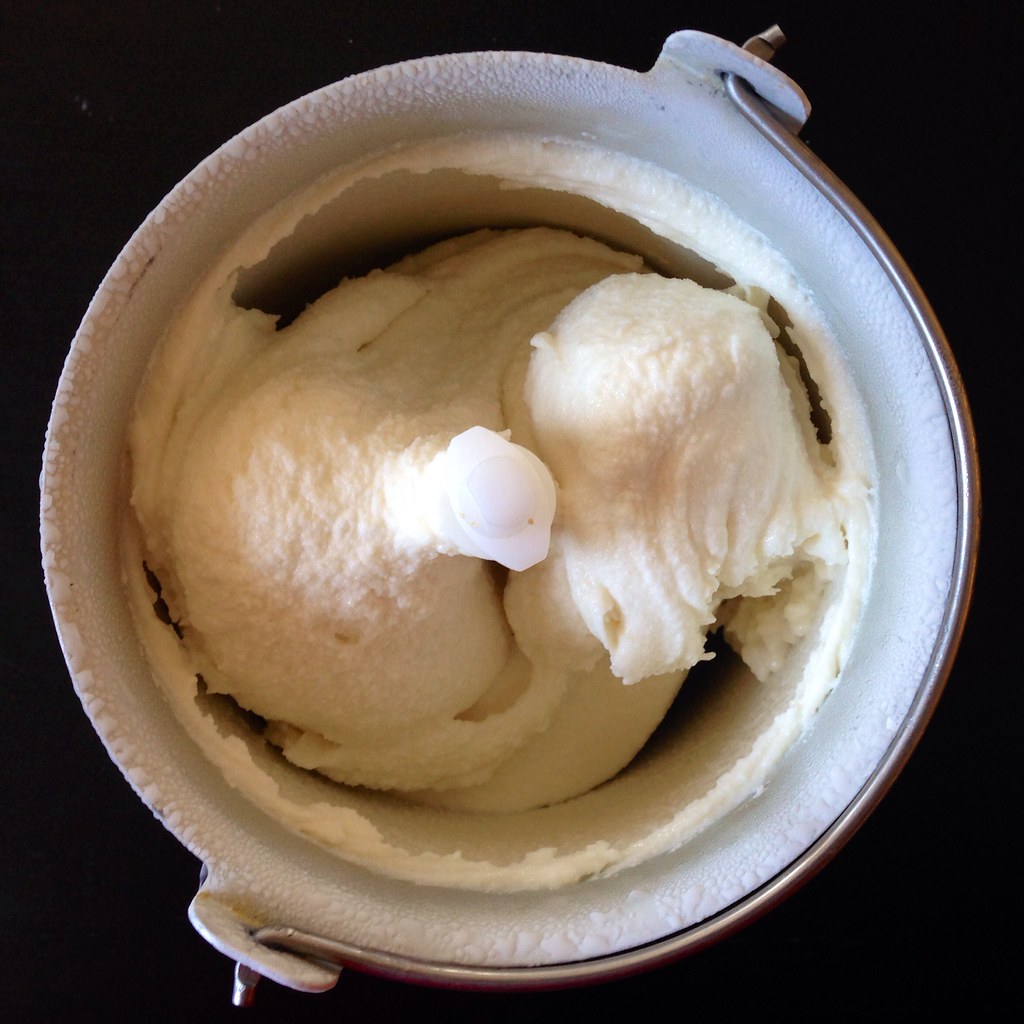
Gradually whisk the hot milk mixture into the cream cheese until smooth.  Chill the mixture thoroughly.  Churn according to your ice cream maker's instructions.

https://www.flickr.com/photos/joyosity/14878830341/

https://www.flickr.com/photos/joyosity/14858889336/

https://www.flickr.com/photos/joyosity/14881533582/

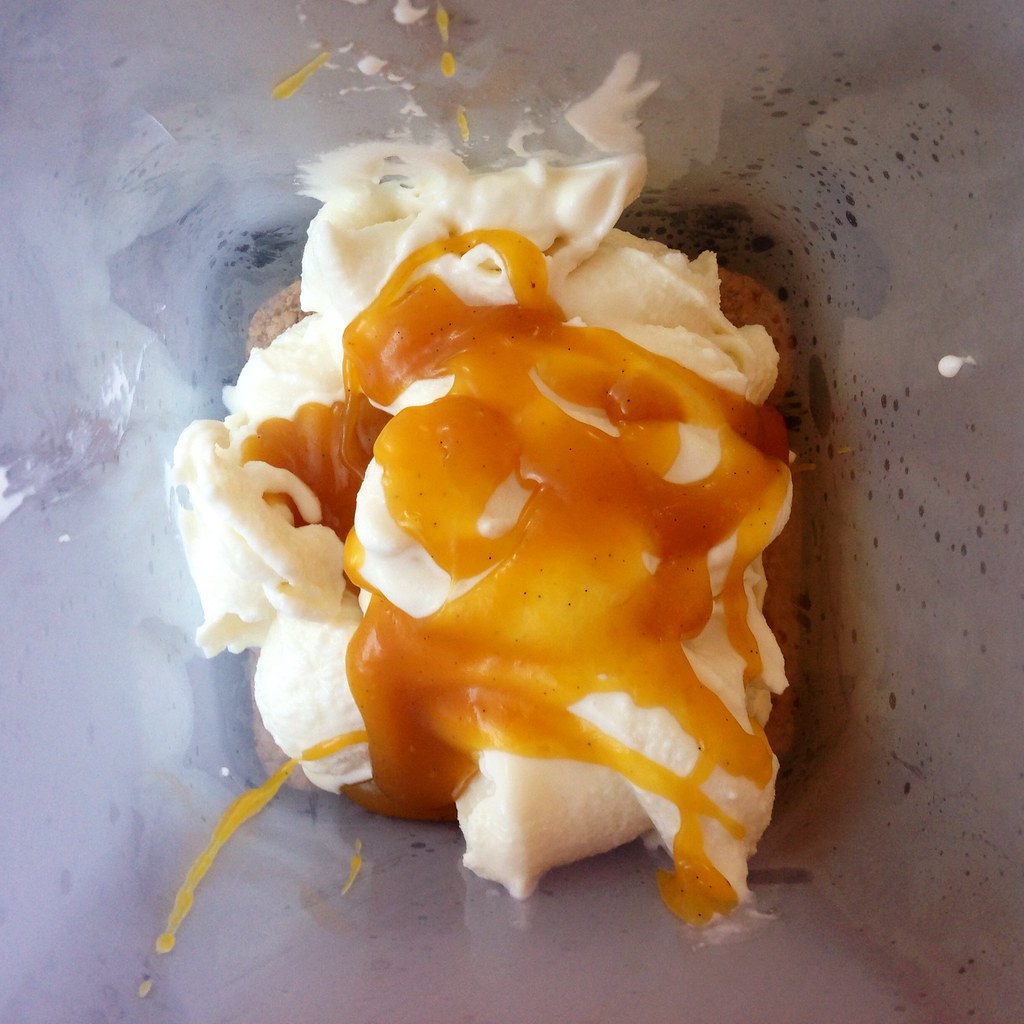
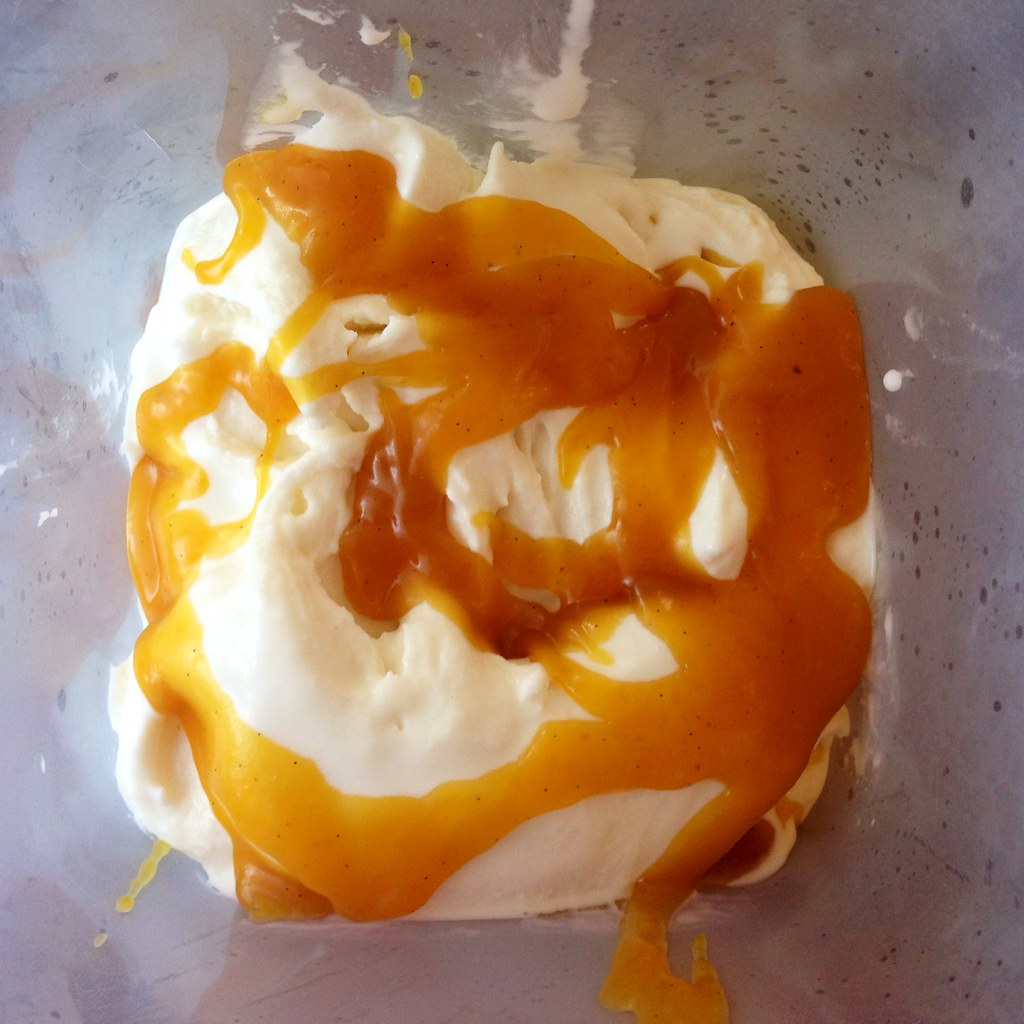
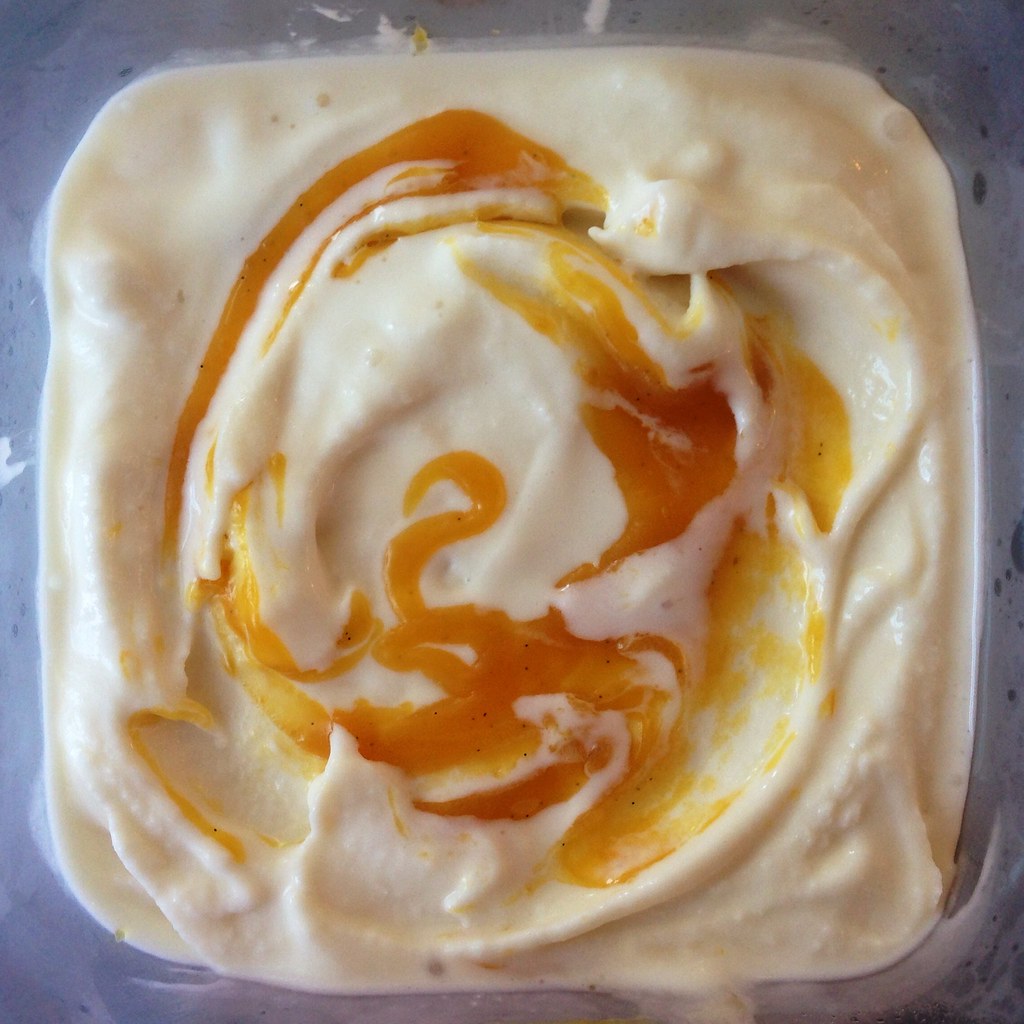
Pack the ice cream into a storage container, alternating it with layers of the mango passion caramel sauce and ending with a spoonful of sauce; do not mix.  Freeze until hard, at least 4 hours.

https://www.flickr.com/photos/joyosity/14695268018/

*Make the mango passion caramel sauce by following the directions for making mango passion caramels, double the amount of corn syrup, and only heat the caramel to 230°F.  Allow the caramel sauce to cool to room temperature before using.  The recipe will make more than you need for this ice cream recipe; you can use the rest for topping pancakes, pouring over other ice creams, etc.

https://www.flickr.com/photos/joyosity/14858894066/

Next:  Citrus Cured Salmon
Previously:  Sea Salt Cold Cream Coffee
Last Year:  Almond Pesto Pizza
Friday, August 8, 2014

Sea Salt Cold Brew Coffee

https://www.flickr.com/photos/joyosity/14631293897/

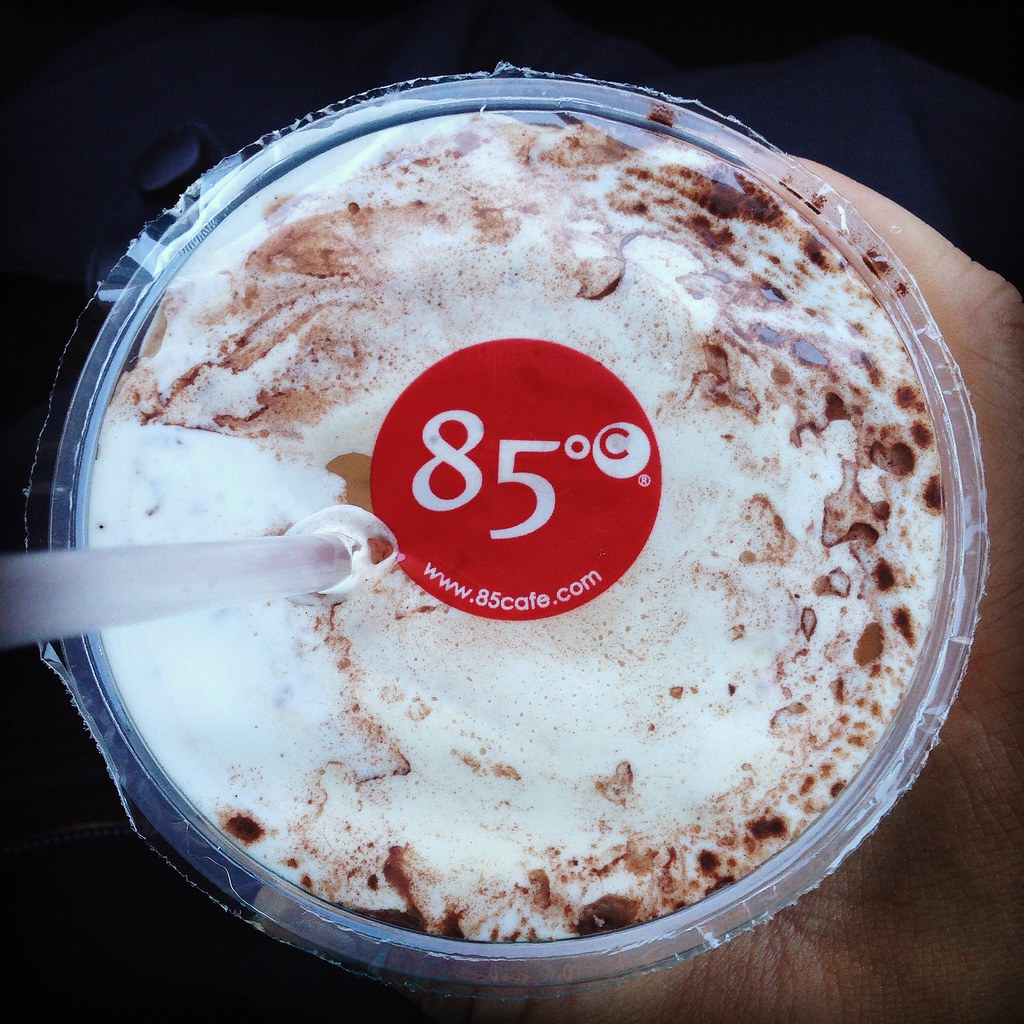
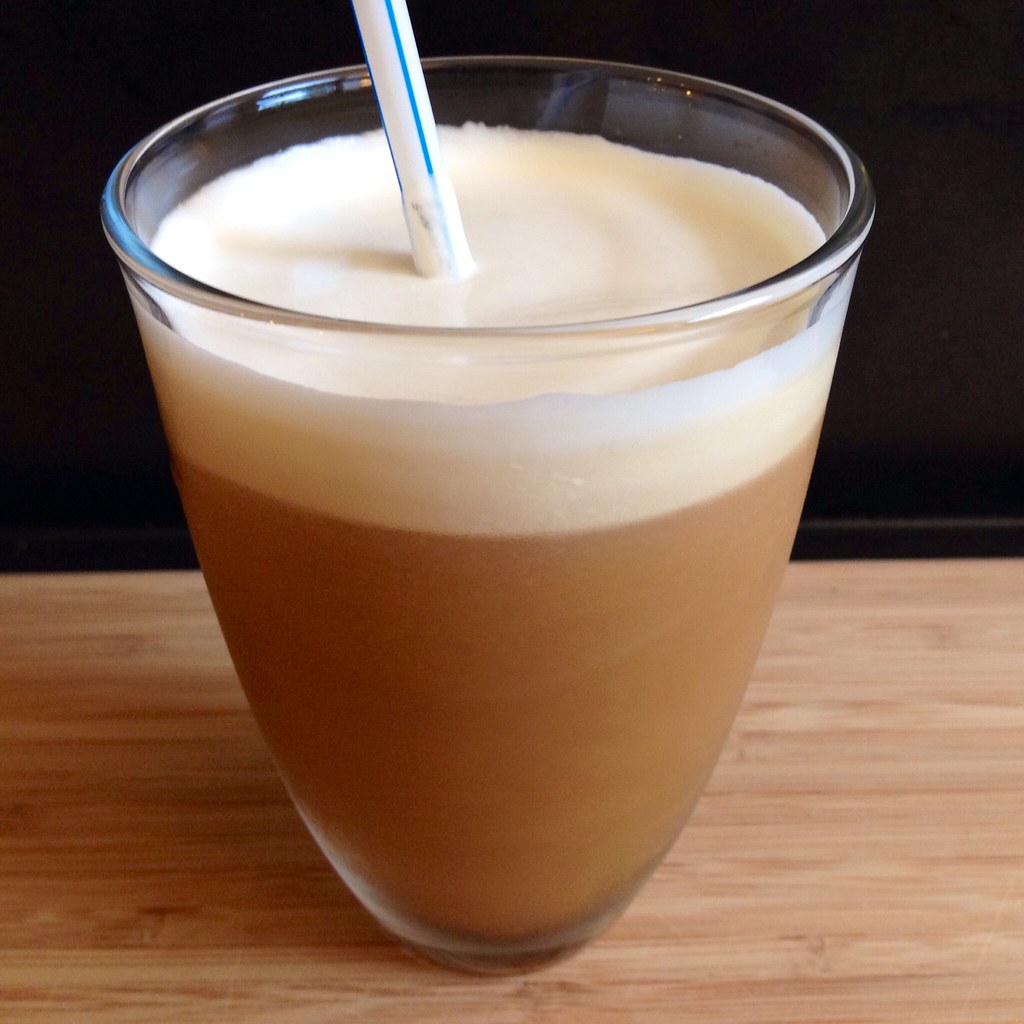
I was in Irvine recently for a family vacation, and one of the places I looked forward to going to the most was 85°C, a cafe and bakery chain from Taiwan.  Their most popular drink is probably the sea salt coffee, an iced coffee drink with cream and a pinch of sea salt for that salty-sweet flavor dimension.

https://www.flickr.com/photos/joyosity/14631174759/

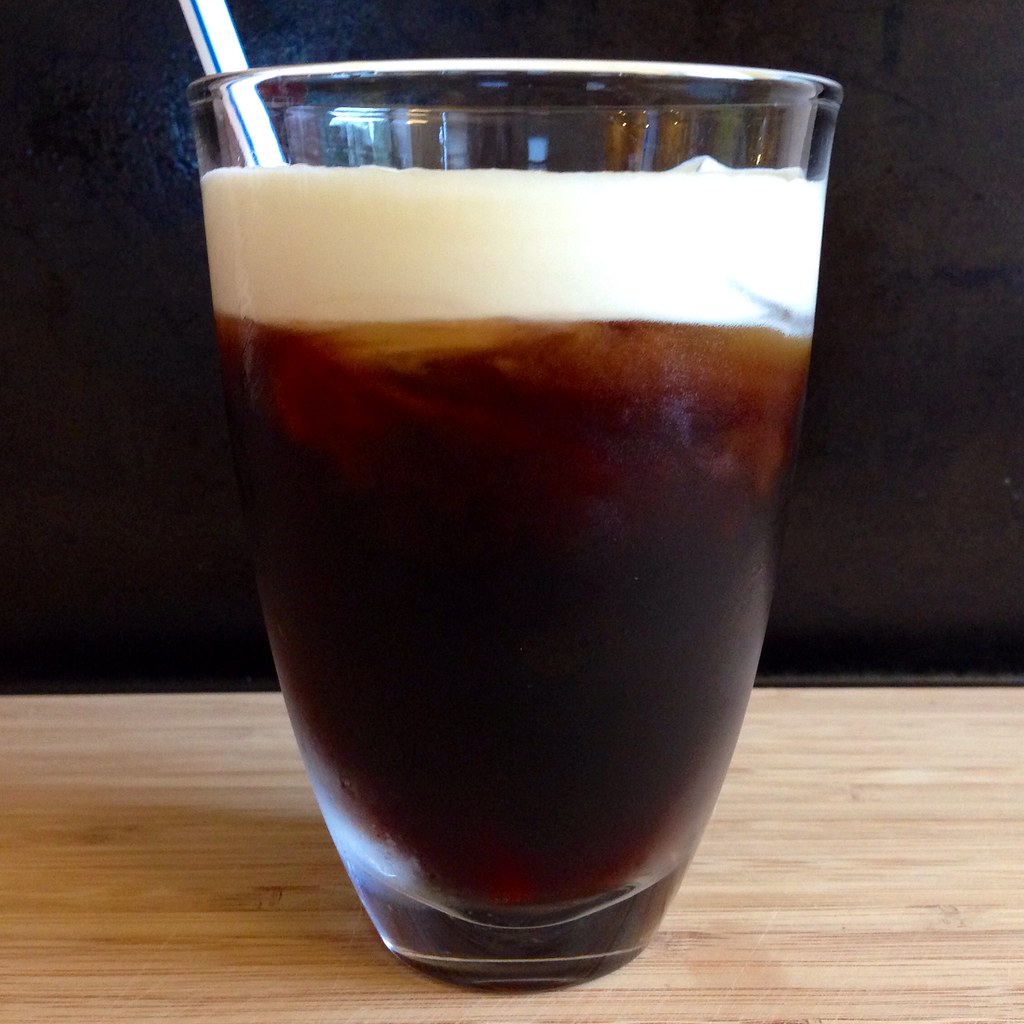
Since I had some extra cream from making the mango passion caramels, I decided to try to recreate the sea salt coffee at home using cold brew coffee.  Instead of making a simple syrup in order to sweeten the iced coffee, I just added brown sugar to the ground coffee like I do for the magical cold brew coffee.  The sugar naturally dissolves all on its own during the overnight cold brew process.

https://www.flickr.com/photos/joyosity/14794845856/

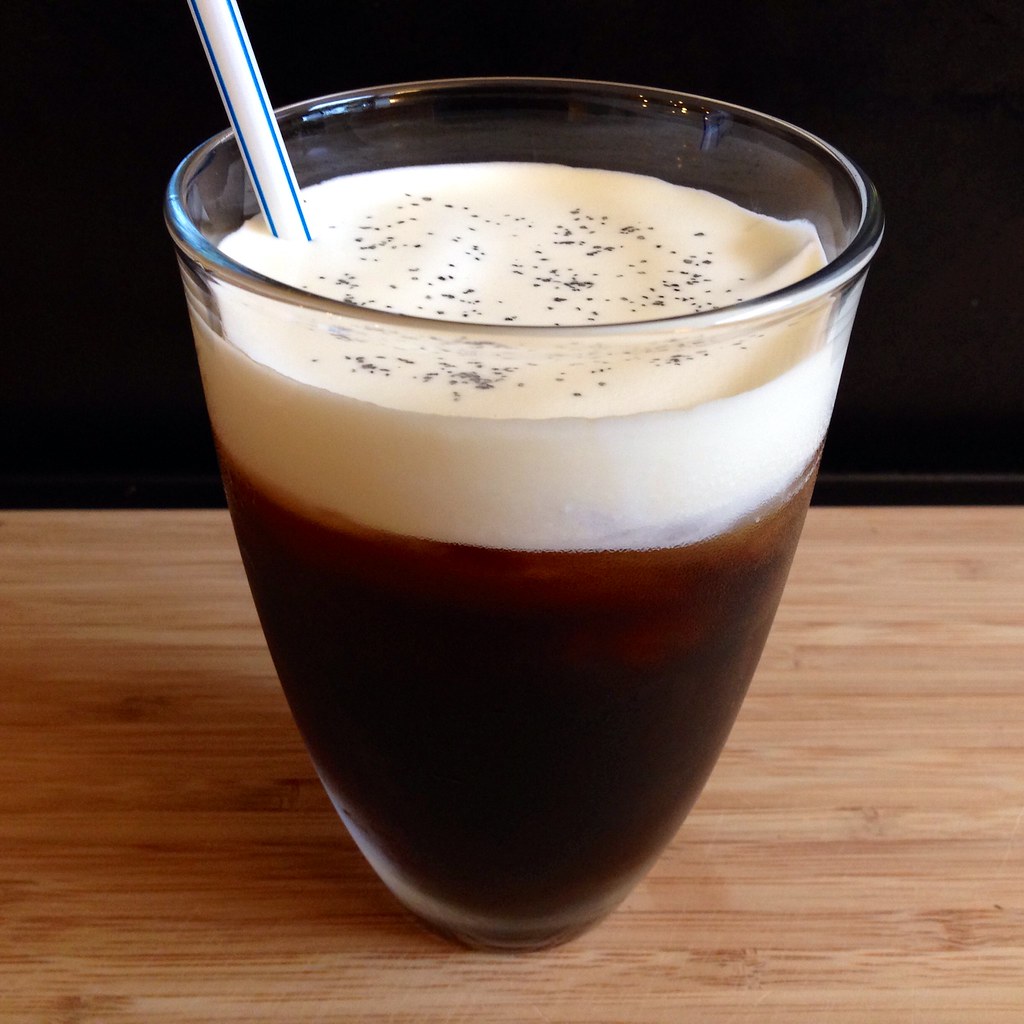
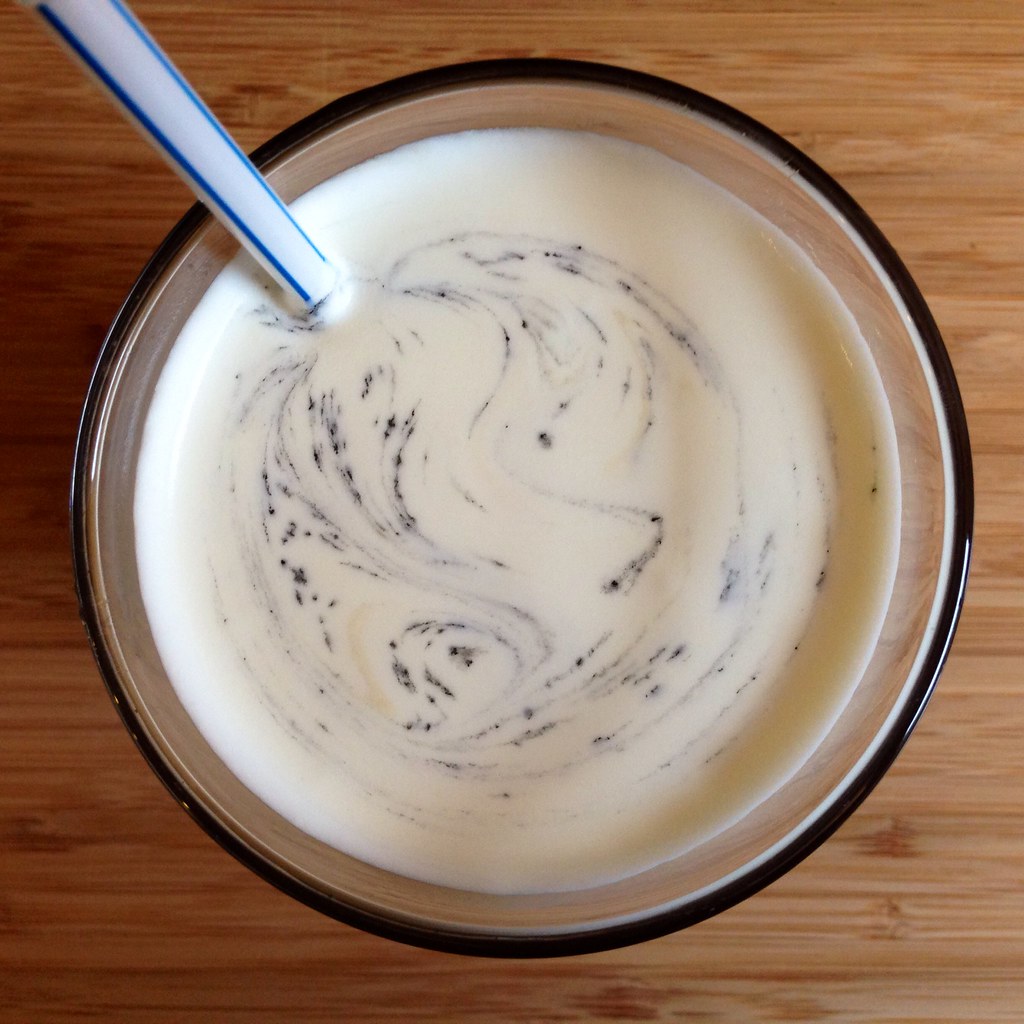
For extra funsies, I topped the drink with some Hawaiian black lava sea salt, but you can use regular sea salt or skip that step if you like.  I particularly liked how it looked once I started swirling it around.

https://www.flickr.com/photos/joyosity/14837670083/

Sea Salt Cold Brew Coffee
makes 3-4 drinks

1/2 cup coffee beans, ground
3 tablespoons brown sugar
1/2 cup heavy cream, chilled
1/4 teaspoon sea salt, plus more for garnishing if desired
Ice cubes

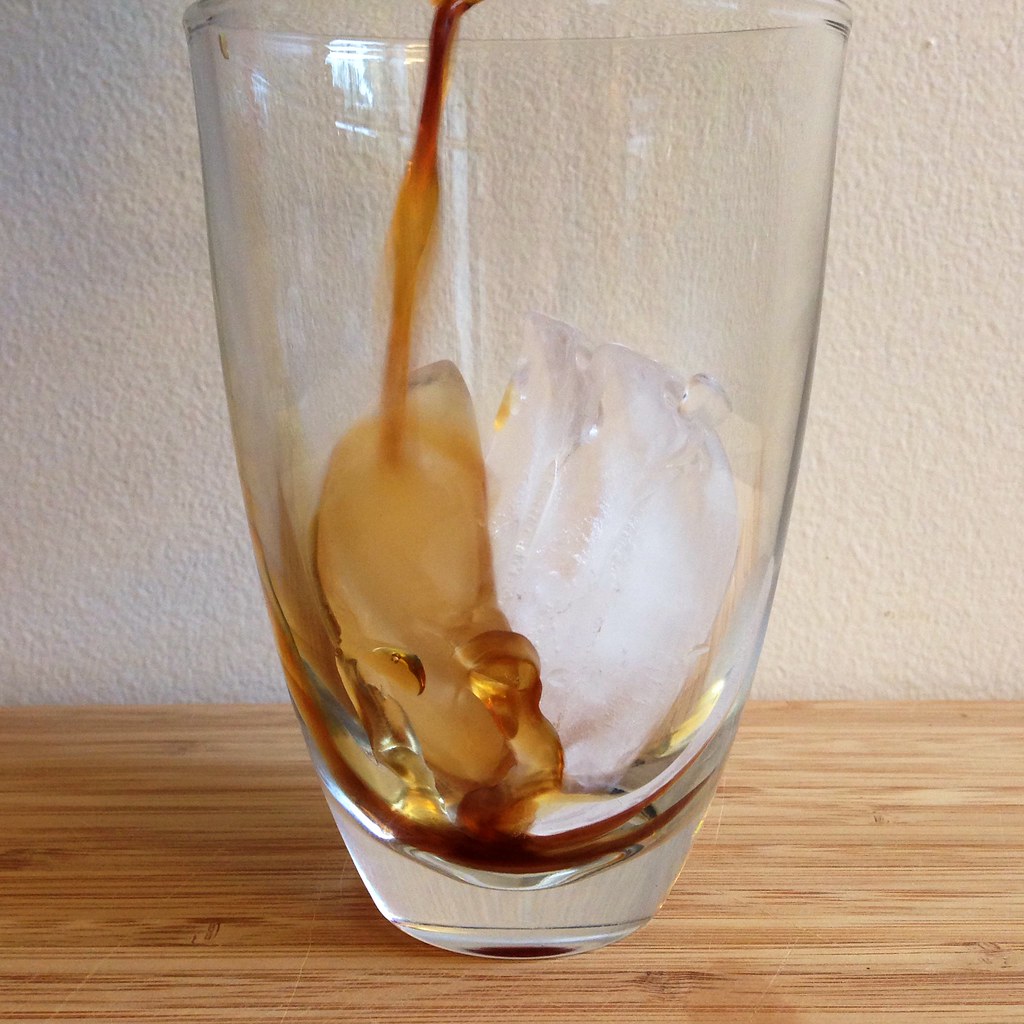
Combine the ground coffee with the brown sugar in a 2-cup French press or measuring cup.  Add enough cold, filtered water to reach the 2 cup line.  Stir to make sure all the coffee grounds get wet.  Let sit a few minutes and then stir one more time to disperse all the coffee grounds that have floated to the top.  Cover and let sit overnight at room temperature.

The next day, press and/or filter the cold brew coffee.  Store in the refrigerator until needed.

Whip together the heavy cream and 1/4 teaspoon sea salt until the cream has thickened but before it reaches soft peaks.

https://www.flickr.com/photos/joyosity/14631200118/

Add 3-4 ice cubes to each glass and fill with coffee, leaving at least a half inch of space on top. Spoon the cream on top and garnish with additional sea salt, if desired.  Serve with a straw and stir to combine the coffee and cream layers.

https://www.flickr.com/photos/joyosity/14815474374/

The next time I make coconut whipped cream, I might try to see if it would work well as a replacement for the heavy cream here.

Next:  Coconut Ice Cream with Mango Passion Caramel Swirl
Previously:  Jacques Genin's Mango Passion Caramels
Last Year:  Matcha Green Tea Ice Cream with Matcha Mochi Bits

I am submitting this post to Asian Food Fest #10 Aug 2014 : Taiwan hosted by travelling-foodies.

Tuesday, August 5, 2014

Jacques Genin's Mango Passion Caramels

https://www.flickr.com/photos/joyosity/14790038296/

A year and a half ago, I tried making my own version of Jacques Genin's mango passion caramels by using Smitten Kitchen's apple cider caramels as a template.  In my opinion, the vanilla passion caramels turned out great, and everyone was happy.

Then a couple of months ago, my friend Ellen sent me a link to this recipe which linked to what was apparently the real recipe from Jacques Genin.  o_O

https://www.flickr.com/photos/joyosity/14790157756/

Unfortunately, even after translating the recipe to English, the instructions were a little vague.  There no mention of what temperature to cook the caramel to, just directions to boil for 45 minutes, which is really not enough when it comes to the precise science of candy making.  And there was no helpful suggestion for how to replace the glucose with corn syrup, which is much more available, at least in my kitchen.  Lastly, the recipe says it's for 4 people, but the crazy amount of each ingredient (a kilogram each of mango and passion fruit juice?  1.8 kilograms of sugar?!?) made me think it might be for more like 400 people!  After reading a few comments and looking up some info online, I decided to try cooking the caramel to a "soft ball" stage, about 110°C or 230°F, and to use a 1:1 substitution of corn syrup for glucose.  I also made the executive decision to divide all the quantities by 5.

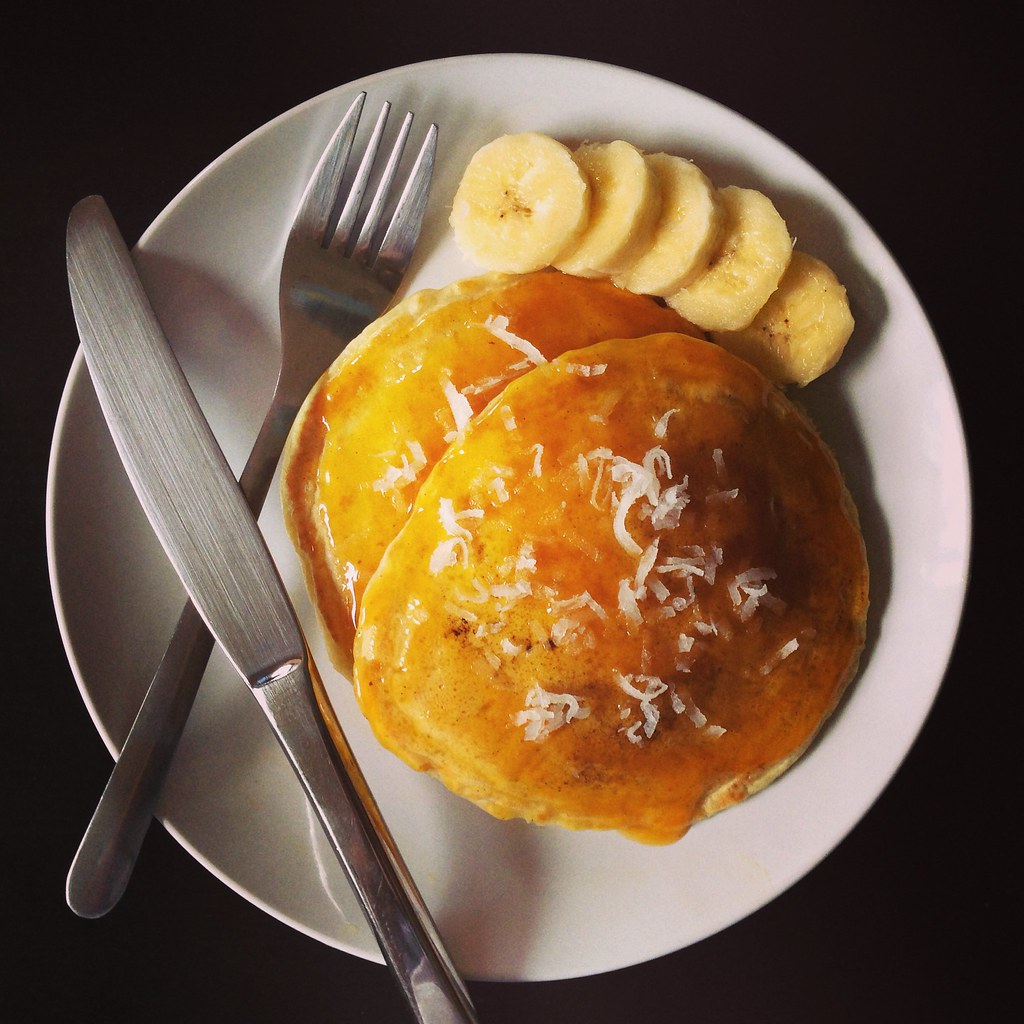
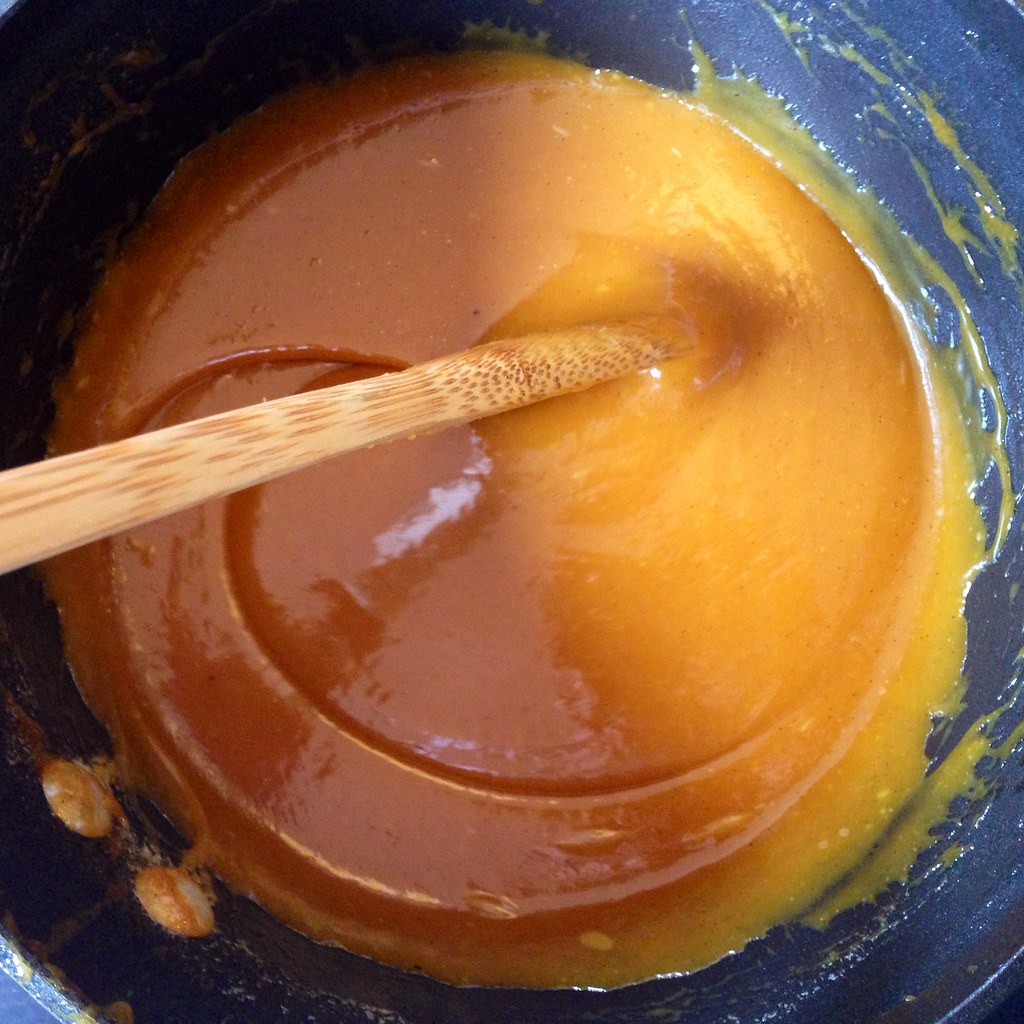
The caramel actually reached 230°F in about 45 minutes on a medium-low heat, so I thought I had gotten it right (and the volume of caramel was just right), but then when it was time to cut the caramels, they were so soft it was almost impossible!  I basically had to scrape the caramel onto a piece of wax paper, and even after chilling the caramels in the freezer, they were still super soft!  In the end, I gave up on trying to wrap this batch and just spooned everything into a jar.  It wasn't a total loss, though.  I made banana pancakes the next morning and topped them with the mango passion caramel sauce, and it was delicious!  I'm thinking of swirling the rest into some coconut ice cream, whenever I get around to making that.

https://www.flickr.com/photos/joyosity/14813037295/

I was determined to get the caramels right though, so for the next batch I decided to use half the amount of corn syrup and to cook the caramels until 252°F, the temperature I used for the vanilla passion caramels.  This time, the caramels set like they should!  The only problem is the butter didn't completely mix into the caramel even though I stirred it for like 15 minutes!  The next time I make these, I'll try reducing the amount of butter I add by maybe 20%.

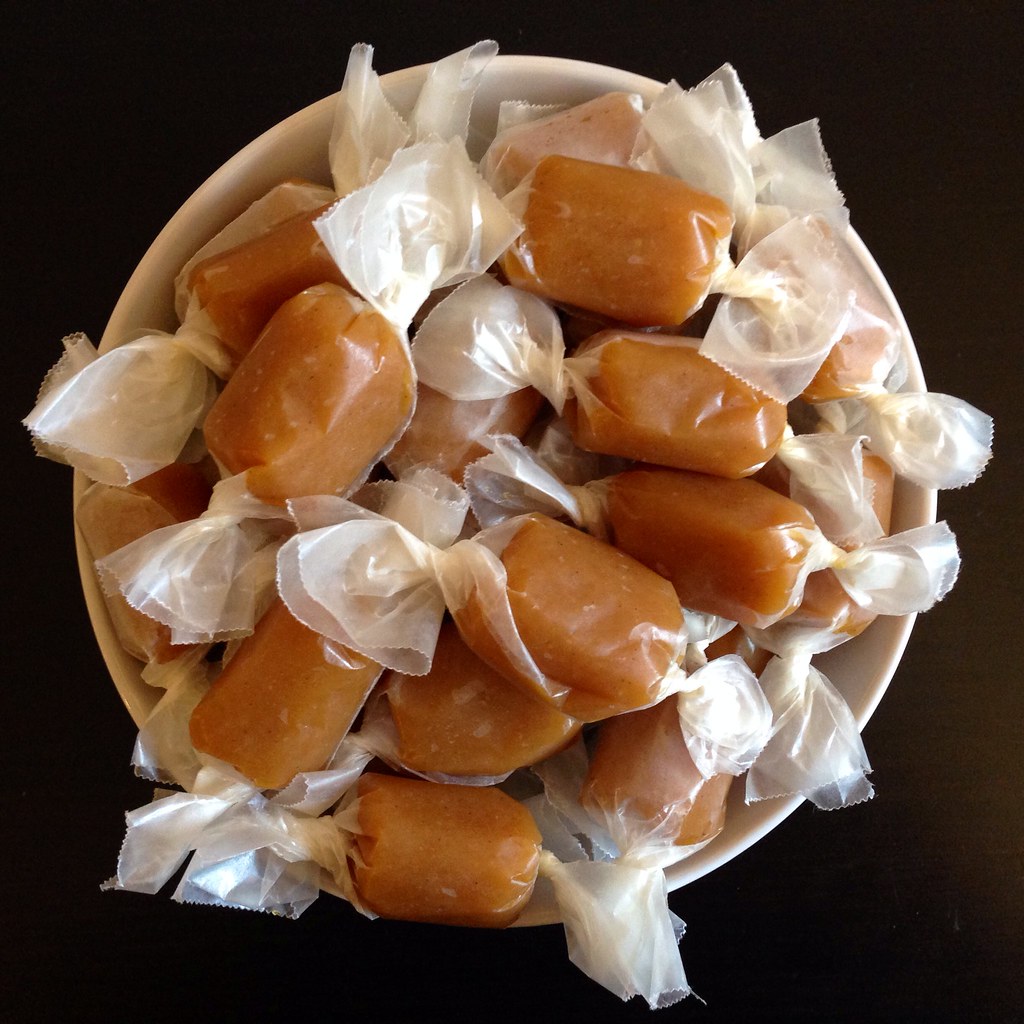
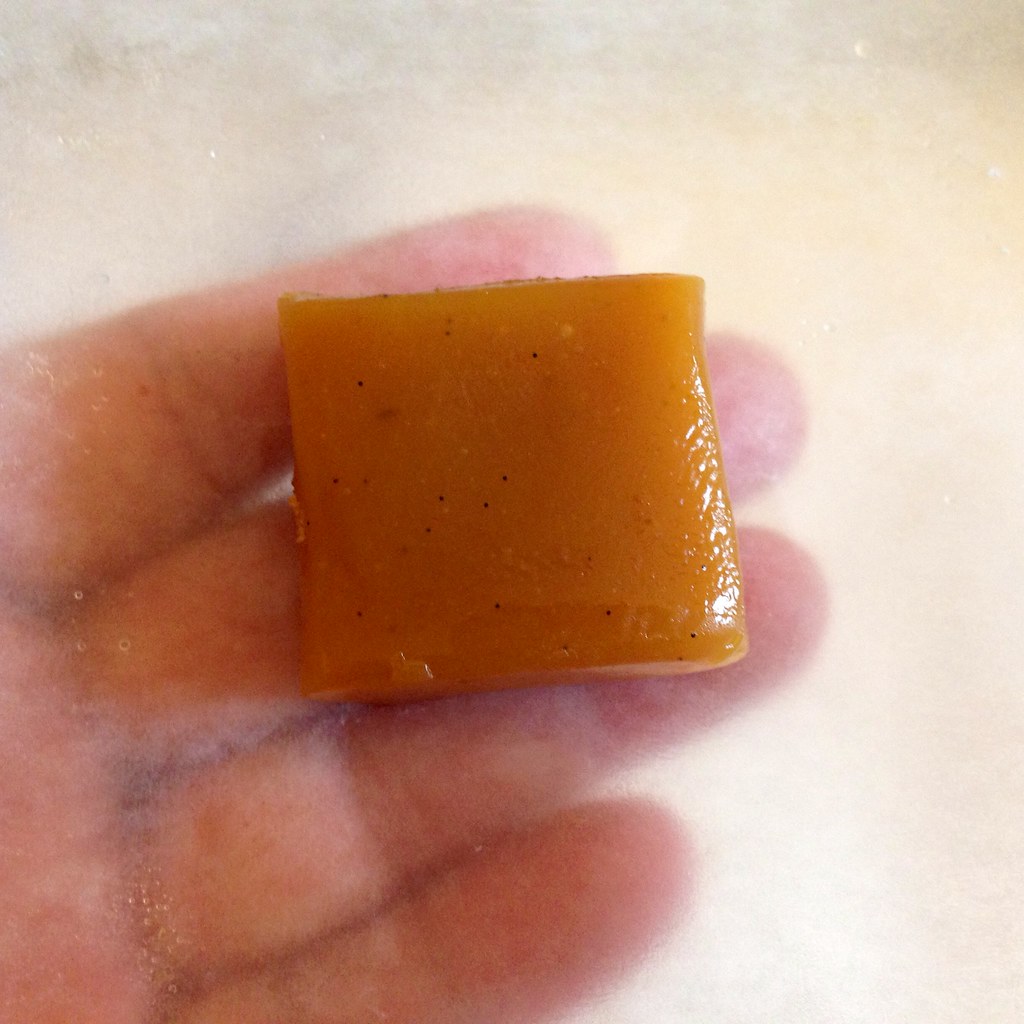
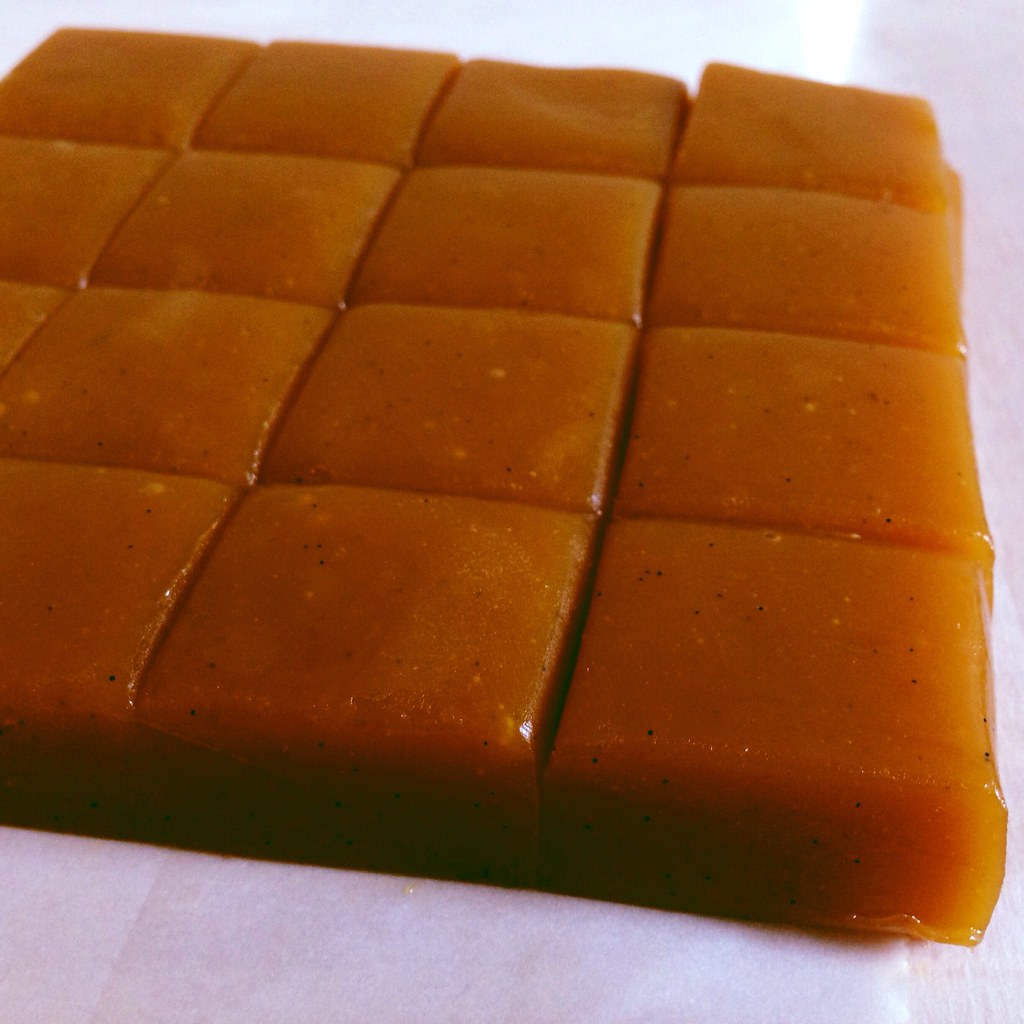
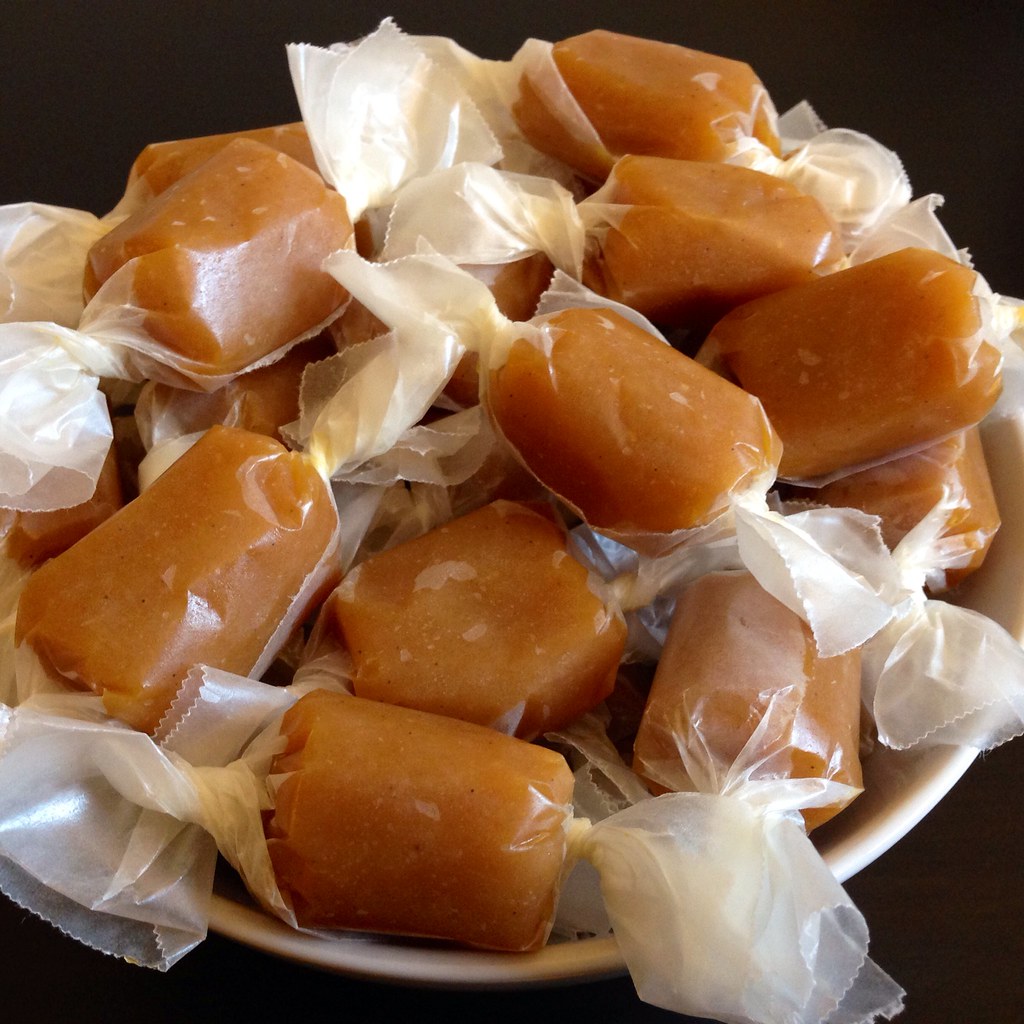
Other than that, these caramels were perfect.  They're soft but not sticky with just the tiniest bit of crackle from the vanilla bean seeds.  The reduction in corn syrup made a difference not only in texture but also in improving the taste.  There's less of a sharp sweetness so you can taste the tartness of the fruit and the buttery goodness even more.  It's been over 2 years since I had last the real thing, but this pretty much tastes exactly like what I remember.  ^_^

https://www.flickr.com/photos/joyosity/14813041795/

Jacques Genin's Mango Passion Caramels (adapted from here)
makes about 64 caramels

300 g heavy cream
200 g passion fruit pulp
200 g mango juice
1 vanilla bean, split lengthwise and cut in half if needed to fit in the pot
25 g corn syrup
360 g sugar
100 g butter, softened (consider using less; however, I haven't tried it myself)

https://www.flickr.com/photos/joyosity/14626398378/

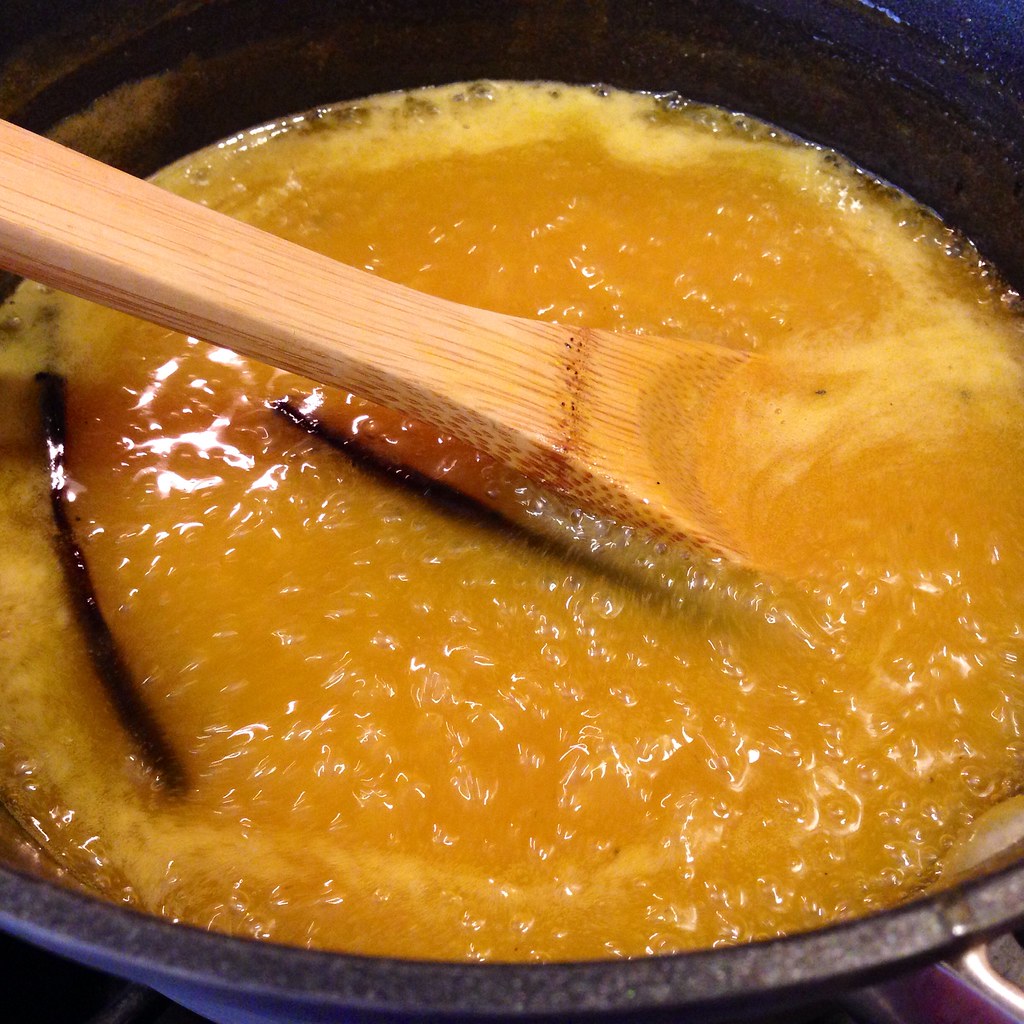
Mix all the ingredients except for the butter in a large saucepan.  Bring to a boil, and then reduce heat to a medium/medium-low and continue to boil for about 45-60 minutes, until the temperature reaches 252°F.  

In the meantime, line a 8" square baking pan with two pieces of crisscrossed parchment paper.  Cut out 3" square pieces of wax paper to use as wrappers.

https://www.flickr.com/photos/joyosity/14626373959/

When the caramel has reached temperature, remove the vanilla bean.  Add the butter and mix well. It may take a while for the butter to mix in, but it eventually will; just keep stirring.

https://www.flickr.com/photos/joyosity/14810664004/

Pour into the prepared baking pan and allow to cool completely.

https://www.flickr.com/photos/joyosity/14810718604/

Cut the caramel into 1" squares.  Wrap in the wax paper squares.  Store in the refrigerator and bring to room temperature before eating.  Die of happiness.

https://www.flickr.com/photos/joyosity/14812678942/

This recipe is actually easier than the vanilla passion caramel one since you only need one pot for everything!  The hardest part was actually finding pure mango juice since most of the "mango juice" I found in stores contained water and sugar.  I think I finally found some on a shelf in a random Latin grocery store in Seattle.  I found the passion fruit pulp in the freezer section of my grocery store with all the other frozen Goya products.

Next:  Sea Salt Cold Brew Coffee
Previously:  Grace's Ginger Scallion Fish
Last Year:  Matcha Mochi Cupcakes

Friday, August 1, 2014

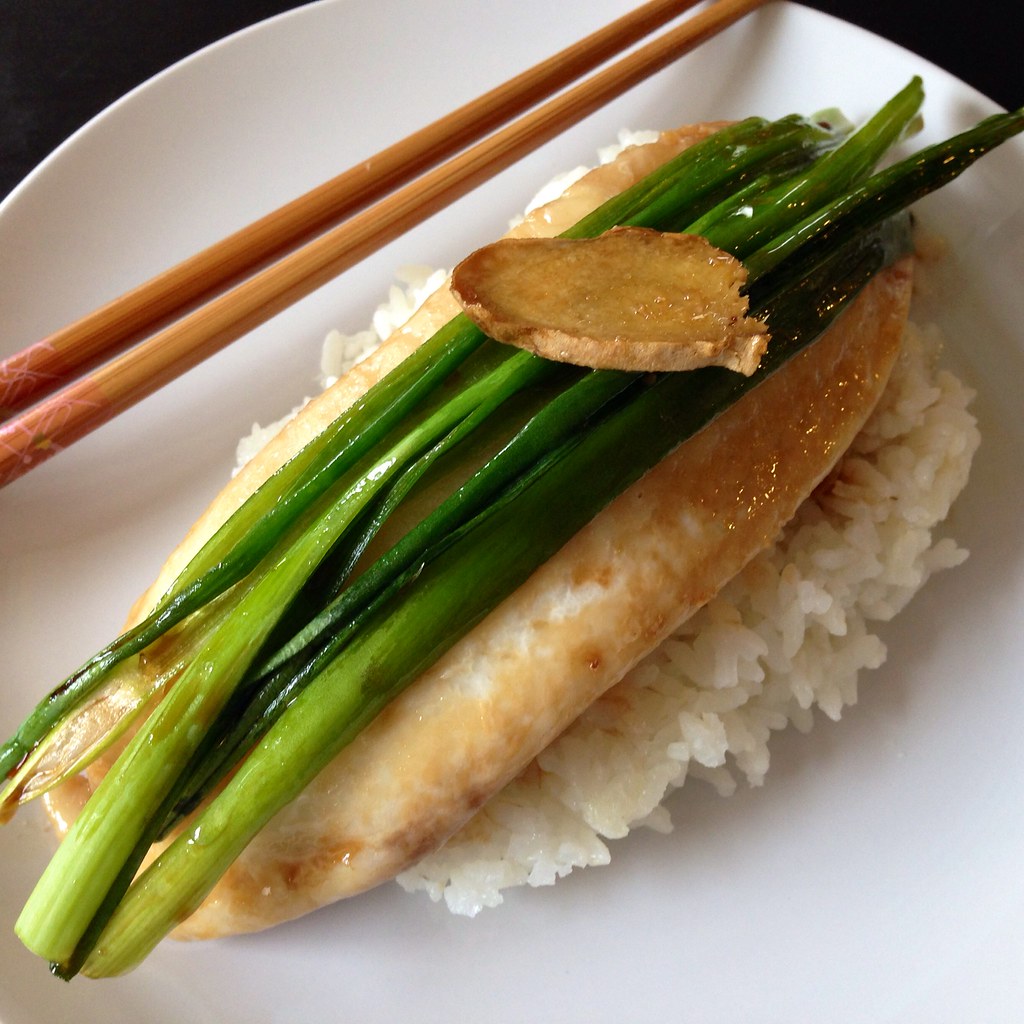
Grace's Ginger Scallion Fish

https://www.flickr.com/photos/joyosity/14748592291/in/photostream/

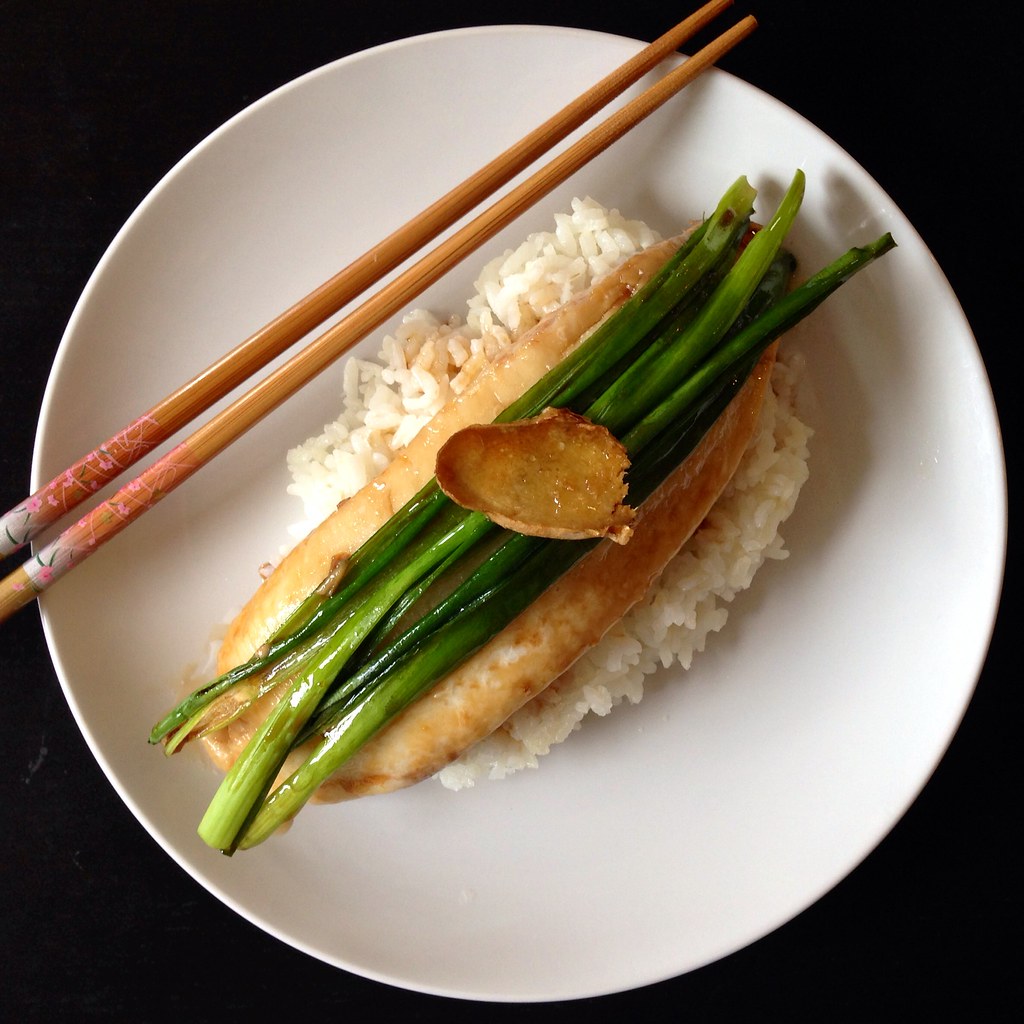
One of my friends posted a picture of some steamed fish she made on Facebook, and it looked so good I had to ask for the recipe.  Turns out the fish isn't so much steamed as baked in the oven, but it's so moist and tender, it might as well have been steamed!

First you bake the fish with some rice wine and ginger slices just until the fish is barely done.  The ginger slices are then added to some oil being heated on the stove, and the fish is topped with scallions.  Then comes my favorite part:  you pour the ginger-infused hot oil over the scallions and fish to seal in moisture and flavor.  Finally a sweet soy based sauce is poured over everything.  This is great served over steamed rice, and in my opinion, is even better the next day when the fish has absorbed some of the sauce!

https://www.flickr.com/photos/joyosity/14565102988/

Grace's Ginger Scallion Fish
serves 2-4

1-2 lbs. white fish filets (I've used cod and tilapia, but I bet sole, flounder, and orange roughy would work well, too)
5 tablespoons rice wine, divided 
2 inch ginger root, thinly sliced
1/4 cup vegetable oil
1 bunch scallions, green parts only
6 tablespoons soy sauce
4 tablespoons sugar
5 tablespoons water

Preheat the oven to 400°F.

https://www.flickr.com/photos/joyosity/14771618693/

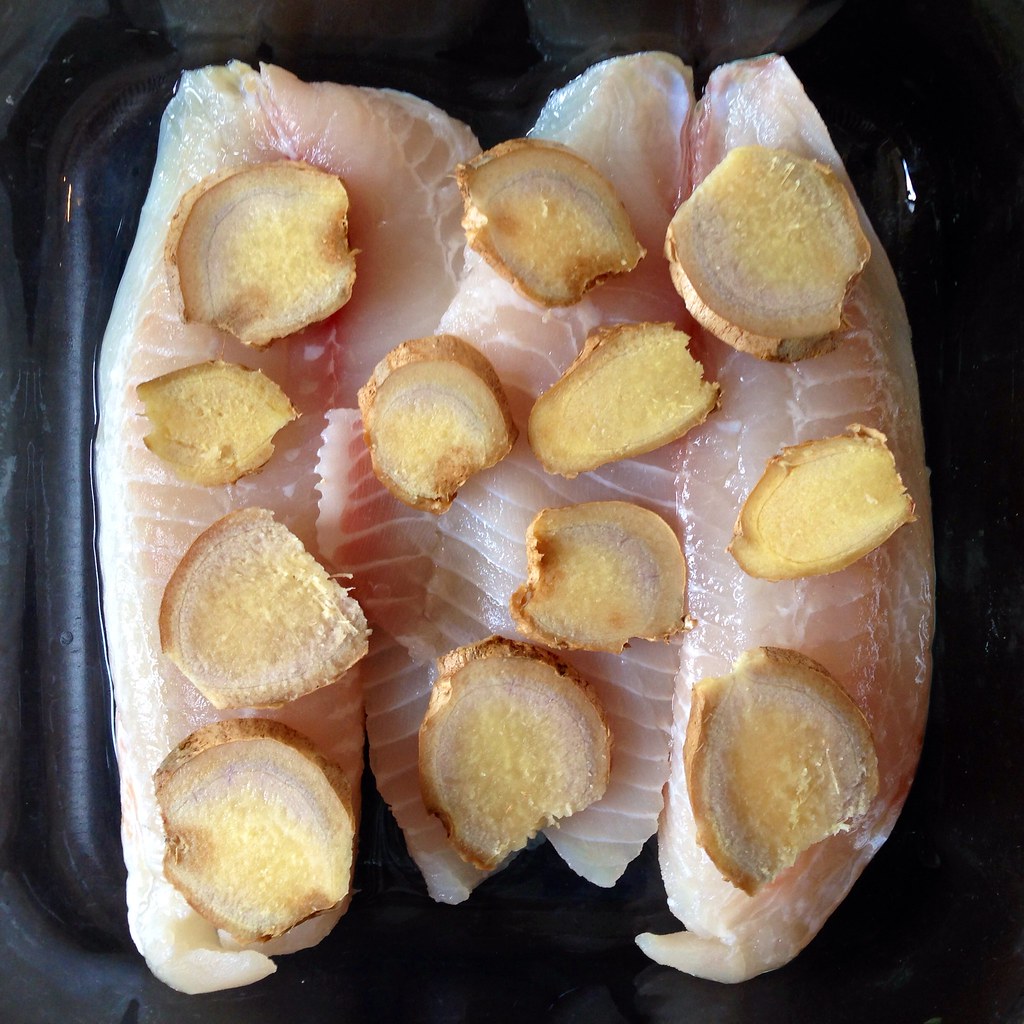
Place the fish filets in a small baking pan.  Sprinkle 2 tablespoons of rice wine over the fish and then arrange the ginger slices on top.  Bake for 12 minutes or until the fish is just cooked through (do not overcook).

Meanwhile, heat up the oil in a small saucepan over medium low.  Mix the remaining 3 tablespoons of rice wine with the soy sauce, sugar, and water and heat for 1 minute in the microwave.  Stir to dissolve the sugar.

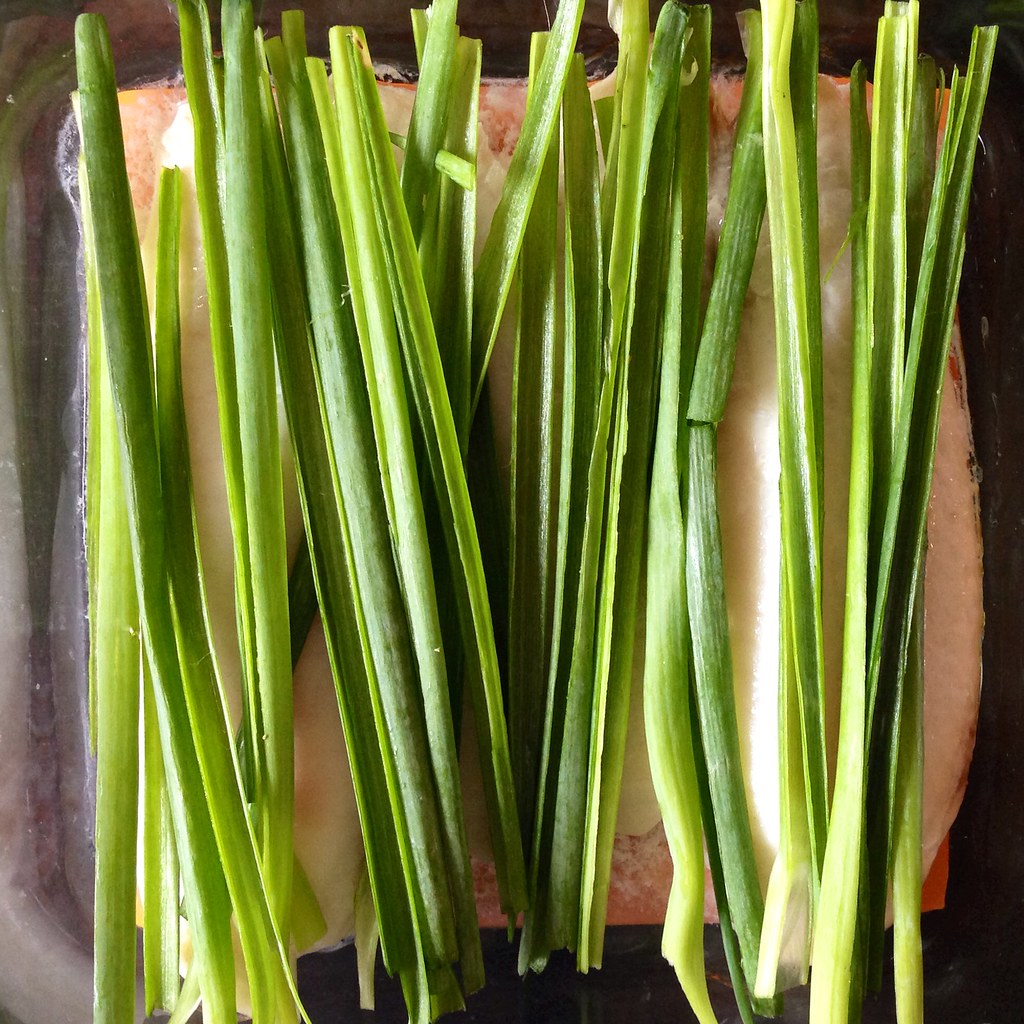
Slice the scallions in half lengthwise or julienne, if you can be bothered.

https://www.flickr.com/photos/joyosity/14751438622/

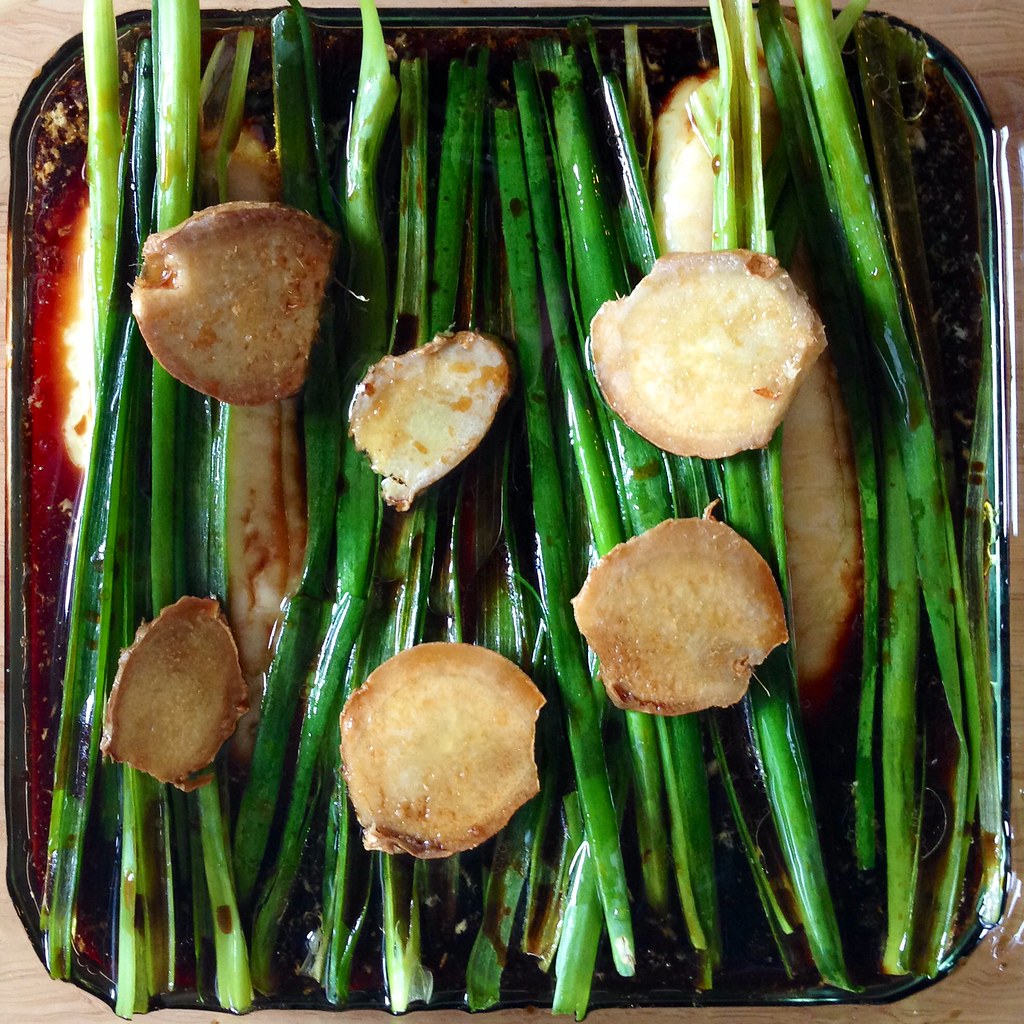
When the fish is done, remove the ginger slices and transfer to the hot oil.  Arrange the scallion on top of the fish.

https://www.flickr.com/photos/joyosity/14748590261/

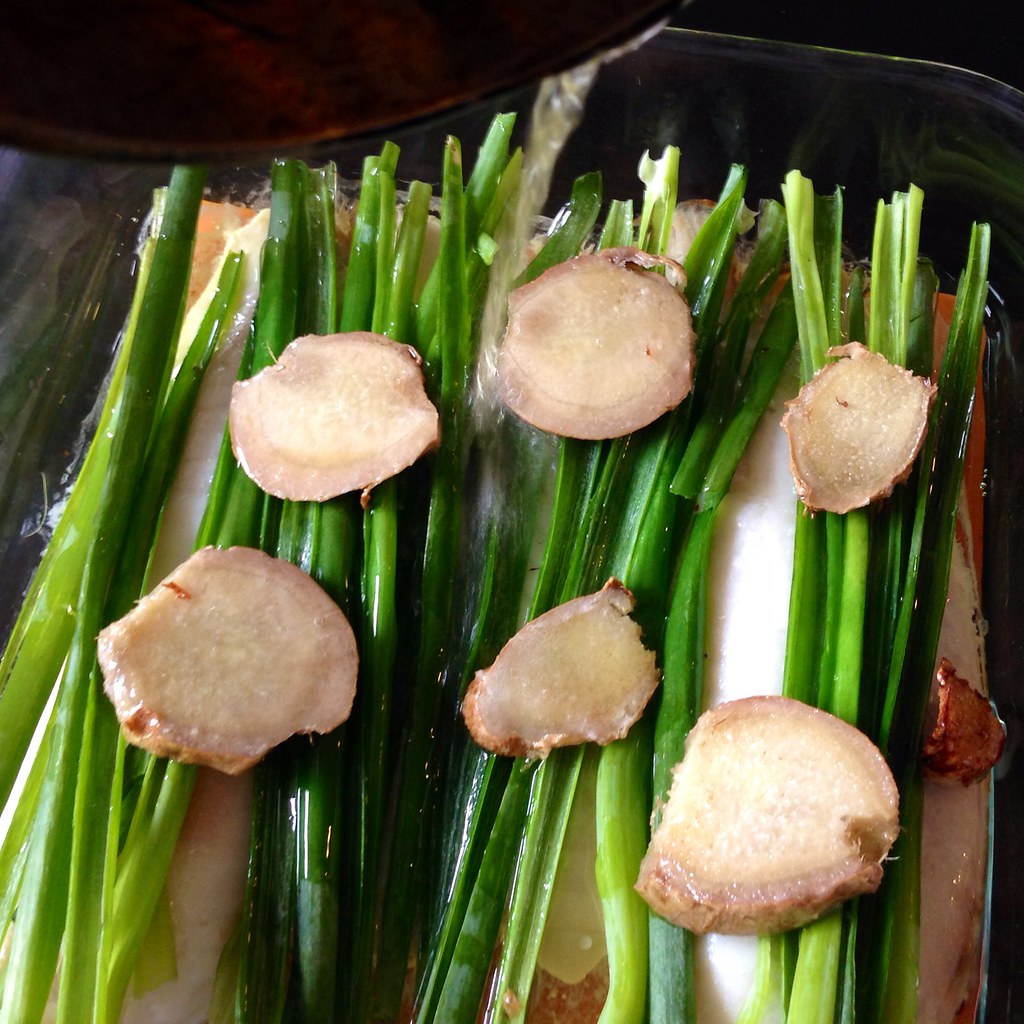
Bring the heat up on the oil to medium high and cook until the ginger just starts to brown.  Immediately pour the hot oil onto the fish.  (It's okay with the ginger falls out.)

https://www.flickr.com/photos/joyosity/14751163114/

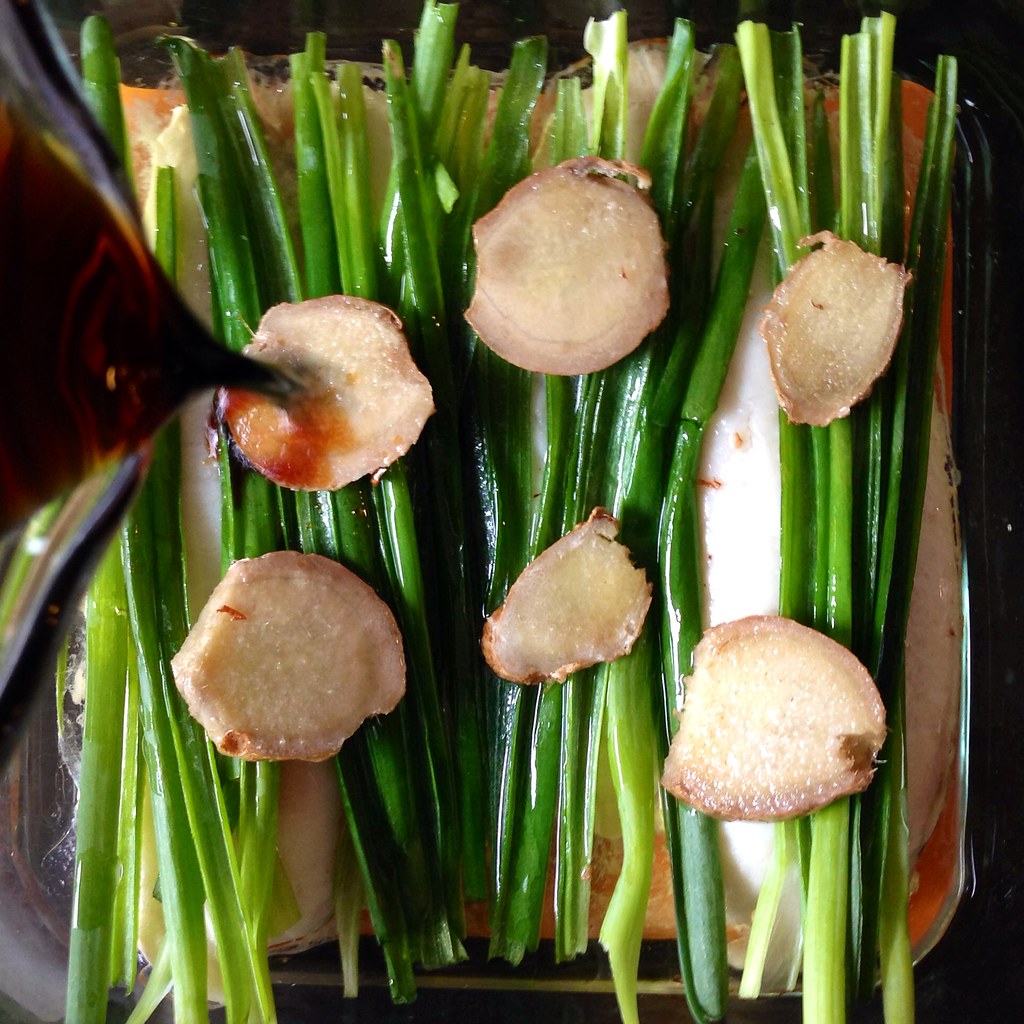
Pour the soy sauce mixture over the fish and serve warm with rice.

https://www.flickr.com/photos/joyosity/14771622413/

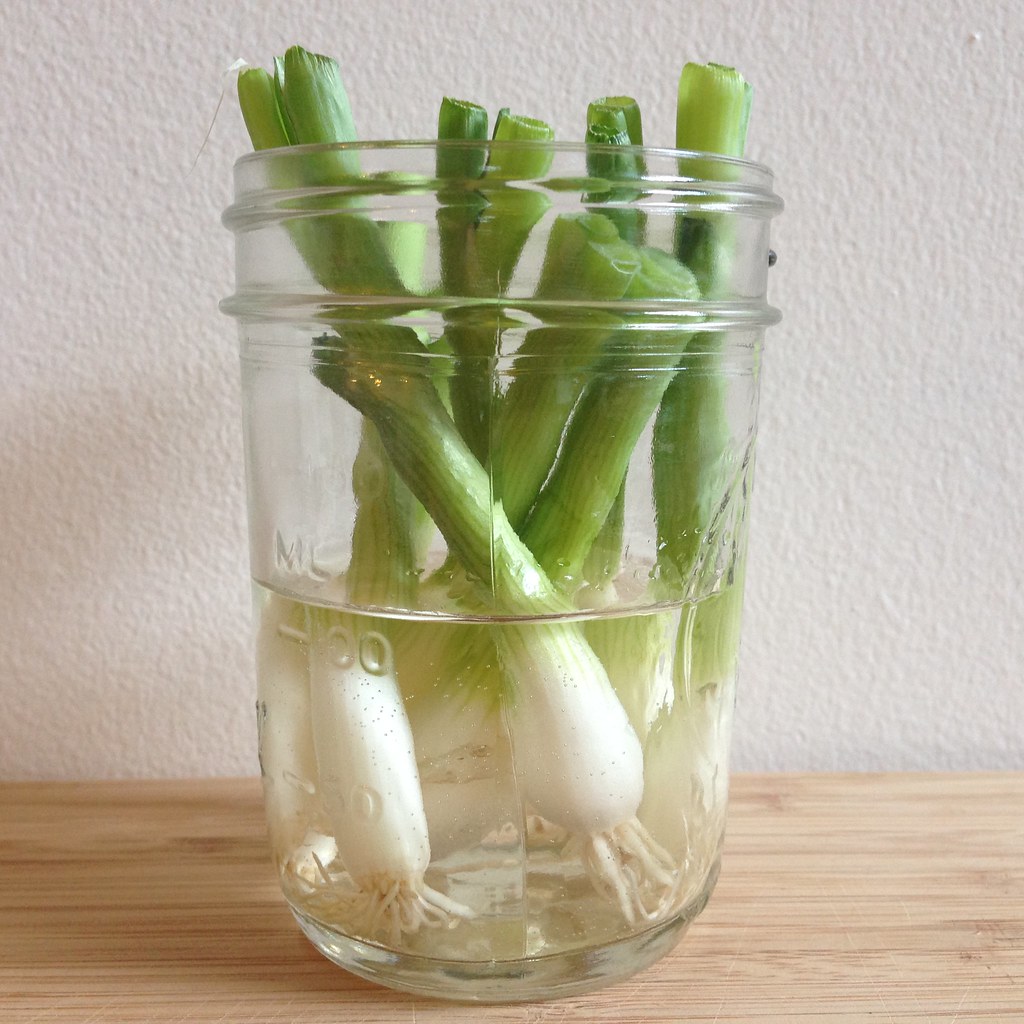
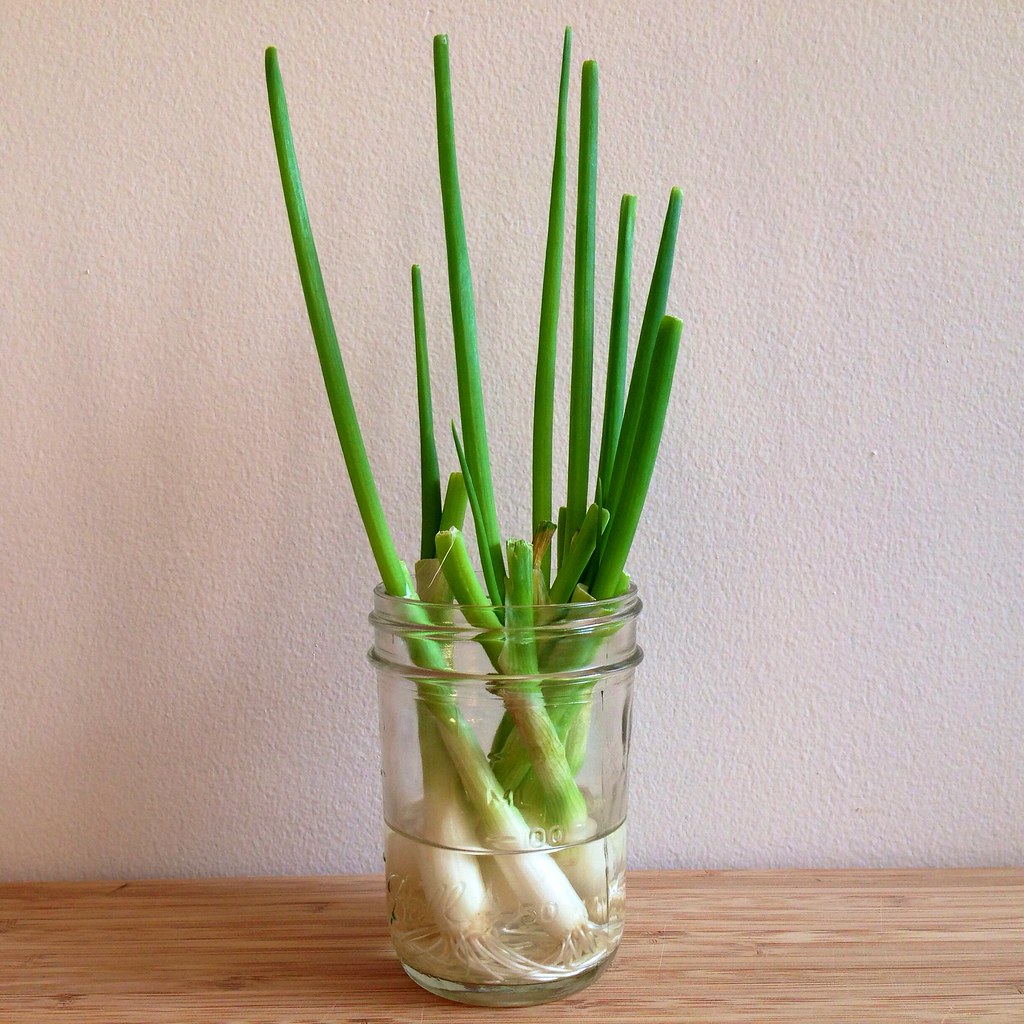
Pro-tip:  Don't throw out the scallion roots after you've chopped off the green part!  Put them in some water and leave them in a sunny place. 

https://www.flickr.com/photos/joyosity/14603396277/

They'll start regrowing, and you can get a lot more mileage out of them.  The picture below shows how much they grew in only 5 days!  That's enough to make some tomato and eggs over rice.  =)

https://www.flickr.com/photos/joyosity/14770672126/

Next:  Jacques Genin's Mango Passion Caramels
Previously:  Strawberry Pop Tart Slab Pie
Last Year:  Cold Soba Noodle Salad with Bake Tofu and Edamame, S'mores Brownie Ice Cream Sandwiches

Wednesday, July 30, 2014

Strawberry Pop Tart Slab Pie

 https://www.flickr.com/photos/joyosity/14584412708/

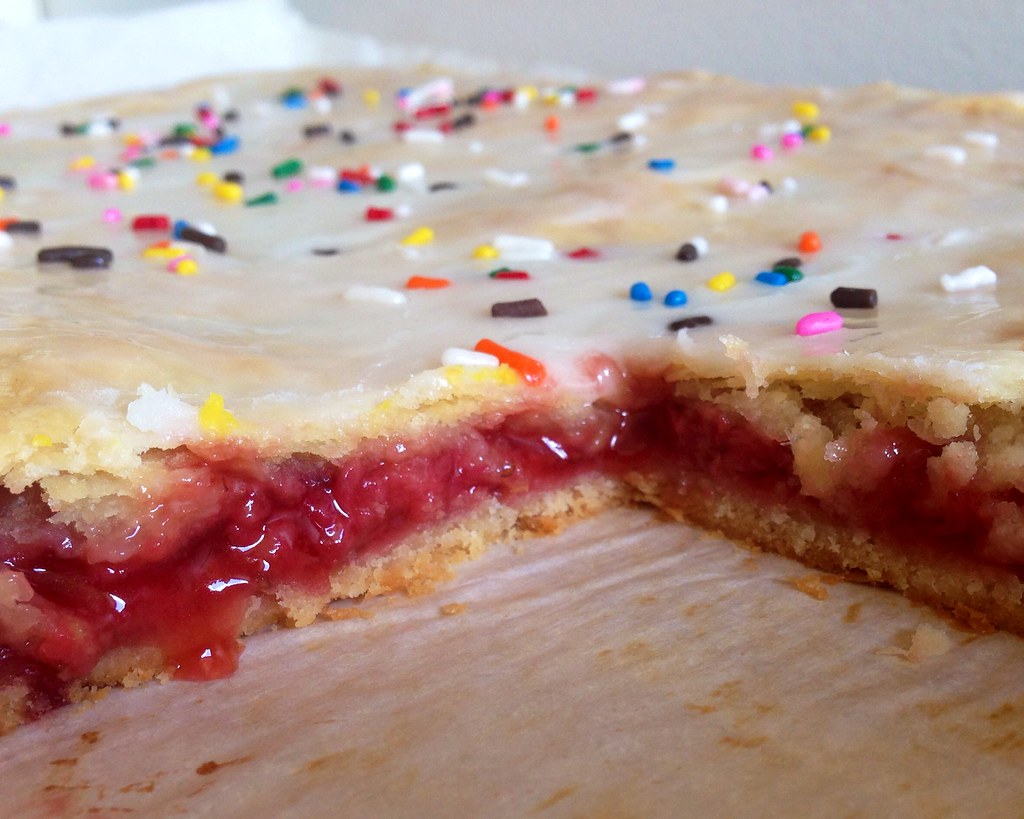
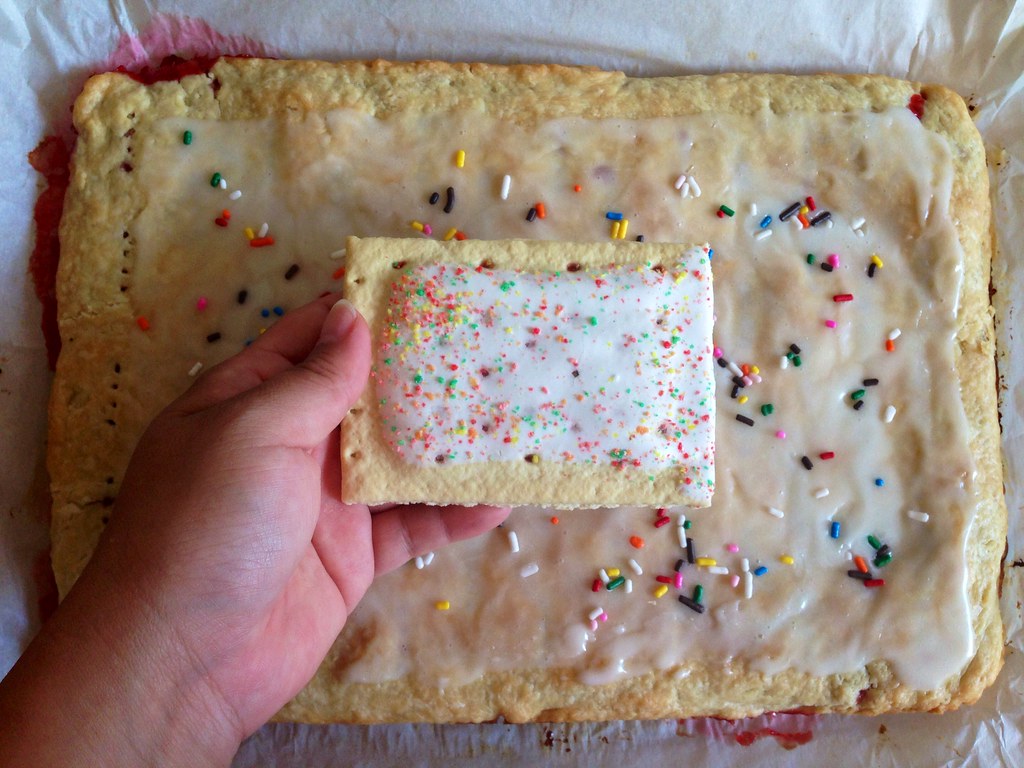
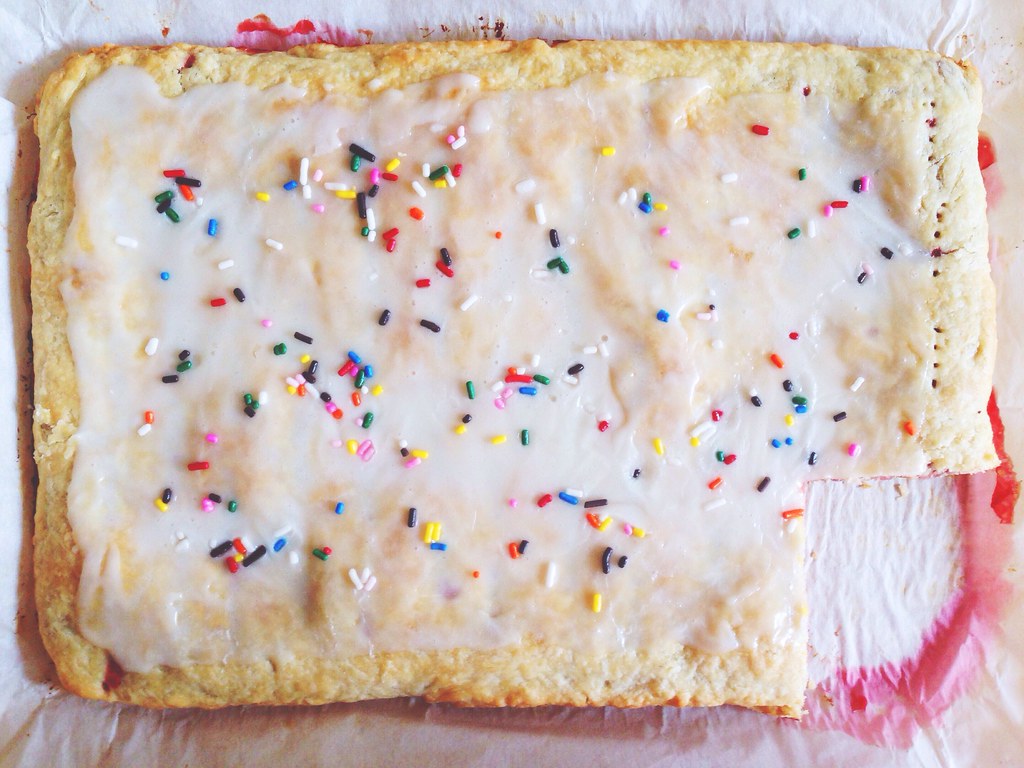
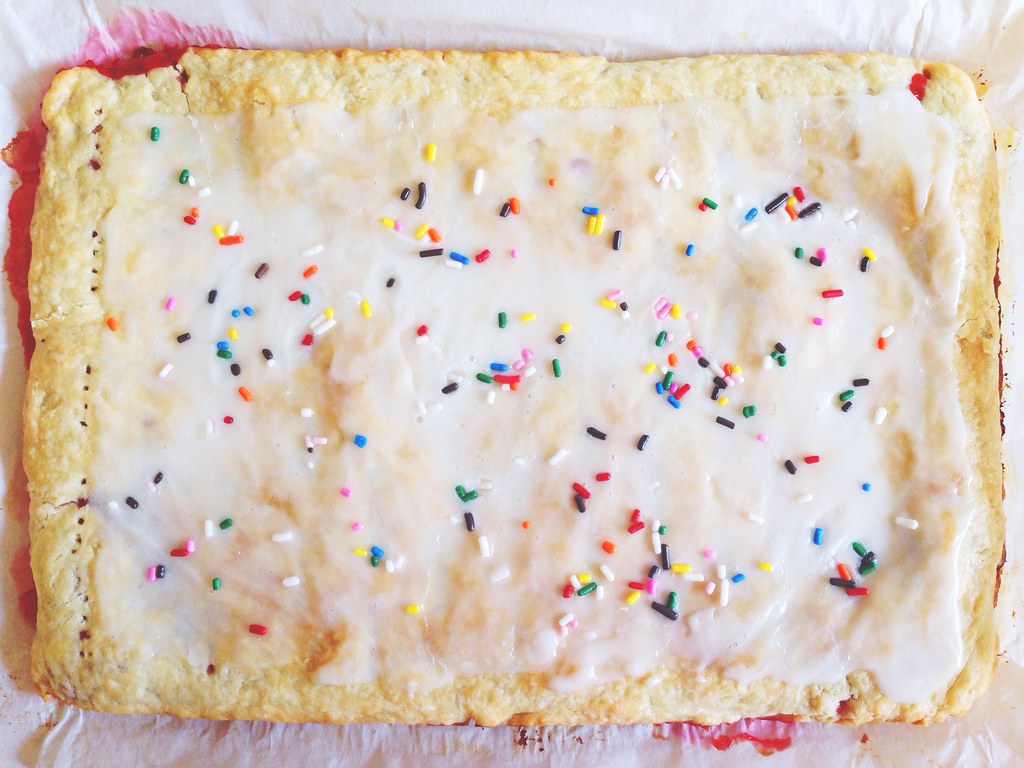
Ever since I saw this post for a S'mores Pop Tart slab pie, I just knew I had to make my own version of a frosted strawberry Pop Tart!  Can you think of anything more fun and delightful than a huge slab pie filled with jammy fresh strawberries, glazed, and topped with rainbow sprinkles?  I didn't think so. 

https://www.flickr.com/photos/joyosity/14769971405/

One pro-tip for making this pie is to use parchment paper.  You can use it to figure out how large to roll the dough out to just by creasing the paper inside the baking pan first.  You can also use it to easily transport the rolled out dough to the refrigerator and into the baking pan.  Lastly, it makes it super easy to remove the pie from the pan and totally saves time on clean up!

I didn't use all the glaze because I didn't want the pie to be too sickeningly sweet, but it also meant I didn't get a nice opaque frosting on top, which would have looked more authentic.  To make it super authentic, I'd also glaze one of the shorter sides of the pie all the way to the edge since my Pop Tarts always seem to be unevenly frosted like that.

https://www.flickr.com/photos/joyosity/14746960266/

Strawberry Pop Tart Slab Pie
serves 10-12 (although I served it to a small group of 5, and we pretty much demolished it)

For the crust:
2 1/2 cups flour
3 tablespoons sugar
1 teaspoon kosher salt
1 cup cold unsalted butter (2 sticks), cubed
1/4 cup ice water, more as needed

For the filling:
1 lb. fresh strawberries
1/2 cup vanilla or granulated sugar
2 tablespoons cornstarch
Pinch of kosher salt
Juice from 1/2 lemon

For the glaze:
1 cup confectioner's sugar
2 tablespoons milk
Rainbow sprinkles!

Mix the flour, sugar, and salt together in a food processor.  Add the butter and pulse until the butter has been cut into pea-sized pieces.  Add the water and pulse to combine.  Add more water if needed, a tablespoon at a time, just until the dough comes together.  Divide the dough in two, wrap with plastic wrap, and refrigerate for at least 30 minutes or overnight.

Preheat the oven to 400°F.

https://www.flickr.com/photos/joyosity/14583488247/

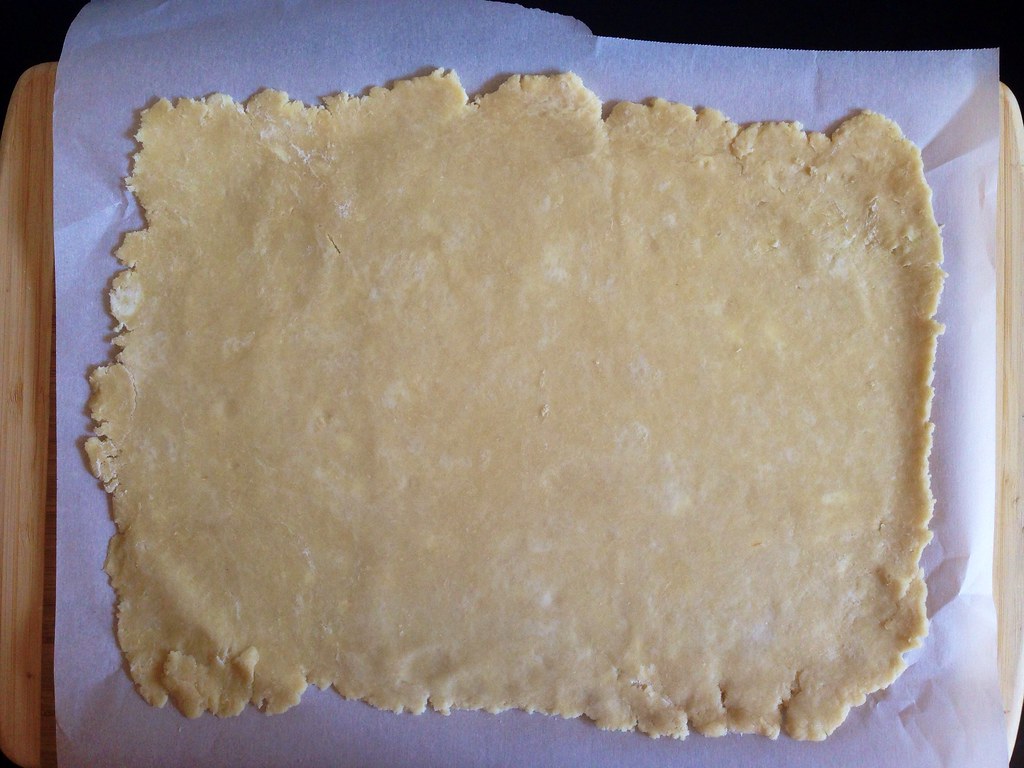
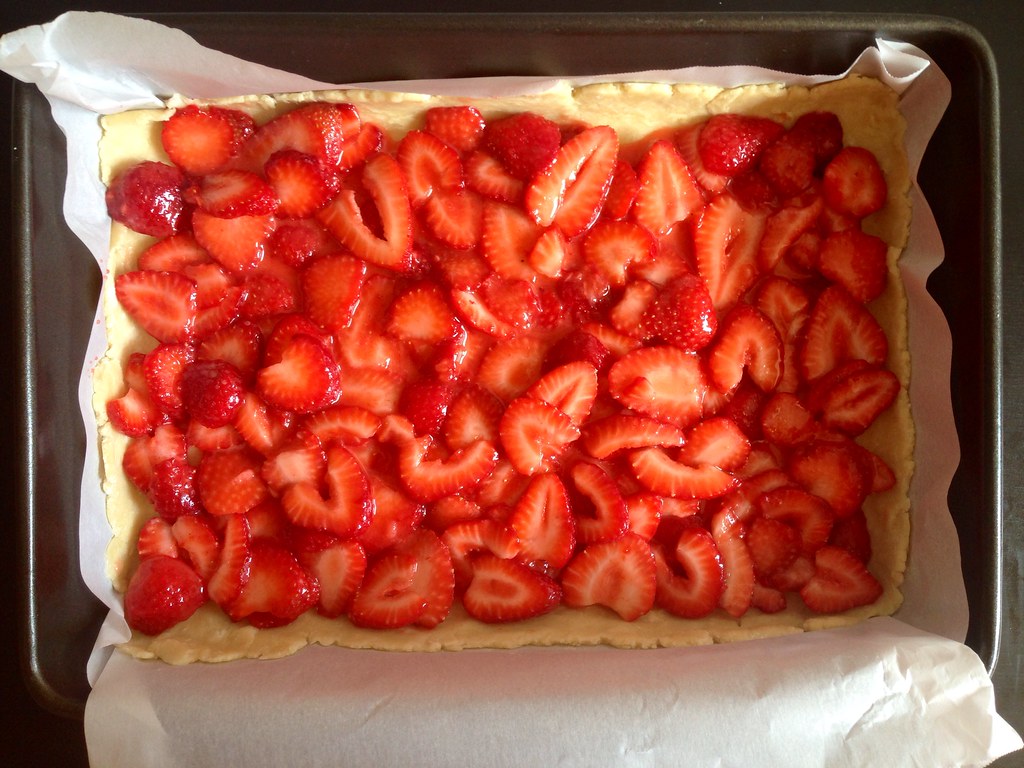
Tear off two large pieces of parchment paper and tuck each into a 9" x 13" baking pan, creasing along the sides and corners so you know how large to roll the dough.  One at a time, roll out the two pieces of dough to about 10" x 14" on the parchment paper.  It's okay if it's not perfect since you'll be tucking the sides over and under.  You can cut off any excess pieces and patch up other corners or cracks if needed, too.  Transfer the rolled out dough on the parchment paper back to the refrigerator while you prepare the filling.

Wash, hull, and thinly slice the strawberries.  Toss with the sugar, cornstarch, salt, and lemon juice.

https://www.flickr.com/photos/joyosity/14767597874/

Tuck one of the rolled out crusts with the parchment paper into the baking pan, making sure there is enough dough on all sides to form a rim.  Spread the strawberry filling evenly over the crust.  Top with the other rolled out pie crust.  Carefully crimp together the edges and fold the excess dough over and under the edge, lifting up the parchment paper underneath to help with this process.  If there was a lot of extra dough, you can trim it off, but you want to make sure the filling is sealed inside.

https://www.flickr.com/photos/joyosity/14767599664/

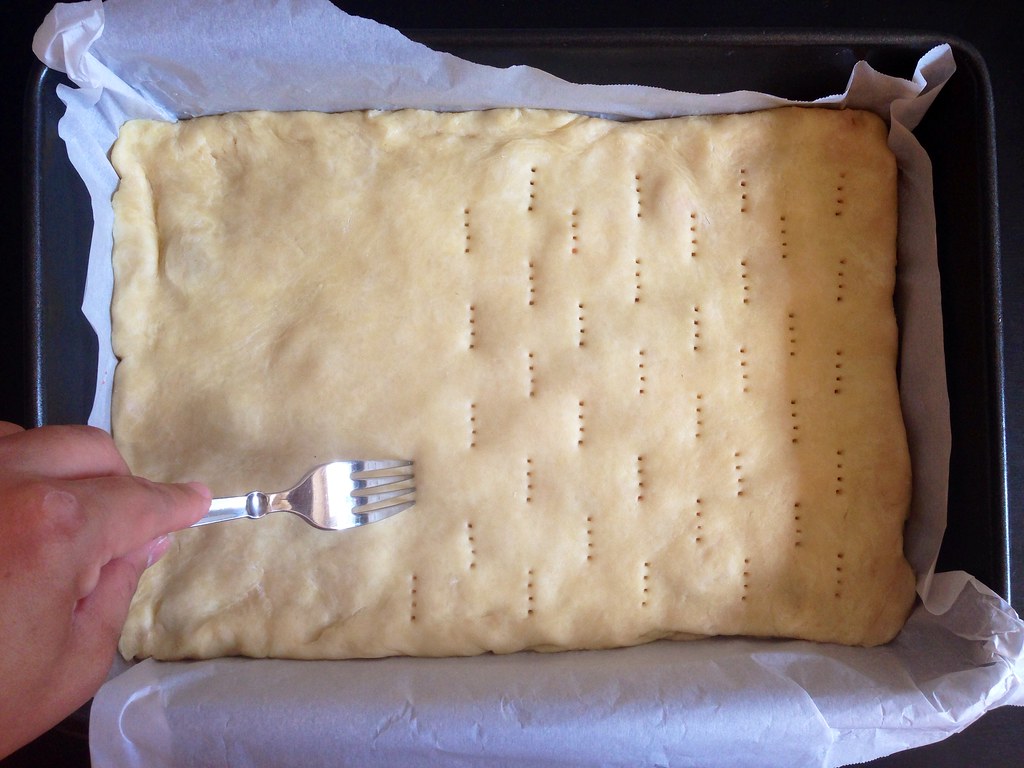
Use a fork to prick the top crust evenly all around.  Bake for 20 minutes.

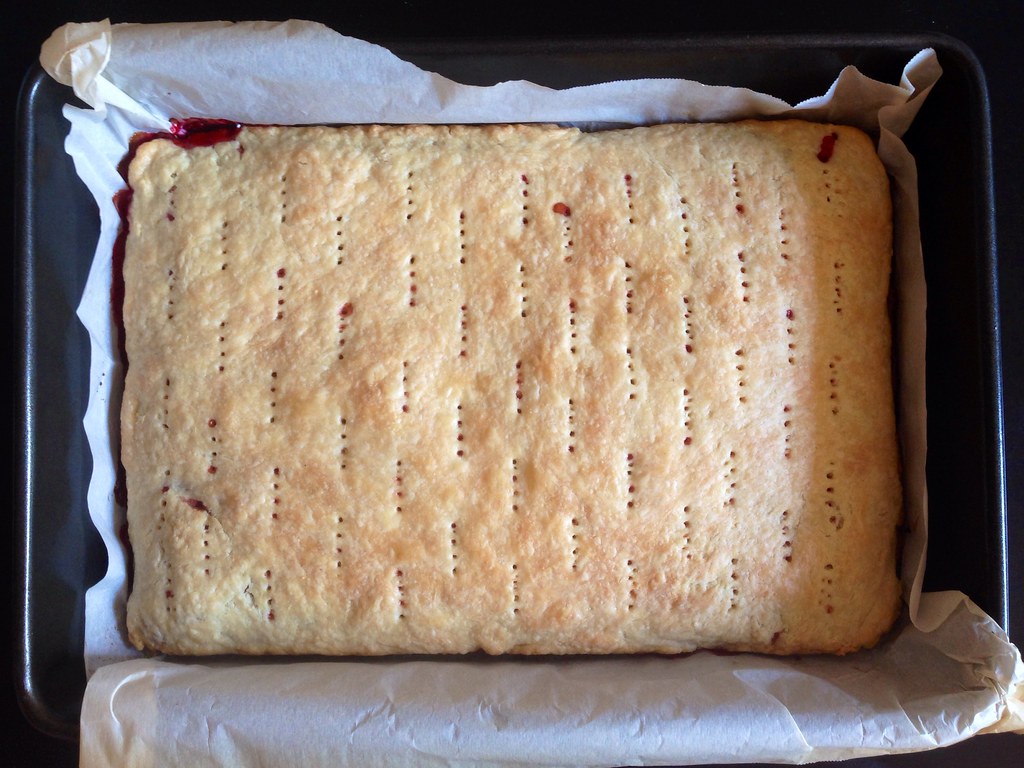
Check to make sure that the holes you made are still open (sometimes they shrink and seal up), and if not, prick again with a fork.  Rotate and return to the oven for another 20 minutes or until golden brown.

https://www.flickr.com/photos/joyosity/14766793491/

Make the glaze in the meantime by mixing together the confectioner's sugar and milk.

https://www.flickr.com/photos/joyosity/14769966325/

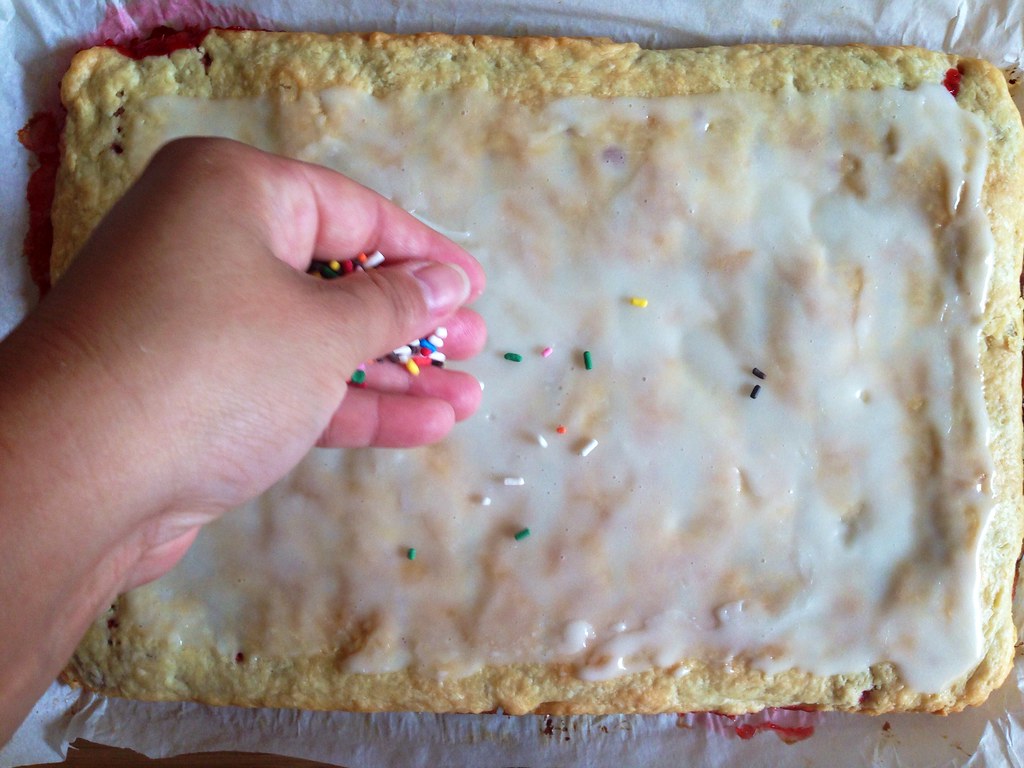
Allow the pie to cool before using the parchment paper as a sling to remove it from the pan and onto a large cutting board.  Spread the glaze over the pie, leaving a 1/2" border.  Immediately top with the rainbow sprinkles.

https://www.flickr.com/photos/joyosity/14770616552/

The pie actually reminded me a little more of a Toaster Strudel than a Pop Tart, which isn't a bad thing.  Oooh, now to make a gigantic Toaster Strudel with puff pastry and cream cheese frosting....

Next:  Grace's Ginger Scallion Fish
Previously:  Ginger Beer Sherbet
Last Year:  Oven Fried Mac 'n' Cheese Pizza
Monday, July 28, 2014

Ginger Beer Sherbet

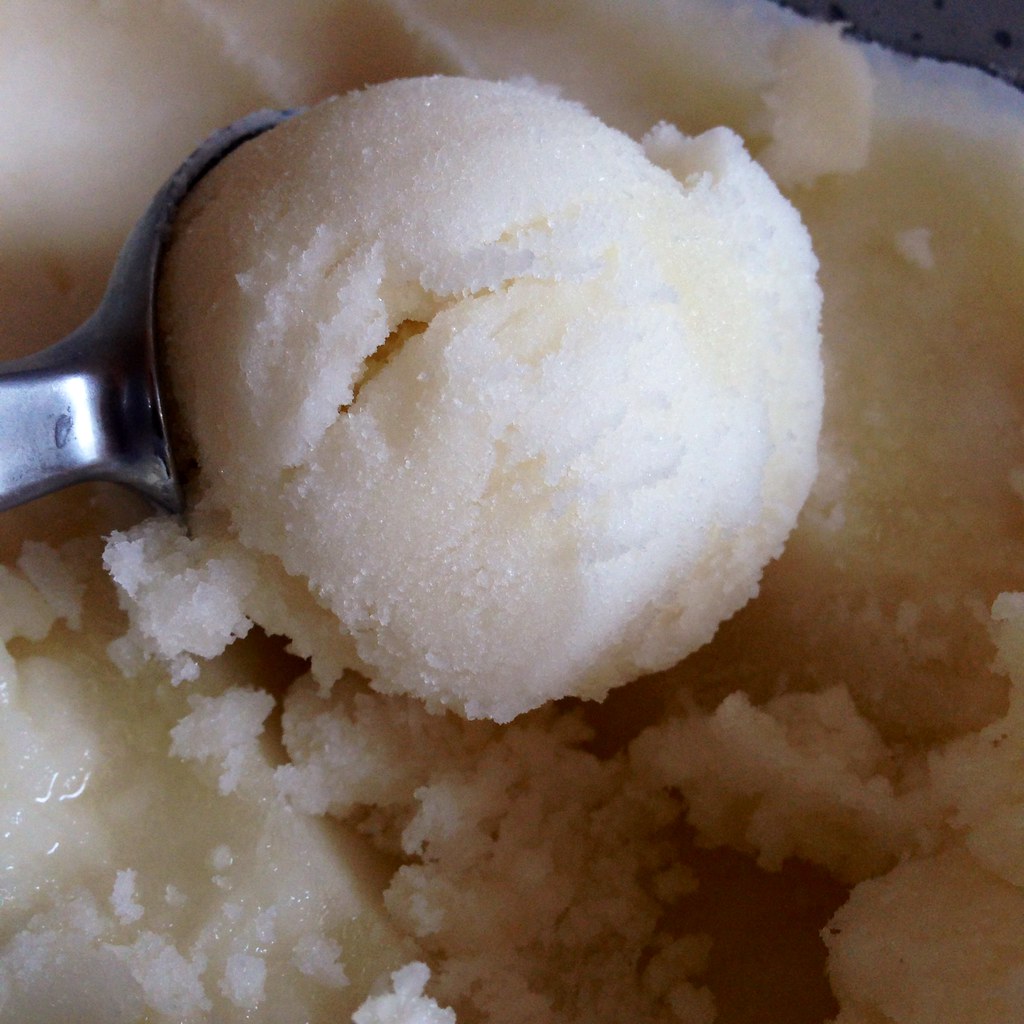
How do you pronounce the word "sherbet"?  I think I've always thought it was "sher-bert" but one day I realized there's only one "r" in the word.  Anyways, I think this is the first sherbet I've ever made, and it's not even what I would call a real sherbet.  To me, a sherbet is just a sorbet with milk.
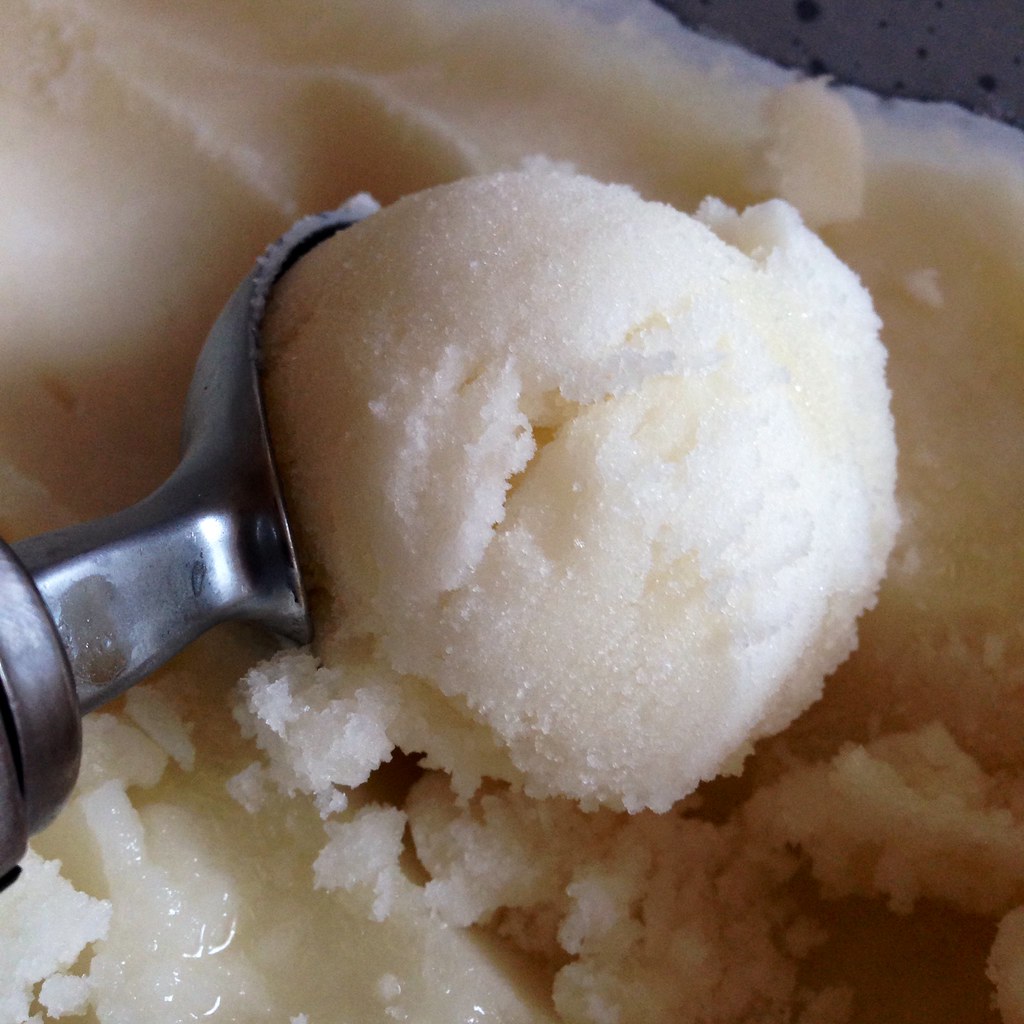
This is a ginger beer sorbet made with some coconut milk added, and guys, it's amazing.  I started off meaning to make a Dark and Stormy sorbet based on this recipe from Serious Eats, but then I forgot about adding the rum at the end.  I also didn't add the freshly grated ginger or the lime zest, and it's still awesome.  The frozen ginger beer is zippy and refreshing, and the coconut milk just rounds it out slightly with a light creaminess and nuttiness.  I served this after the New England clambake, and it was kind of just the best thing ever.  ^_^

https://www.flickr.com/photos/joyosity/14654133444/

Ginger Beer Sherbet (adapted from Serious Eats)
makes a generous quart

24 oz. ginger beer
1/2 cup turbinado or natural sugar
3/4 teaspoon kosher salt
1 cup coconut milk

https://www.flickr.com/photos/joyosity/14469930407/

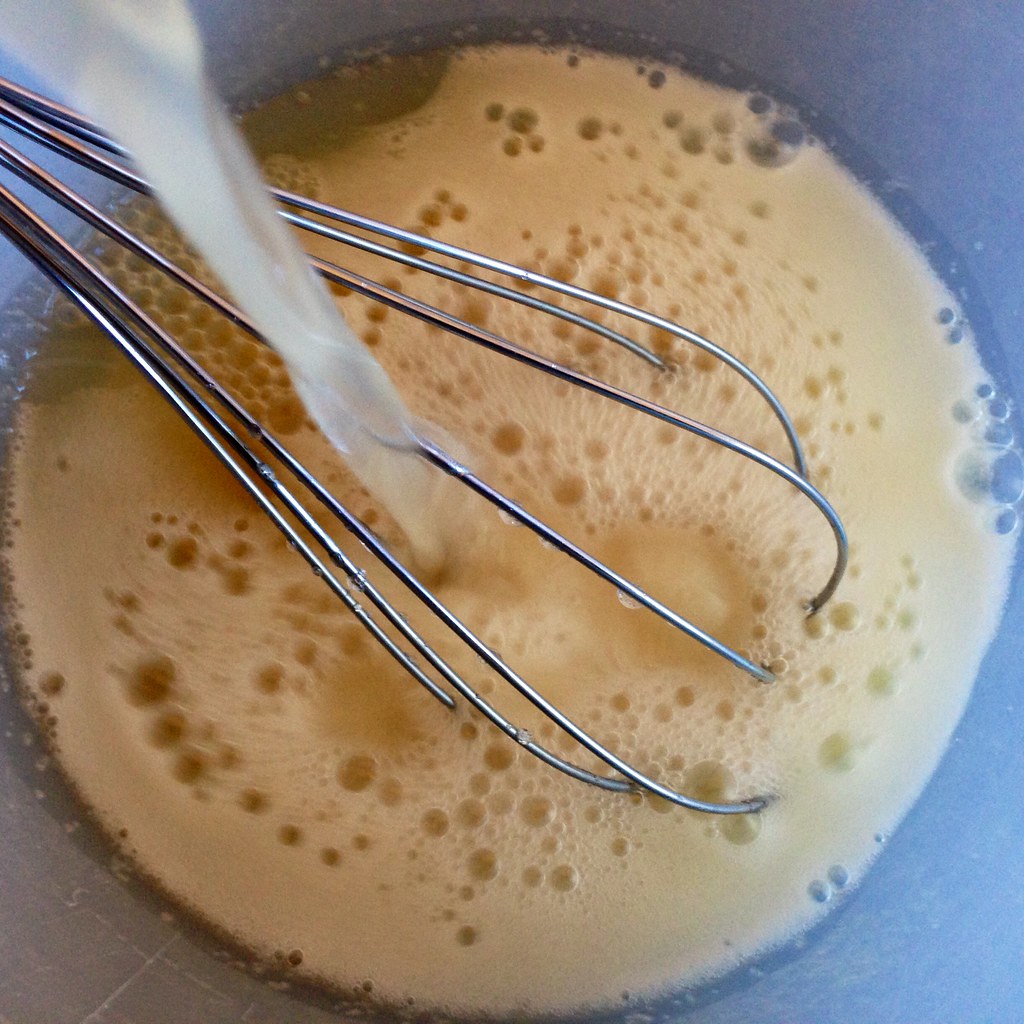
Whisk all the ingredients together until the sugar dissolves.  Transfer to the refrigerator and chill thoroughly for several hours.

https://www.flickr.com/photos/joyosity/14655978992/

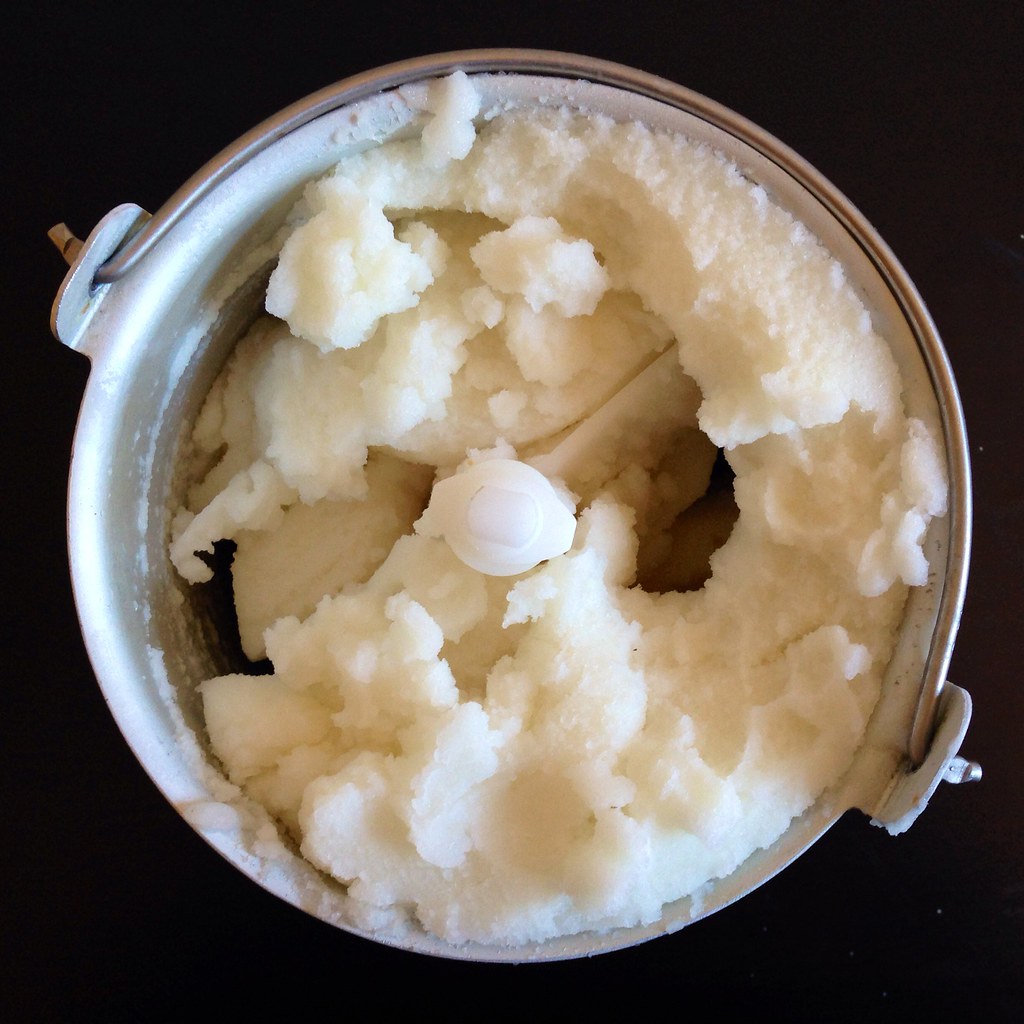
Churn in your ice cream maker according to the manufacturer's instructions.  Transfer to an airtight container and freeze in the freezer until hard.

https://www.flickr.com/photos/joyosity/14469730779/

Next:  Strawberry Pop Tart Slab Pie
Previously:  New England Clambake at Home
Last Year:  Oven-Fried Mac 'n' Cheese, Backyard Mint Ice Cream with Dark Chocolate Freckles, Carrot Ginger Salad Dressing