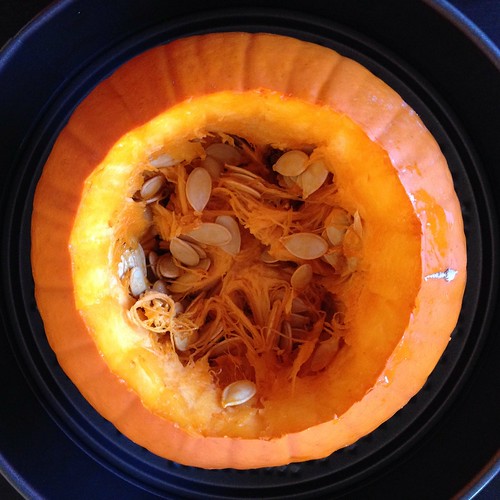
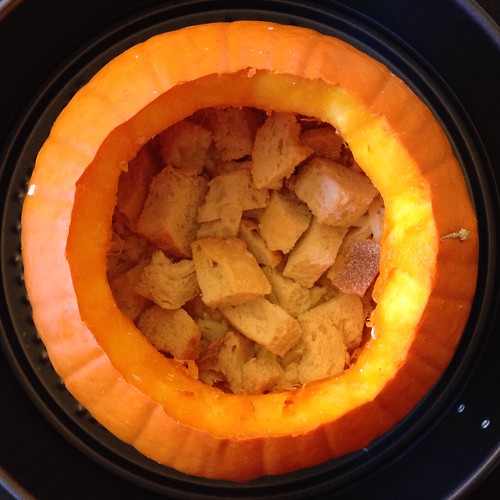
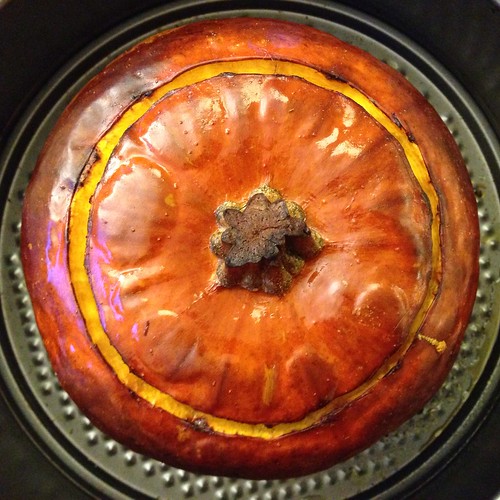
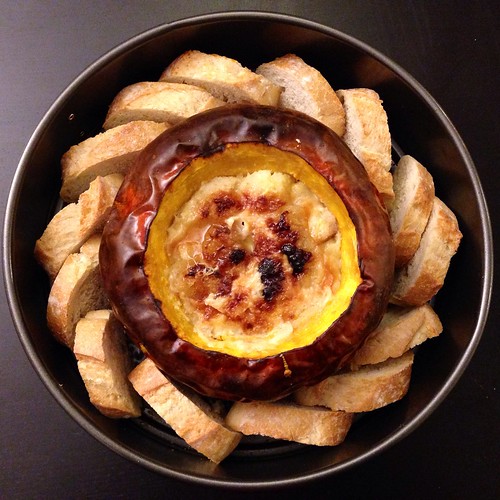
I was going to a vegetarian Thanksgivingukkah potluck, and I knew exactly what I wanted to bring. I've been wanting to make this dish ever since I read the HuffPost Taste's article raving about it last year. It's basically a pumpkin hollowed out and stuffed with breadcrumbs, cheese, and heavy cream, then roasted until the pumpkin is soft and scoopable and the filling is hot and bubbly.
The original recipe from Gourmet calls for a 7 lb. pumpkin, but the only pumpkin I was able to buy so late in the season was as an add-on order from Boston Organics, and it was only 3.5 lbs. So I adapted the recipe a bit with the help of Dorie Greenspan's version and one of the reviews from the Gourmet recipe which suggested drizzling honey throughout the layers. I stuck with the Gruyère and Emmental cheeses from the original recipe this time, but in the future, I think it'd be fine to use some cheeses that you don't need to go to Whole Foods to find, like regular Swiss or Brie.
To serve, I just used a large spoon to scoop out some of the filling and then scrape some of the pumpkin meat onto my plate. You can also scrape all the pumpkin into the filling and mix it all up before serving or just cut the pumpkin into wedges and plate it that way. Either way, serve the pumpkin with some extra baguette slices and maybe extra honey. And make sure you save the pumpkin seeds to roast with olive oil and Old Bay seasoning!
Cheese Fondue Stuffed Roasted Pumpkin
serves 6-8 as an appetizer
1 sugar pumpkin, about 3 1/2 pounds
1 baguette
3 ounces Emmental cheese, coarsely grated
3 ounces Gruyère cheese, coarsely grated
1 cup heavy cream
Freshly grated nutmeg
Salt and freshly ground black pepper
Honey
Preheat oven to 450°F with rack in lower third.
Slice the baguette into 1/2 inch slices. Cut half of them into 1/2 inch cubes.
Toast the baguette slices and cubes in a single layer on a baking sheet in oven until tops are crisp (bread will still be pale), about 7 minutes. Transfer to a rack to cool.
Remove top of pumpkin by cutting a circle around the stem with a small sharp knife. Scrape out seeds and any loose fibers from inside pumpkin with a spoon (including top of pumpkin; reserve seeds for another use if desired). Season the inside with 1/4 teaspoon salt and a drizzle of honey.
Whisk together cream, nutmeg, 1/2 teaspoon salt, and 1/4 teaspoon pepper in a bowl. Mix together cheeses in another bowl.
Put a layer of toasted bread cubes in bottom of pumpkin, then cover with about 1/2 cup cheese and about 1/3 cup cream mixture. Drizzle some more honey on top of the cheese and cream. Continue layering bread, cheese, cream mixture, and honey until pumpkin is filled to about 1/2 inch from top. (You may have some leftover bread, cheese, and cream left over.)
Cover pumpkin with top and put in an oiled small roasting pan. Brush outside of pumpkin all over with olive oil. Bake 1 hour and then remove the top.
Return the rest of the pumpkin to the oven and bake until the top of the cheese is browned and bubbly, about 10 - 15 minutes. Serve with the rest of the baguette slices.
Next: Thai Coconut Sticky Rice with Mango
Previously: My Mom's Pi Jiu Ya (Beer-Braised Duck)
Last year: Pretzel Ice Cream Pie with Homemade Magic Shell
Four years ago: Apple-Pear-Cranberry Crisp
Monday, November 25, 2013
Friday, November 22, 2013
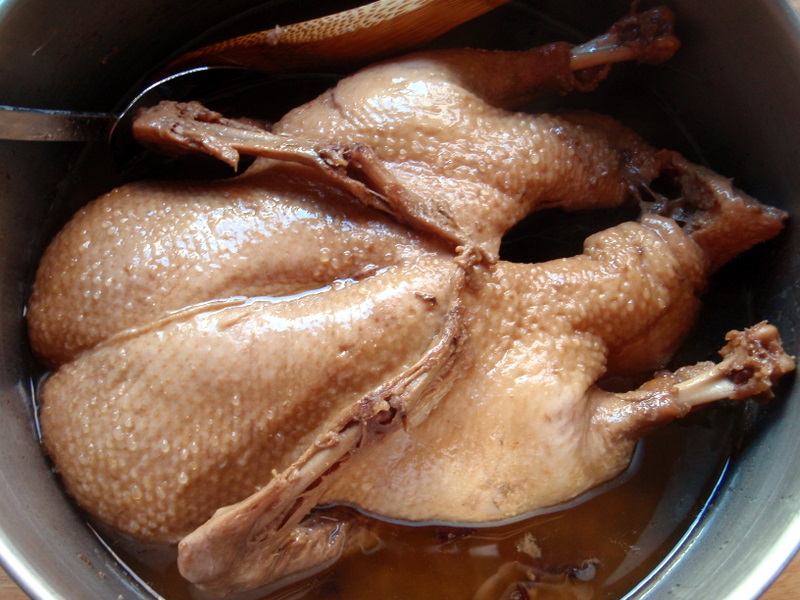
My Mom's Pi Jiu Ya (Beer-Braised Duck)
I honestly thought I had already shared this recipe with you all, but when I looked it up recently I realized I had just posted a teaser post. How naughty of me!
This is one of those recipes that is way more simple to make than you would think considering how delicious the end result it. And since it's made on the stovetop, it would make a great turkey substitute if you're thinking of going for an Asian-inspired Thanksgiving meal. I would serve it with sticky rice (instead of stuffing), Taiwanese rice cake with meat sauce (instead of mashed potatoes and gravy), steamed scallion buns or scallion pancakes (instead of dinner rolls), and some stir-fried fresh green beans (instead of a green bean casserole). Is anyone else hungry yet?
My Mom's Pi Jiu Ya (Beer-Braised Duck)
serves 6
4-5 lb. duck (thawed, if previously frozen)
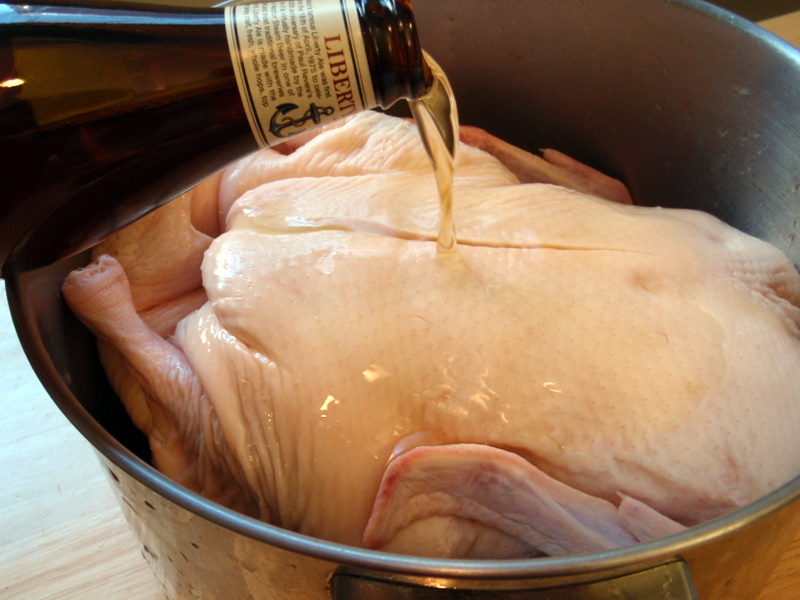
1 can of beer (I've made it with cheap and less cheap beer, and I couldn't taste a difference, although I'm not the most discerning of beer drinkers)
1/3 cup soy sauce
3 tablespoons sugar
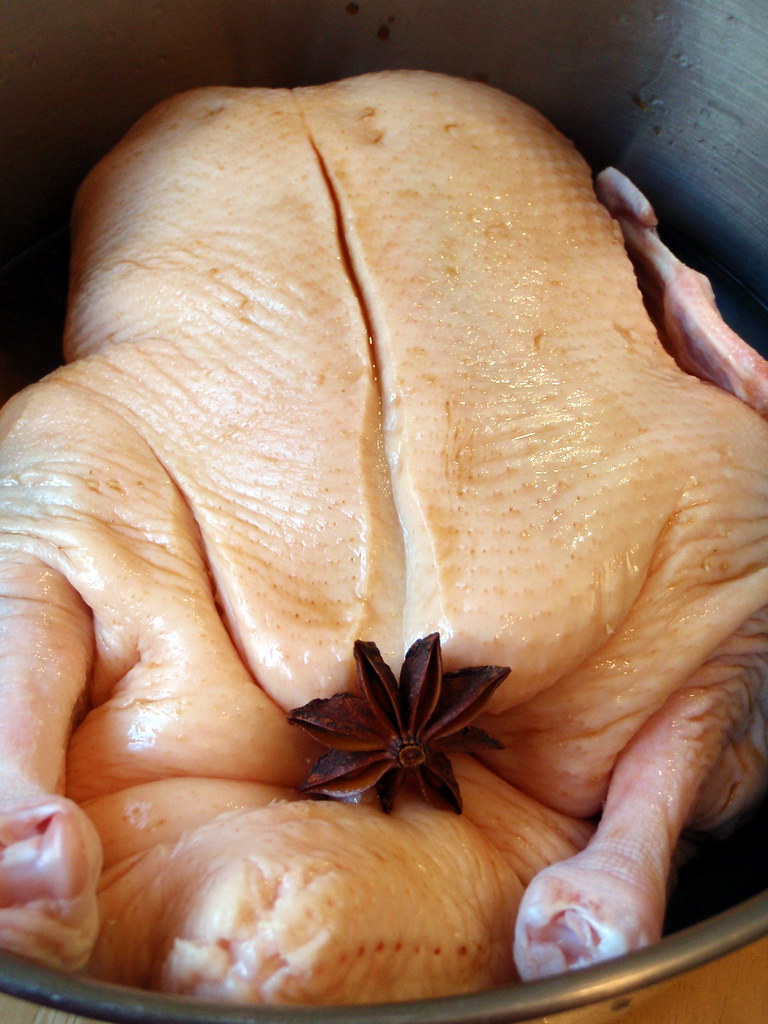
1 star anise
Add all the ingredients to a pot large enough to hold the duck. Fill the empty beer can with water and add to the pot.
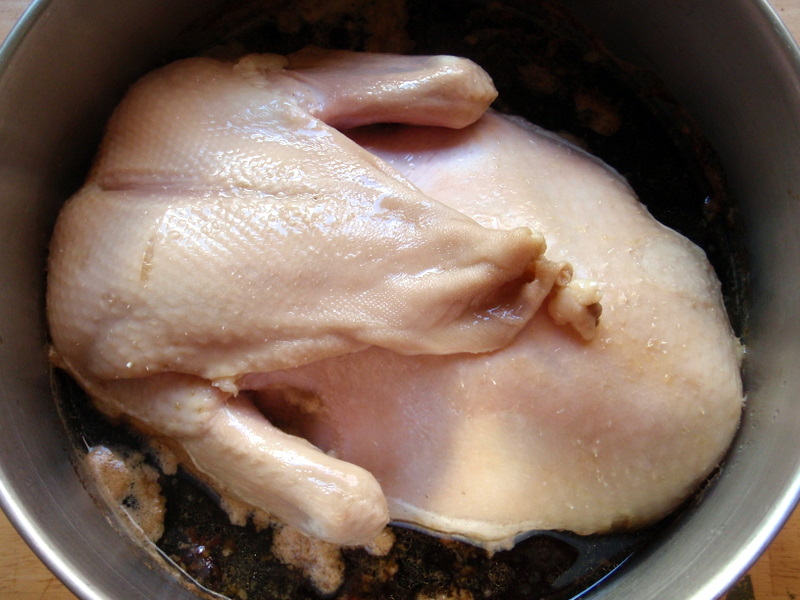
Heat on high until boiling, then reduce heat to medium-low and cover.
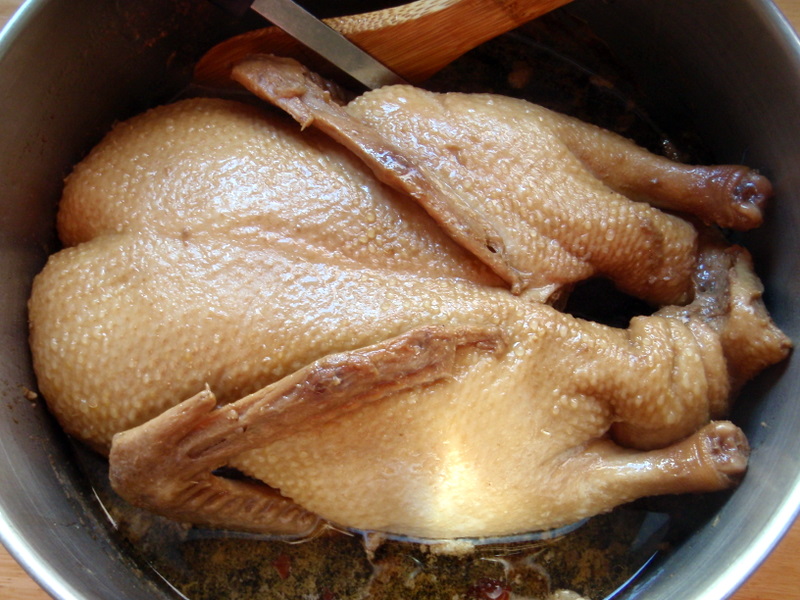
Turn the duck over every half hour until done (2 to 2 1/2 hours). Cook uncovered the last half hour so the duck get s a nice brown, shiny coat.
Serve with the braising sauce over steamed rice. Save the duck fat for duck fat potatoes!
Next: Cheese Fondue Stuffed Roasted Pumpkin
Previously: My Mom's Taiwanese Sticky Rice
Last year: Grapefruit Pie
Four years ago: Nanaimo Bars
Monday, November 18, 2013
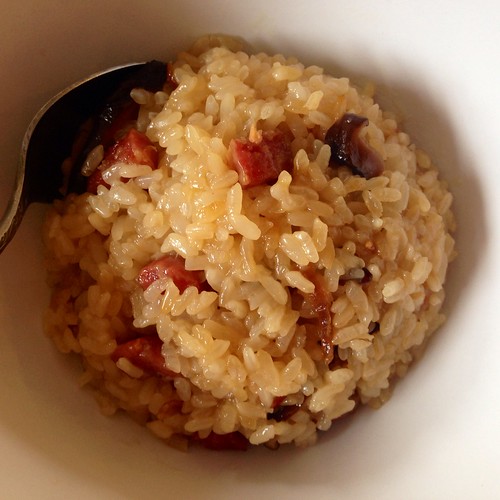
My Mom's Taiwanese Sticky Rice
One of the reasons I started this blog 5 years ago was to document and share my mom's amazing Taiwanese cooking. Since then, I've gone on to post a lot of different recipes, but hers are still my favorite ones because they remind me of home.
The other day I was craving some of her sticky rice and called her up to ask for the recipe. This is how awesome my mom is: she was able to tell me how to make it right then and there without looking anything up! She was excited to share this new technique she developed where she first par-cooks the sweet rice and then bakes it off in a casserole dish instead of using a rice cooker. Apparently when using a rice cooker sometimes the sticky rice can get too mushy but when using this technique it's always "QQ", or chewy.
Instead of cooking the aromatics in a different pan and then transferring everything into a casserole dish, I just used my Dutch oven (don't know how I lived without this baby!) If you don't have one, just transfer the rice to a casserole dish with a lid, or do what my mom does and just cover it with aluminum foil.
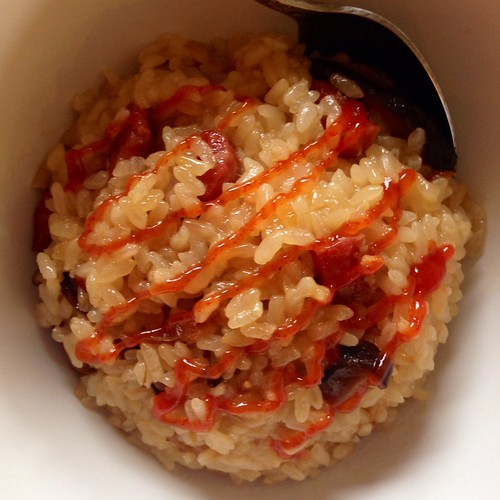
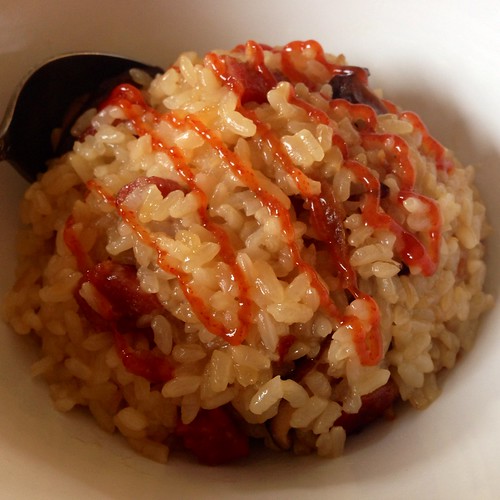
My mom usually makes this with pork or chicken, but I decided to make it with Chinese sausage (which I guess makes it more Cantonese than Taiwanese). You can find the Chinese sausage and fried shallots (sometimes labelled fried red onions) in a Chinese grocery store. If you like cilantro, it makes a great topping, but if you don't, it still tastes great without it. For a little kick, I highly recommend serving it with some sweet chili sauce.
My Mom's Taiwanese Sticky Rice
serves 6-8
3 1/2 cups sweet glutinous rice
6-7 dried shiitake mushrooms
1 tablespoon oil
3 links Chinese sausage, chopped
2 tablespoons fried shallots
2 tablespoons rice wine
1 tablespoon sugar
1/3 cup soy sauce
1 tablespoon sesame oil
Soak the sweet rice and mushrooms in room temperature water for an hour. The mushrooms will float so place a lid or dish on top to weigh them down.
Preheat the oven to 350°F. Start boiling 4 cups of water in a large pot.
Squeeze the water out of the mushrooms and cut off the stems. Slice the mushroom caps and set aside.
Drain the rice and add to the boiling water. Make sure that the water covers the rice, adding more water if needed. Cook for about 5 minutes, stirring frequently, until almost all the water is absorbed. The rice will have plumped but won't be soft yet.
In the meantime, heat up the oil in a Dutch oven over medium heat. Add the sausage and cook for a few minutes until the fat is rendered out but before it browns. Add the mushroom and fried shallots and stir fry for about a minute or two. Add the rice wine, sugar, soy sauce, and sesame oil and mix well.
Add the rice to the Dutch oven. Mix very well so that the rice is the same color throughout. Cover and bake for 20 minutes.
Fluff and serve with cilantro and sweet chili sauce, if desired.
Next: My Mom's Pi Jiu Ya (Beer-Braised Duck)
Previously: Kaddo (Afghan Pumpkin with Yogurt and Tomato Sauces)
Last Year: Duchikey (or Simplified Turducken)
Five Years Ago: Homemade Crystallized Ginger
Subscribe to:
Comments (Atom)


