Monday, December 19, 2016

Pull-Apart Scallion Swirly Bread


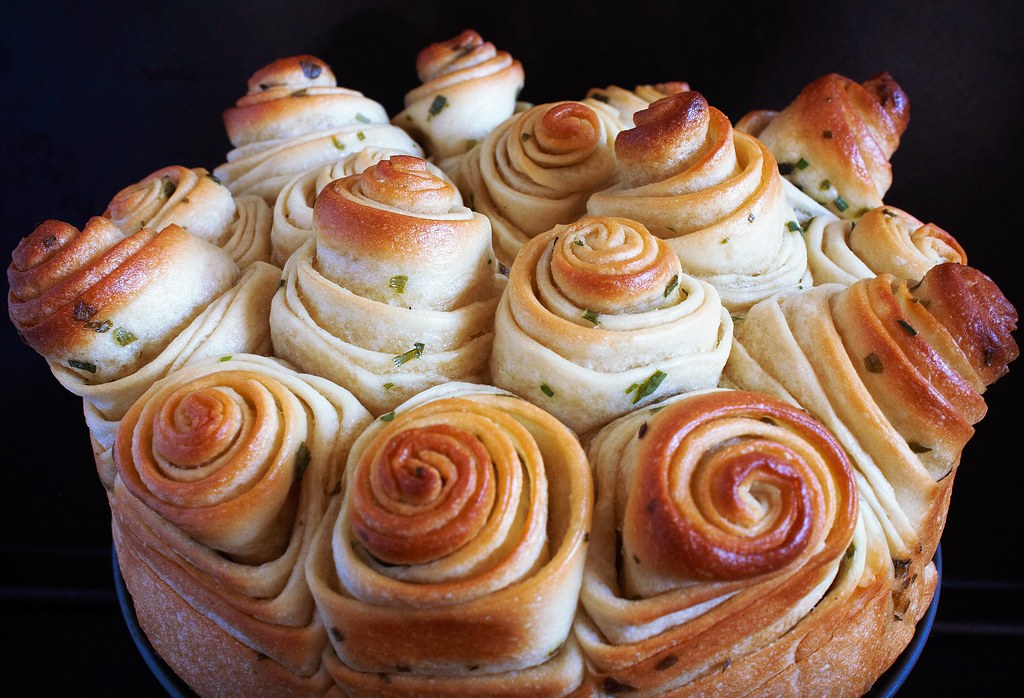
This is another post that started with a picture on Instagram.  I saw Sarah Jampel's picture of kubaneh from the Breaking Breads cookbook and was utterly transfixed.  Then it showed up again on the Food52 feed in a picture for their store's twine holder, but all anyone wanted to know was what the beautiful, crazy, swirly bread was on the right.  I managed to track down the recipe from my library's copy of Breaking Breads and tried it without even knowing what it was supposed to taste like.
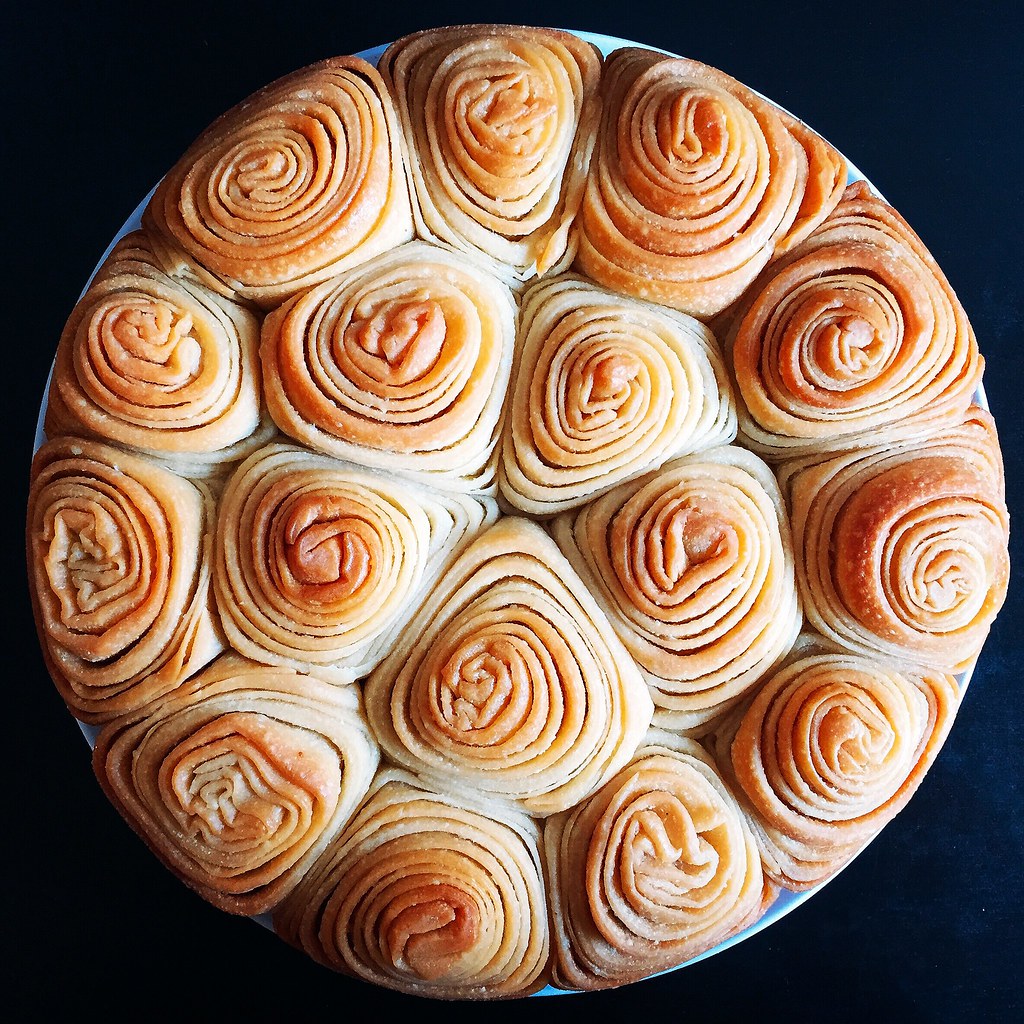

The original was a bit too salty for my liking, but the picture above garnered the most likes I've ever gotten for an Instagram post!  I decided to take a cue from Molly Yeh's scallion pancake challah bread and try a hua juan version of kubaneh by brushing a mixture of scallions and sesame oil on the dough before rolling it up.  I also used a fresher yeast this time, and the results are pretty spectacular if I do say so myself.
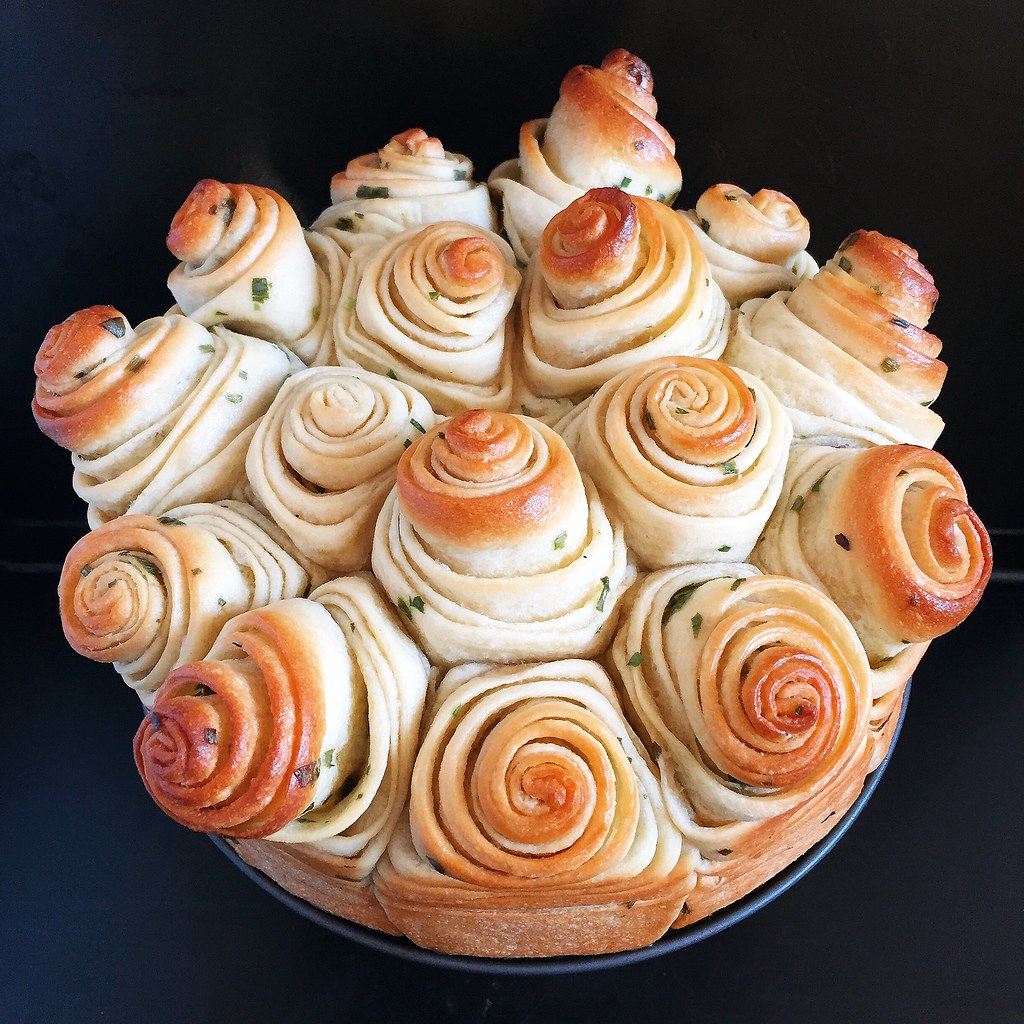

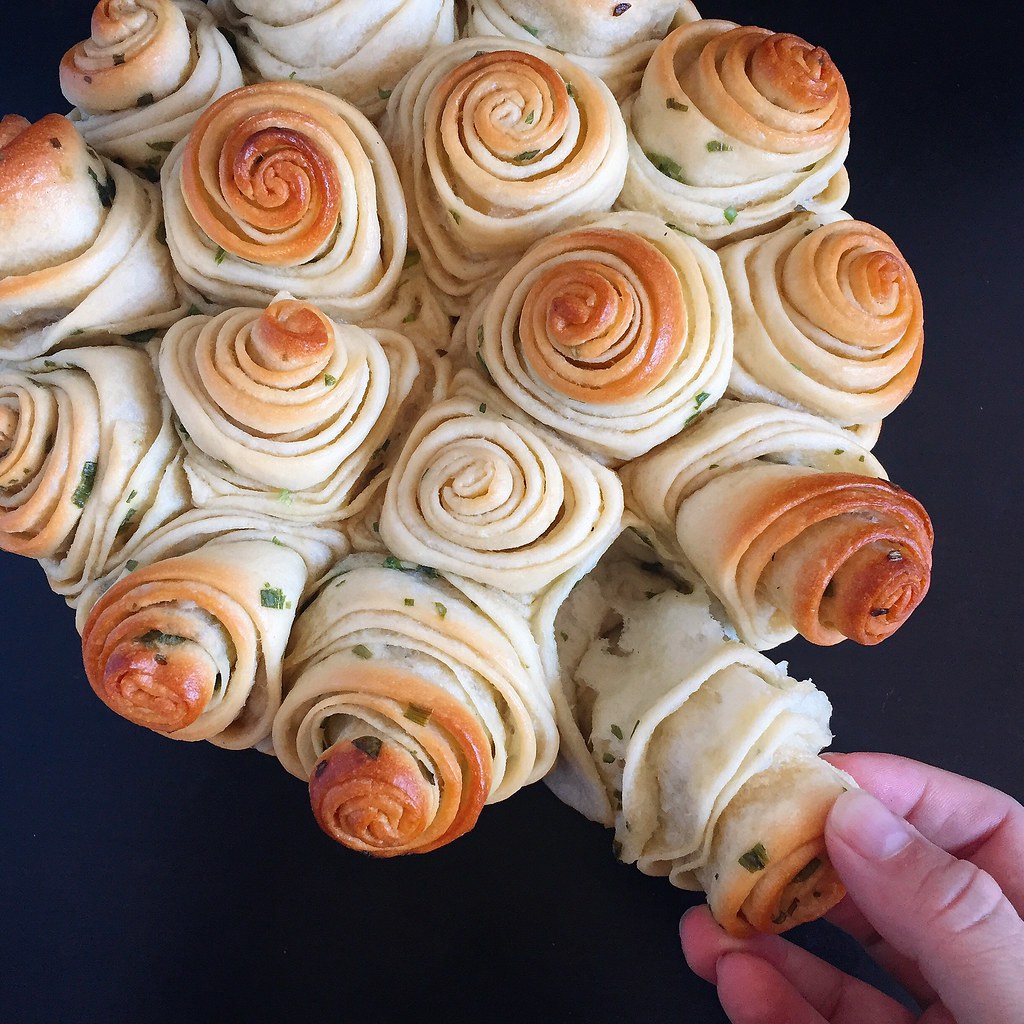
The bread itself reminds me a lot of milk bread in that it's slightly sweet and very soft, yet the parts that get browned turn out a little crunchy from all the butter!  And even though you just apply a small smear of the sesame-scallion filling, it's so fragrant that the flavor gets infused throughout the whole roll.  It's definitely better when warm, so if you're eating it a day or two later, microwave it for 10-20 seconds to rewarm it.
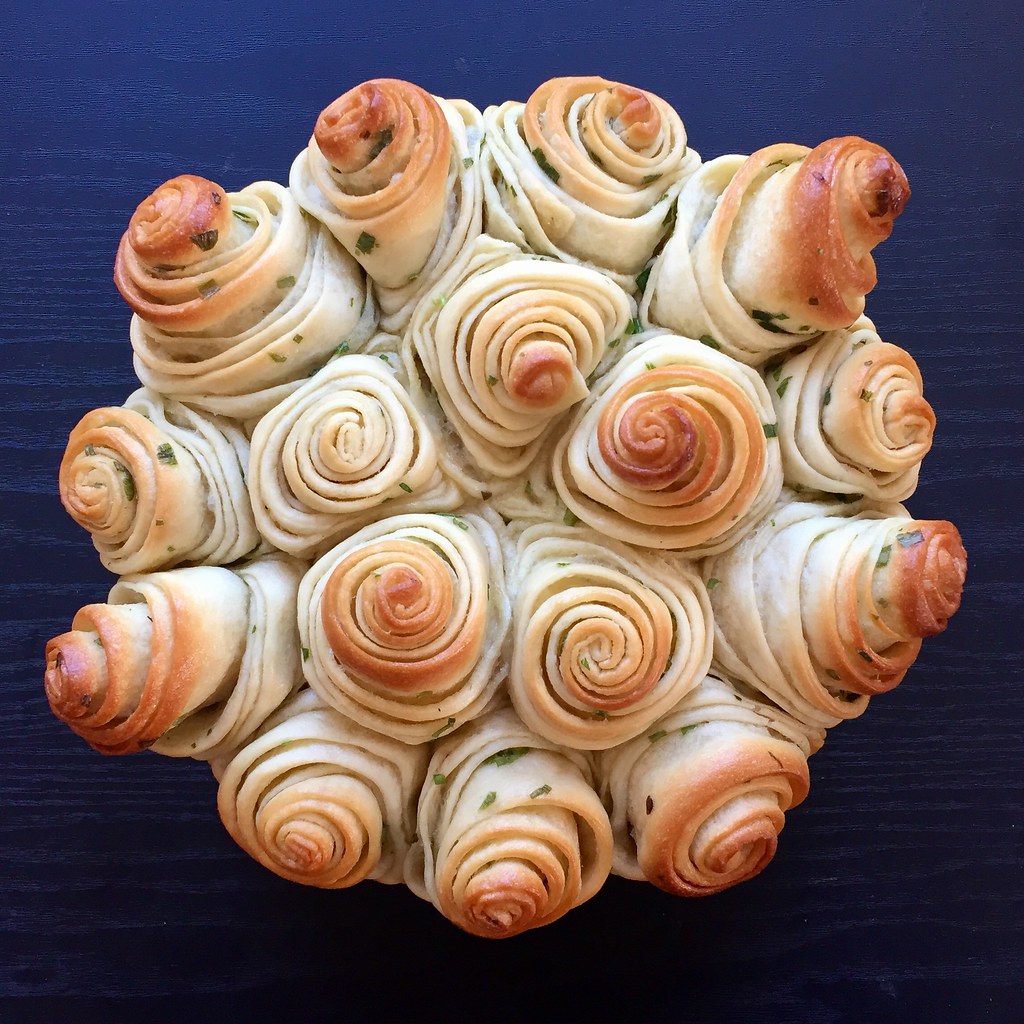

Pull-Apart Scallion Swirly Bread (adapted from Breaking Breads)
makes 16 rolls

For the bread dough:
1 1/4 cups water
1 packet (about 2 1/4 teaspoons) active dry yeast
4 cups all purpose flour
1/4 cup sugar
1 tablespoon kosher salt
1 stick butter, very soft

For the filling:
1 tablespoon toasted sesame oil
1/4 cup finely chopped scallions
1/2 teaspoon kosher salt
1/4 teaspoon sugar

Sprinkle the yeast over the water in a stand mixer bowl and allow to dissolve.  Mix the flour, sugar, and salt in a separate bowl, then add to the yeast and water.

Use the dough hook on low to combine the ingredients, then mix on medium-high until the dough comes away from the bowl cleanly.  Give the dough a few folds to form a nice, tight ball.  Cover the bowl and let rise until almost doubled, about 30 minutes.

Lightly butter a large plate (I usually use the butter wrapper to do this).  Divide the dough into 8 pieces, shape each into a tight ball, and place on the plate.  Cover and let rise for another 30 minutes.

Mix the sesame oil, scallions, salt, and sugar in a small bowl.  Generously grease a 9" springform pan with the softened butter.

Use about a tablespoon of the butter to generously grease a clean 11" x 17" rimmed baking sheet.  Place one of the balls of dough on the baking sheet, smear a little more butter on top, and start pressing it out to cover almost the entire sheet.  Sprinkle some of the scallion filling across the middle lengthwise third of the dough.  Fold the top third of the dough down and then the bottom third up (like a business letter fold, but lengthwise).  Roll the dough up into a tight spiral and cut in half.  Place the cut sides up in the buttered pan.  Repeat with the remaining balls of dough.  Cover the bottom of the pan with a large piece of aluminum foil or place in another pan to catch any melted butter that leaks out.  Cover the pan and let the dough rise a final time for 45 minutes.

Preheat the oven to 350°F.  Bake the bread for 15 minutes, then turn the heat down to 325°F.  Bake for another 30-40 minutes, or until the tops are golden brown.  If there is any butter left, melt it and add it to any remaining filling mixture and brush on top of the rolls.  Serve warm.

Next:  Chocolate Babka
Previously:  Cranberry Curd Tart
Two Years Ago:  Puppy Chow Pie
Three Years Ago:  Miso Pumpkin Soup
Four Years Ago:  Homemade Ramen Noodles
Seven Years Ago:  Tim Tam Slam Ice Cream
Eight Years Ago:  Pork and Cabbage Dumplings

Tuesday, December 13, 2016

Cranberry Curd Tart


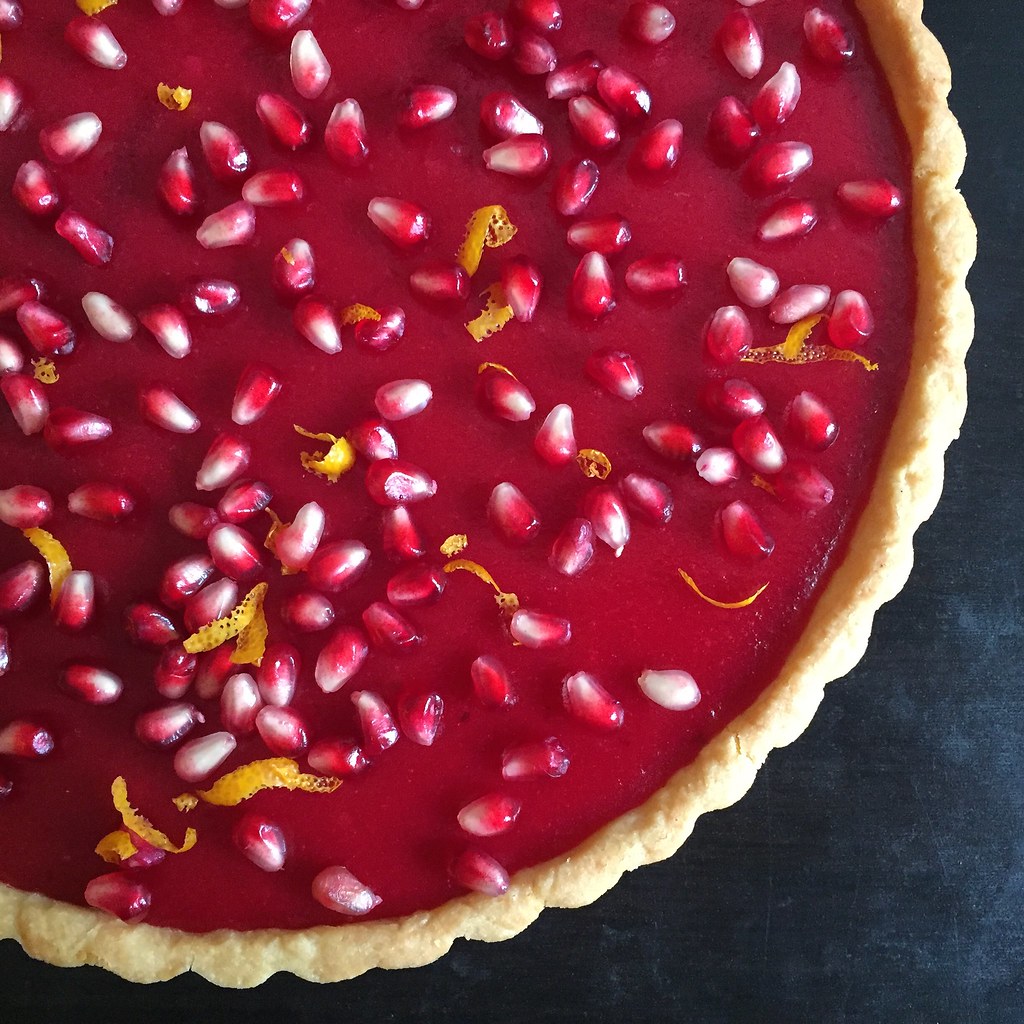
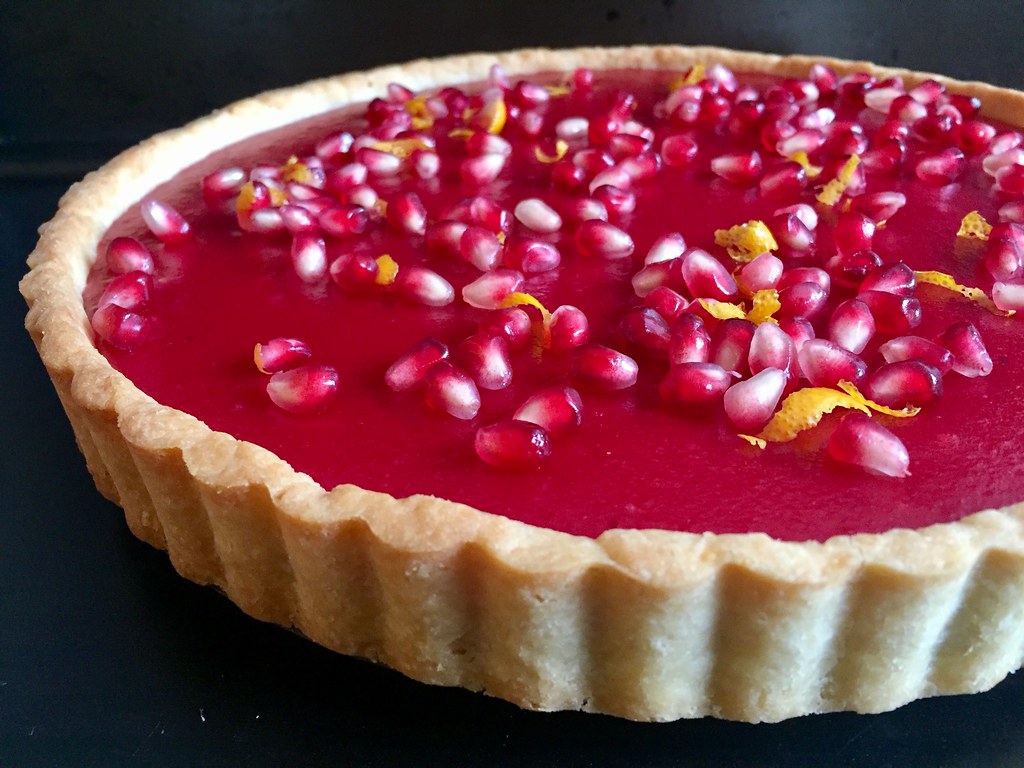
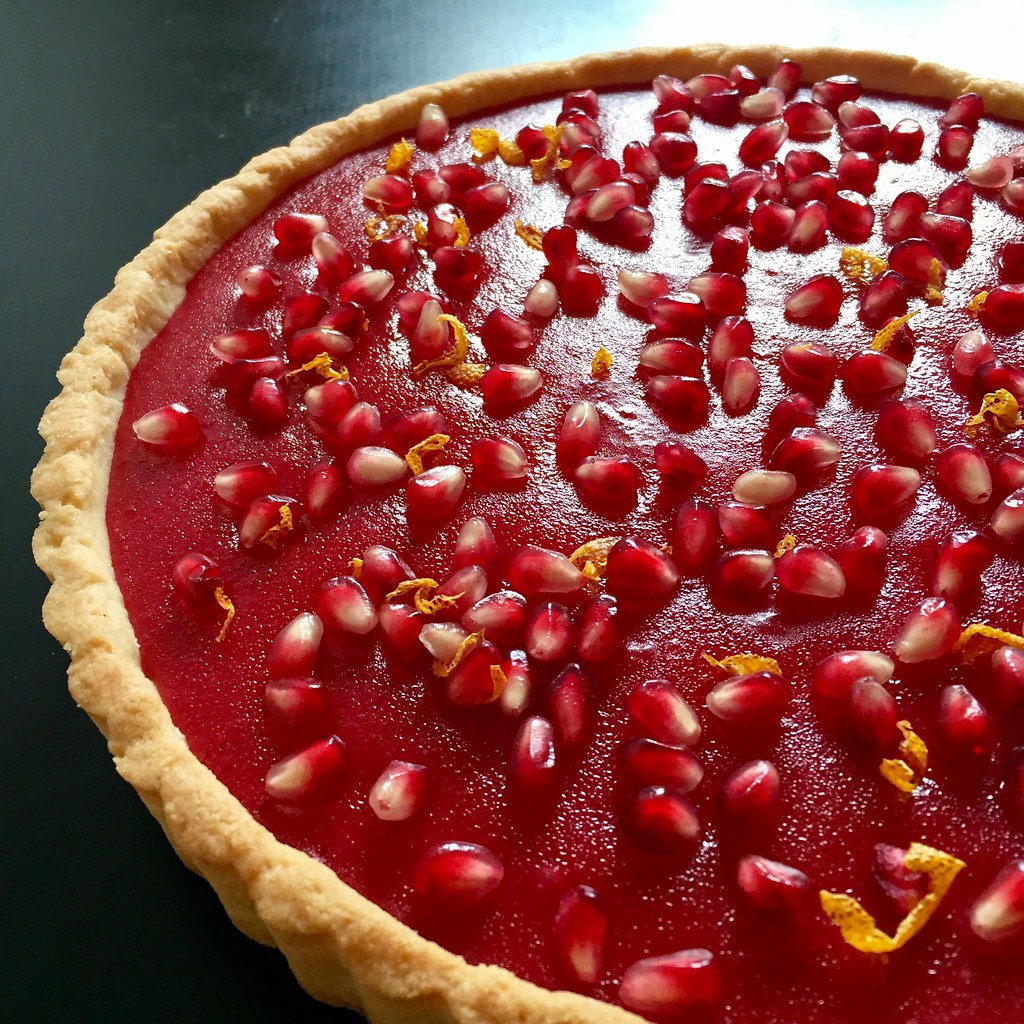
When I first saw NYT Food's Instagram post featuring a cranberry curd tart I knew I needed to make it if only because of how gorgeous it was.  But each time I made it I couldn't figure out how to photograph it so that the picture would do it justice.  Which meant I just kept making it over and over again.  Awful, I know.  Then this last time I got a pomegranate in my Boston Organics delivery and decided to try sprinkling some on top of the tart for some contrast, and it finally looked as good as it tasted!  They also give the tart a little crunch and freshness to cut all the richness.

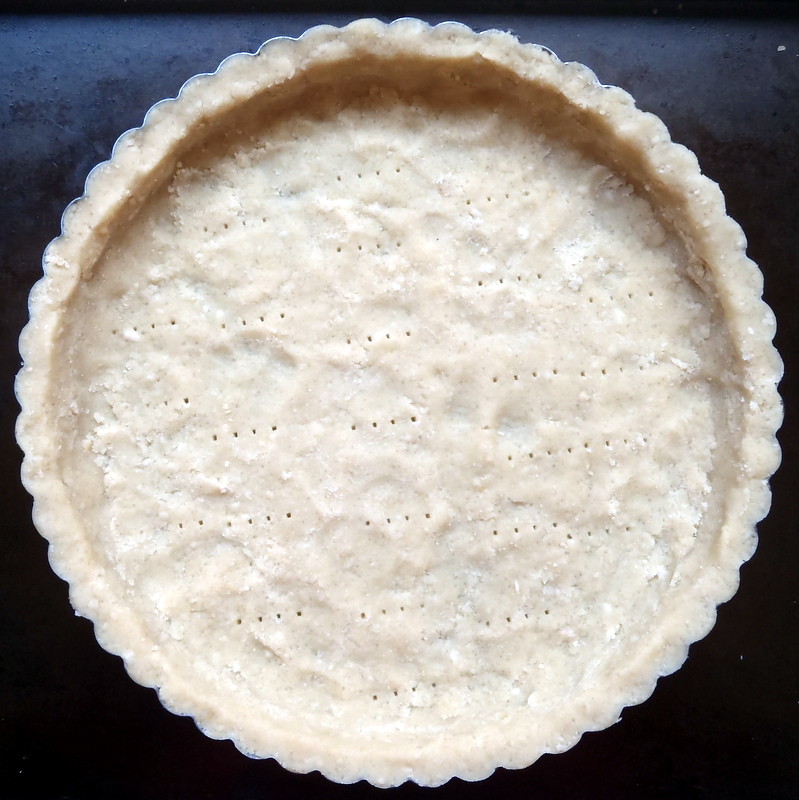
For the crust, instead of the using the hazelnut crust in the original recipe, I used Smitten Kitchen's "great unshrinkable sweet tart shell" because hazelnuts are expensive and it's pretty much a no-fail recipe.  To save time and effort, I usually end up just pressing the dough into the tart pan right after making it (starting with the edges), docking it, and then freezing it for 30 minutes before blind baking it with the buttered aluminum foil on top.  Feel free to use whatever tart crust you prefer, though, as long as it's blind baked beforehand.  I can see Thomas Keller's pine crust tart crust being amazing for this recipe.


For the cranberry curd, make sure that you don't overcook it after adding the eggs, because the egg whites curdle really easily if the mixture gets too hot.  Since it's kind of hard to tell when it starts to thicken, the sign I look for is when steam starts rising off the top.  You definitely don't want the mixture to start bubbling, and it helps to keep stirring to distribute the heat.


Cranberry Curd Tart (adapted from The New York Times)
makes a 9" tart

Your favorite 9" sweet tart crust, blind baked
12 oz. cranberries
1 cup sugar
Juice and zest from 1 orange
1 stick unsalted butter, cut into pieces
2 eggs plus 2 egg yolk
Pomegranate arils, for garnishing (optional)

Heat the cranberries, sugar, orange juice, and zest in a large saucepan over medium heat.  Cook until the cranberries have popped and softened, about 10 minutes.  Transfer to a blender and blend until smooth.  Strain the mixture through a sieve back into the saucepan and add the butter.

Whisk the eggs and egg yolks in a bowl, then add a couple of ladlefuls of the liquid into the bowl and whisk to temper the eggs.  Pour everything back into the saucepan and cook over low heat, stirring constantly, until slightly thickened and steam just starts coming off.  Cool to room temperature, then transfer to the fridge to cool completely, preferably overnight.

Preheat the oven to 350°F.  Pour the cooled curd into the blind-baked tart crust.  Bake for 15 minutes to set the curd.  Allow to cool completely before garnishing with pomegranate arils.


Next:  Pull-Apart Scallion Swirly Bread
Previously:  Pear Apple Cranberry Slab Pie
Two Years Ago:  Pull-Apart Thanksgiving Leftover Stuffed Bread
Three Years Ago:  Thai Coconut Sticky Rice with Mango
Four Years Ago:  Vanilla Passion Caramels
Seven Years Ago:  Wah Guay (Taiwanese Rice Cake with Meat Sauce)

Wednesday, November 23, 2016

Pear Apple Cranberry Slab Pie


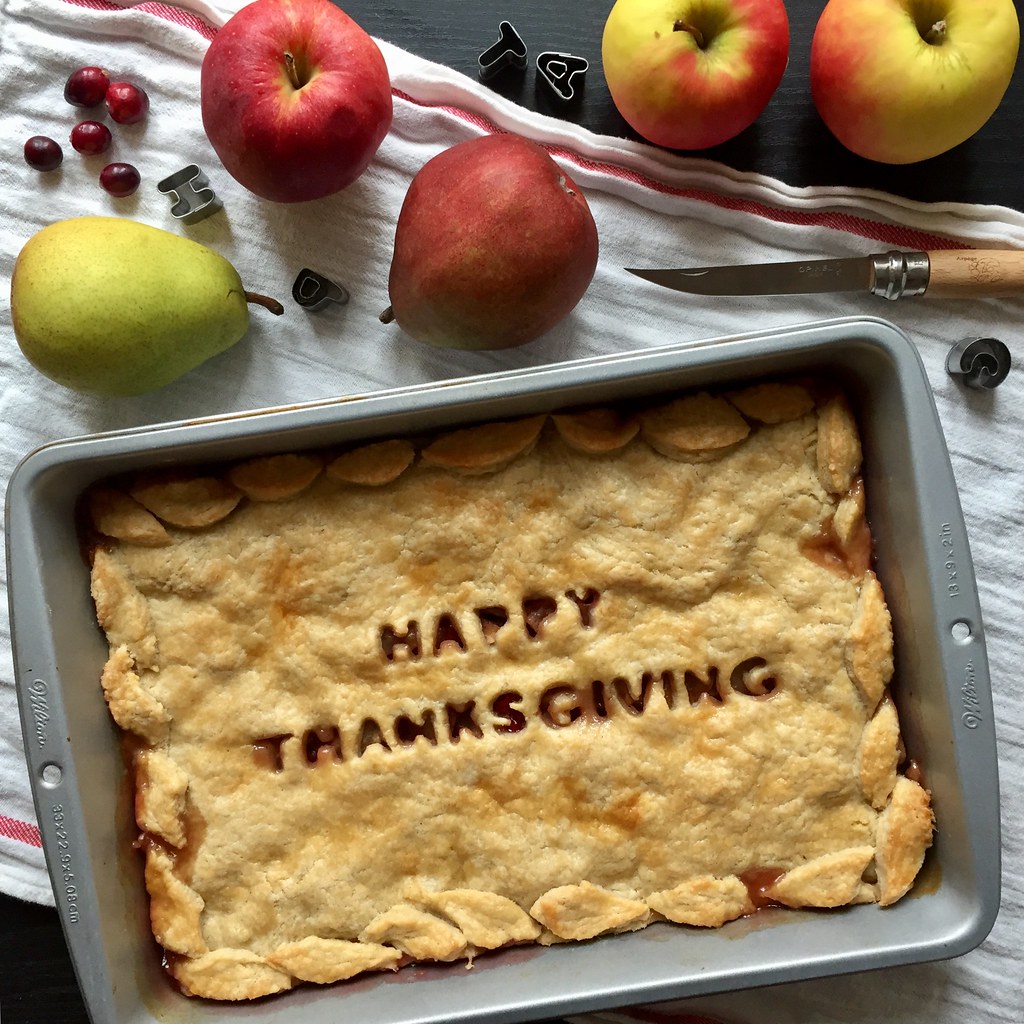
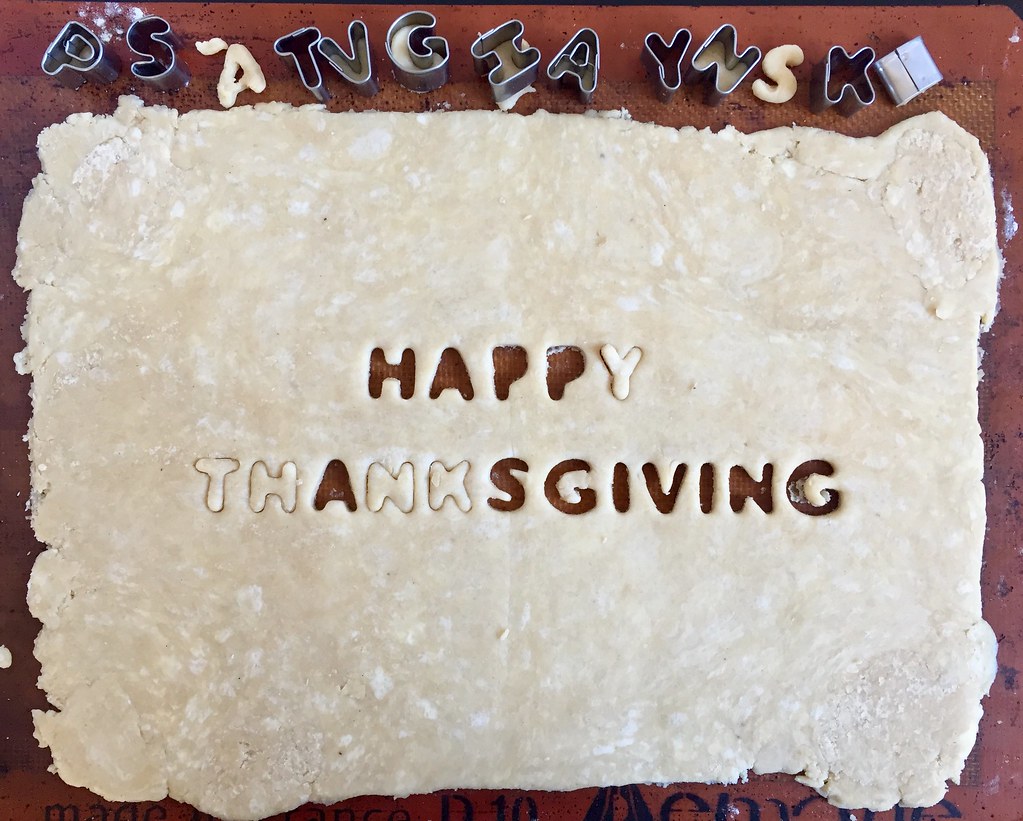
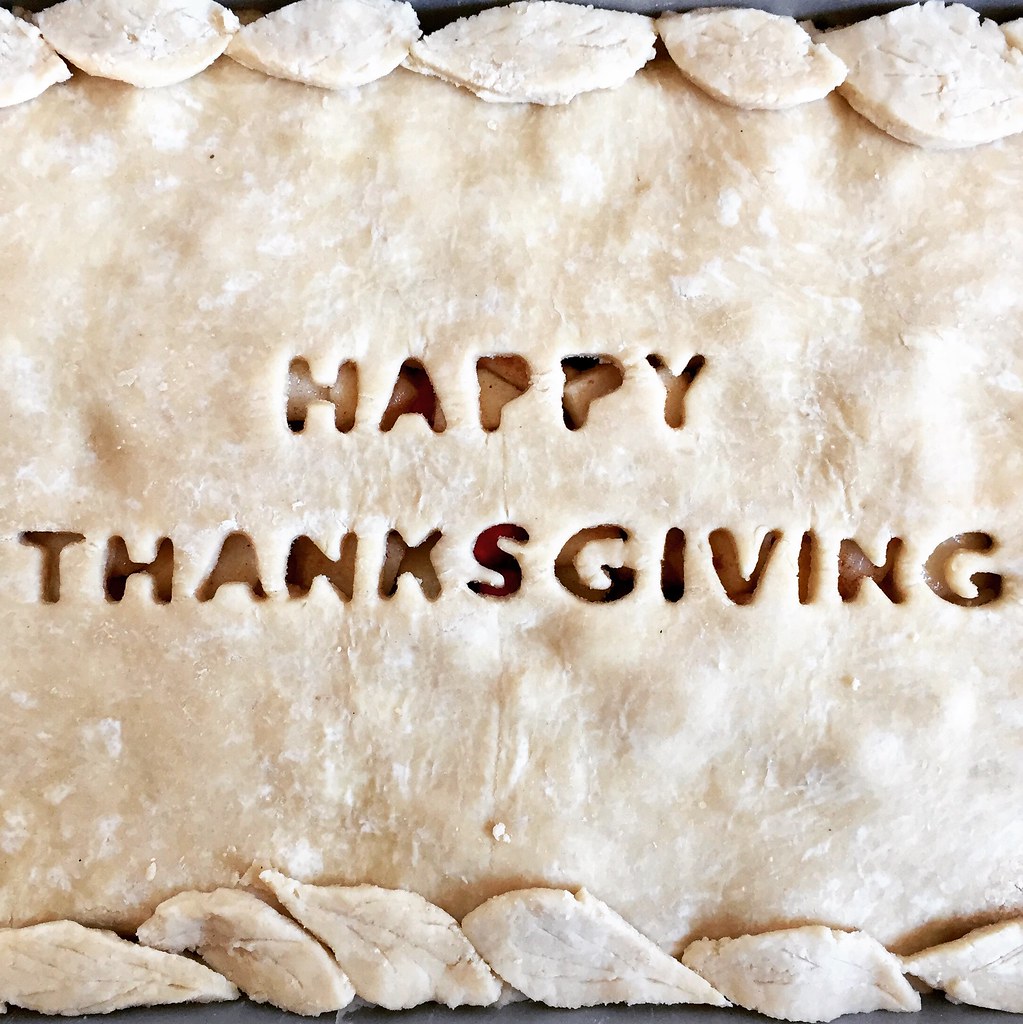
Sometimes you get an idea in your head that you just need to make a reality.  This was one of those times.  I already had alphabet cookie cutters from another project and a good slab pie recipe.  I didn't have any leaf cookie cutters, but those were easy enough to freehand cut out of the dough.


For the filling I used up fruits that had been accumulating from my Boston Organics deliveries and ended up using 3 pears, 2 apples, and 4 oz. of cranberries, which I think ended up being about 5-6 cups of chopped fruit.  I liked how the cranberries added a little tartness and color to the otherwise simply sweet filling.  (If you want to add more than 4 oz. of cranberries, I would also up the amount of sugar to account for the additional tartness.)

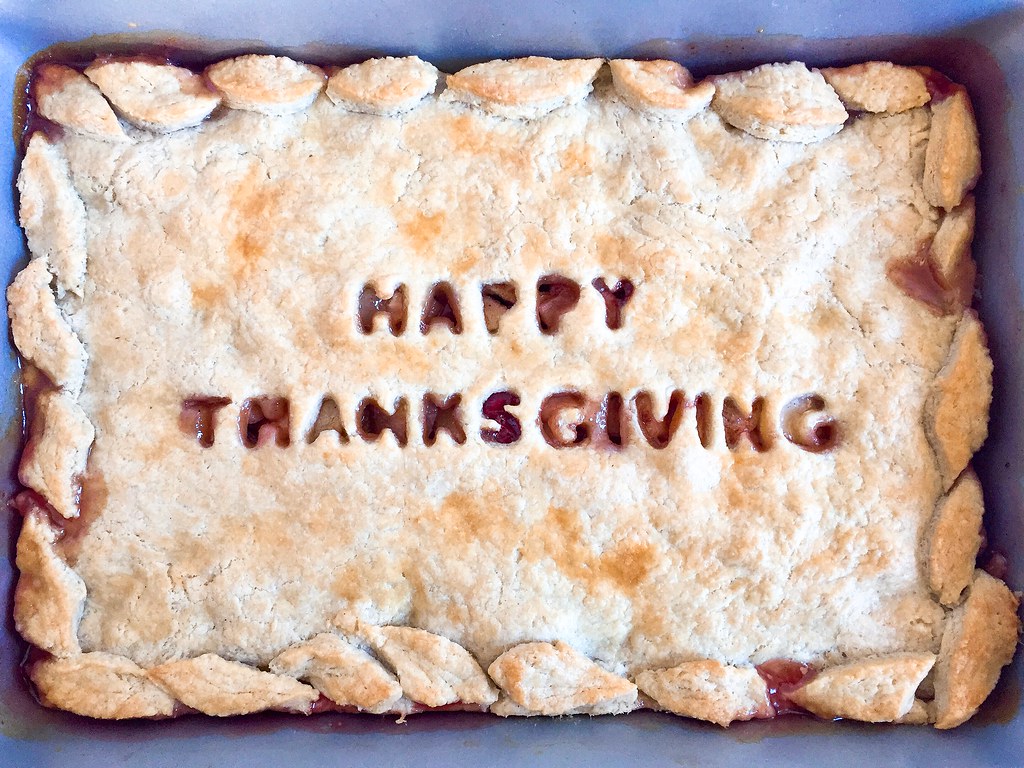
I cheated a little and didn't make a bottom crust, but in the end I think that was a good call because it saved a lot of time and aggravation and really, no one likes the soggy bottom crust right?  That meant I could make the top crust a little thicker and have plenty of dough left for the cut outs.  If I had had the time, I would've added more leaves, but for my first attempt at pie dough decorations, I think it went pretty well.  =)


Pear Apple Cranberry Slab Pie
makes a 9" x 13" slab pie

2 cups all-purpose flour, divided
2 tablespoons sugar
3/4 teaspoon kosher salt
12 tablespoons cold, unsalted butter, cubed
3 tablespoons ice water, more as needed
3 pears, peeled and chopped
2 apples, peeled and chopped
4 oz. fresh cranberries
3/4 cup sugar
1 teaspoon cinnamon
1 egg, beaten

Remove a heaping tablespoon of flour from the 2 cups and reserve for the filling.  Mix the remaining flour, sugar, and salt together in a food processor.  Add the butter and pulse until the butter has been cut into pea-sized pieces.  Add the water and pulse to combine.  Add more water if needed, a teaspoon at a time, just until the dough comes together.  Form the dough into a disc, wrap with plastic wrap, and refrigerate for at least 30 minutes or overnight.

Preheat the oven to 400°F.

Place the chilled dough on a large piece of floured parchment paper or Silpat and roll the dough out to a 9" x 13" rectangle about 1/6" thick.  You should have enough leftover dough to make cut outs from.  Cover and return to the refrigerator while you prepare the filling.

Mix the sugar with the reserved flour and cinnamon,  Toss with the chopped pears, apples, and cranberries.  Pour into a 9" x 13" baking pan.

Decorate the pie dough as you like and place it over the fruit.  Make an egg wash by mixing the beaten egg with 1 tablespoon of water.  Brush the entire crust with the egg wash.  Bake for 20 minutes, then rotate and bake for another 20 minutes or until golden brown.


Next:  Cranberry Curd Tart
Previously:  Soy Garlic Glazed Korean Fried Cauliflower
Last Year:  Pad Thai
Two Years Ago:  Raindrop Cake
Three Years Ago:  My Mom's Taiwanese Sticky Rice
Four Years Ago:  Duchikey (Simplified Turkducken)
Seven Years Ago:  Nanaimo Bars
Eight Years Ago:  Homemade Crystallized Ginger

Monday, September 19, 2016

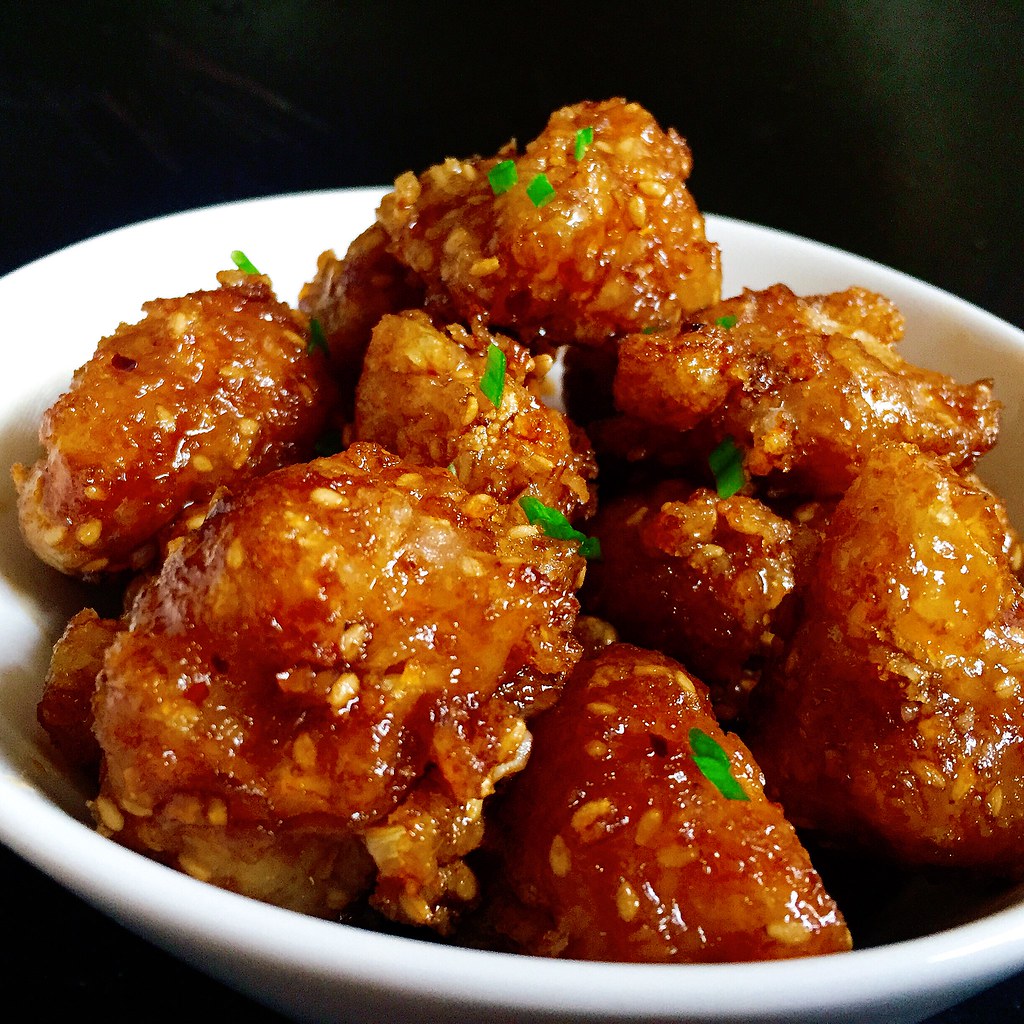
Soy Garlic Glazed Korean Fried Cauliflower


During my stint as a vegan (which became vegetarianism and then pescetarianism until I finally gave up this year and became an omnivore again), I would often crave Bon Chon chicken.  That gloriously crispy, thin-skinned chicken with the amazing soy garlic glaze would haunt me, and I'll admit that I sometimes gave in.  It was just too good to give up.

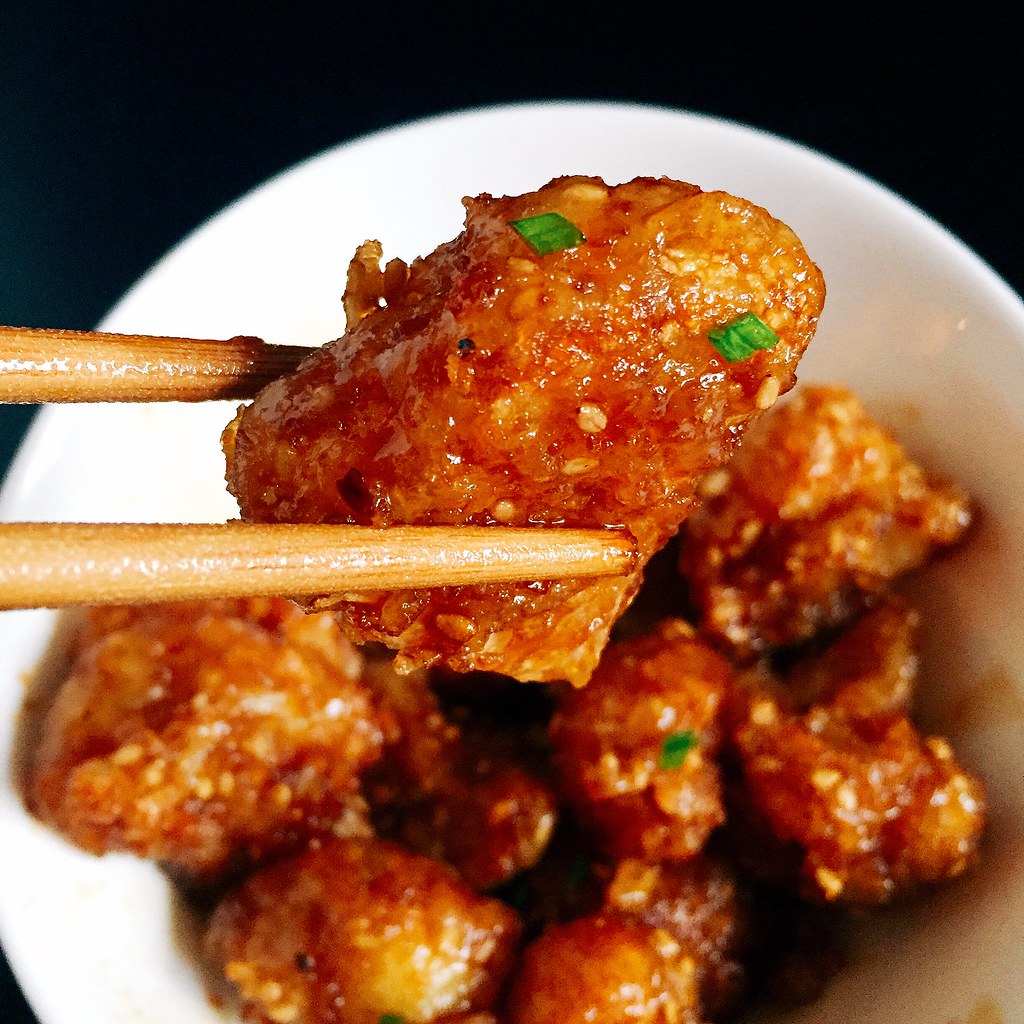
I wish I had had this recipe for Korean fried cauliflower back then, but to be honest, this substitute is so good, I might even prefer it over the real thing.  I adapted the recipe from Serious Eats' well researched recipe and just reduced the amount of vinegar and upped the garlic in the glaze according to my own taste preferences.  If you don't have the sesame seeds and/or finely shredded coconut to add to the batter, you can omit them, but they add some great texture to the cauliflower.

Even though they're meant to be an appetizer, I ended up eating them with rice like I would with sesame chicken.  And if you want to save any as leftovers, I would refrigerate the cauliflower after they're fried and drained.  The next day, heat them up in the toaster oven and then toss them with the sauce; that way they will still be crispy.


Soy Garlic Glazed Korean Fried Cauliflower (adapted from Serious Eats)
serves 4-6 as an appetizer or 2 as an entrée

For the Soy Garlic Glaze:
1/4 cup soy sauce
1 teaspoon rice wine vinegar
2 tablespoons mirin
6 tablespoons brown sugar
1 1/2 teaspoons mince garlic
1/2 teaspoon freshly grated ginger
Pinch of red pepper flakes
1 teaspoon toasted sesame oil
1 1/2 teaspoons cornstarch

Combine everything except for the cornstarch in a small saucepan and heat over medium heat.  Make a slurry with the cornstarch and 1 1/2 teaspoons water.  Whisk into sauce and bring to a boil.  Cook until the sauce is reduced and slightly thickened, about 3 minutes.

For the Korean Fried Cauliflower:
Vegetable oil, for frying
1/2 cup cornstarch
1/2 cup all-purpose flour
1/2 teaspoon baking powder
1/3 cup toasted sesame seeds
1/3 cup unsweetened finely shredded coconut
2 teaspoons kosher salt
1/2 cup cold water
1/2 cup vodka
1 head cauliflower, cut into 1/2" - 1" florets

Pour enough oil into a Dutch oven or large pot for it to reach at least 2".  Preheat the oil to 350°F.

Combine the cornstarch, flour, baking powder, sesame seeds, coconut, and salt in a large bowl and whisk until homogeneous.  Add the water and vodka, and whisk to form a smooth batter.

Add the cauliflower to the batter.  Fry the cauliflower in batches, letting the excess batter drip off each one before you lower it into the oil.  Remove with a slotted spoon when golden brown and let drain on a paper-towel lined plate.

Toss the fried cauliflower with the soy garlic glaze and serve immediately.


Next:  Pear Apple Cranberry Slab Pie
Previously:  Caramelized Honeycomb Ice Cream
Two Years Ago:  Hokkaido Milk Bread Three Ways (Traditional, Braided, and Taro Swirl)
Three Years Ago:  Salted Butter Caramel Apple Pie with Vodka Pie Crust

Monday, September 12, 2016

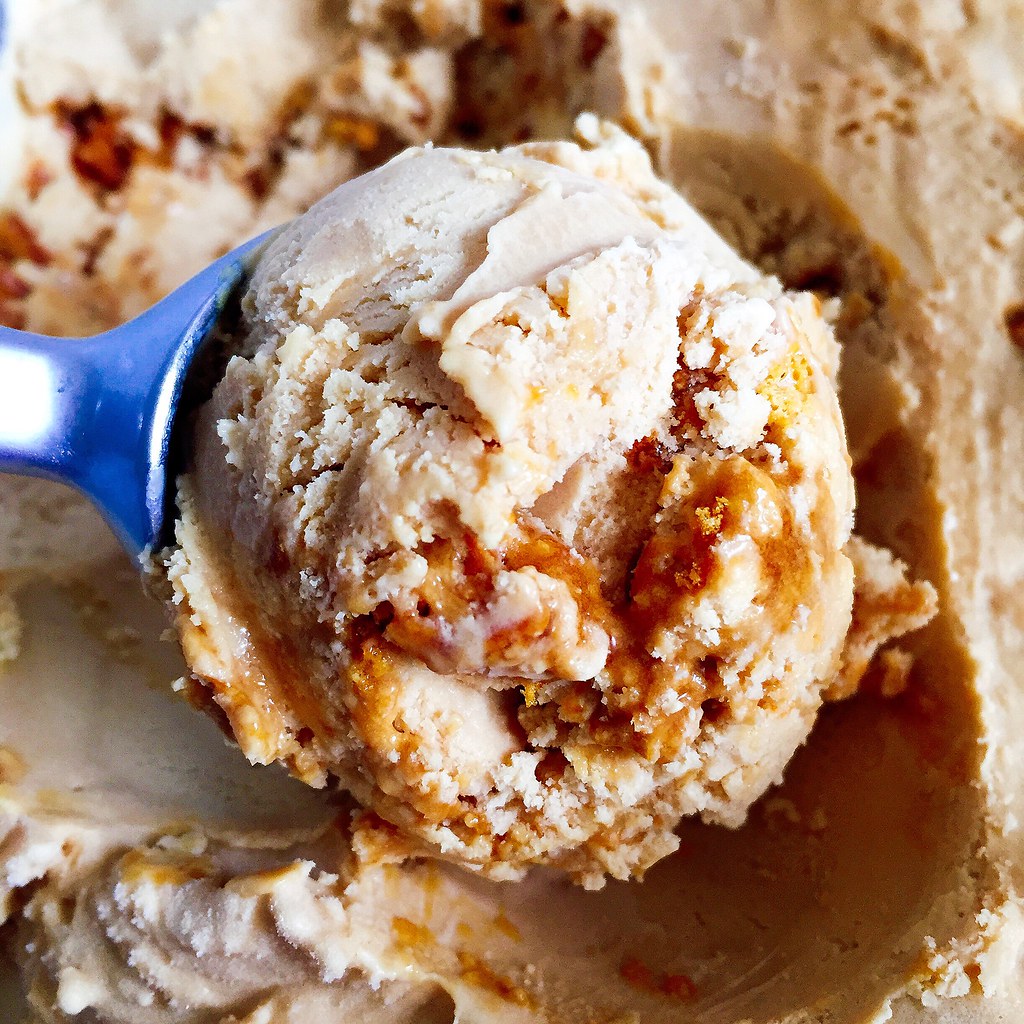
Caramelized Honeycomb Ice Cream


My friend Christine and I took our annual gorgefest stuffing of the faces eat all the things road trip up to Portland, ME on Labor Day and hit all our usual spots.  First was The Holy Donut for their Maine potato donuts.  Here we have the sweet potato ginger glazed, sea salt chocolate, pomegranate, maple bacon, fresh lemon, and triple berry flavors.  I think my favorite was the maple bacon.


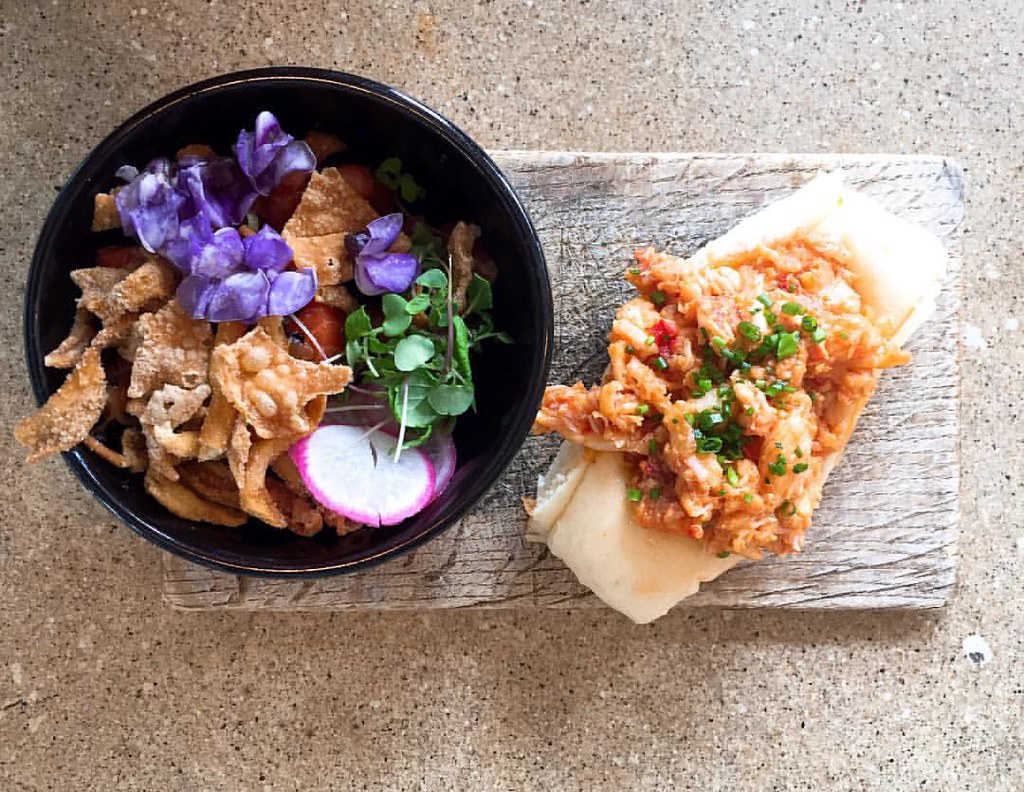
Then on to Eventide Oysters for their brown butter lobster rolls (which I've tried to recreate).  We also tried the salmon poke this time, which I thought was prettier than it tasted.


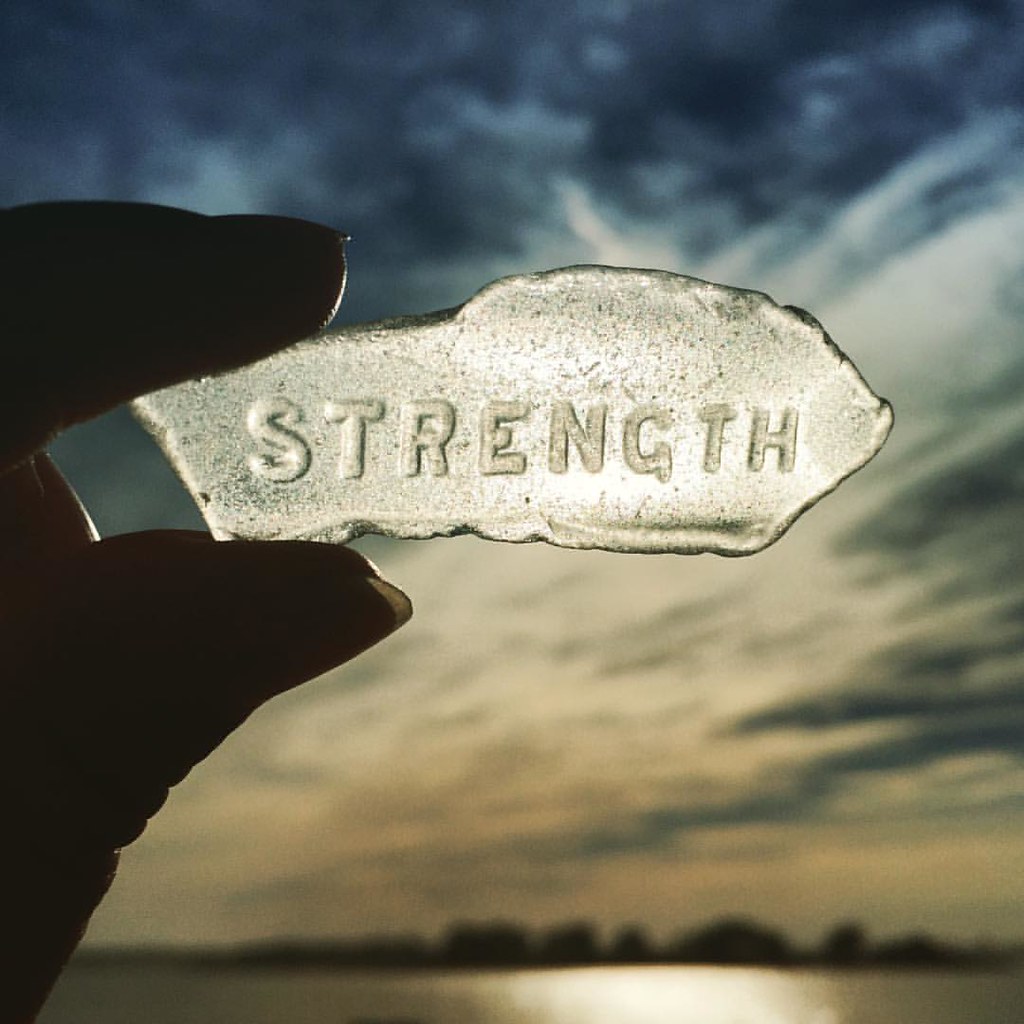
Since it was such a beautiful day, and we had some time before dinner, we took the ferry over to Peaks Island to see if there was anything interesting there.  There wasn't.  But Christine did find this awesome piece of sea glass there!


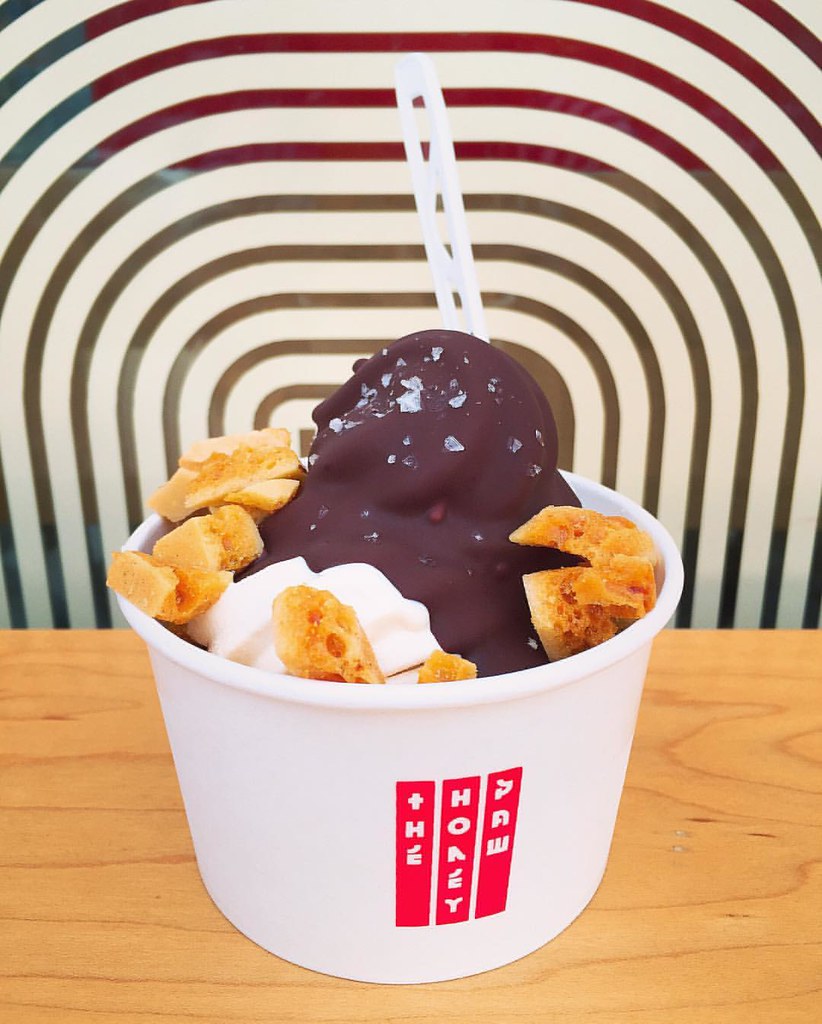
After dinner at Duck Fat, we decided to grab some dessert from The Honey Paw, a new fusion restaurant next door to Eventide.  We tried the caramelized honeycomb soft serve with magic shell and honeycomb candy.


It might have been the best thing we ate that day and is definitely going on our to-eat list for future trips!

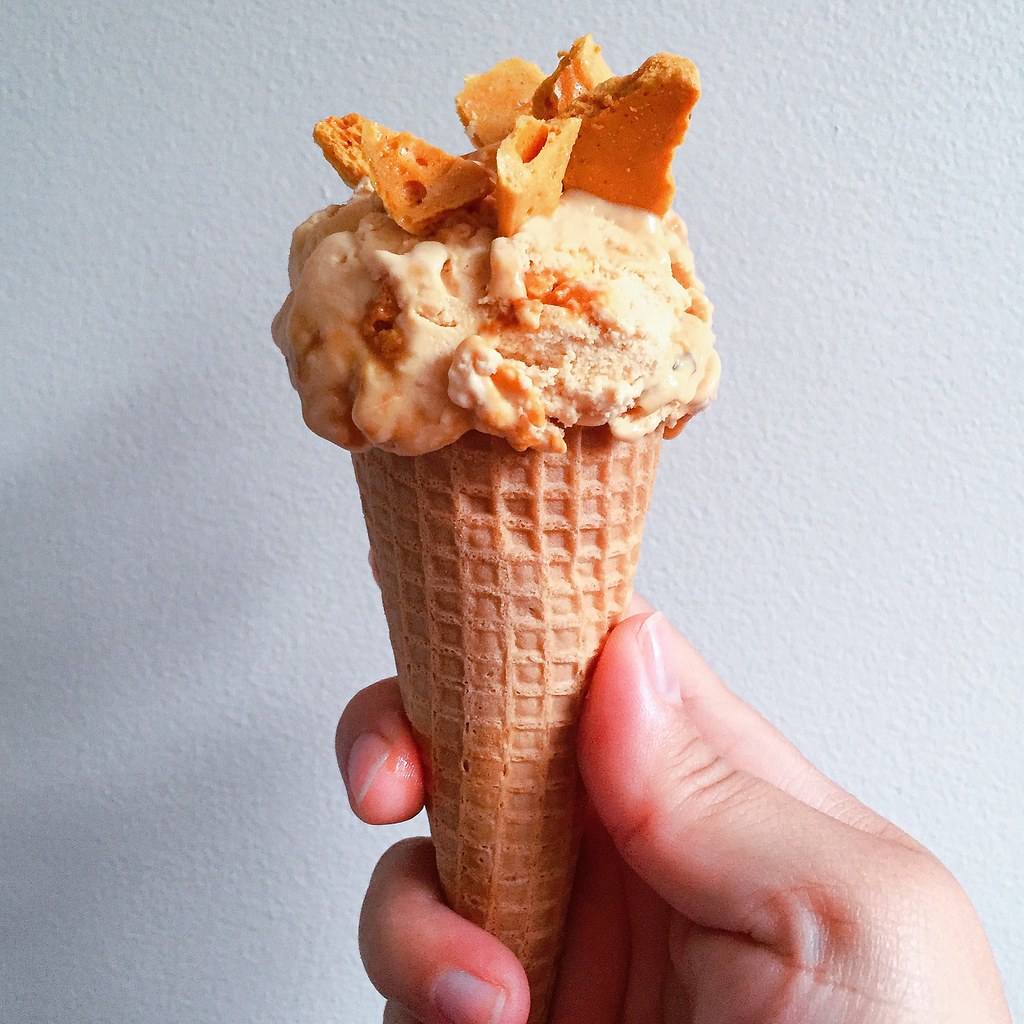
I tried to recreate it at home using one of Jeni's recipes as a guide, but I wasn't able to get that pure honey flavor that was the reason I loved the original version.  But then I realized it reminded me of Toscanini's burnt caramel ice cream, which is a very, very good thing.  I also liked how the honeycomb candy--also made with one of Jeni's recipes--added a unique texture when layered in with the ice cream.


Caramelized Honeycomb Ice Cream (adapted from Jeni's Splendid Ice Creams at Home)
makes about 1 quart

For the honeycomb candy:
1 1/2 cups sugar
1/2 cup water
3 tablespoons honey
1/3 cup corn syrup
1 tablespoon baking soda

Bring the sugar, water, honey, and corn syrup to a boil in a large saucepan over medium-high heat.  When it reaches 300°F, remove from heat and stir in the baking soda.  Pour into a parchment-lined baking sheet and let cool.  Break into small pieces.  You'll only need about half the amount that this recipe makes for the ice cream, but it's great eaten on its own or coated with chocolate.  Store in an airtight container.

For the ice cream:
2 cups whole milk
1 tablespoon plus 2 teaspoons cornstarch
4 tablespoons cream cheese, softened
1/2 teaspoon kosher salt
2/3 cup honey
1 1/2 cups heavy cream

Make a slurry with the cornstarch and 2 tablespoons of the milk and set aside.  Whisk the cream cheese and salt in a medium bowl until smooth.

Caramelize the honey in a large saucepan over medium-high heat.  Stir in about 1/4 of the cream to loosen it up and then stir in the rest of the cream.  Add the remaining milk and bring to a boil over medium-high heat.  Boil for 4 minutes, then whisk in the cornstarch slurry.  Bring the mixture back to a boil and cook until slightly thickened, about 1 minute.

Gradually whisk the hot milk mixture into the cream cheese until smooth.  Chill the mixture in an ice bath or in the refrigerator until cold.

Churn according to your ice cream maker's instructions.  Pack the ice cream into a storage container, mixing in the honeycomb candy as you go.  Freeze in your freezer until firm, at least 4 hours.


Next:  Soy Garlic Glazed Korean Fried Cauliflower
Previously:  Macau-Style Portuguese Chicken Rice
Two Years Ago:  Ginger Scallion Lobster Buns
Three Years Ago:  Ramen Lobster Rolls

Wednesday, September 7, 2016

Macau-Style Portuguese Chicken Rice

https://www.flickr.com/photos/joyosity/29466501016/in/dateposted-public/

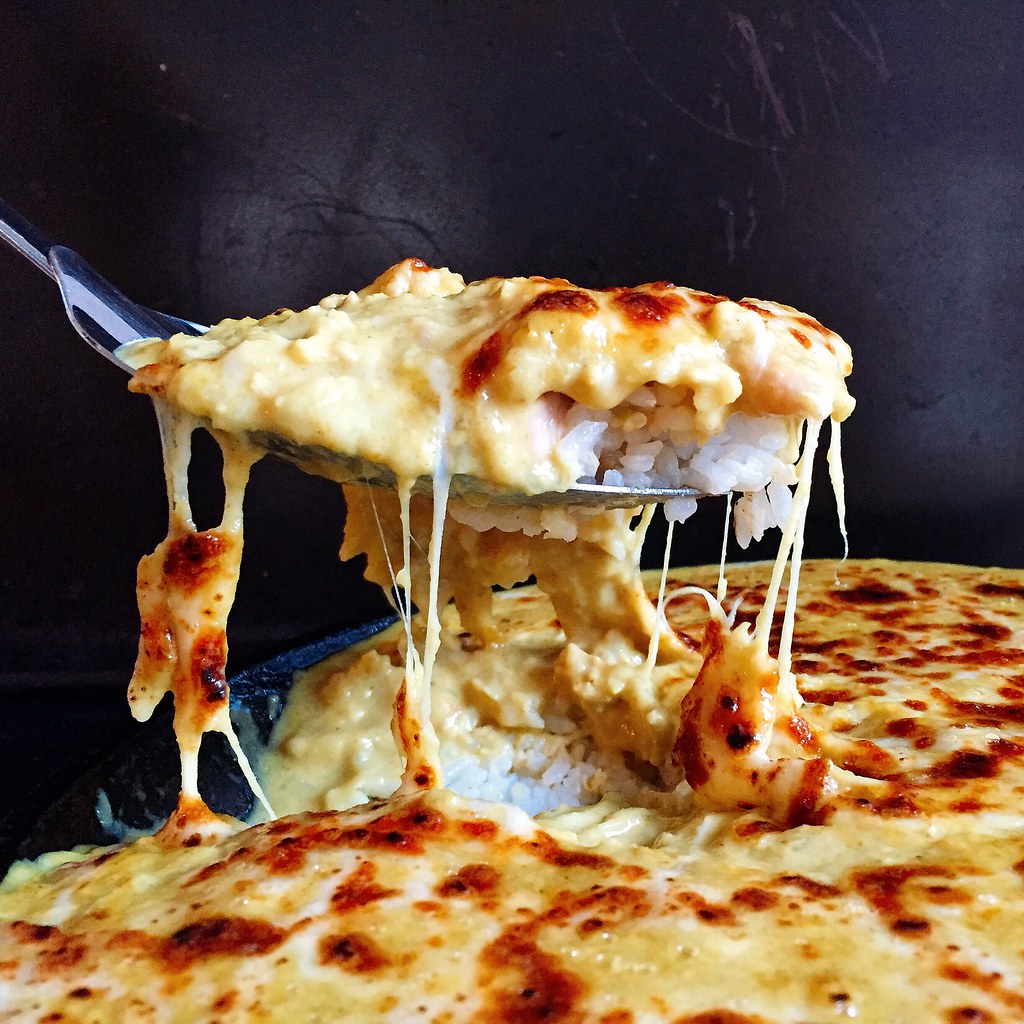
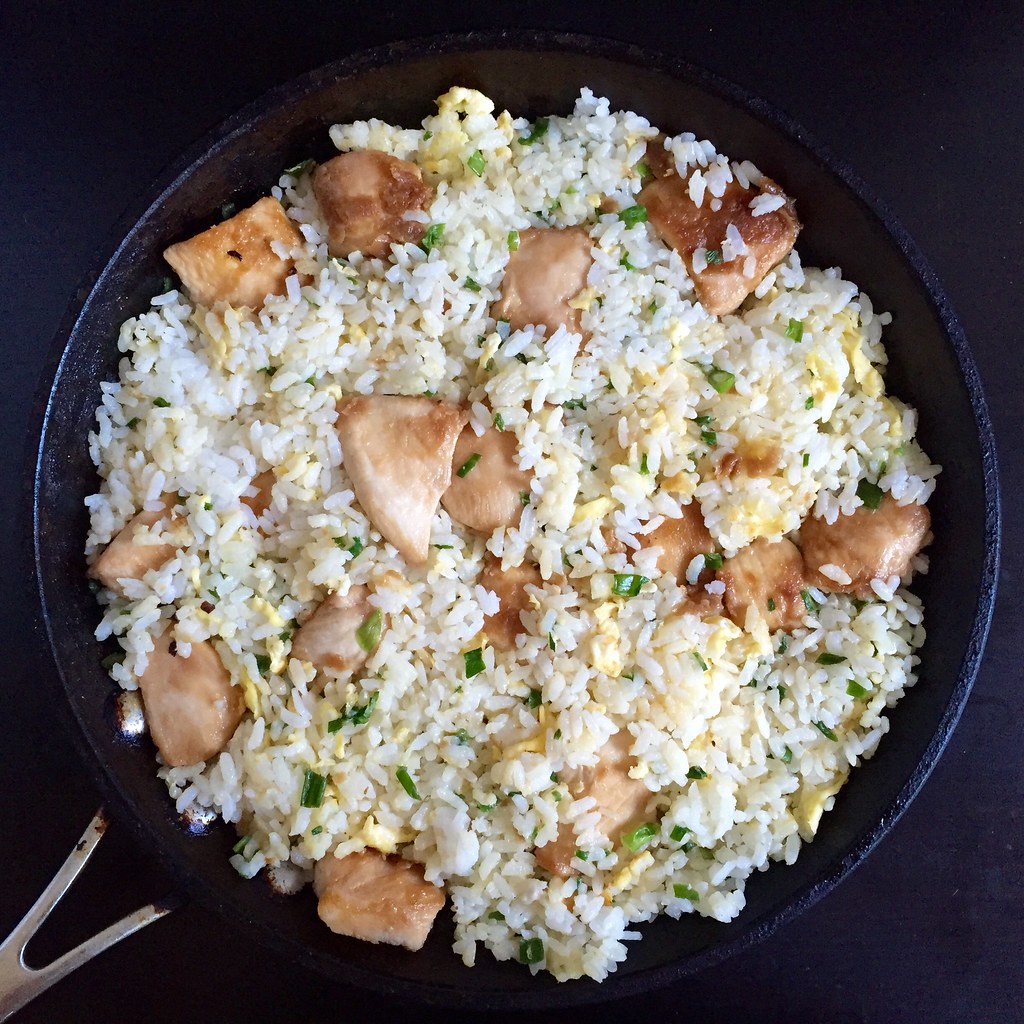
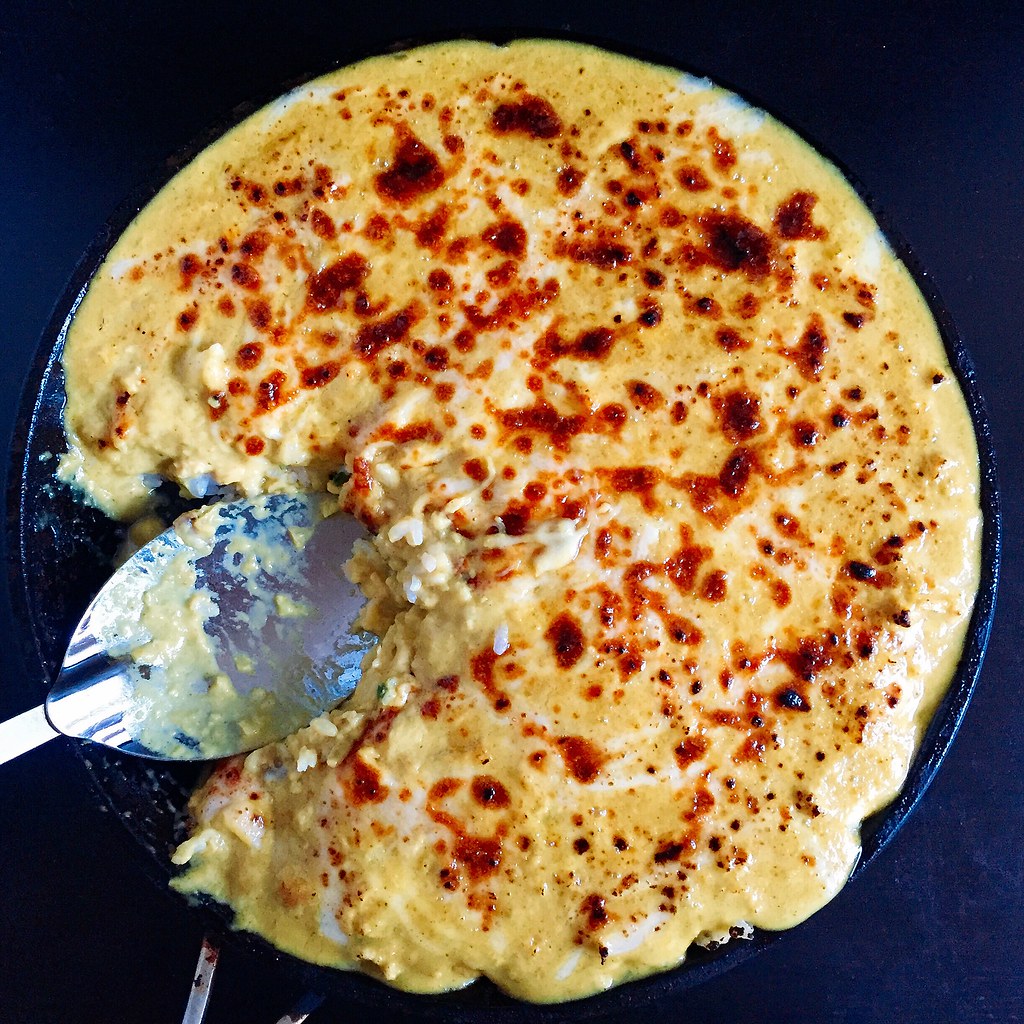
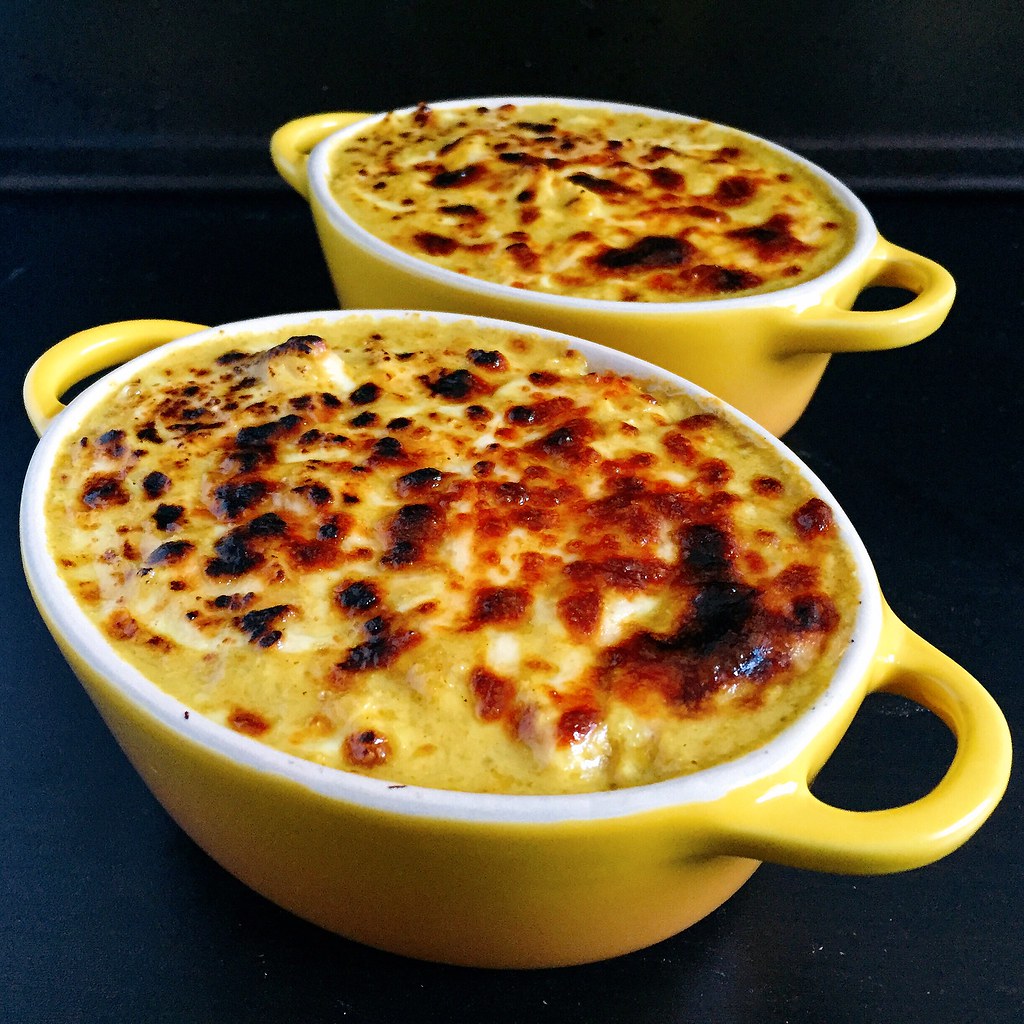
I only needed one bite of the Portuguese Chicken Rice from Double Chin to know that I needed to figure out how to make it at home.  I hadn't even ordered it myself; my friend Alvin was nice enough to let a bunch of us try his, and I'm so grateful he did.  Sadly, it's not a very photogenic dish, but once you try it, you won't care.

It starts with a layer of chicken fried rice topped with a mild coconut curry sauce and finished with a sprinkling of shredded cheese.  Then everything goes under the broiler until it gets all bubbly and gooey.  I know it's kind of strange to have cheese on an otherwise Asian dish, but it works so well in this case.  I think the key is to use a mild, melty cheese so that it doesn't overpower the rest of the dish.  I ended up using a mix of mozzarella and provolone.  I thought it was interesting that when I was looking for recipes on-line to use, a lot of them just listed "shredded cheese" as the ingredient without any reference to what kind of cheese.  Perhaps in Asia there is just one kind of shredded cheese available!

https://www.flickr.com/photos/joyosity/29420771461/in/dateposted-public/

I ended up referring to Lady and Pups' version because I love everything else she does, and it seemed the most similar to what I had at Double Chin.  The modifications I made were that instead of fish I used chicken and marinated it beforehand.  I used chicken breast because I prefer white meat, but feel free to use chicken thigh meat if you prefer dark meat.  I also made a couple of other modifications to her recipe based on what I had on hand (less scallions and water instead of milk) and taste preferences (half the amount of shallots).

Please note that this makes quite a bit of food.  Mandy's original recipe said that it serves 2, but it would probably be more like 6 Joy-sized servings.  And if you're wondering why it's called Portuguese chicken rice, I think it has to do with the fact that Macau was a Portuguese colony up until the end of the last century.  Apparently this dish is very popular in Hong Kong cafes, and I remember seeing something similar at one of my favorite eateries in Taiwan.

https://www.flickr.com/photos/joyosity/29211783800/in/dateposted-public/

Macau-Style Portuguese Chicken Rice (heavily adapted from Lady and Pups)
serves 4-6

For the chicken:
1 lb. boneless chicken, cut into 1" pieces
1 tablespoon cornstarch
1 tablespoon soy sauce
1 tablespoon rice wine
2 tablespoons vegetable oil

Mix all the ingredients except for the oil and marinate for 20 minutes.

Heat the oil over medium-high heat and cook the chicken until lightly brown.  Save 2/3 of it for the fried rice and finely chop the rest for the sauce.

For the fried rice:
2 tablespoons vegetable oil
2-3 eggs, beaten
3 cups day-old cooked rice, refrigerated
1/2 cup chopped scallions
Kosher salt and white pepper, to taste

Heat the oil over medium-high heat in a large pan and add the eggs.  Immediately add the rice and mix to coat.  Once the rice is heated through, add the scallions, salt, and white pepper to taste.  Add the reserved chicken and mix until even.  Remove from heat and set aside.

For the coconut curry sauce:
2 tablespoons vegetable oil
1 shallot, coarsely chopped
3 garlic cloves, coarsely chopped
1 teaspoon ginger, grated
1 tablespoon unsalted butter
1 tablespoon curry powder
1 tablespoon onion powder
2 tablespoons finely shredded unsweetened coconut
1 tablespoon all-purpose flour
13.5 oz. can coconut milk
1/2 cup water
1 1/2 cups mix of shredded mozzarella and provolone cheese, divided

Use a small blender to puree the oil, shallot, and garlic cloves.  Mix with the grated ginger and butter and cook over medium heat in a saucepan for a few minutes until very fragrant.  Add the curry powder, onion powder, coconut, and flour continue to cook for a few more minutes to toast the spices.  Whisk in the coconut milk and water and bring to a boil.  Simmer for 5-7 minutes until thickened.  Stir in the chopped chicken and 1 cup of the cheese.

Preheat the broiler.  Transfer the fried rice to a buttered casserole dish or oven safe pan.  You can also use multiple smaller dishes.  Pour the curry sauce over the rice and top with the remaining 1/2 cup of shredded cheese.  Broil for a few minutes until browned in spots and bubbly.  Serve immediately.

https://www.flickr.com/photos/joyosity/29420773131/in/dateposted-public/

Next:  Caramelized Honeycomb Ice Cream
Previously:  Extra-Crispy Tortilla Pizza
Two Years Ago:  Taiwanese Taro Swirl Mooncakes
Three Years Ago:  Brown Butter Vinaigrette Lobster Buns
Four Years Ago:  Caramelized Onion and Swiss Chard Quiche

Monday, August 29, 2016

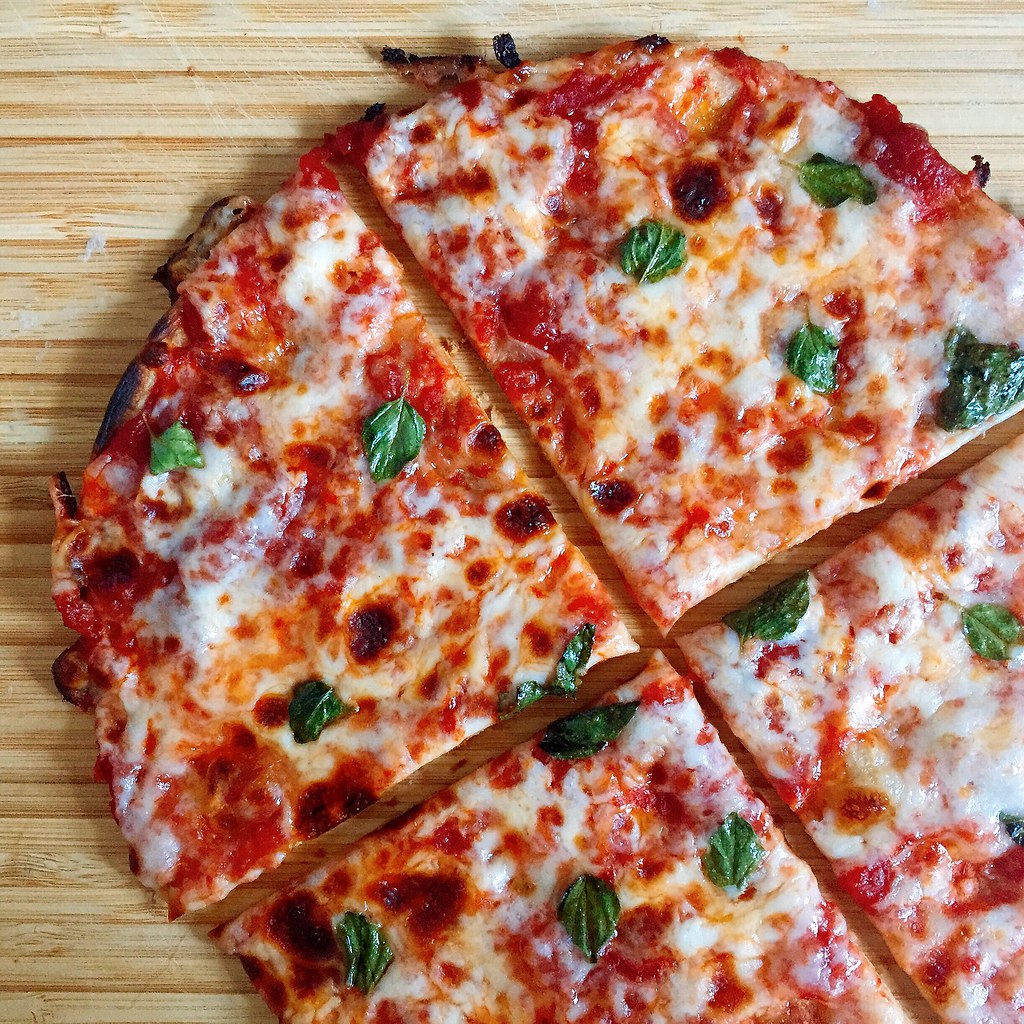
Extra-Crispy Tortilla Pizza

https://www.flickr.com/photos/joyosity/28655259343/in/dateposted-public/

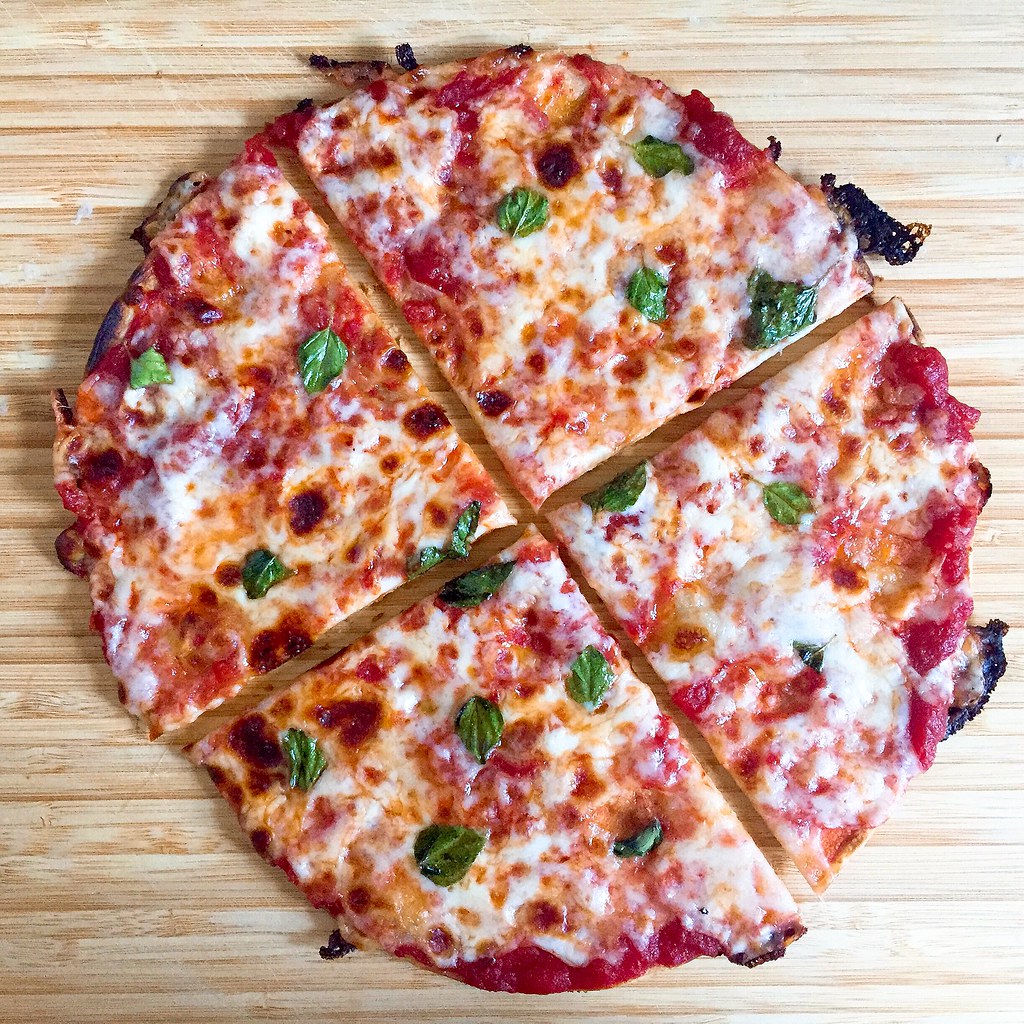
I'm ashamed to admit that one of my all-time guilty pleasures is Totino's Party Pizza.  There's just something I love about the extra crispy crust, the barely there tomato sauce, and even the painfully artificial cheese.  It's probably a good thing that it's not sold anywhere near where I live, otherwise I'd probably be eating it way too much.

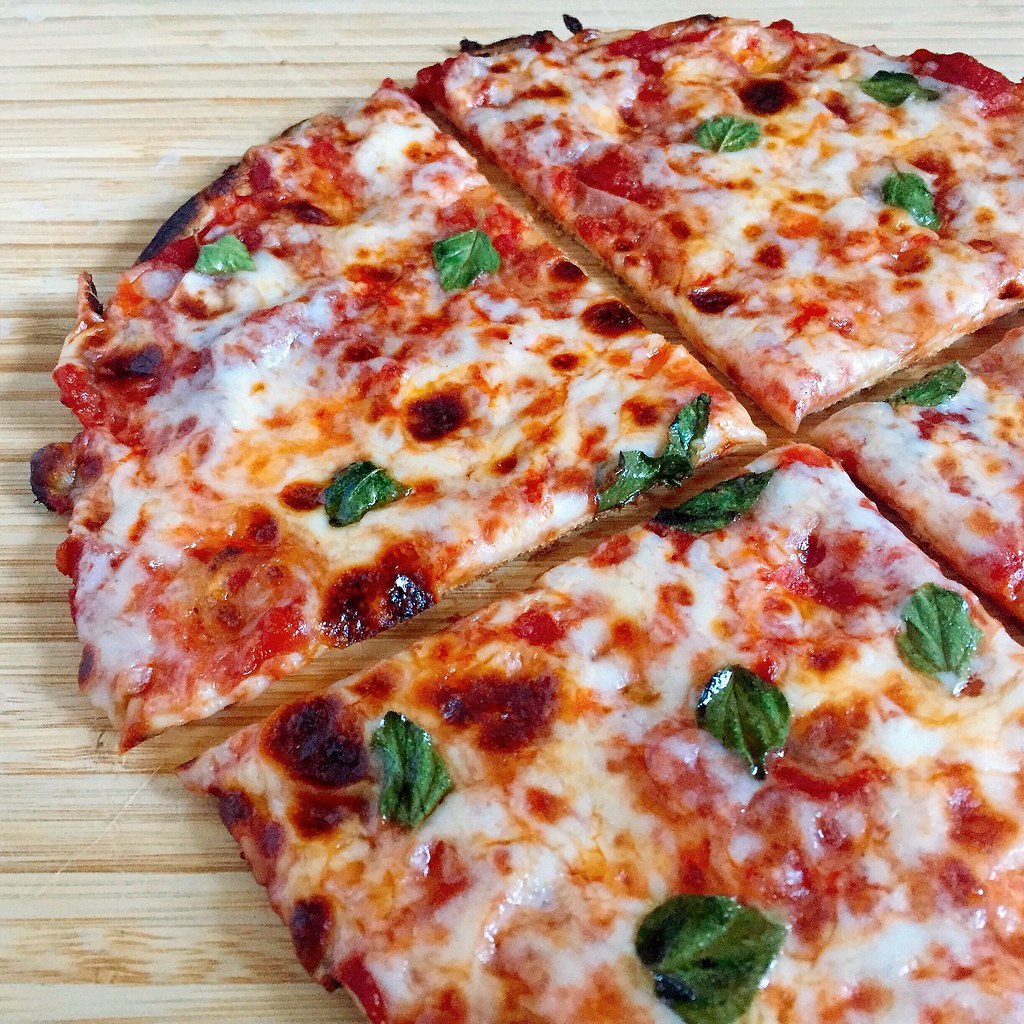
That hasn't stopped me from trying to figure out how to replicate it at home, though, and this recipe from Serious Eats is the closest I've gotten.  While I still prefer Ken Forkish's Same Day Straight Pizza Dough for its chewiness and flavor, I like the use of flour tortillas in this recipe for a quick and easy alternative.

https://www.flickr.com/photos/joyosity/28988048110/in/dateposted-public/

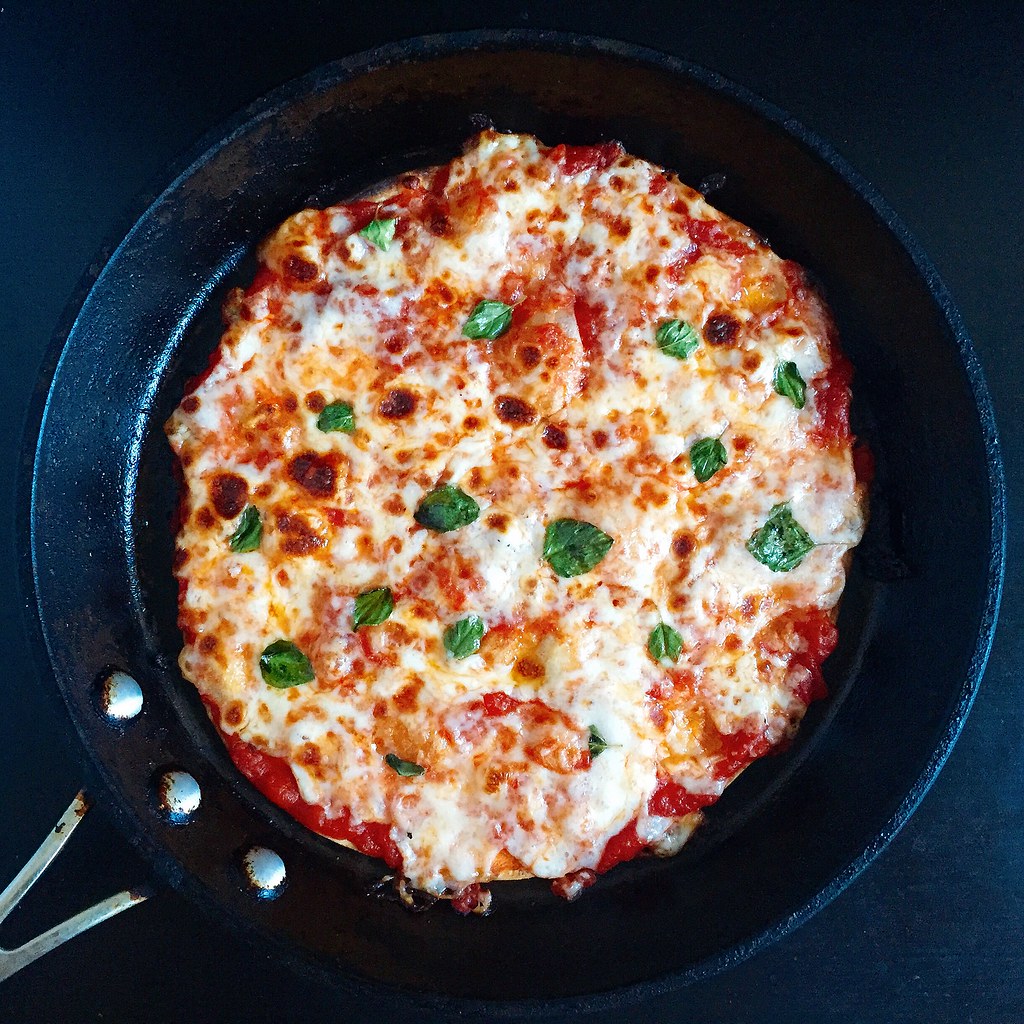
In order to get the tortilla extra crispy, it's cooked first on the stove top in a skillet that has a diameter the same size as the tortilla.  You'll want to use one that can be transferred to the oven, like a cast iron skillet, because it's going under the broiler next to get the cheese all melty.

Since I don't usually have pizza sauce on hand, I've been using ground peeled tomatoes and then adding a sprinkle of kosher salt and a drizzle of olive oil.  The original recipe calls for fresh basil as a final topping, but I tried using some of the fresh oregano I got in my Boston Organics delivery this week, and I found that it makes the pizza taste even more like Party Pizza.

https://www.flickr.com/photos/joyosity/28653449204/in/dateposted-public/

Extra-Crispy Tortilla Pizza (adapted from Serious Eats)
makes 1 small thin pizza

1/2 teaspoon extra virgin olive oil
1 (eight-inch) flour torilla
1-2 tablespoons pizza sauce
Small handful of shredded mozzarella cheese
Fresh oregano or basil leaves

Preheat the broiler to high.

Add the olive oil to a cast iron pan with an 8" diameter and heat over high heat.  Once it shimmers, reduce the heat to medium and use a folded paper towel to coat the bottom of the pan with the oil. Wipe the excess oil onto the rough side of the flour tortilla.  Place the tortilla rough side down in the pan.

Spoon on the pizza sauce and spread all over, right up to the edge of the tortilla.  Sprinkle on the cheese and top with a few oregano or basil leaves.

Move the pan to the broiler and broil until the cheese is melted and bubbly, just a few minutes.  Use a spatula to check if the bottom is crispy enough to your liking.  If not, return to the stovetop and continue to cook until crispy enough.

Transfer to a wooden cutting board, slice, and serve!

https://www.flickr.com/photos/joyosity/29242138876/in/dateposted-public/

Next:  Macau-Style Portuguese Chicken Rice
Previously:  Zucchini Pizza
Two Years Ago:  Jacques Genin's Mango Passion Caramels
Three Years Ago:  Jim Lahey's No Knead Bread