Monday, November 16, 2015
Pad Thai
I got to go to Bangkok for a meeting last week and went a day early so I could explore the city a bit on my own first. Besides visiting the temples, enjoying the view and drinks at Sky Bar, shopping at Siam Paragon, and getting massages for 270 baht ($7.50!) an hour, I also took a cooking class at the Silom Thai Cooking School. I chose a Sunday morning class because I liked the proposed menu: tom yum soup, green papaya salad, pad thai, massaman curry, and mango sticky rice.
The class was very well organized; first we took a bus to a wet market to pick up the ingredients and then we walked to the classroom which had three different sections: one for food prep, one for cooking, and one for eating. Most of the ingredients that we used were already pre-measured for us, so there was only a minimum of chopping and stir frying but enough that we felt like we were actually cooking! We also got a go at the enormous mortar and pestle to make the papaya salad and the massaman curry paste.
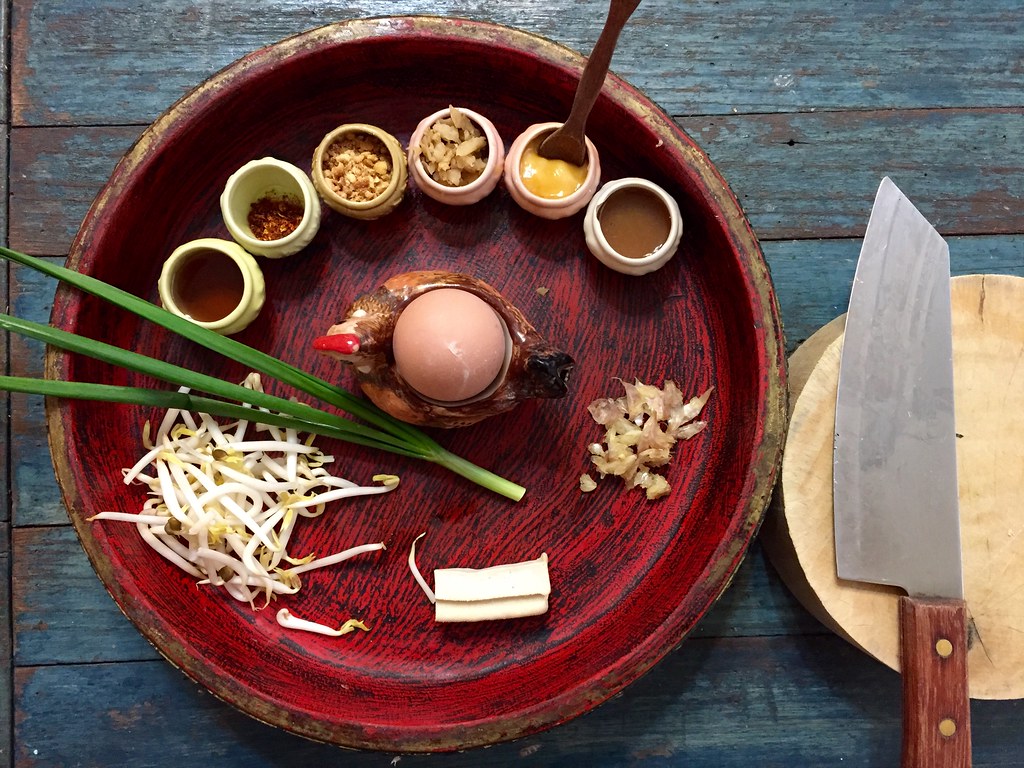
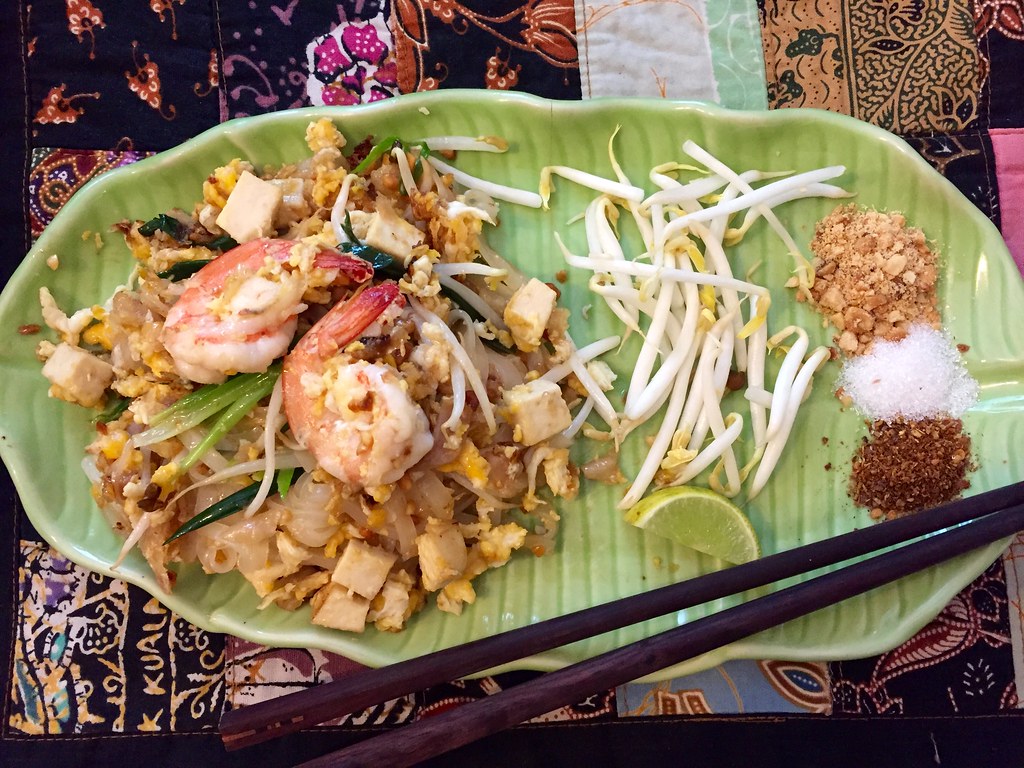
Above are the ingredients we used for pad thai. Starting at the 10 o'clock position and going clockwise, we have fish sauce, ground chili powder, ground peanuts, pickled daikon, palm sugar, tamarind paste, young garlic cloves, tofu, bean sprouts, scallions, and an egg. After stir frying everything together with pre-soaked rice noodles, it was plated and served with additional bean sprouts, ground peanuts, sugar, and chili powder to adjust for personal taste.
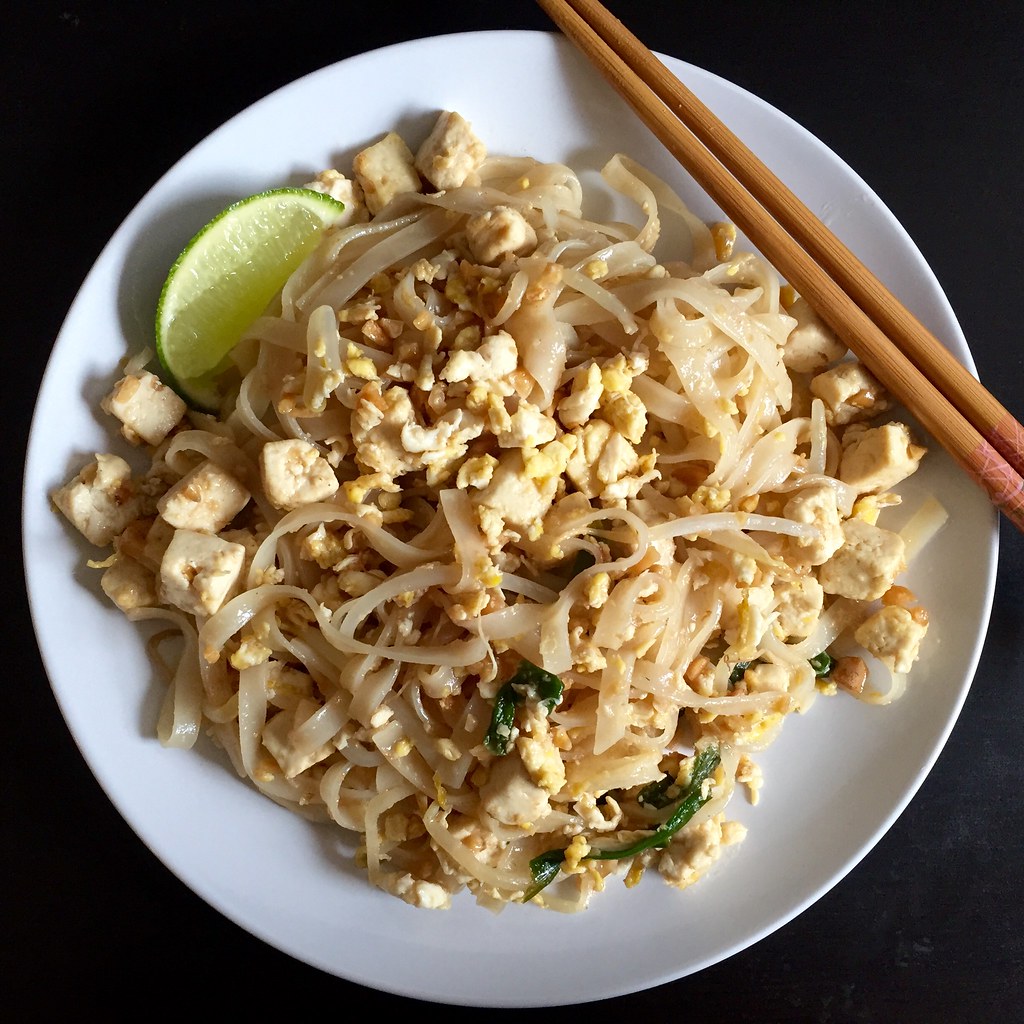
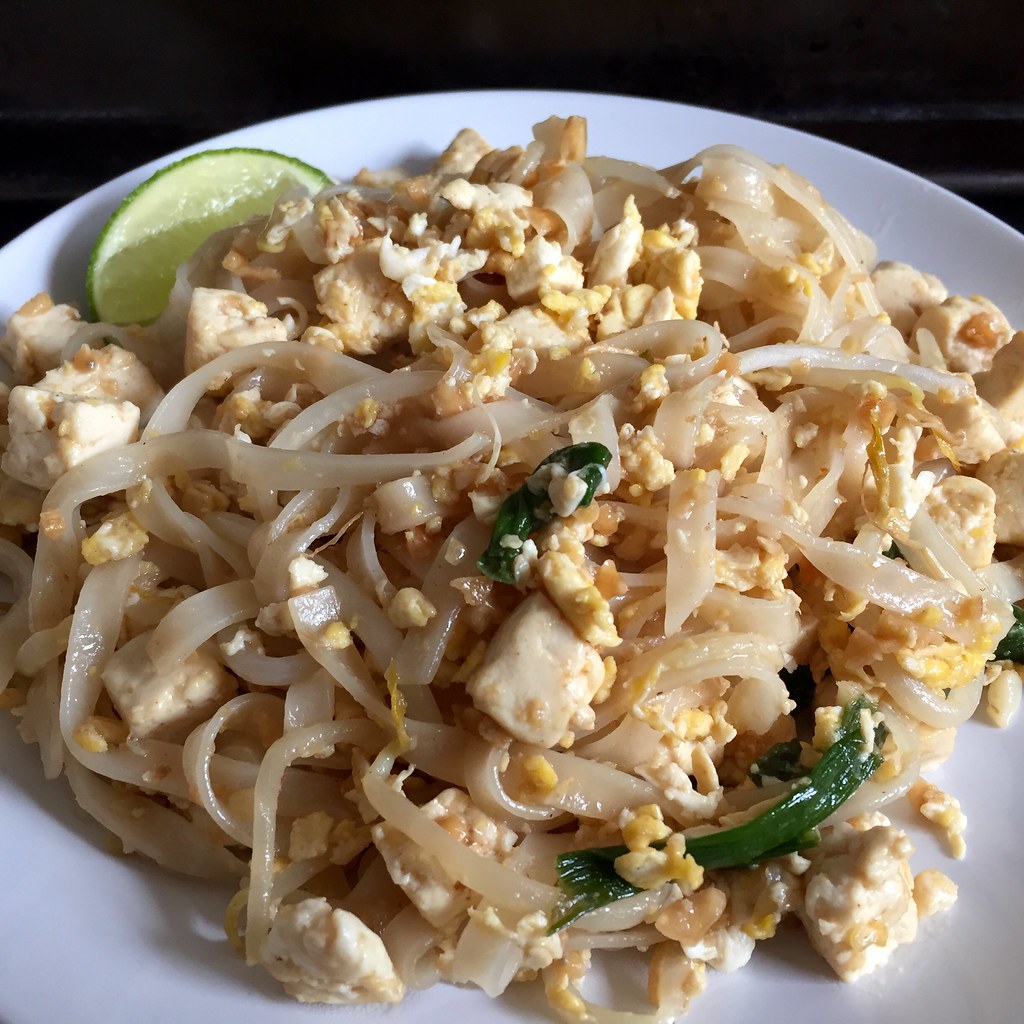
Pad thai was my first introduction to Thai food (back at the now shuttered Thai Cuisine in Ithaca, NY), and I immediately fell in love with the sweet and sour noodle dish. I've never tried making it before though because the flavors seemed so foreign to me. Even after becoming more familiar with fish sauce, there was still something else that eluded me, and I think that ingredient was tamarind paste. It provides that characteristic sour taste essential to pad thai. If you can't find it at a local Asian grocery store, the cooking school recommends using an equal volume of vinegar, but I would really recommend using tamarind paste if you can find it. You can also substitute brown sugar for the palm sugar and cashews for the peanuts. When I made this recipe again at home I omitted the pickled daikon and shrimp but otherwise it tastes pretty close to what I remember!
Pad Thai (adapted from the Silom Thai Cooking School)
serves 2
4 oz. dried rice noodles
2 tablespoons fish sauce
2 tablespoons palm sugar or brown sugar
2 tablespoons tamarind paste or white vinegar
2 tablespoons vegetable oil
1 tablespoon minced garlic
6 shrimp, peeled and de-veined
1/4 cup firm tofu, cubed
1 handful bean sprouts (reserve half for serving)
2 scallions, cut into 1" pieces
1 or 2 eggs
2 tablespoons ground roasted peanut, divided
1/2 teaspoon ground dried red chili powder (optional)
1 tablespoon pickled daikon, finely chopped (optional)
Lime slices
Soak the rice noodles in room temperature water until soft (20-30 minutes). Drain and set aside.
Mix together the fish sauce, sugar, and tamarind paste to make the pad thai sauce.
Heat the vegetable oil over medium heat, add garlic and fry until fragrant.
Add the shrimp, tofu, bean sprouts, and scallion pieces and stir until the prawns are cooked.
Crack the egg(s) straight into the wok; stir rapidly until scrambled.
Add the drained noodles and half the pad thai sauce, half the ground roasted peanuts, ground dried red chili powder, and pickled white radish, if using. Mix everything together and keep frying until the noodles become soft and translucent. If the noodles are not fully cooked yet, add a splash of water and cook until done. Taste and adjust for seasoning with additional pad thai sauce.
Serve with the lime slices, reserved bean sprouts, roasted ground peanuts, ground dried chili powder, and additional sugar if you like.
Next: Tropical Pulled Pork on Griddled Banana Bread Sandwiches
Previously: Mini Homemade Pretzel Dogs
Last Year: Raindrop Cake
Two Years Ago: My Mom's Taiwanese Sticky Rice
Three Years Ago: Duchikey (or Simplified Turducken)
Six Years Ago: Nanaimo Bars
Seven Years Ago: Homemade Crystallized Ginger
Wednesday, October 28, 2015
Mini Homemade Pretzel Dogs
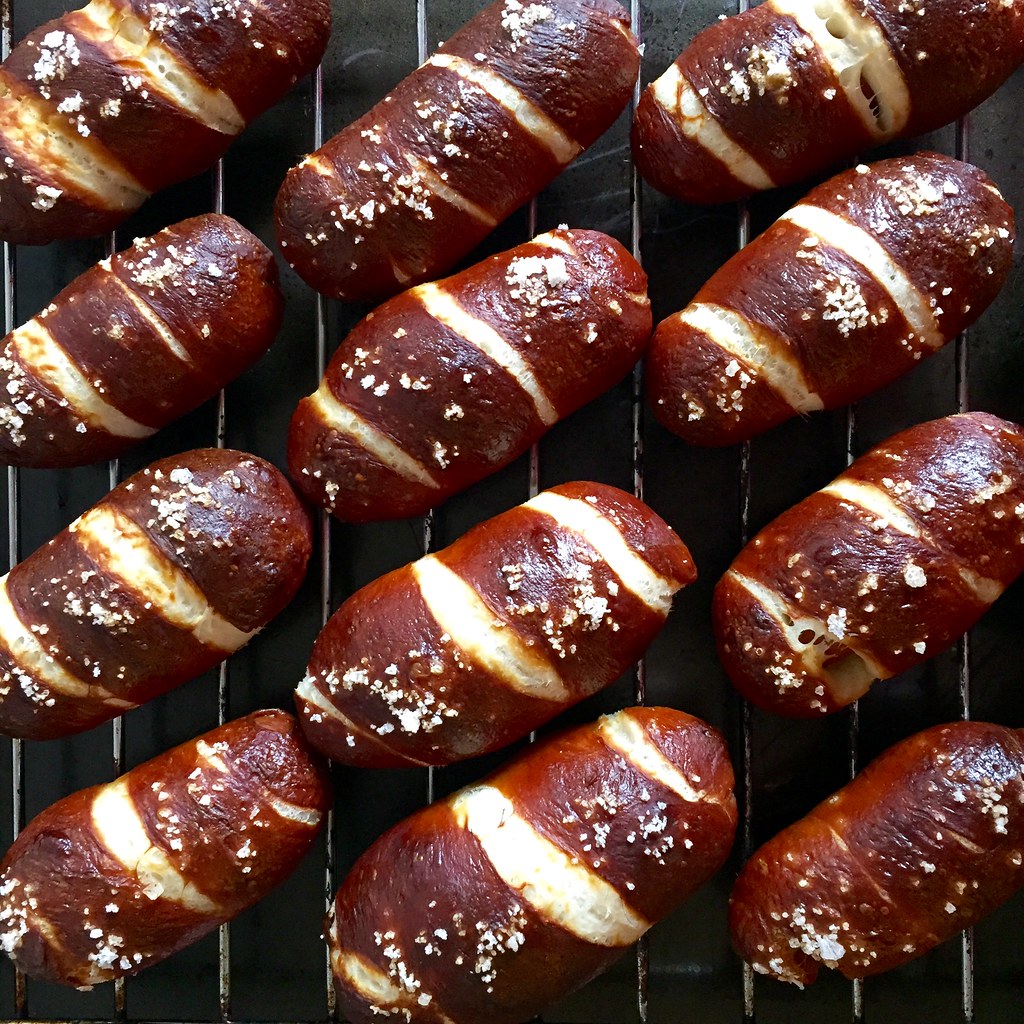
My church held their second annual Highrocktoberfest last week and asked me if I could provide some snacks again. Last year there was a competition for best cornbread, which I won with my Elote-Style Cornbread Waffles. This year there was no such competition; I was just told to make something that would go well with beer. Since I'm not a big beer drinker I wasn't really sure what that would be, but then I took inspiration from the fact that this was a riff on the German Oktoberfest. What could be more German than sausage and pretzel?
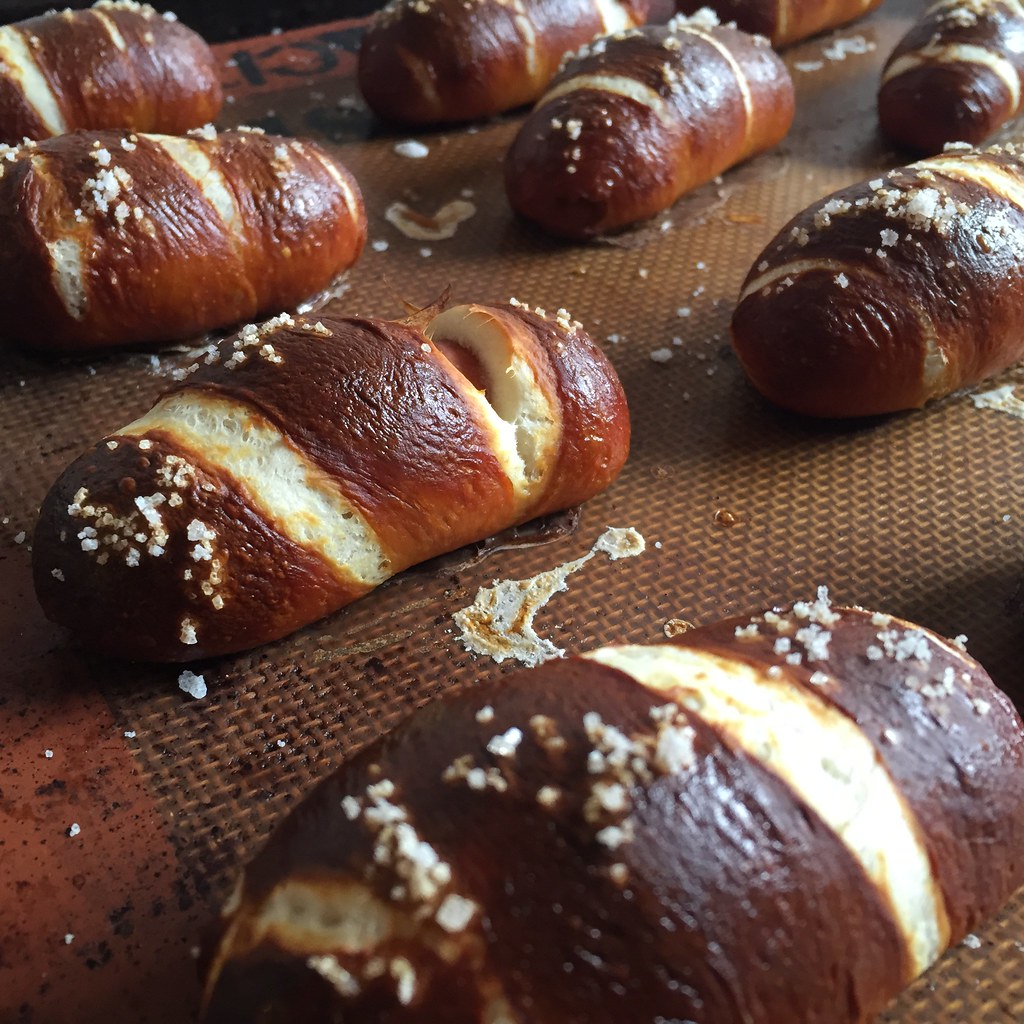
I pretty much followed Alton Brown's soft pretzel recipe but decided to skip the salt in the pretzel dough since the sausage would provide enough salt. I also threw in some diastatic malt powder since I had a lot left over from making croissants. You can use cocktail weiners for this, but I was able to find mini kielbasa sausages at my grocery store so I went with those. And instead of buying pretzel salt, I just used a flaky sea salt. I wouldn't suggest using regular table salt for the topping, and even regular kosher salt might be too fine.
Mini Homemade Pretzel Dogs
makes about 48 dogs
2 1/4 cups warm water (about 110-115°F)
1 1/2 tablespoons sugar
3 3/4 teaspoons active dry yeast
33 oz. (about 6 3/4 cups) all purpose flour
1 tablespoon diastatic malt powder (optional)
3 oz. butter, melted
48 cocktail weiners or mini sausages
2/3 cups baking soda
1 large egg
Pretzel or flaky sea salt
Mix the water and sugar in the bowl of a stand mixer, then sprinkle on the yeast. Let sit for about 5 minutes until foamy.
Add the flour, malt powder (if using), and melted butter and mix to combine on low using the dough hook. Once the dough comes together, adjust the speed to medium and knead for 5 minutes. Transfer to an oiled bowl, cover, and let rise in a warm spot until doubled, about an hour.
Preheat the oven to 450°F.
Divide the dough in half, then each half in half, each quarter in half, and each eighth in half. You'll end up with 16 pieces of dough. Divide each of these pieces into thirds so you end up with 48 pieces of dough. One at a time, roll the dough into a long snake about 9" long. Starting at one end, wrap the dough around a weiner until it is completely encapsulated, sealing the ends. If you have leftover dough, just pinch it off and reserve*.
In a large pot, mix the baking soda with 10 cups of water and bring to a boil. Working in batches, add the pretzel dogs to the boiling water and cook for 30 seconds. Remove with a slotted spoon and place on a parchment or Silpat-lined baking sheet, 1" apart from each other.
Beat the egg with a tablespoon of water. Brush each of the pretzel dogs with the egg wash and sprinkle with the salt. Bake for 10-12 minutes, until dark golden brown. Cool on a wire rack. Serve with honey mustard dip (recipe below).
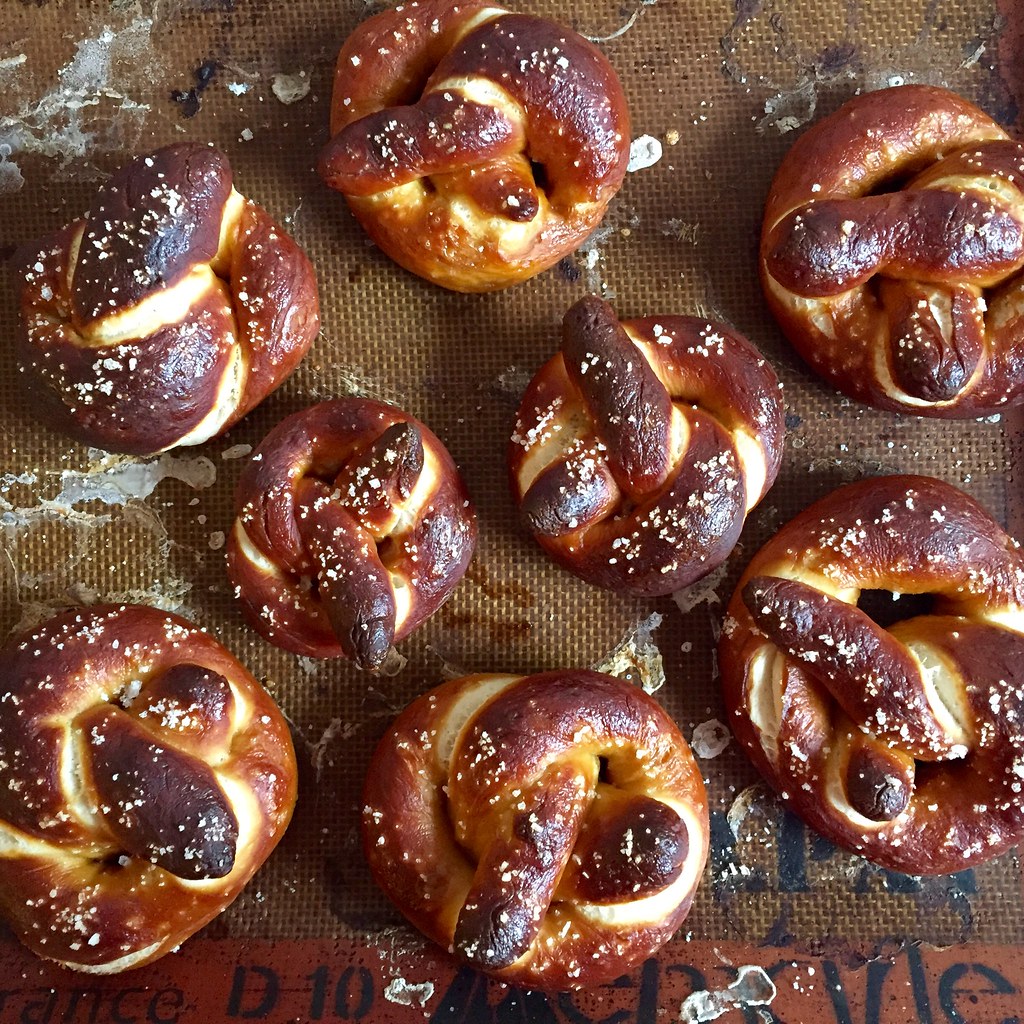
*If you have enough extra dough, you can try making some traditional pretzels!
Honey Mustard Dip
makes 1 1/2 cups
1 cup mayonnaise
1/4 cup mustard (I used a mix of yellow mustard and whole grain mustard)
1/4 cup honey
Mix together and serve with the pretzel dogs.
I made this dip to go with the pretzel dogs, but after all those were gone, they put out hard pretzels to snack on and it went really well with those too!
Next: Pad Thai
Previously: Pasta con le Sarde
Last Year: Mochi Donuts and Pon de Rings
Two Years Ago: Bahian Style Moqueca (Brazilian Fish Stew)
Three Years Ago: Magical Cold Brew Coffee
Friday, July 24, 2015
Pasta con le Sarde
I had the pleasure of joining my cousin in Italy again, this time on a 9 day trip to Sicily. We started in Palermo and made our way in a counter-clockwise tour of the island. One of my favorite stops was the geological formation known as Scala dei Turchi just to the west of Agrigento.
It looks like a milky-white set of steps rising out of the Mediterranean Sea, and it's completely free to explore. While I'm really glad I was able to climb it, I do hope that one day soon the government will decide to protect the area since it will likely become quite damaged from all the human activity. For more pictures of the trip, check out my Instagram feed.
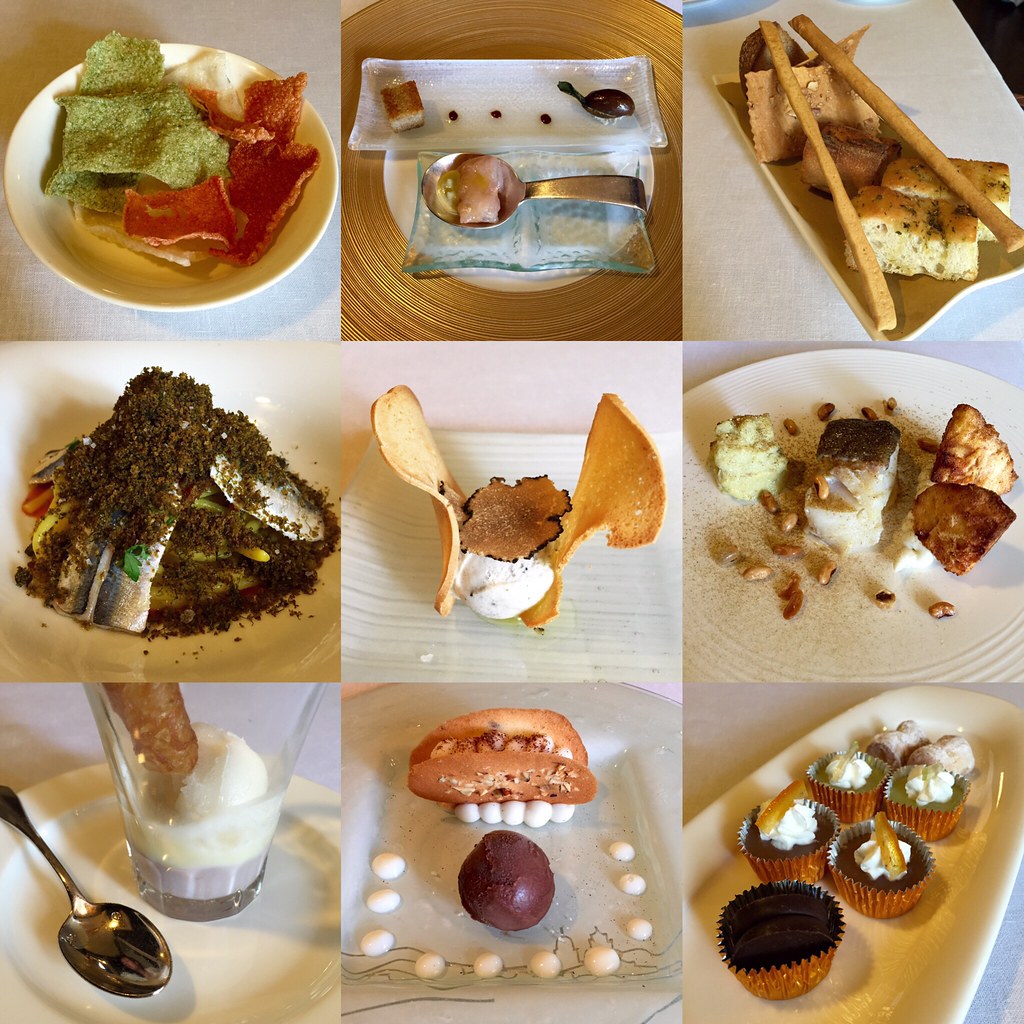
One of my other favorite stops was the UNESCO world heritage Baroque town of Ragusa. Not only is it absolutely lovely, it has some of the best restaurants on the island including the 2 Michelin-starred Ristorante Duomo. We were able to have a 7 course lunch there for only 45 euros (that's like $50 with the recent exchange rate)!
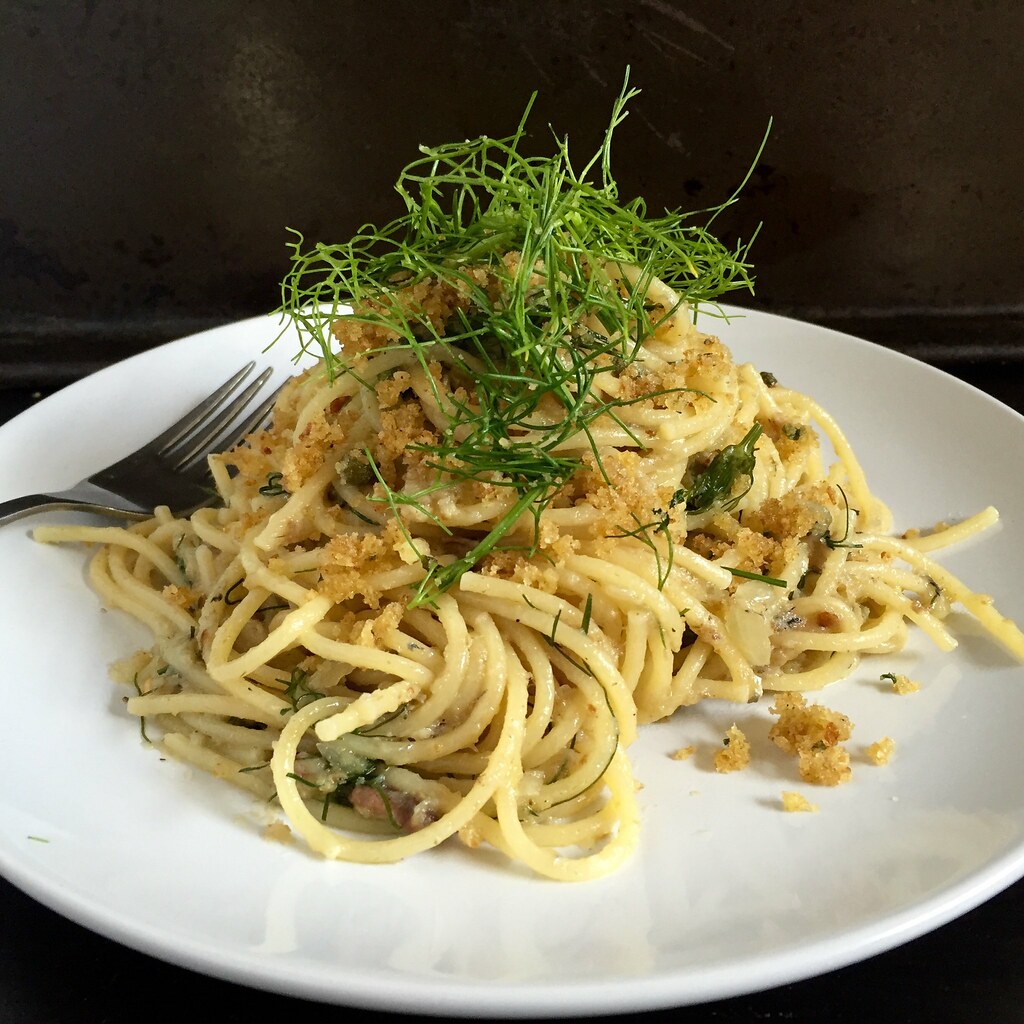
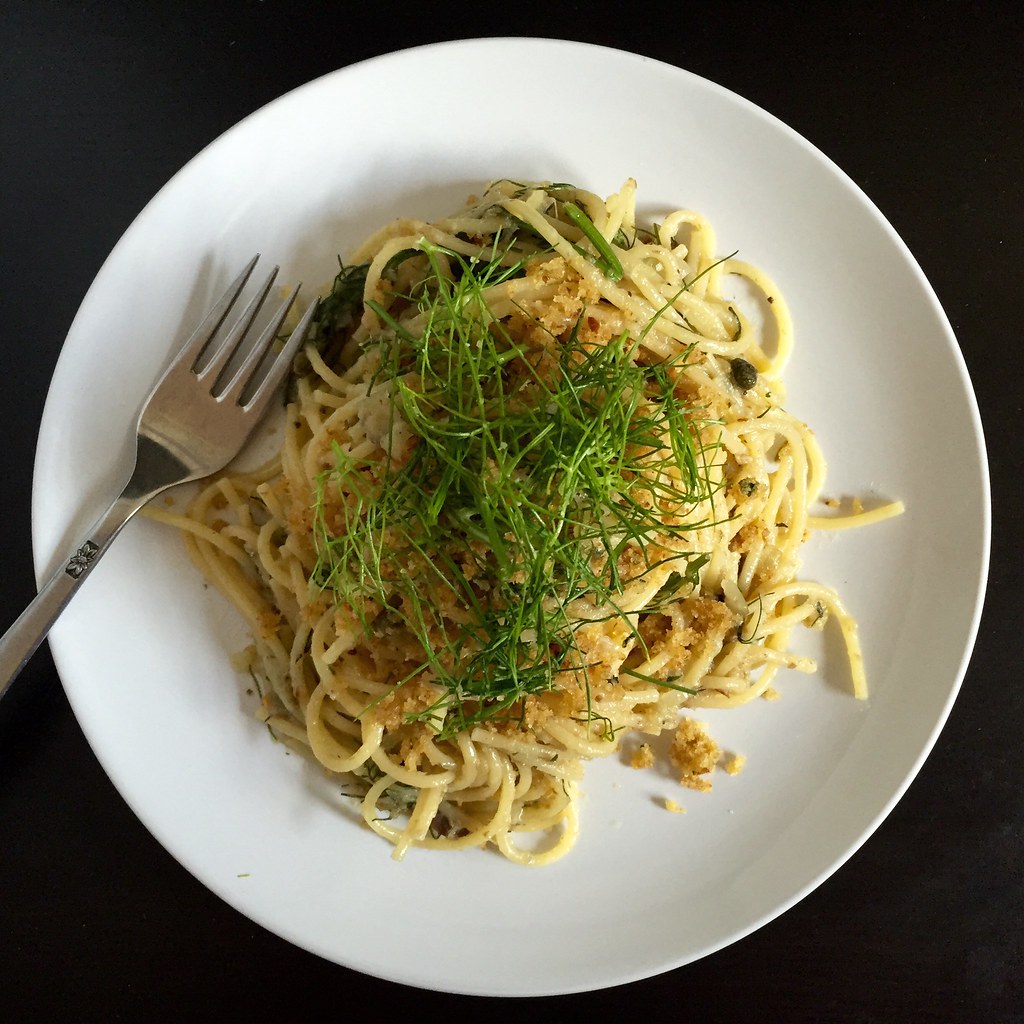
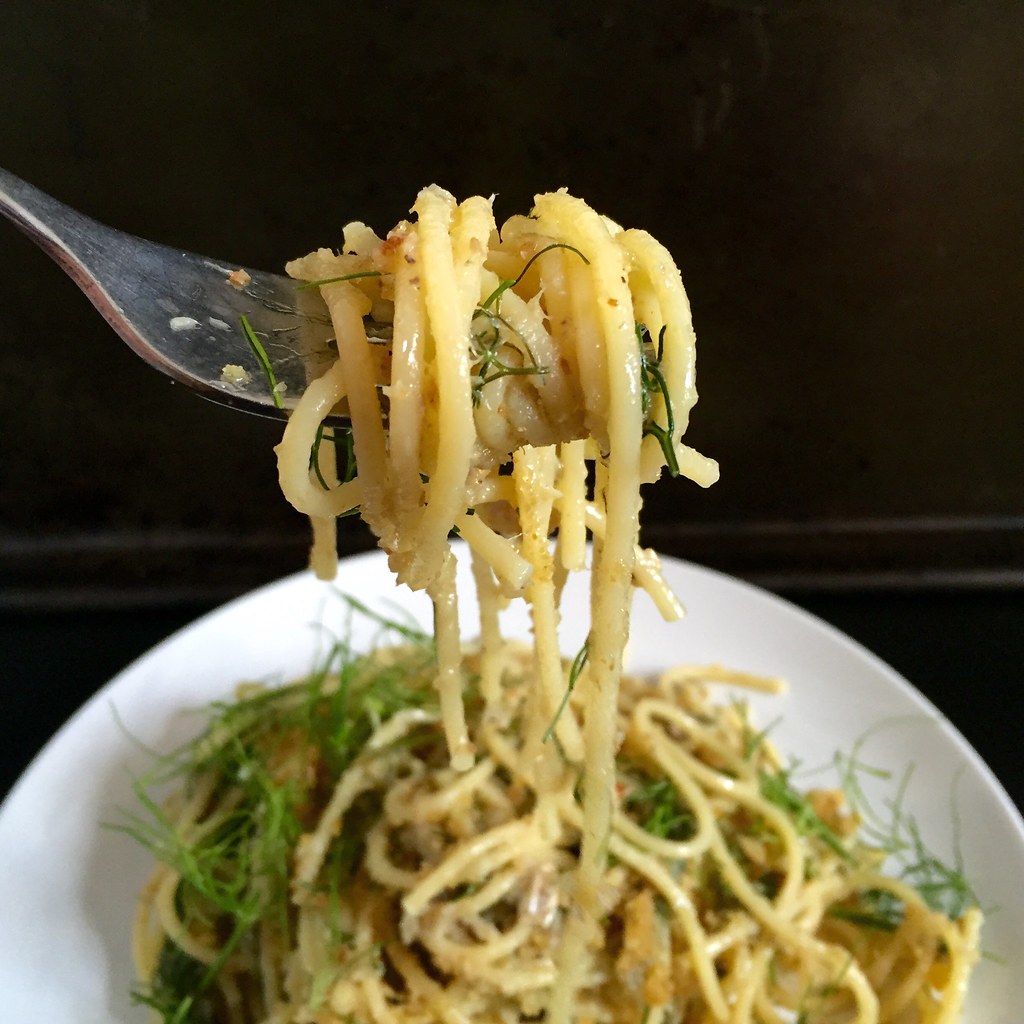
The pasta course was their take on a traditional Sicilian dish: pasta con le sarde. From what I remember the waiter saying, they used homemade saffron spaghetti with olive oil poached sardines and bread crumbs with wild fennel. The version I made uses dry spaghetti from a box and canned sardines, but it's still pretty good, especially if you like sardines.
Pasta con le Sarde (adapted from The New York Times Cooking)
serves 2
1/4 cup raisins
A pinch of red pepper flakes
1/3 cup dry white wine
1/4 cup olive oil plus 3 tablespoons
1 small fennel bulb, finely chopped, fronds chopped and reserved
1 small onion, finely chopped
1 garlic clove, minced
1 tablespoons butter
1/4 cup dry bread crumbs
2 cans sardines in oil
1/2 pound spaghetti or bucatini
1/4 cup pine nuts, toasted
2 tablespoons capers, rinsed
Kosher salt and freshly ground pepper, to taste
Combine the raisins, red pepper flakes, and wine in a small bowl and set aside.
In a heavy skillet, heat 1/4 cup of olive oil over medium-low heat. When hot, add the fennel bulb, onion, and garlic. Season with salt and cook, stirring occasionally, until the fennel is tender, about 25 minutes.
In the meantime, melt the butter in a small pan and add 1 tablespoon olive oil. Add the bread crumbs and cook until golden brown. Set aside.
Bring a large pot of salted water to a boil.
When the fennel mixture is ready, add the wine mixture and sardines, breaking them into pieces. Bring to a boil and gently simmer for 10 minutes.
Add the pasta to the boiling water and cook according to the instructions on the box until al dente. Strain and return the pasta to the pot set over low heat. Fold in the fennel-sardine mixture. Toss in the remaining 2 tablespoons of olive oil. Add 3/4 of the fennel fronts, the pine nuts, capers, and 1/4 of the bread crumbs. Season to taste with salt and pepper.
Divide the pasta among two plates and sprinkle the remaining bread crumbs and fennel fronds over each. Serve immediately.
Next: Mini Homemade Pretzel Dogs
Previously: Garlic Naan
Last Year: Cleveland Cassata Cake (Bonus: In a Jar!)
Two Years Ago: Backyard Mint Ice Cream with Dark Chocolate Freckles
Five Years Ago: Coconut Lime Sorbet
Six Years Ago: Curried Carrot Soup
Wednesday, June 10, 2015
Garlic Naan
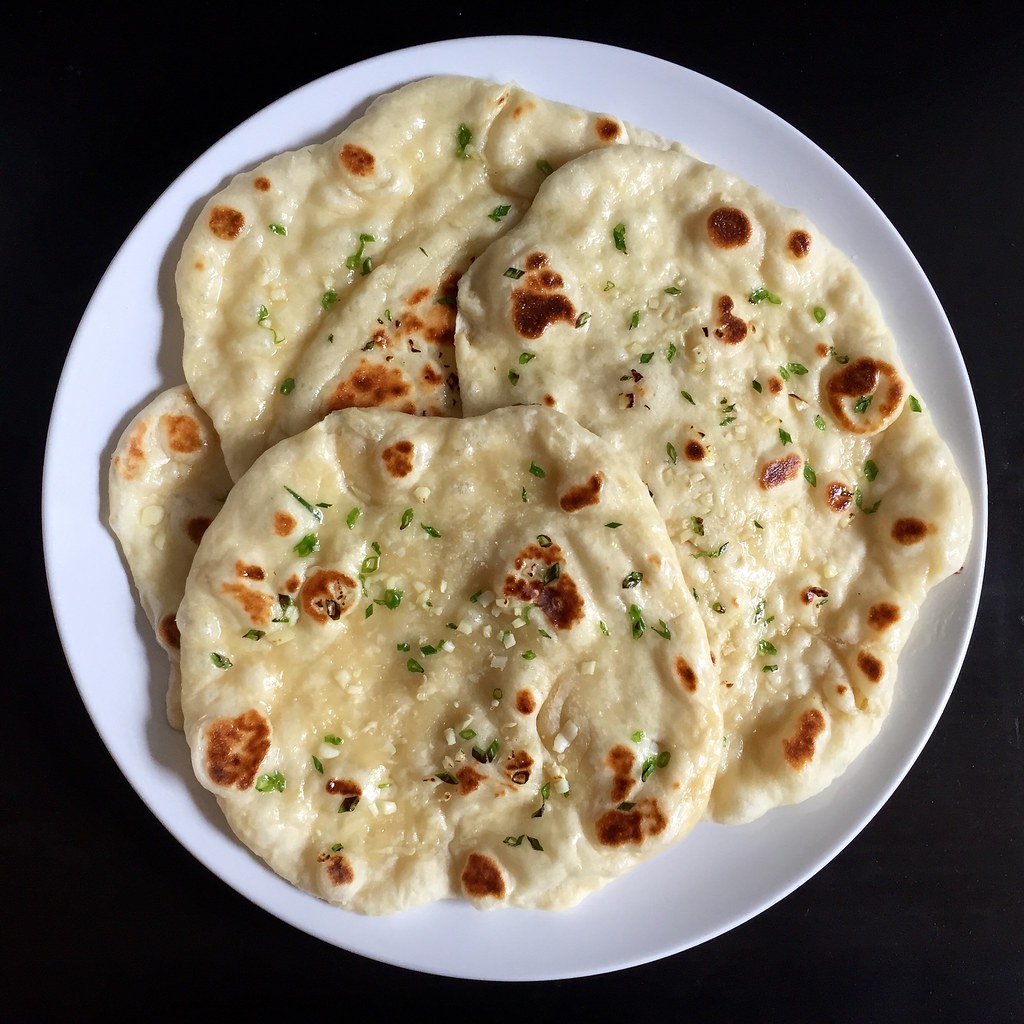
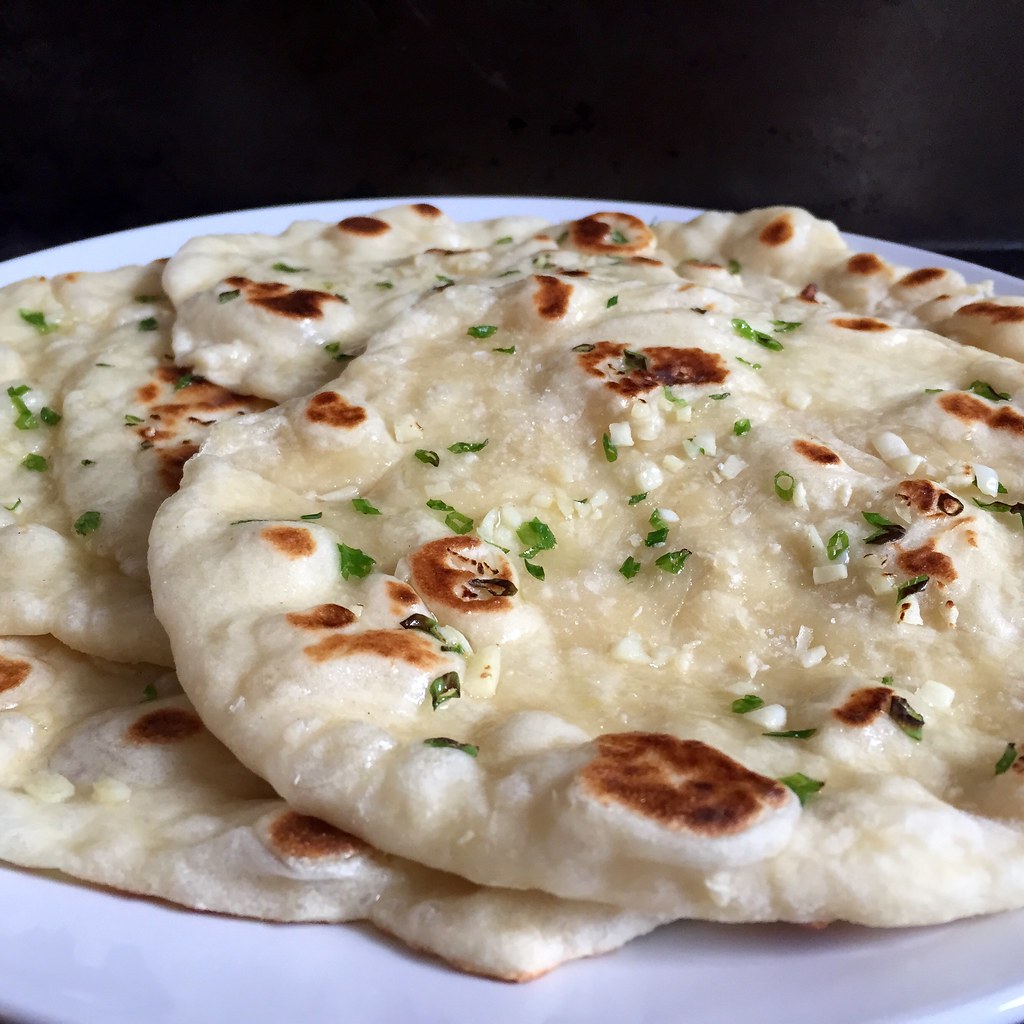
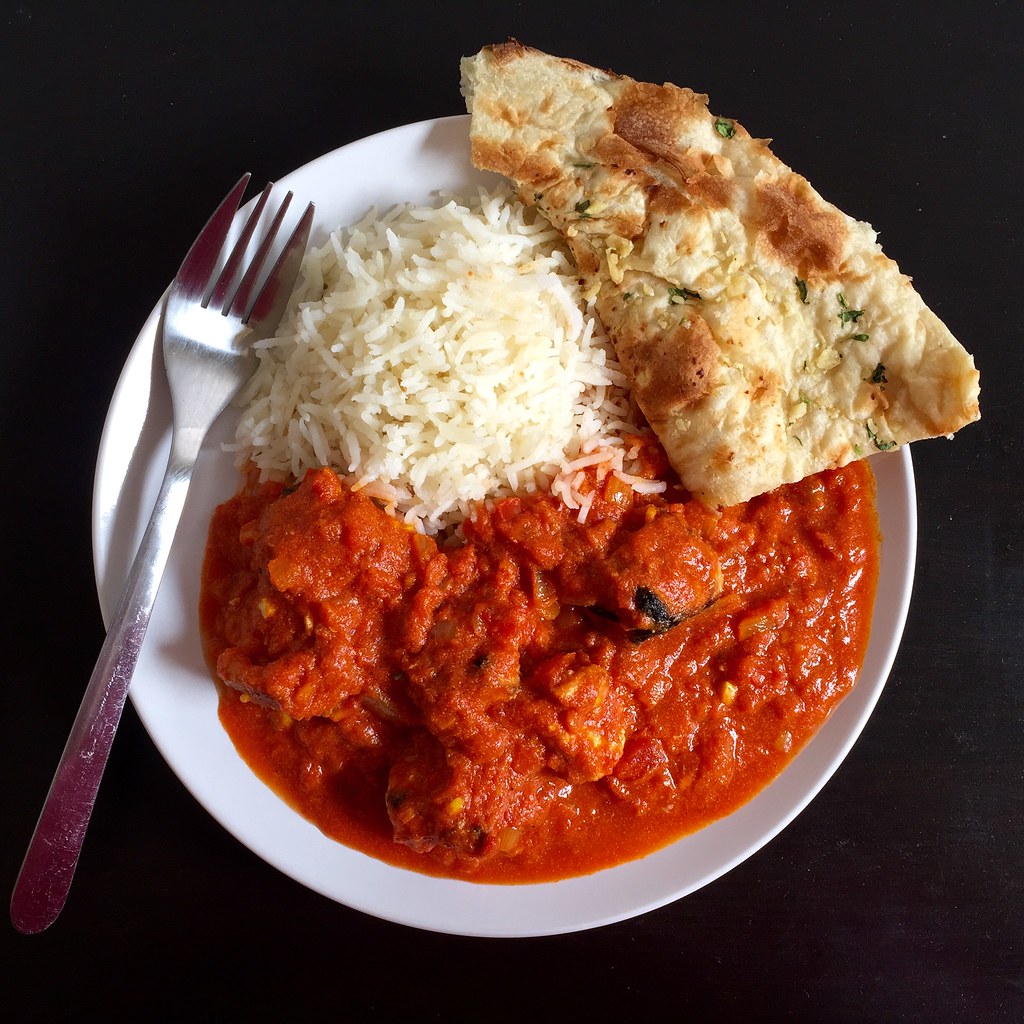
What's the point in making tikka masala if you don't have any naan to swipe up the leftover sauce? If I had known how easy it was to make naan on the stovetop, I would've made it a long time ago! Since I had some garlic and scallions lying around, I decided to make the garlic version, which let's face it, is so much better than the plain version.
I found the dough to be on the wetter side, so make sure you work it on a floured surface and use a floured rolling pin or else it'll end up sticking everywhere and to everything. Sadly, naan does not keep well so I would suggest eating it the same day it is made.
Garlic Naan (adapted from Saveur)
makes 4 pieces
6 tablespoons water heated to 115°F
1/2 teaspoon honey
1 heaping teaspoon active dry yeast
1 cup all-purpose flour
1⁄4 cup plain, full-fat Greek yogurt
1 tablespoon canola oil
1⁄4 teaspoon kosher salt, plus more for sprinkling
1 tablespoon minced garlic
1 tablespoon chopped scallions
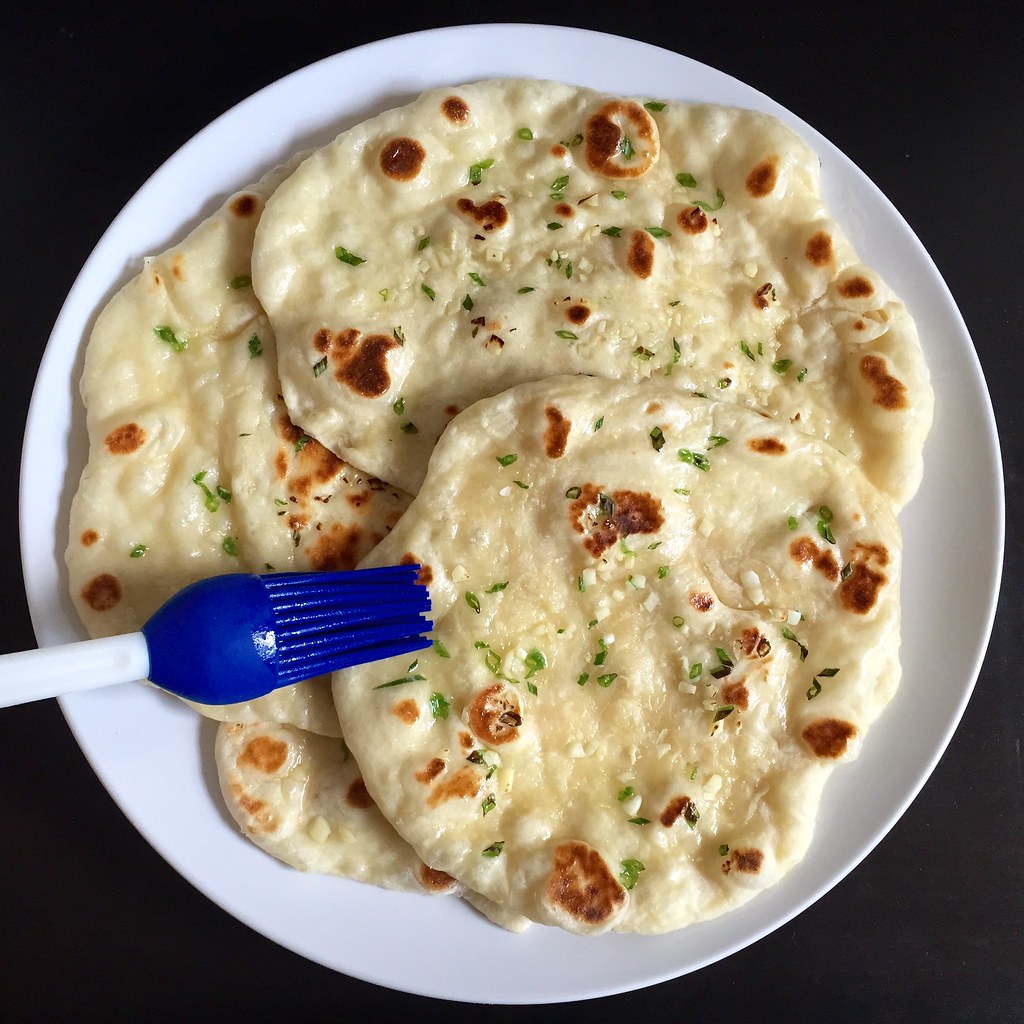
Melted ghee or butter, for brushing
Stir water and honey in a bowl. Add the yeast and let sit until foamy. Add the flour, yogurt, oil, and salt and stir until dough forms. Knead the dough in bowl until smooth, about 5 minutes. Cover and let sit in a warm place until doubled in size, about 1 hour.
Transfer dough to a floured work surface and divide into 4 balls. Working with 1 ball at a time and using a rolling pin, roll dough into a 7" circle about 1⁄4" thick. Sprinkle with garlic and scallions and press into dough.
Heat a 12" nonstick skillet over medium-high. Working with 1 piece dough at a time, cook dough, plain side down, until bubbles appear over the surface and brown spots appear on the bottom, about a minute. Flip the dough and cook until the bottom gets browned in spots as well. Transfer naan to a plate and brush with ghee. Sprinkle with more kosher salt and serve hot.
Next: Pasta con le Sarde
Previously: Tofu Tikka Masala
Last Year: Vegan Almond Joy Ice Cream and Bon Bons
Two Years Ago: Spaghetti Carbonara for One
Five Years Ago: Elote (Mexican Grilled Corn)
Six Years Ago: Black Sesame Ice Cream
Monday, June 8, 2015
Tofu Tikka Masala
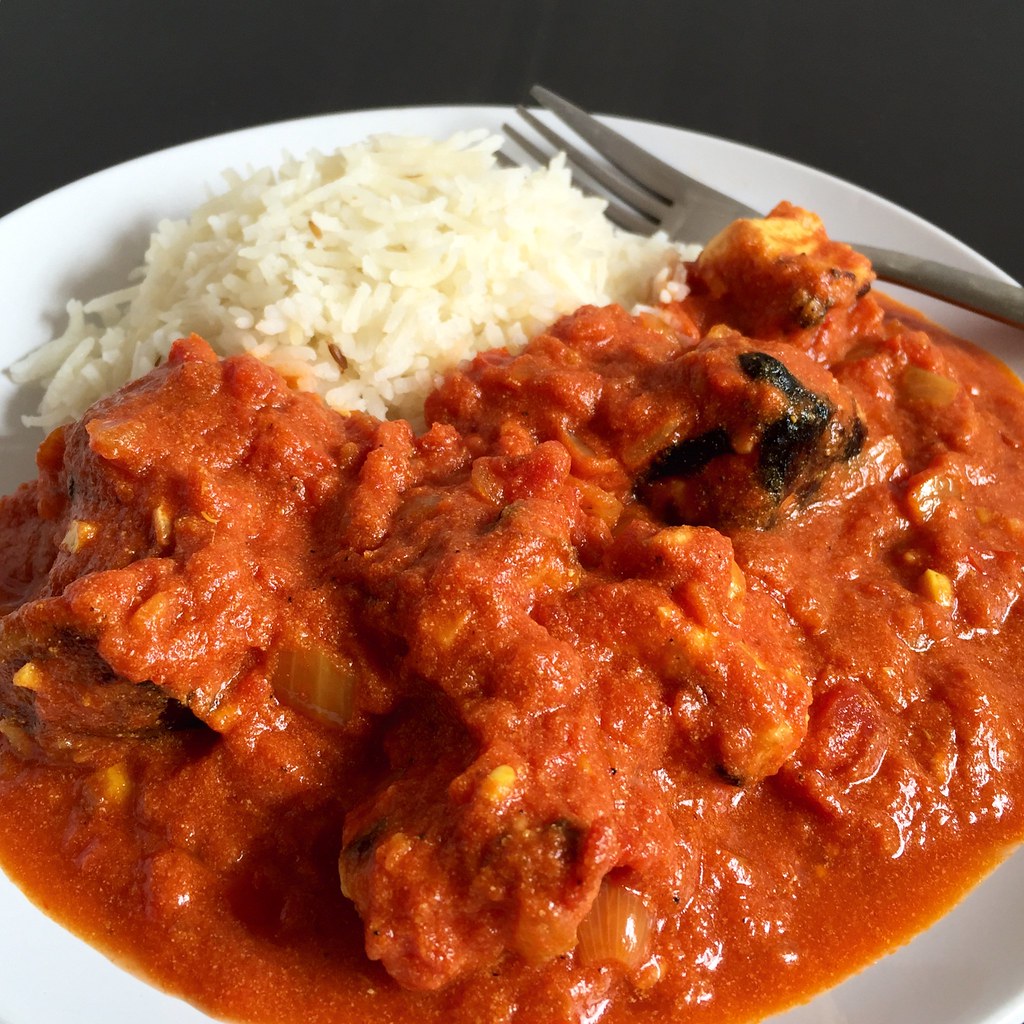
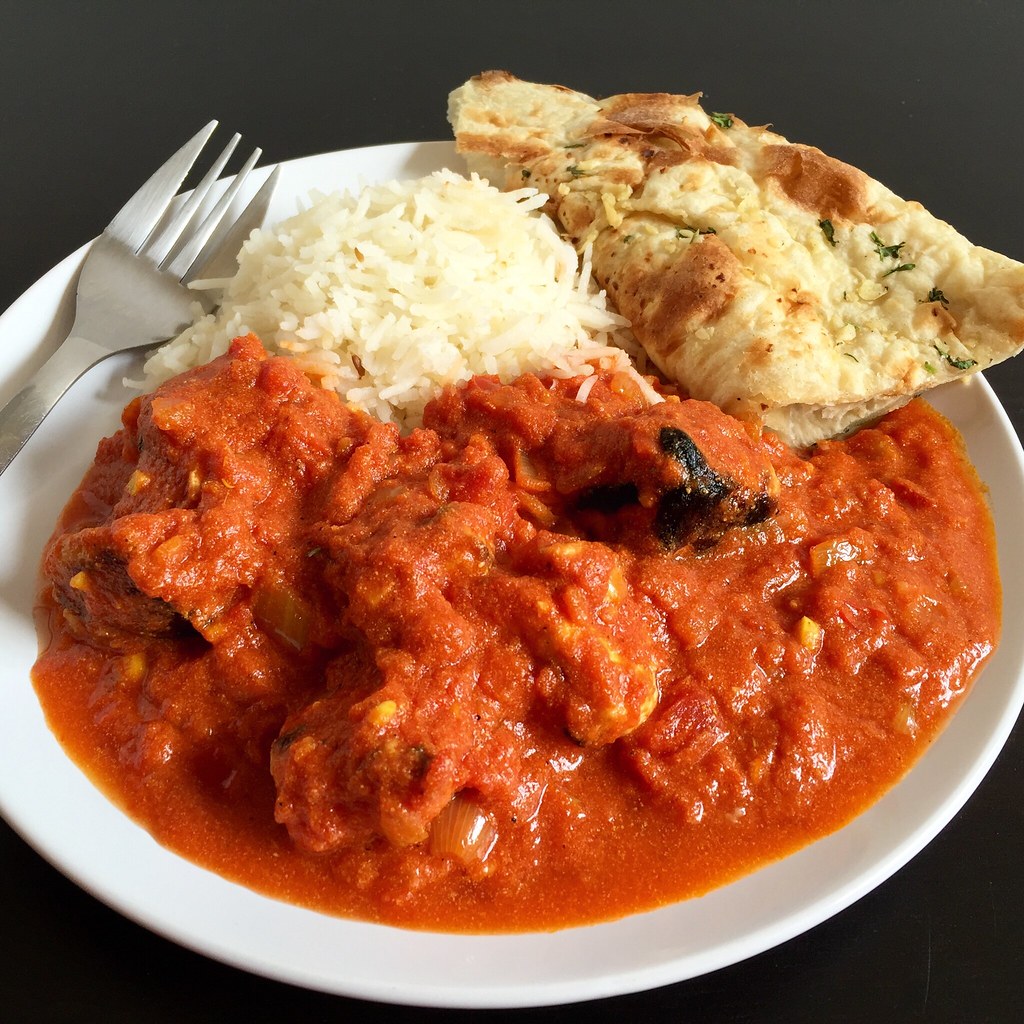
The Food52 recipe is itself adapted from the Cook's Illustrated chicken tikka masala recipe. I love that America's Test Kitchen took this exotic dish and made it accessible to the typical American home. All the ingredients are easily found at just about any grocery store, and you don't even need a tandoor to cook the tofu, just your broiler and a wire rack set over a rimmed baking sheet. I'd recommend spraying the wire racks with cooking spray beforehand so that they're easier to clean after.
I think I like the tofu version even more because I used to find the chicken kind of dry. The tofu stays moist and is packed full of flavor from the spice rub and yogurt dip. For these pictures, I followed the Food52 version and used half and half, but in the recipe below I changed it back to heavy cream like it says in the Cook's Illustrated version because I like my sauce a little creamier. I also left out the cilantro since I hate the herb, but if it's your thing, definitely add some as a garnish at the end.
Tofu Tikka Masala (lightly adapted from Food52)
serves 4
For the tofu:
14 oz. extra-firm tofu, drained
1/2 tablespoon fresh ginger, minced
3 teaspoons garlic, minced
2 tablespoons vegetable oil
1 cup Greek yogurt
1/2 teaspoon ground coriander
1/2 teaspoon ground cumin
1 teaspoon salt
1/4 teaspoon cayenne pepper
Pat the tofu dry and slice into 3/4" slabs. In large bowl, whisk together the ginger, garlic, oil, and yogurt; set aside.
Combine the coriander, cumin, salt, and cayenne in small bowl. Coat all sides of the tofu slabs with the spice mixture. Set aside while you start making the masala sauce.
For the masala:
3 tablespoons vegetable oil
1 1/4 cups onion, diced
2 teaspoons fresh ginger, minced
3 teaspoons garlic, minced
1 tablespoon garam masala
1 tablespoon tomato paste
1/2 teaspoon salt, plus more to taste
2 teaspoons sugar
28 oz. can crushed tomatoes
2/3 cup heavy cream
Heat oil in large Dutch oven over medium heat until shimmering. Add the onion and cook, stirring frequently, until light golden, 8 to 10 minutes.
Add the ginger, garlic, tomato paste, and garam masala; cook, stirring frequently, until fragrant, about 3 minutes.
Add the salt, sugar, and crushed tomatoes and bring to boil. Reduce heat to medium-low, cover, and simmer for 15 minutes, stirring occasionally. Stir in cream and return to simmer. Remove from heat and cover to keep warm.
While sauce simmers, adjust oven rack to upper-middle position (about 6 inches from heating element) and turn on the broiler. Dip the tofu into the yogurt mixture (tofu should be coated with thick layer of yogurt) and arrange on an oiled wire rack set in a foil-lined rimmed baking sheet or broiler pan. Discard excess yogurt mixture. Broil tofu for 12-15 minutes, flipping halfway through cooking.
Cut the tofu into chunks and stir into the warm sauce (do not simmer tofu in sauce). Adjust seasoning with salt, and serve with basmati rice and/or naan.
Next: Garlic Naan
Previously: Drunken Noodles (Pad Kee Mao) with Tofu
Last Year: Homemade Ginger Beer
Two Years Ago: Rosemary Honey and Lemon Frozen Yogurt
Five Years Ago: Homemade Dulce de Leche and Dulce de Leche Ice Cream
Six Years Ago: Butter Mochi Cupcakes
Wednesday, May 20, 2015
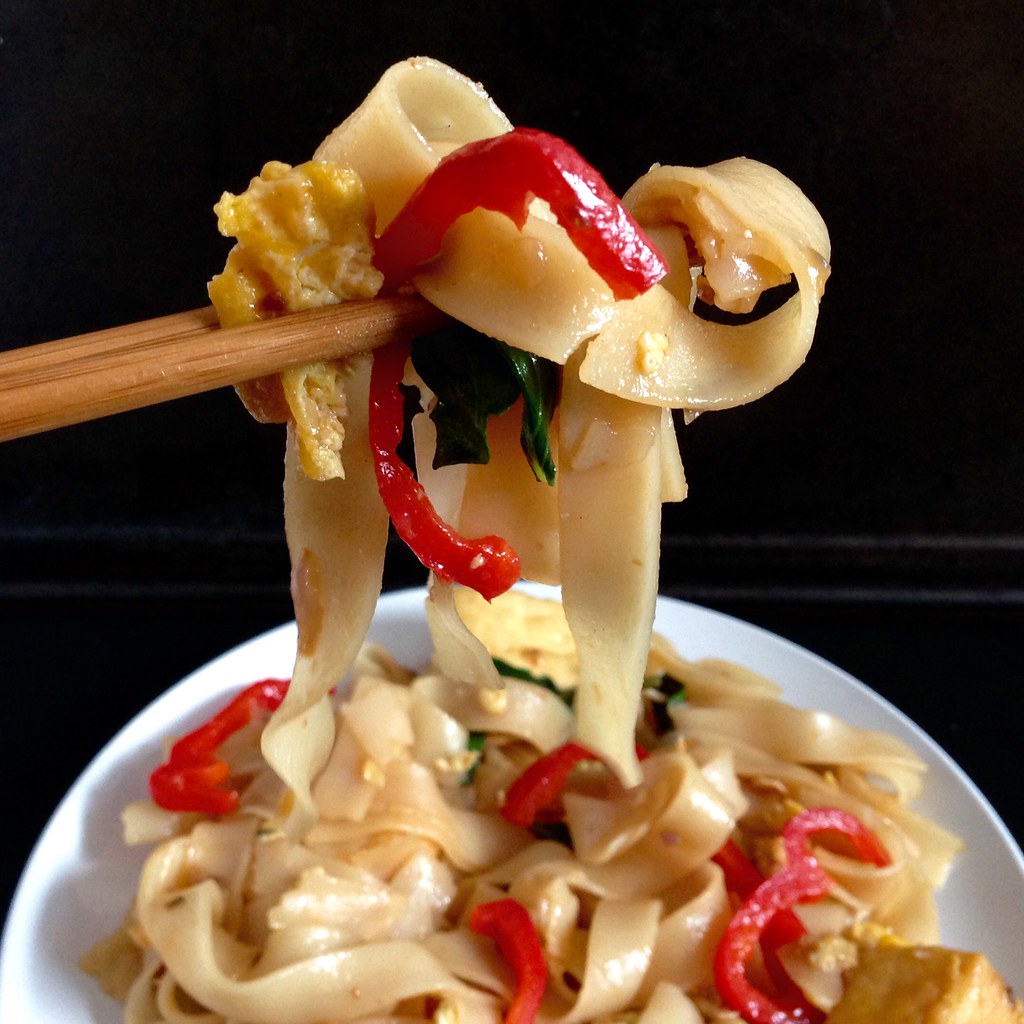
Drunken Noodles (Pad Kee Mao) with Tofu
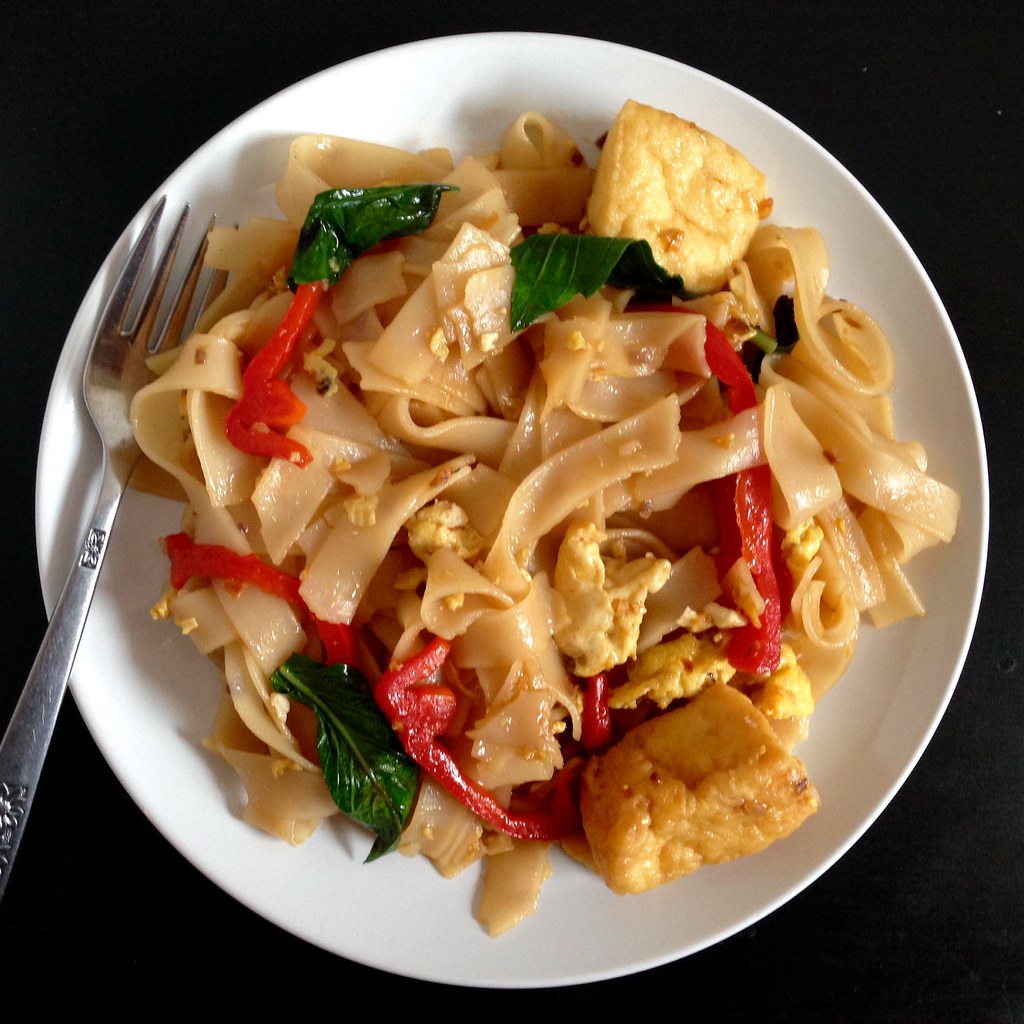
When I go to a Thai restaurant I usually order pad see ew or pad woon sen, but every once in a while I'm in the mood for something a little spicier, and for that I turn to drunken noodles, or pad kee mao. According to the menu at my favorite Thai restaurant, Pepper Sky's, drunken noodles were "originally stir-fried by a singing drunkard to starve [sic] off midnight hunger. Ingredients previously thought to be incompatible were tossed into the wok, and voila[!] Drunken noodle."
Sadly, Pepper Sky's is currently closed for renovations, so I decided to try making the dish myself. I pretty much followed this recipe from Food52 except I added some sugar to the sauce since I prefer my drunken noodles slightly sweet. I also increased the amount of egg since I wasn't adding any shrimp. I wasn't able to find rice flake noodles, so I used the widest rice noodles I could find. If you can find fresh wide rice noodles, I would suggest using those and skipping the soaking step.
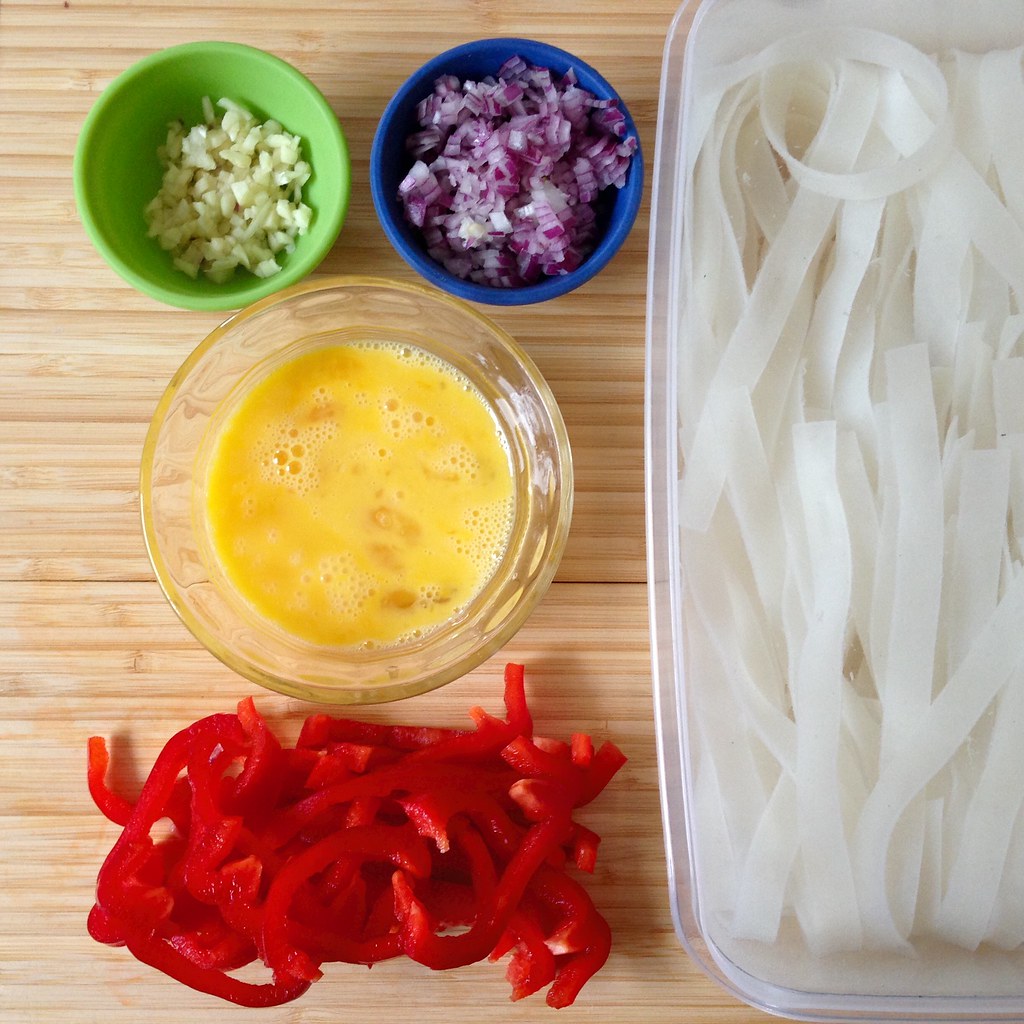
This is one of those recipes where you want to make sure you have all the vegetables minced and chopped before you start cooking since it comes together pretty quickly. Feel free to add other vegetables; I'm used to seeing tomato slices, baby corn, bamboo shoots, carrots, string beans, and zucchini in the drunken noodles I get at Thai restaurants.
Drunken Noodles (Pad Kee Mao) with Tofu (adapted from Lollipopsicle by way of Food52)
serves 3
7 oz. wide rice stick noodles
2 tablespoons hoisin or soy paste (if using soy paste, add a teaspoon of sugar)
2 tablespoons soy sauce
1 tablespoon oyster sauce
1-3 teaspoons sriracha, depending on how hot you want it
2 tablespoons fish sauce
3 tablespoons vegetable oil
3 garlic cloves, minced
1 shallot or 1/2 red onion, minced
3 eggs, lightly beaten
5 oz. fried tofu
1 red bell pepper, diced
A large handful of Thai basil leaves
Place the rice stick noodles in a wide container and pour enough boiling water over the noodles to cover them by an inch. Stir the noodles periodically so that they don't stick together. Check them after 10 minutes to see if they are pliable and continue to soak until they are. You may have to add additional hot water. When the rice noodles are pliable but not mushy, drain. Try to time this so that the noodles are ready just in time to be added to the skillet.
Mix together the hoisin (or soy paste and sugar), soy sauce, oyster sauce, sriracha, and fish sauce in a small bowl.
Heat a large skillet over medium high heat and add the vegetable oil. Add the minced garlic and shallot and stir fry until golden brown. Move the garlic and shallots to the sides of the pan and add the eggs to the middle. Scramble the eggs until just set and add the fried tofu, sliced bell pepper, and any other vegetables you might be using. Stir fry for a couple of minutes, then add the drained noodles and the sauce. Stir fry for 5 minutes, then add the basil and cook for another couple of minutes until some of the noodles are starting to get brown and crispy. Serve hot.
Next: Tofu Tikka Masala
Previously: Taiwanese Oyster Omelet (Without the Oysters)
Six Years Ago: Zuni Cafe Ricotta Gnocchi with Browned Butter and Sage
Monday, May 18, 2015
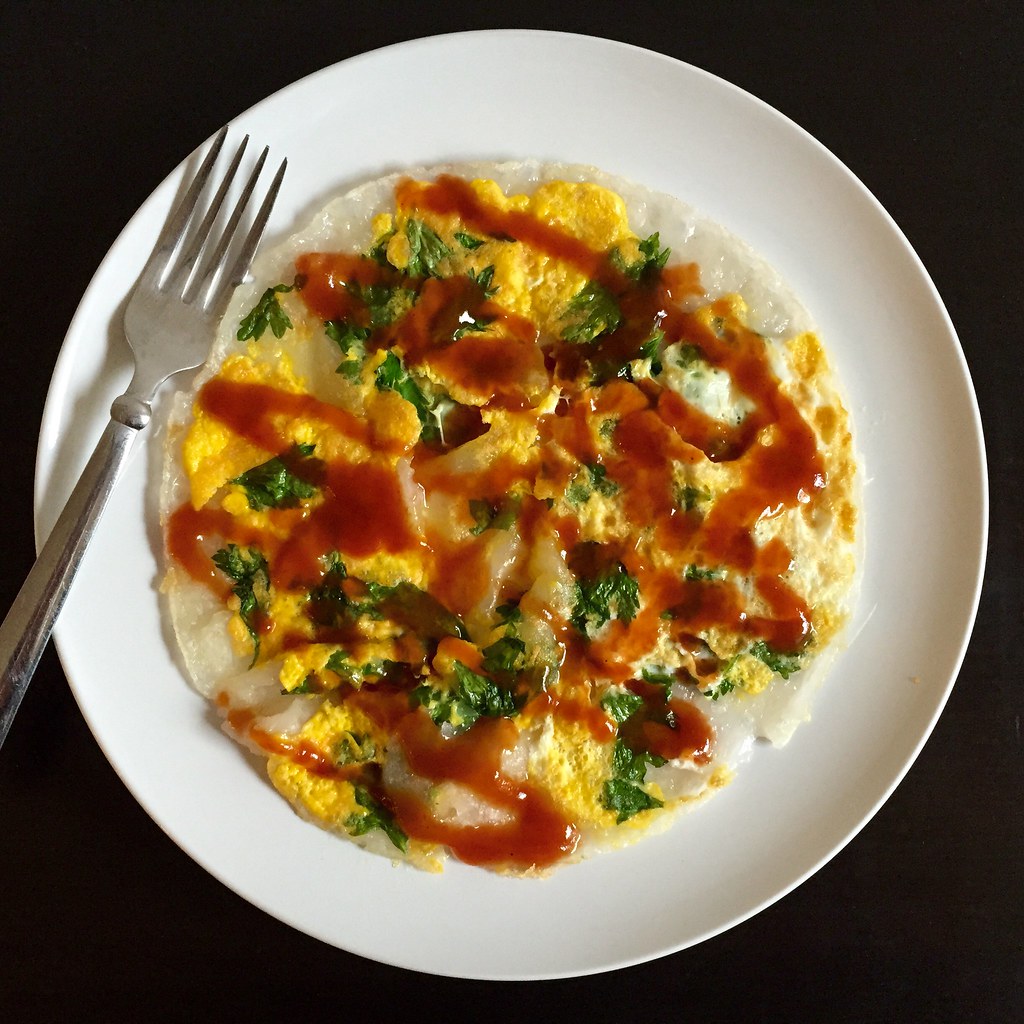
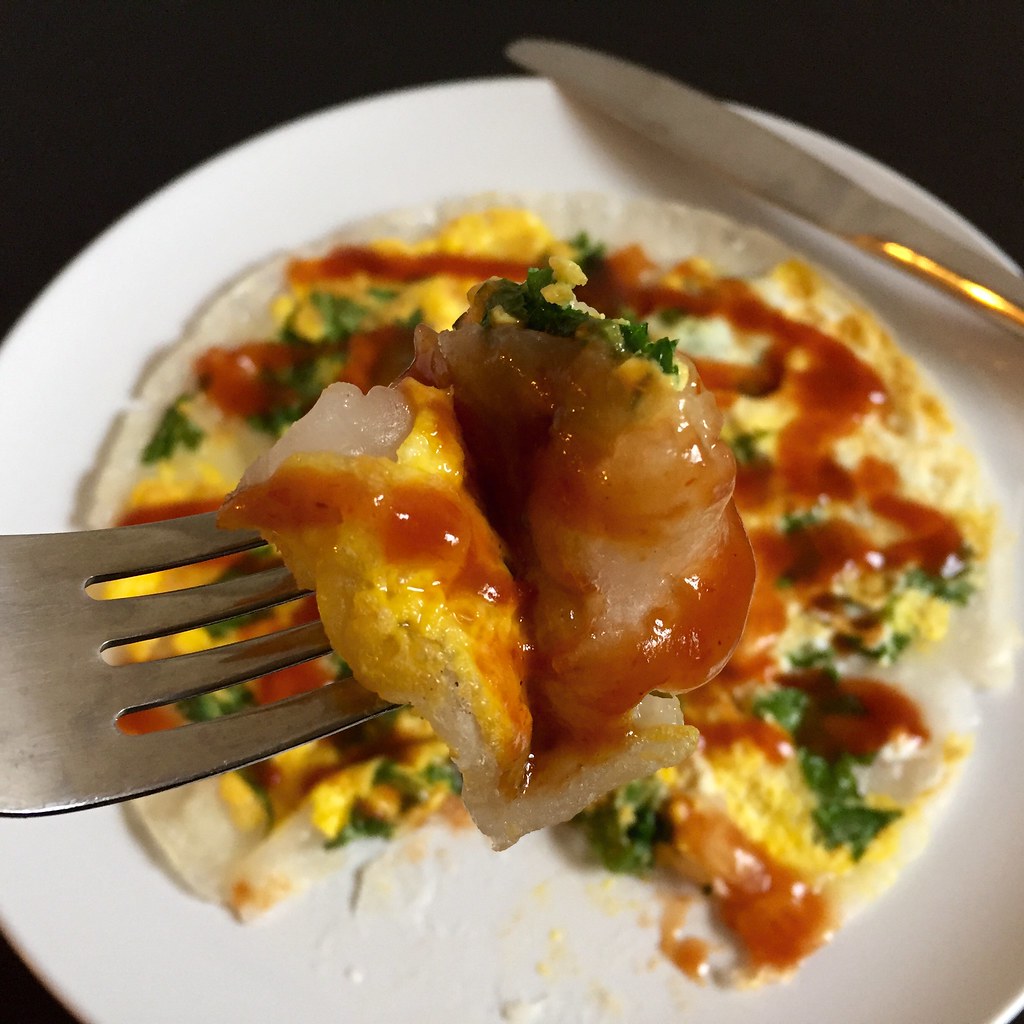
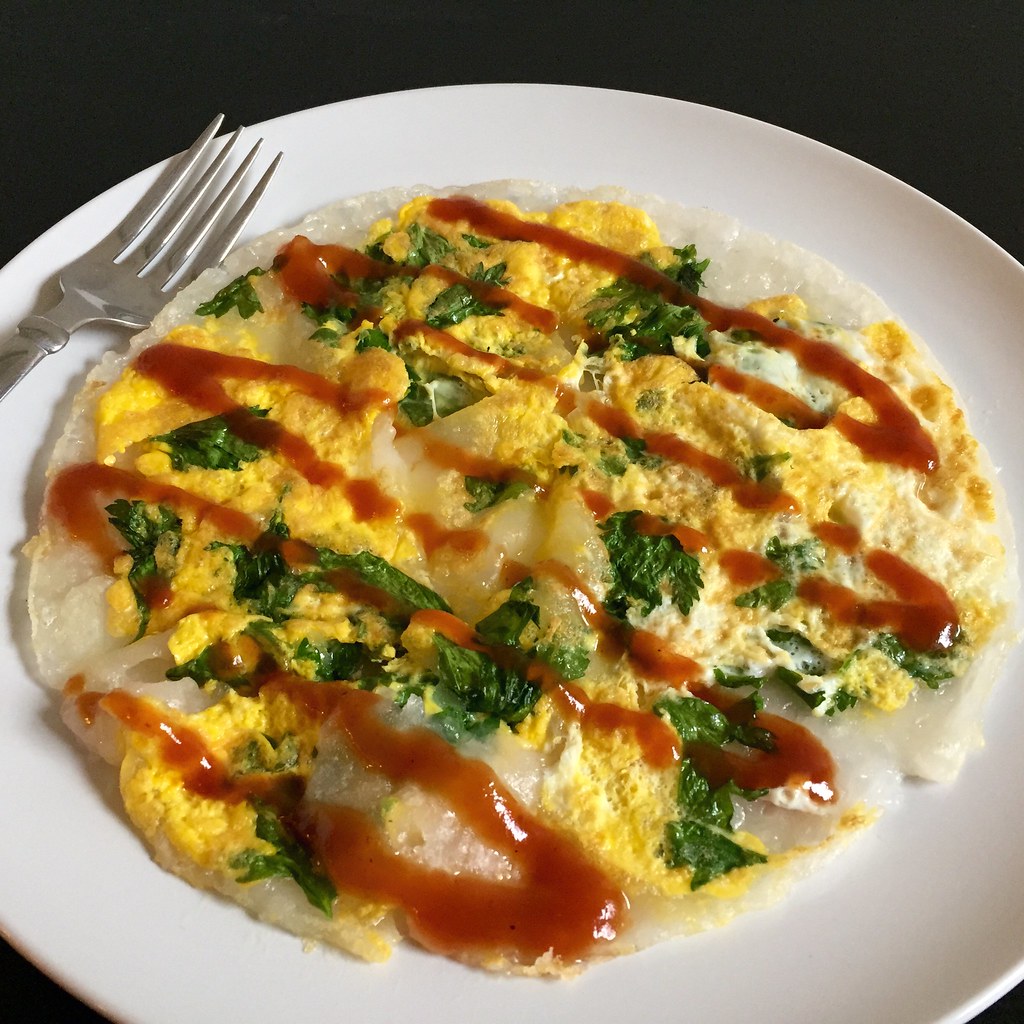
Taiwanese Oyster Omelet (Without the Oysters)
I know, I know, it's almost blasphemy to make 蚵仔煎 (pronounced "uh-ah-jian" in Taiwanese) without the oysters, but honestly, the oysters are my least favorite part of this dish. I love the blend of crispy and gelatinous textures from the sweet potato flour batter, the fried egg that holds it all together, and the tangy red sauce that smothers it all, but the chewy, cooked oysters just get in my way.
For this recipe I combined the omelet from Tiny Urban Kitchen and the red sauce from Serious Eats. The sauce was so spot on that when I took my first bite, I totally thought I tasted an oyster in there and was pleasantly confused. If you want to make this with oysters, use 3-4 small, shucked oysters for each pancake and either add them to the hot pan before the batter for a minute or two or mix them in with the batter before cooking, depending on how cooked you want them.
As a word of caution, the batter made from sweet potato flour (which you should be able to find at an Asian grocery store) will be one of the stickiest things you've ever worked with once it starts cooking. Make sure you use a non-stick or thoroughly seasoned pan, and even then, I would suggest using a generous amount of oil to make sure it doesn't stick.
Taiwanese Oyster Omelet (Without the Oysters) (adapted from Tiny Urban Kitchen and Serious Eats)
makes 1 omelet
For the red sauce (makes enough for several omelets):
1/4 cup ketchup
1/4 cup rice vinegar
1 tablespoon sugar
1 tablespoon soy sauce
1/2 teaspoon miso
1 1/2 teaspoons cornstarch
1/2 cup cold water
For the omelet:
1/4 cup sweet potato flour
Pinch of kosher salt
Dash of white pepper
1/2 cup water
Vegetable oil
A small handful of celery leaves (or other leafy greens like baby spinach or bok choy)
1 egg, lightly beaten
To make the sauce, combine the ketchup, vinegar, sugar, soy sauce, and miso in a small saucepan over medium heat. Simmer for a couple of minutes until the sugar dissolves.
Mix the cornstarch and water to make a slurry and add to the saucepan. Stir until thickened, another couple of minutes, and then cool to room temperature.
To make the omelet, mix the sweet potato flour, salt, white pepper, and water into a smooth batter. Heat a non-stick or thoroughly seasoned pan over high heat. Add enough oil to cover the bottom of the pan generously, not enough to deep fry but enough that there is a visible layer of oil all over.
Pour the batter into the pan, and lower the heat to medium. Once the top of the batter is set, add the leaves, continue to cook for another minute, and then add the egg. Use a spatula to start testing the edge of the omelet to see if the bottom is cooked and releasing from the pan. When the bottom has released and the egg is mostly set, flip the omelet over and turn off the heat. The residual heat from the pan should be enough to finish cooking the egg.
Invert the omelet onto a plate and drizzle a generous amount of red sauce on top. Serve hot.
It's kind of freakish how intact my omelets ended up; I'm used to them being pretty mangled blobs of gelatinous messes. In fact, the picture above was a little too perfect so I ended up drizzling more sauce on top just to make it messier, which is how I ended up with the top picture. It's also more representative of how much sauce you want on the omelet.
Next: Drunken Noodles (Pad Kee Mao) with Tofu
Previously: Scoglio all'Andiamo (Saffron Fettuccine with Seafood in a Lemon Garlic White Wine Sauce)
Last Year: Serendipitous Chocolate Chip Cookies
Six Years Ago: Red Bean and Black Sesame Ice Cream
Monday, May 11, 2015
Scoglio all'Andiamo (Saffron Fettuccine with Seafood in a Lemon Garlic White Wine Sauce)
Last year I was lucky enough to win two nights at a Marriott resort of my choosing in the Caribbean through an Instagram contest. At first I considered going to St. Kitts & Nevis since I had never been before, but the airfare was outrageous, so I ended up choosing to go back to Grand Cayman. I used my points to stay an extra two nights at the Ritz Carlton and brought along two girlfriends.
I was sad to find out that the Periwinkle restaurant at the Ritz was gone because I had the best truffle fries of my life there a few years ago, but when I found out that the Italian restaurant that had replaced it, Andiamo, had the truffle parmesan fries on their menu, I insisted that we go there for our last dinner on the island.
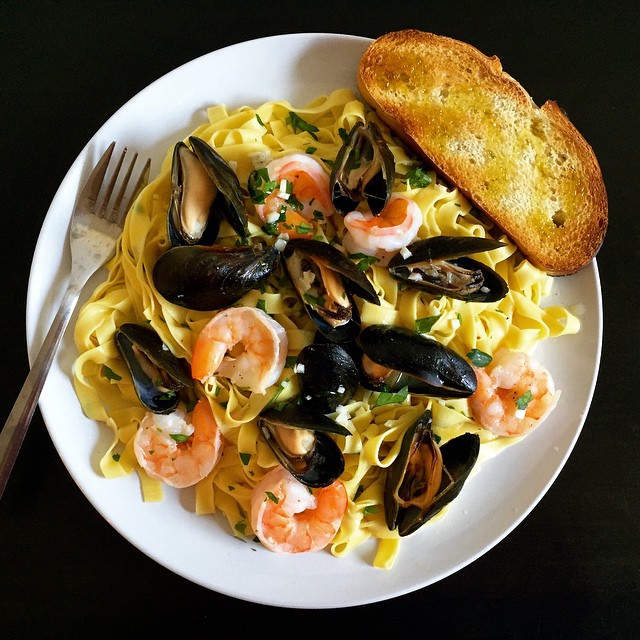
The fries were as good--if not better--than I remember them being, but I was also really impressed with their version of pasta allo scoglio, also known as pasta ai frutti di mare. Scoglio means "rocky seashore" in Italian, and all types of seafood can be used in this dish. Shrimp and mussels were on sale, so that's what I used, but clams, scallops, and calamari would also work.
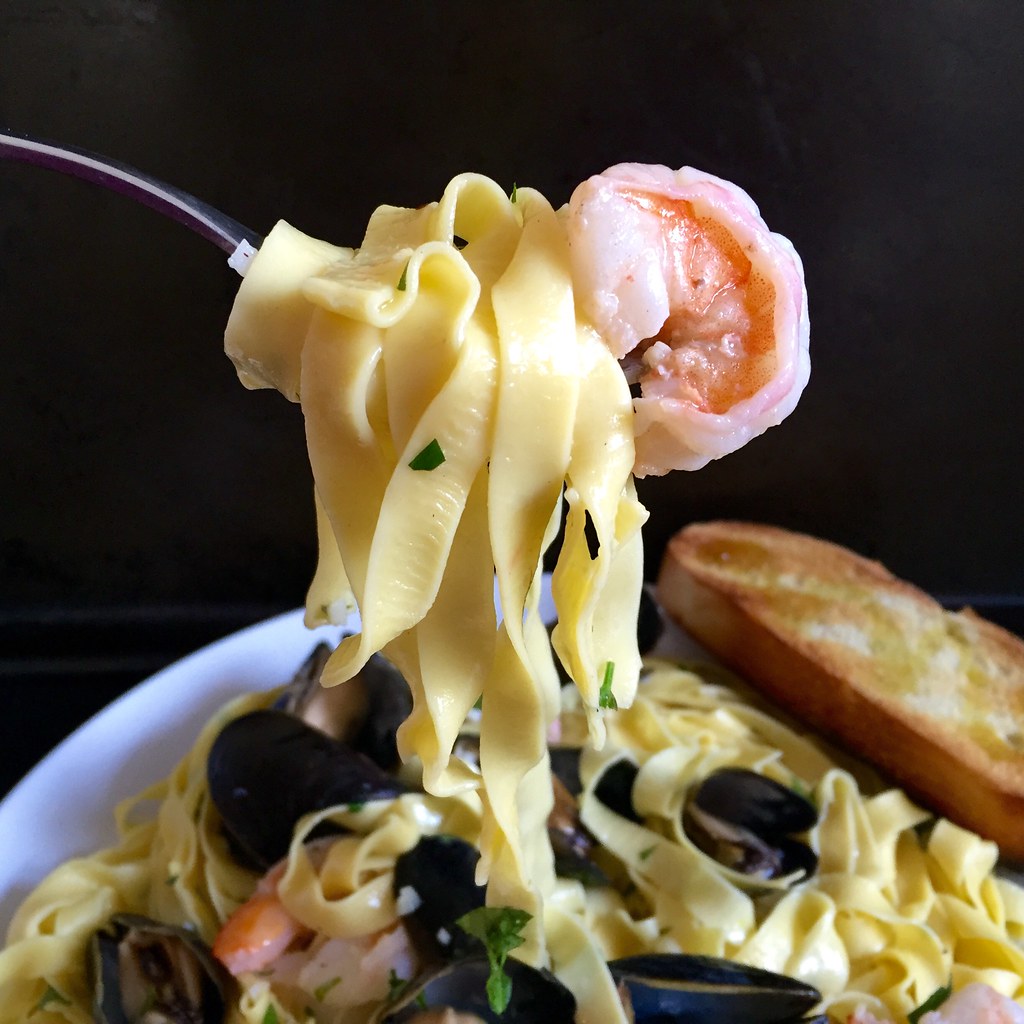
Unlike most recipes for pasta allo scoglio, there were no tomatoes in Andiamo's version; all I tasted was a clean white wine sauce with garlic and lemons spiked with the delicious juices from the clams and mussels. The sauce was so good we asked for another basket of bread just so we could soak it all up. The pasta they used was a saffron fettuccine, which I attempted to make from scratch. Since I didn't have any saffron on hand, I added some saffron salt to the fresh pasta dough and finished the dish with more saffron salt. If I were to make this again, I'd probably add a pinch of turmeric to the pasta dough to bring out the bright yellow coloring more.
Scoglio all'Andiamo (Saffron Fettuccine with Seafood in a Lemon Garlic White Wine Sauce)
serves 2-3
1/4 cup butter
2 garlic cloves, minced
2/3 cup dry white wine
1 lb. mussels and/or clams
1 lb. peeled raw shrimp and/or scallops
1/2 lb. dried fettuccine or 3/4 lb. fresh fettuccine
Juice from 1/2 a lemon
1 tablespoon chopped parsley (optional)
Saffron salt (if you have it, if not, regular sea salt is fine)
Freshly ground pepper
Lemon slices
Bring a pot of salted water to boil. Cook the fettuccine to al dente (if using fresh pasta, wait until the after adding the shrimp to the pan to start cooking the pasta).
In the meantime, melt the butter over medium-low heat in a large skillet. Add the garlic cloves and saute for a minute. Add the white wine and the mussels and/or clams. Cover and let steam until the shellfish have opened. Use a slotted spoon to remove the shellfish from the skillet and set aside in a bowl.
Add the shrimp and/or scallops and cook until just opaque. Add the cooked pasta, lemon juice, parsley, and shellfish back to the skillet and toss well. Season with salt and pepper to taste. Serve immediately with lemon slices and crusty bread to soak up any leftover sauce.
Next: Taiwanese Oyster Omelet (Without the Oysters)
Previously: Gordon Ramsay's Sublime Scrambled Eggs - Two Ways
Last Year: Candied Bacon Chocolate Chip Pancakes
Five Years Ago: Passion Fruit Ice Cream
Six Years Ago: Carrot Cake Ice Cream
Wednesday, April 29, 2015
Gordon Ramsay's Sublime Scrambled Eggs - Two Ways
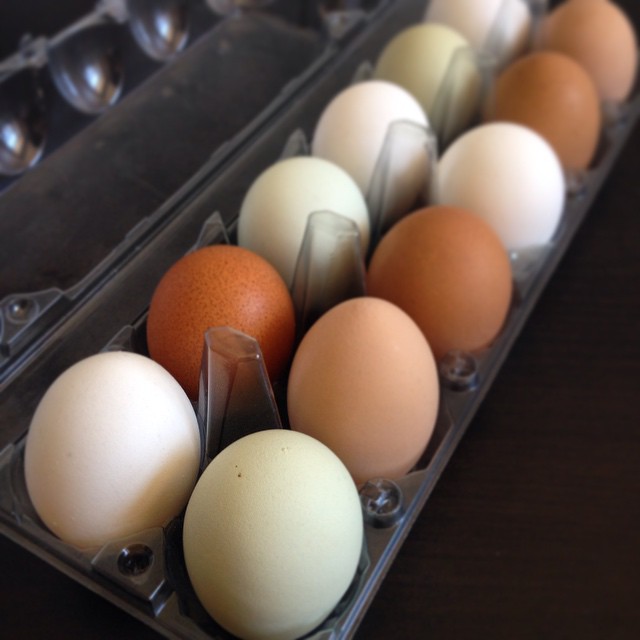
A few weeks ago I got this delightful e-mail from my friend Lyh-Rhen asking if I wanted to buy any eggs hatched by the chickens from his farm. Boy, did I ever! I love looking at all the pictures of the flowers that Fivefork Farms grows, but I travel way too much to justify joining their flower CSA. So I was super happy to be able to support them in a way that I can really utilize.
Aren't they so pretty? I love the light green ones the most. So far I've used them to make homemade pasta, baked goods, shakshuka, and my all-time favorite way to eat eggs, but I wanted to try something new, something special to highlight the farm fresh eggs.
Then I remembered a recent conversation I had with some friends about this video of Gordon Ramsay making scrambled eggs. I don't even remember how it came up, but as soon as someone mentioned it (it might even have been me), everyone else who had ever seen it ecstatically chimed in. This video has over 10 million views, and quite a few of those are mine. There's just something really fascinating about watching someone so confident in the kitchen taking something so simple and describing it in a way that elevates it to a whole other level. If you haven't watched it yet yourself, you should definitely do it when you have a chance. You'll never make scrambled eggs the same way again.
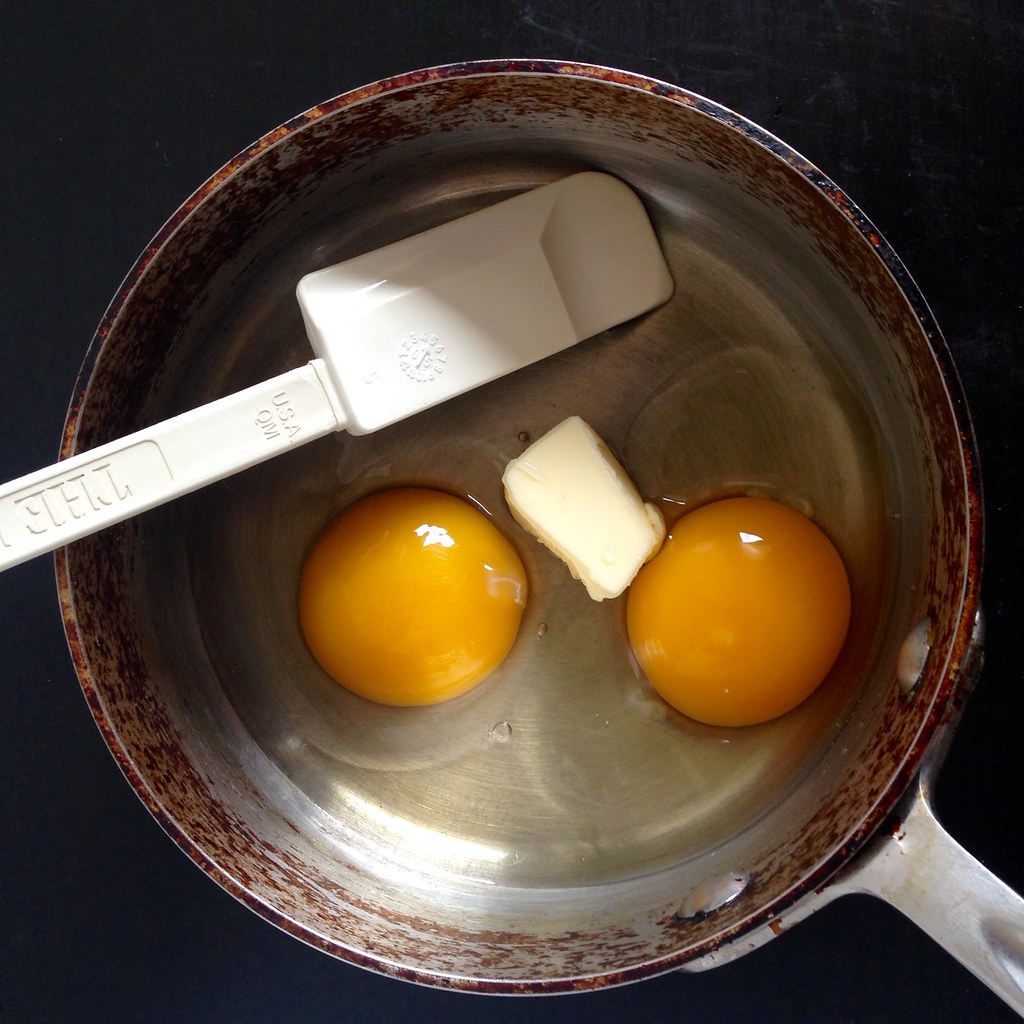
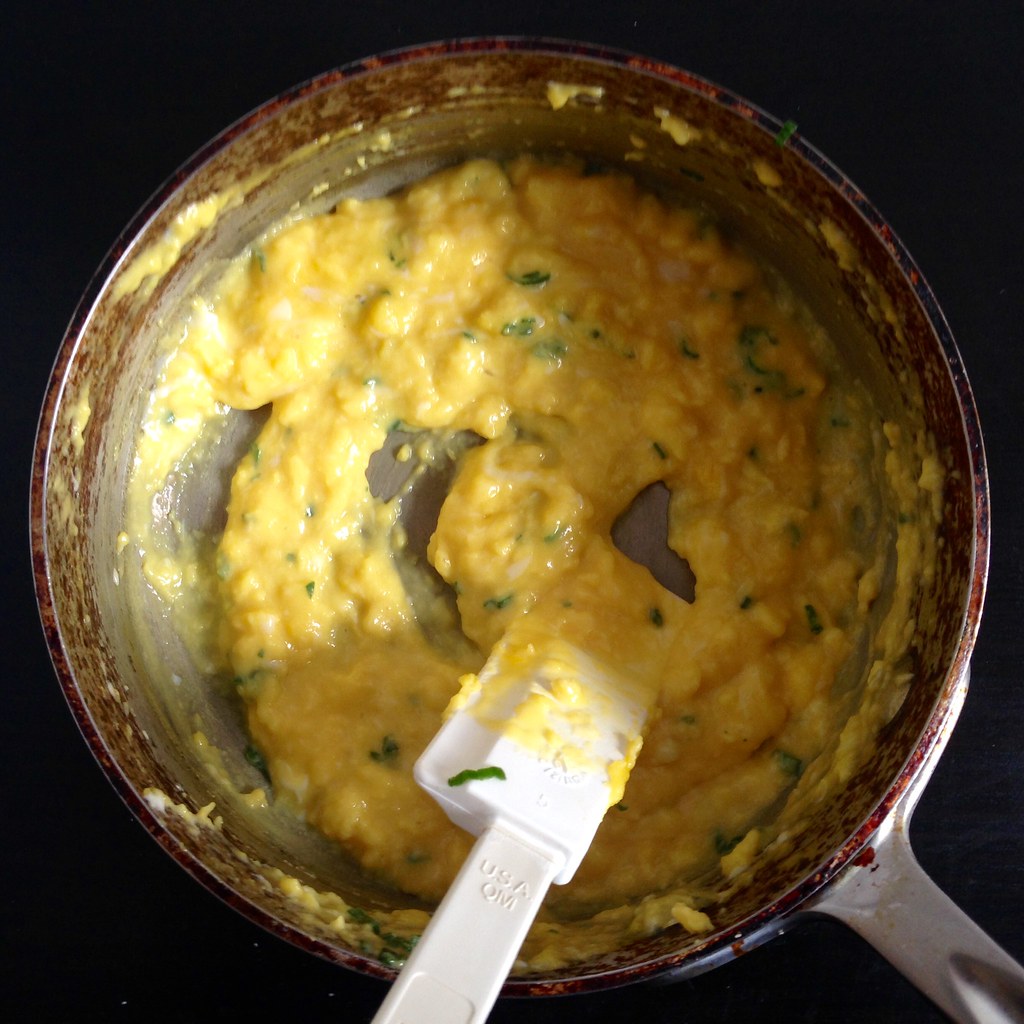
If you don't have time to watch it right now, what you need to know is that adding salt too early in the process breaks down the eggs too much so it becomes a watery mess. In the same vein, Gordon doesn't beat the eggs before cooking them; he cracks the eggs into a cold pan and starts stirring it in there with some cold butter over heat. By constantly stirring the eggs and taking it off the heat when the pan gets too hot, you get perfectly creamy eggs which are on the complete opposite end of the spectrum from the rubbery, dry version you may be used to. He also adds crème fraîche to prevent the eggs from overcooking at the end, but since I didn't have any, I just skipped the step.
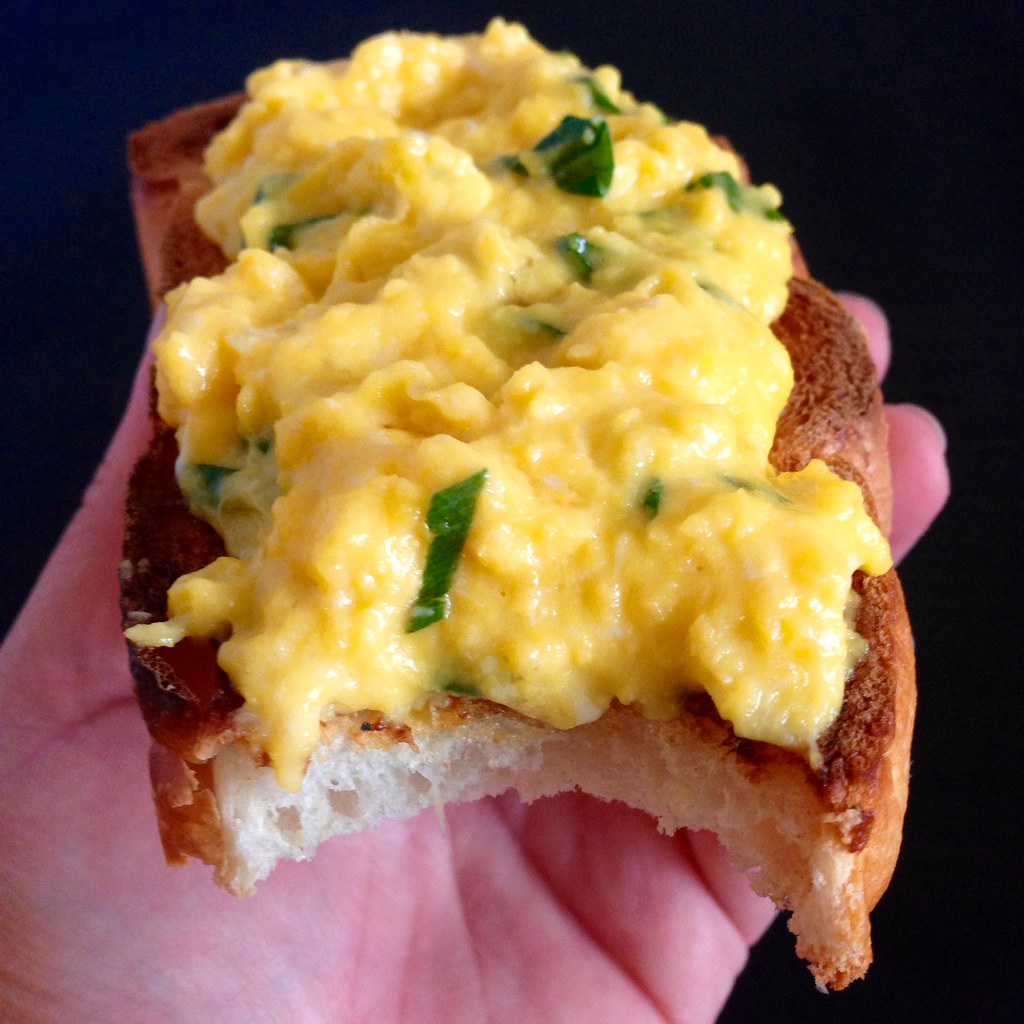
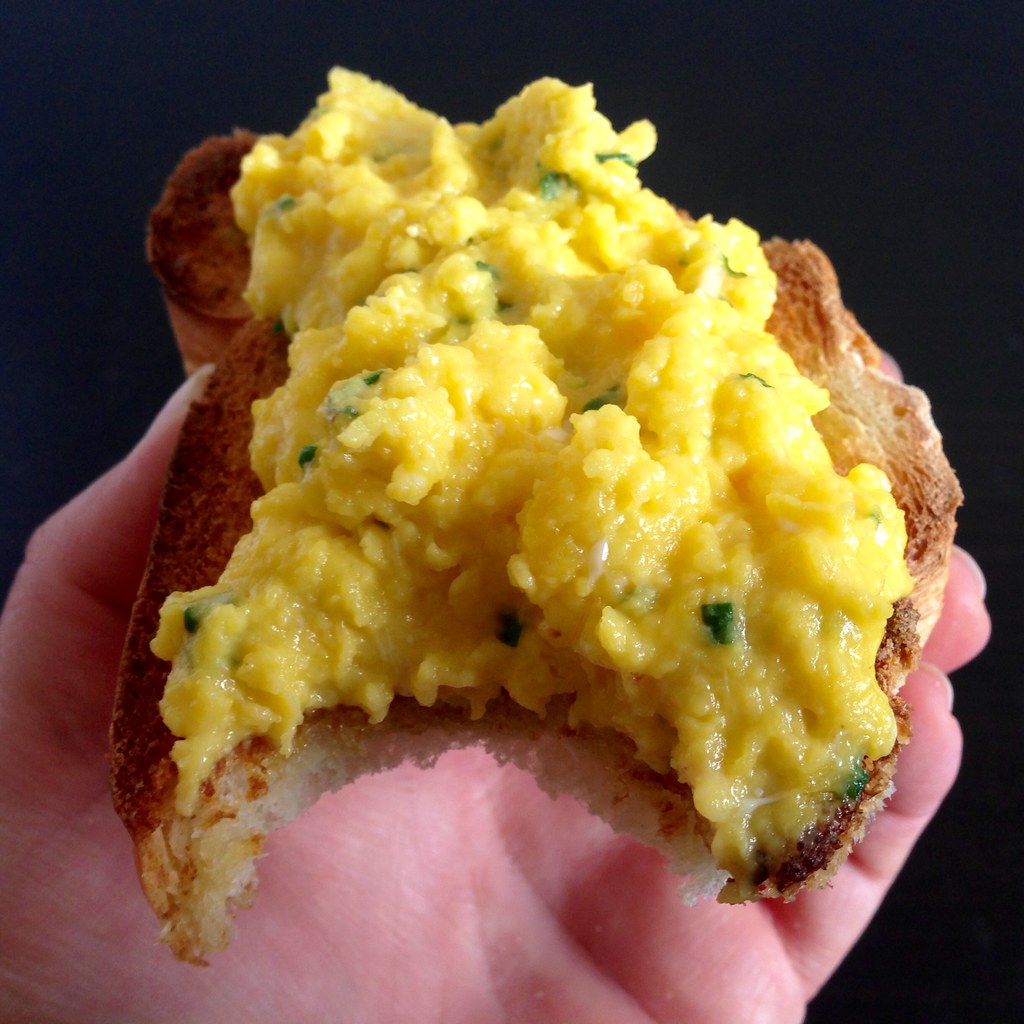
Gordon serves the scrambled eggs over toast that's been drizzled with olive oil. I decided to try an Asian twist by adding chopped scallions to the eggs and drizzling the toast with sesame oil. Both versions are truly sublime.
Gordon Ramsay's Sublime Scrambled Eggs (adapted from Gordon Ramsay Makes It Easy)
makes 1 serving
2 thick slices of crusty bread
3 large free-range eggs
1 1/2 tablespoons ice-cold butter diced
1 tablespoon crème fraîche or sour cream (optional)
Kosher salt and freshly ground pepper
Classic Version:
Few chives, snipped
Good quality olive oil
Joy's Version:
Scallions, chopped
Toasted sesame oil
Break the eggs into a cold, heavy-based pan, add half the butter, and place onto the stove over generous heat. Using a spatula, stir the eggs frequently to combine the yolks with the whites.
As the mixture begins to set, add the remaining butter. The eggs will take about 4-5 minutes to scramble – they should still be soft and quite lumpy. Don’t let them get too hot – keep moving the pan off and back on the heat.
In the meantime, toast the bread.
Add the crème fraîche (if using) and season the eggs at the last minute with the salt and pepper, then add the snipped chives or chopped scallions, depending on which version you're making.
Drizzle the toast with the olive oil or sesame oil and pile the softly scrambled eggs on top. Serve immediately.
Next: Scoglio all'Andiamo (Saffron Fettuccine with Seafood in a Lemon Garlic White Wine Sauce)
Previously: Chocolate Mochi Cake
Last Year: Nutella Mini Crepe Cakes
Five Years Ago: Lilikoi Malasadas (Portuguese Donuts Filled with Passion Fruit Curd)
Six Years Ago: Stuffed Artichokes
Monday, March 30, 2015
Chocolate Mochi Snack Cake
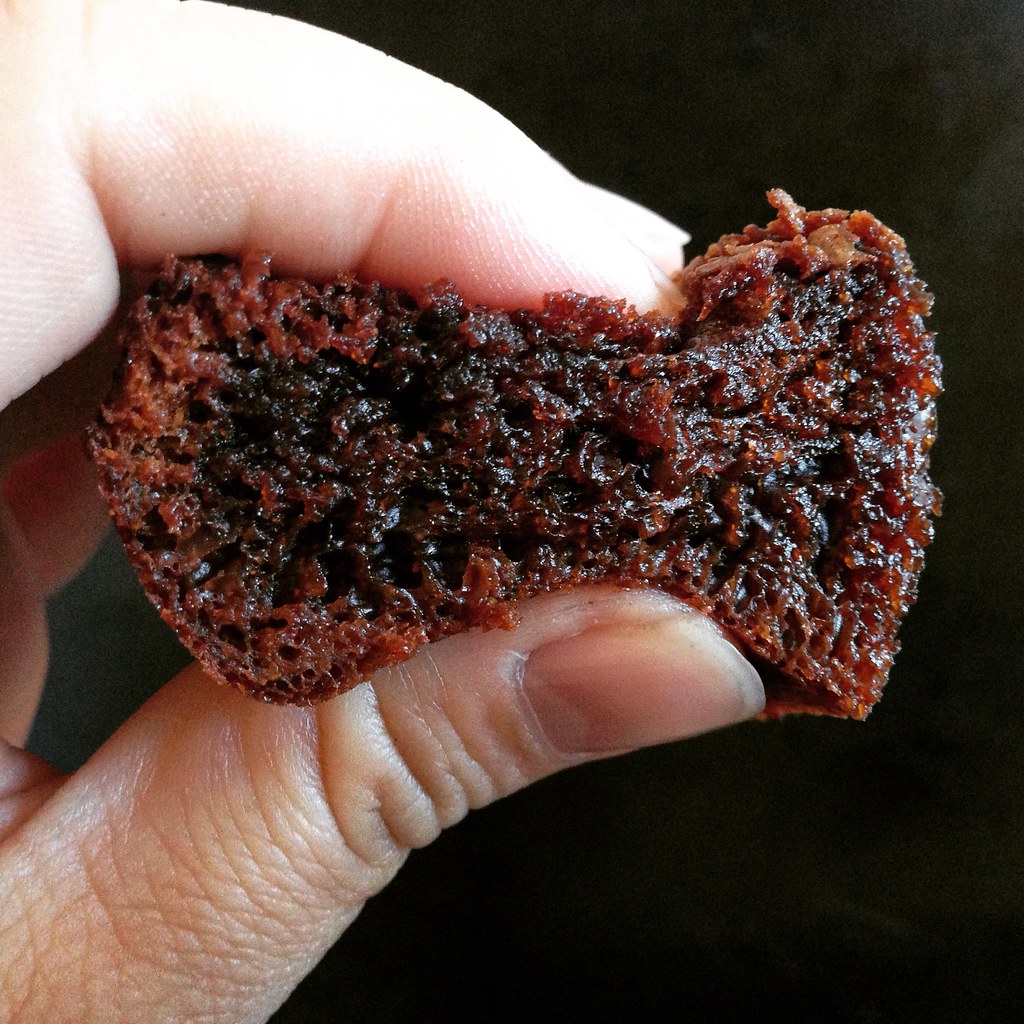
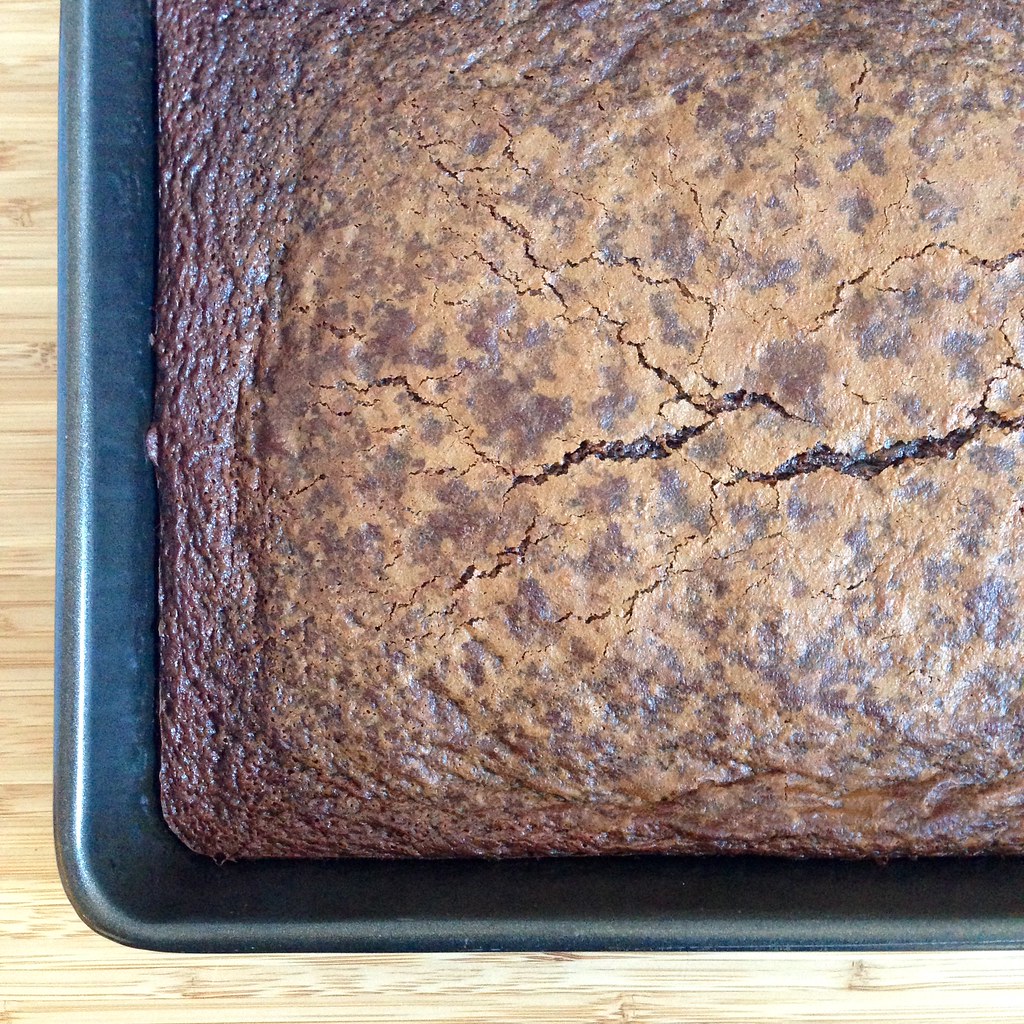
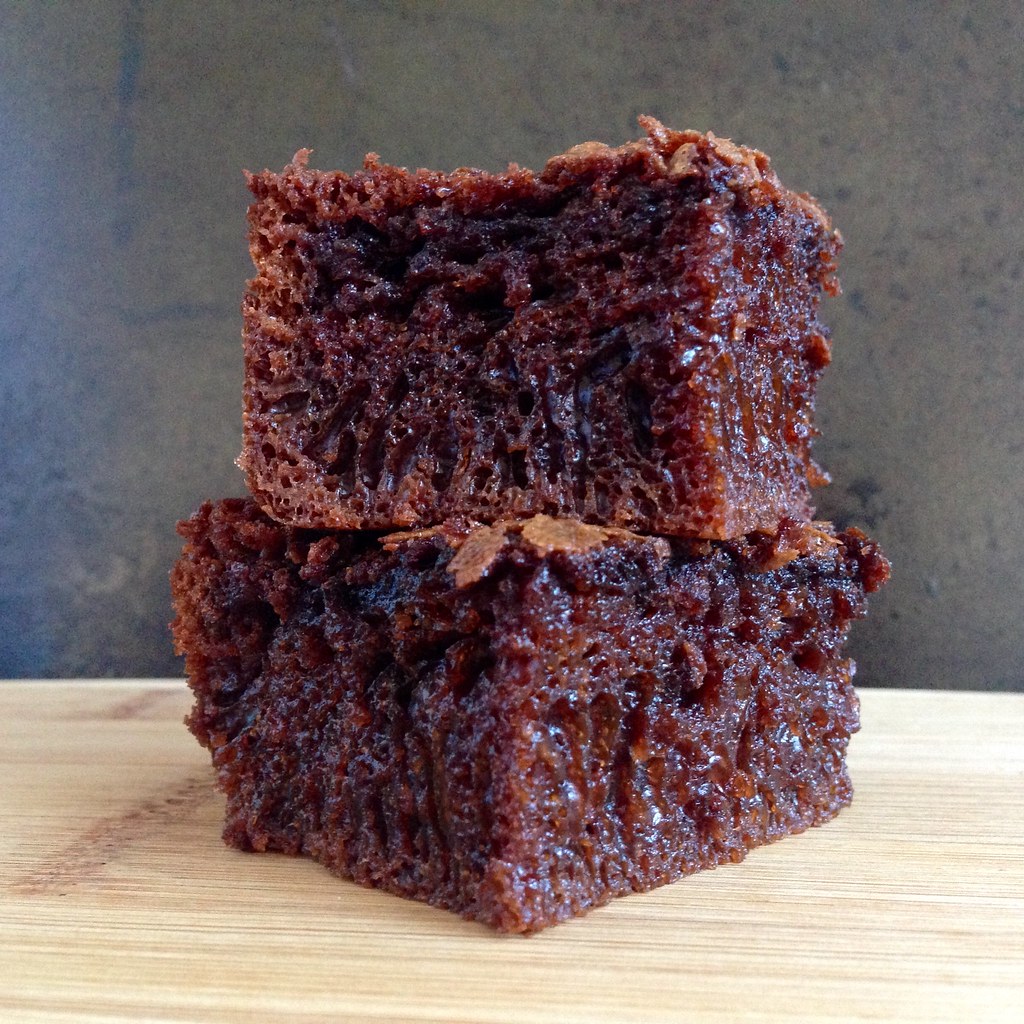
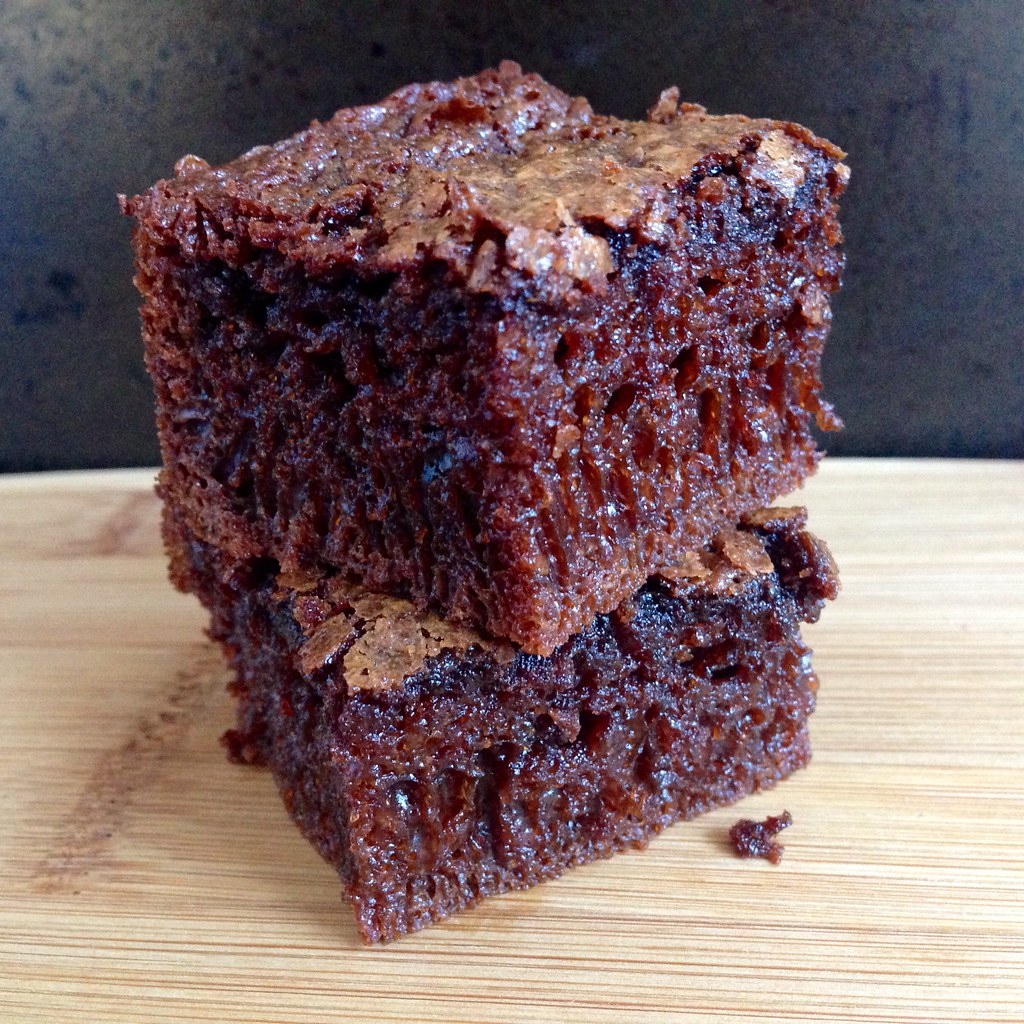
Bouncy. Chewy Springy. Squishy. These are probably not words you usually associate with a chocolate cake, and yet this Chocolate Mochi Snack Cake is all of those things. Just looking at this cake you'd think it would be dense and crazy sweet like a brownie, but it's actually rather light and just sweet enough that you keep wanting another bite. It reminds me of a steamed cake, like the kind you get at dim sum.
I found the recipe on Food52 and modified the directions a bit by melting the butter and chocolate right in the metal bowl of a stand mixer over a pot of simmering water. This way you don't have to worry about possibly burning the chocolate and it's one less transfer to worry about. If you don't have a stand mixer, you can melt the butter and chocolate in a metal bowl set over a pot of simmering water and proceed with an electric beater. I also mixed the eggs with the evaporated milk and vanilla extract before adding to the melted butter/chocolate mixture to help prevent the eggs from cooking and curdling.
Since this cake is made with rice flour, it is totally gluten free! I'm not sure how you could make this without the eggs to make it vegan, but
Chocolate Mochi Snack Cake (adapted from Food52)
makes one 9" x 13" cake
2 cups glutinous rice flour
2 scant cups sugar
1 tablespoon baking soda
1/2 cup (1 stick) unsalted butter, cut into pieces
1 cup semisweet chocolate chips
24 oz. evaporated milk
2 teaspoons vanilla extract
2 eggs, beaten
Preheat the oven to 350°F and grease a 9" x 13" baking pan.
Whisk together the flour, sugar, and baking soda in a large bowl. Whisk together the evaporated milk, vanilla extract, and eggs in another bowl. Set aside.
Melt the butter and the chocolate chips together the metal bowl of a stand mixer set over a pot of simmering water, stirring frequently until you have a smooth mixture.
Remove the bowl from the pot and set it back in the stand mixer with the paddle attachment. With the mixer running on low, add the evaporated milk, vanilla, and eggs mixture and mix until incorporated.
Add the dry ingredients and mix on low until the batter is smooth and lump free. Pour into the prepared pan and bake for 45 to 55 minutes, until the cake no longer jiggles. Remove from oven and let cool before serving.
This cake should be stored at room temperature rather than refrigerated.
Next: Gordon Ramsay's Sublime Scrambled Eggs
Previously: Homemade Squid Ink Pasta
Five Years Ago: Duck Fat French Fried with Rosemary, Maldon Salt, and Truffle Oil, Apple Tarte Tatin
Six Years Ago: Cincinnati Chili, Hong Kong Style Pan-Fried Noodles
Monday, March 23, 2015
Homemade Squid Ink Pasta
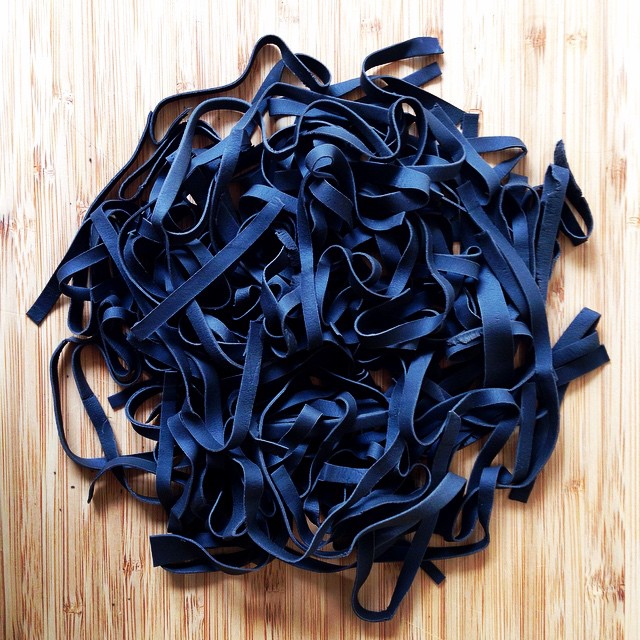
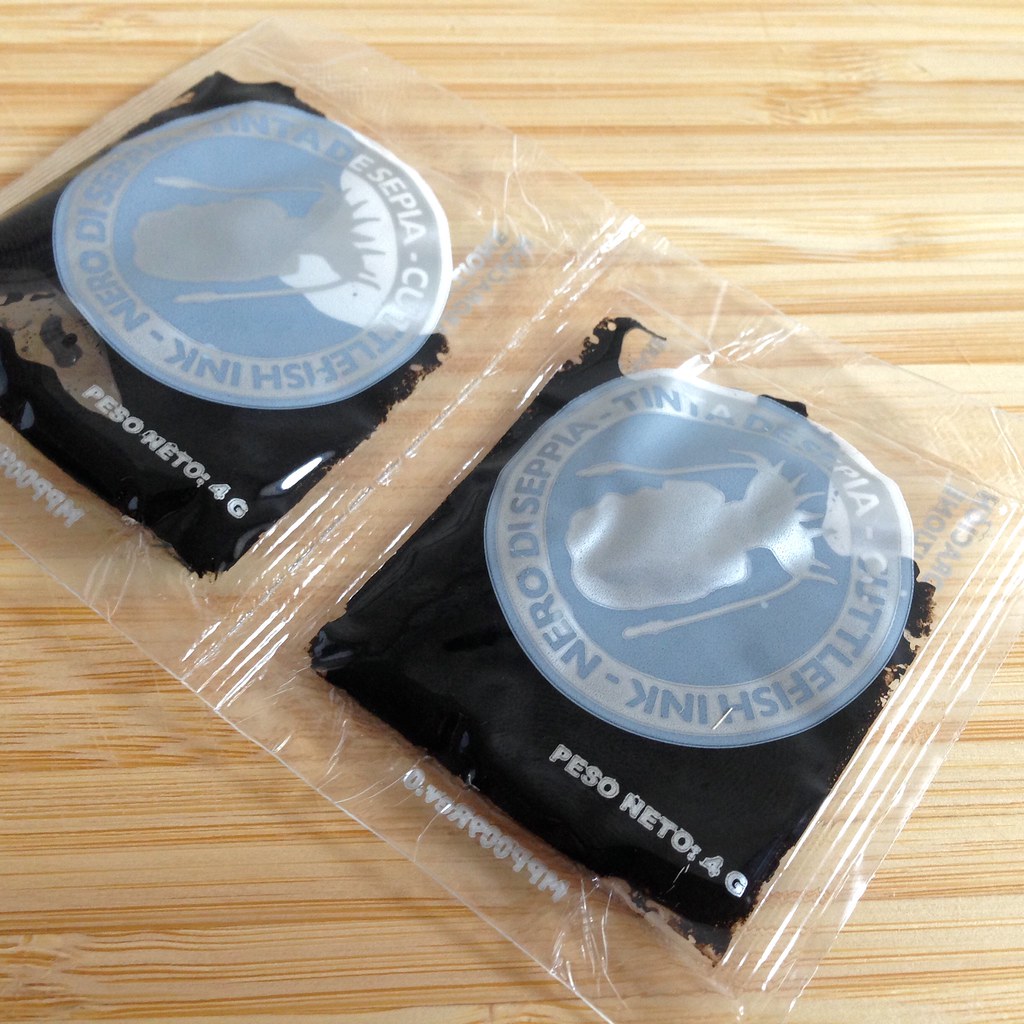
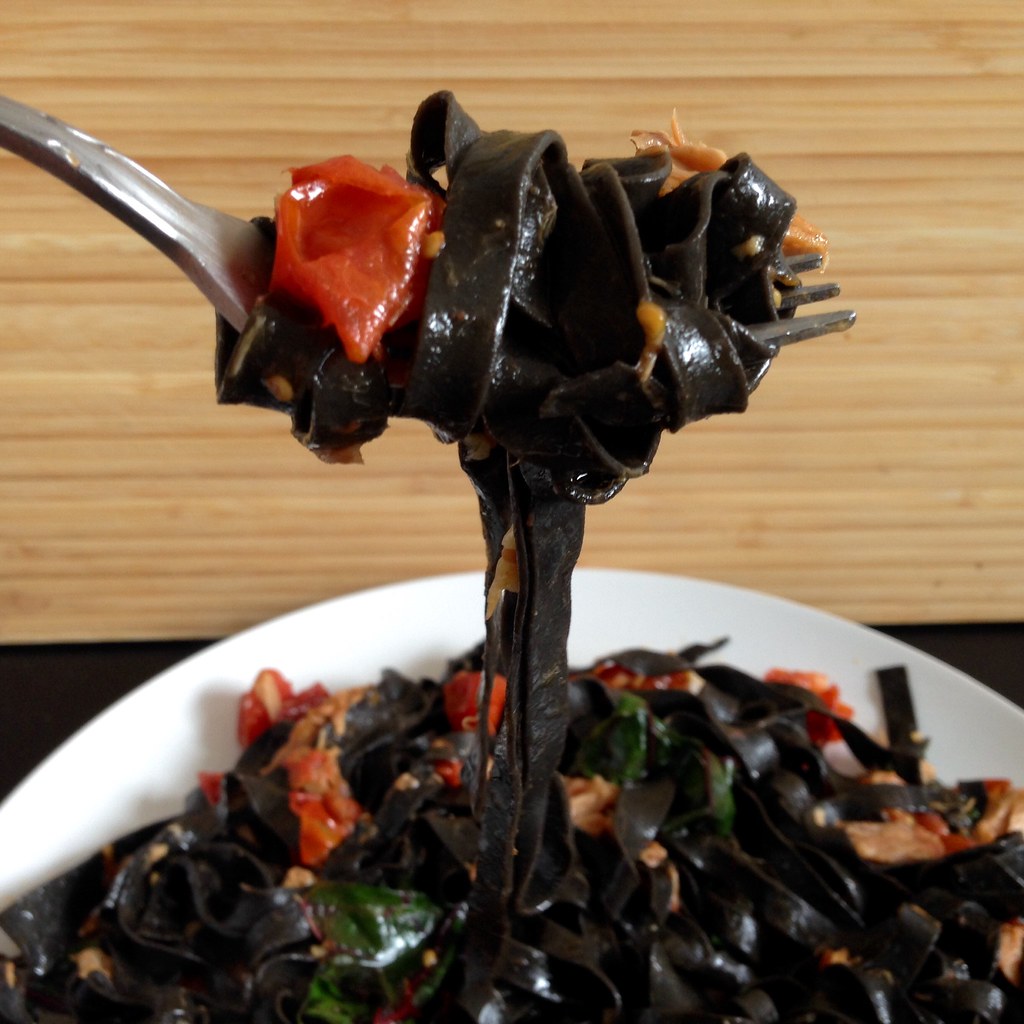
I've been wanting to make my own squid ink pasta ever since I first had it in Venice, so I was pretty excited when I finally found some squid ink at DiLaurenti on my last trip to Seattle. It came in these little pricey packets, but a little goes a long way.
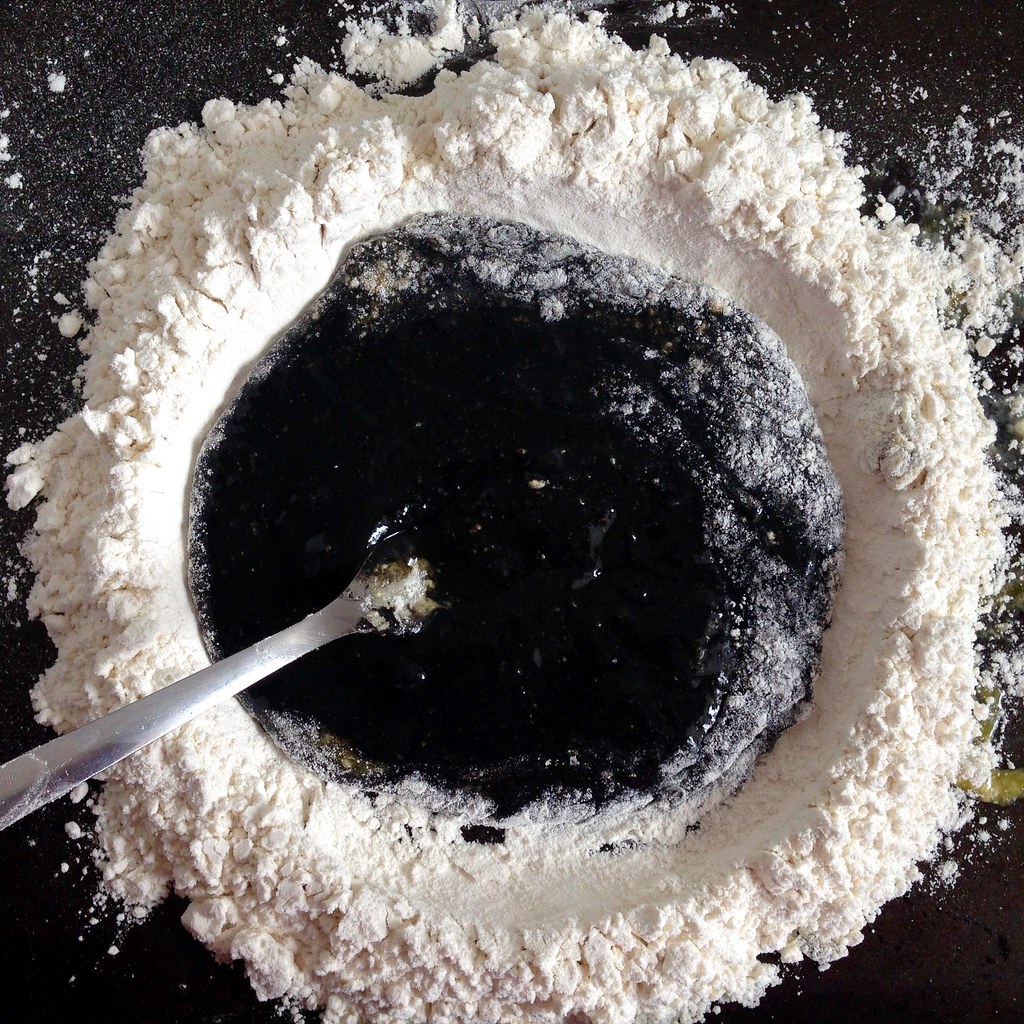
I pretty much followed my recipe for a better homemade pasta, but I substituted squid ink for one of the egg yolks. Because this recipe produces a drier dough, you don't have to dust the pasta with any additional flour to keep it from sticking, and it also lets the color of the squid ink pasta shine through.
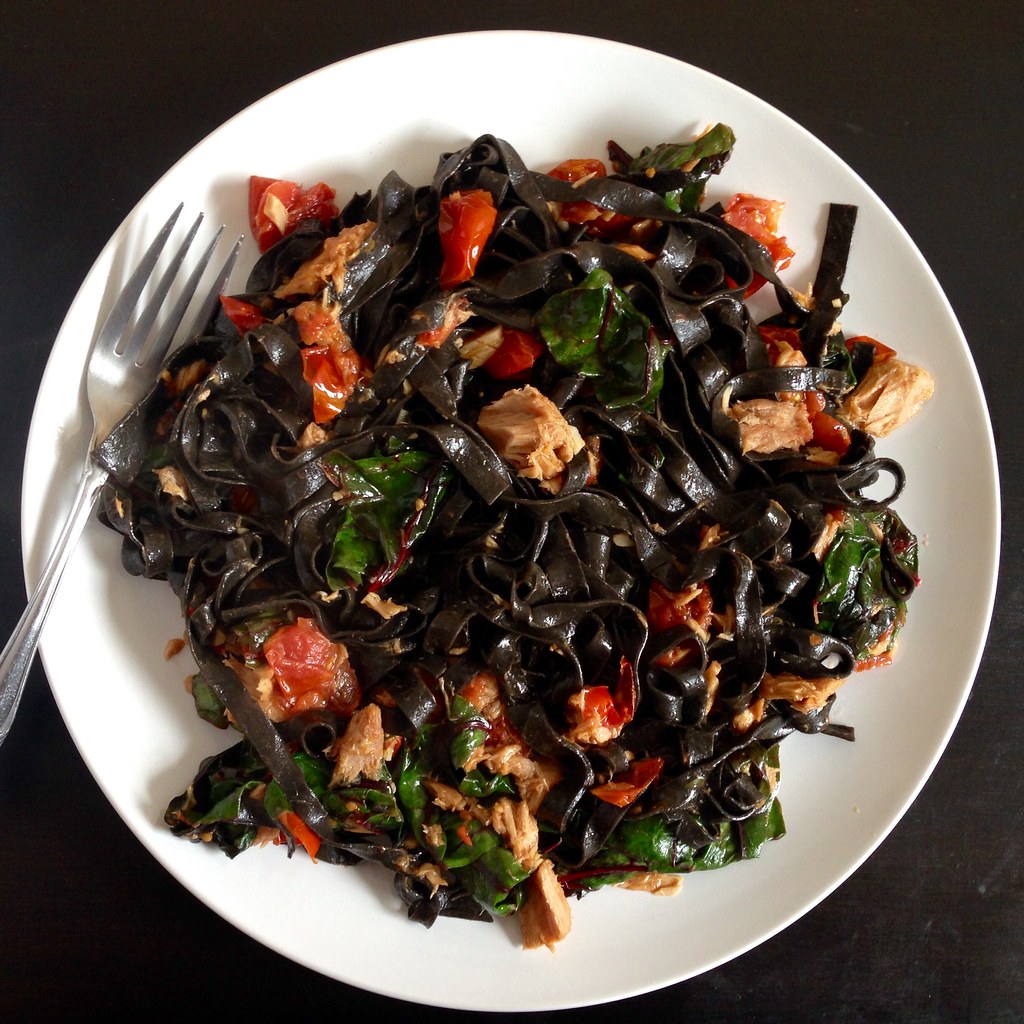
I found that I could really smell and taste the brininess of the squid ink compared to the dried squid ink pasta I had bought from Venice. I ended up using this pasta to make the First Night in Florence Spaghetti, and it just made that already fantastic dish even better.
Homemade Squid Ink Pasta
makes 2 servings
1 cup all-purpose flour
1 large egg
2 large egg yolks
8 grams (about 1 1/2 teaspoons) squid ink
On a large, rimmed baking sheet, make a pile with the flour and dig a well in the middle. Crack the egg into the well and add the egg yolks and squid ink.
Using a fork, start stirring the liquids and slowly incorporating more and more of the flour into the well until you have a nice, thick paste. Combine with the rest of the flour and start kneading with your hands. If the dough is too dry, wet your hands as many times as you need just for it to all come together.
Continue kneading by hand or in a stand mixer (with the dough hook attachment) until you have a smooth, uniform dough. Cover tightly with plastic wrap and let rest for at least 20 minutes. At this point you can refrigerate the dough, well wrapped, overnight and bring it back to room temperature the next day before continuing.
Cut the dough in half. Run one half through the pasta machine set at its widest setting. Fold the dough in thirds and run through the machine again, repeating 3 times. Then, run the dough halfway through and pinch the ends together so it forms a loop. Adjust the setting to one notch thinner and roll through, continuing to adjust the setting one notch thinner each time the loop has gone all the way around. When the dough looks almost transparent, stop and cut the dough out of the machine and then in half. Repeat the whole process with the other half of the dough.
If your dough is feeling tacky at this point, let it dry a bit on some tea towels. Otherwise, you can go ahead and fold the dough in half three times so you have a manageable width to cut. Using a sharp knife, cut the noodles into the width you desire. Shake out the noodles and let them dry some more on the tea towel.
Bring a pot of salted water to a rolling boil. Add the pasta and stir occasionally so that the noodles don't stick to each other. The pasta is done when they float to the surface. Remove from the water immediately to preserve its perfect al dente texture. Toss with the sauce of your choice.
Next: Chocolate Mochi Snack Cake
Previously: Cacio e Pepe for One
Last Year: Dan Bing (Taiwanese Egg Crepe)
Five Years Ago: Mama Huang's Secret Beer Duck Recipe
Six Years Ago: Carrot Cake Cupcakes with Cream Cheese Frosting
Monday, March 16, 2015
Cacio e Pepe for One
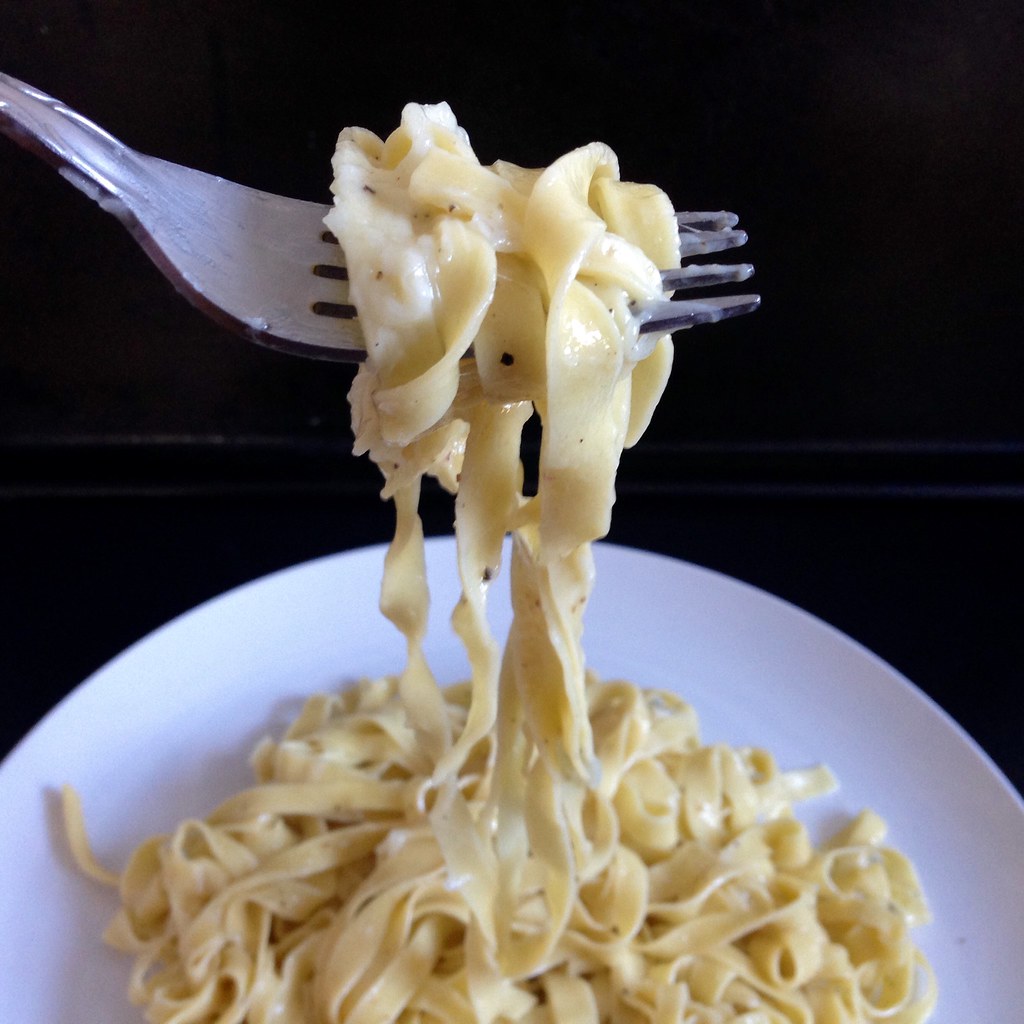
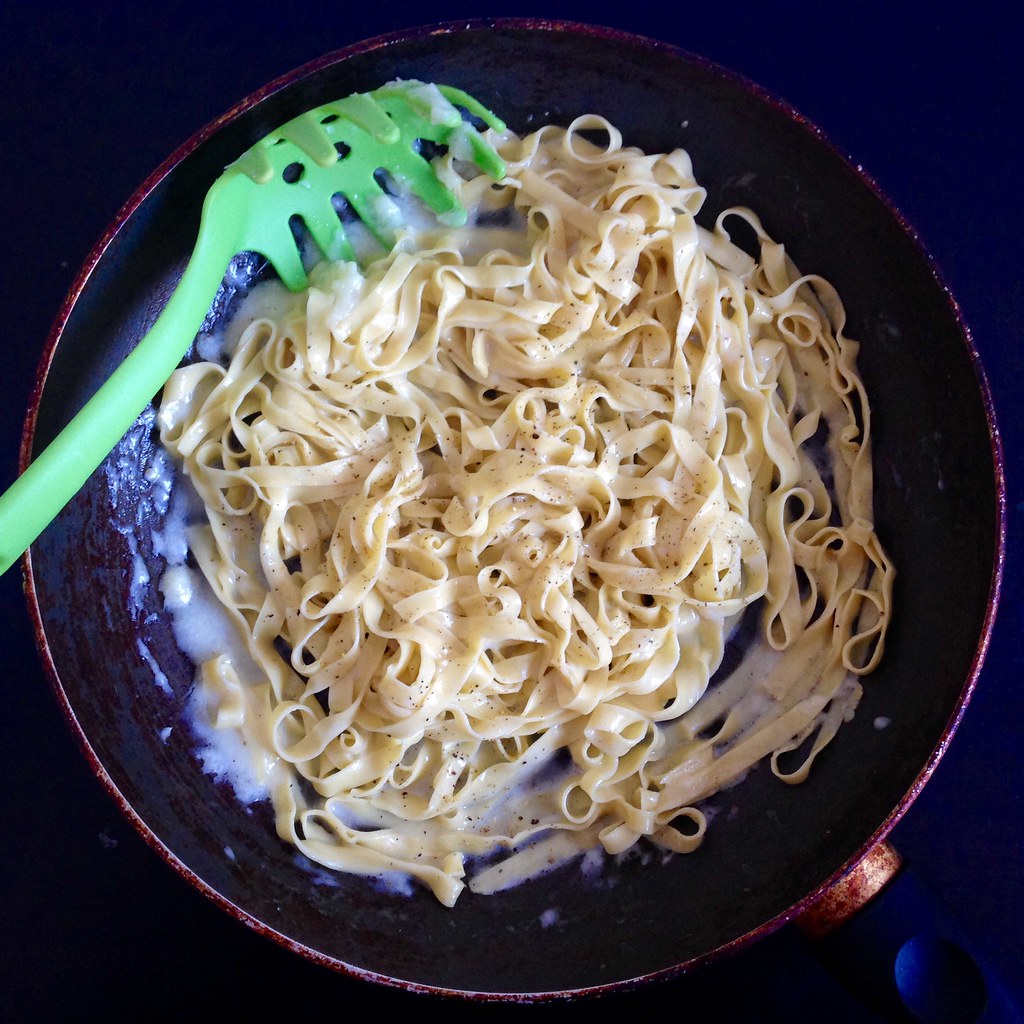
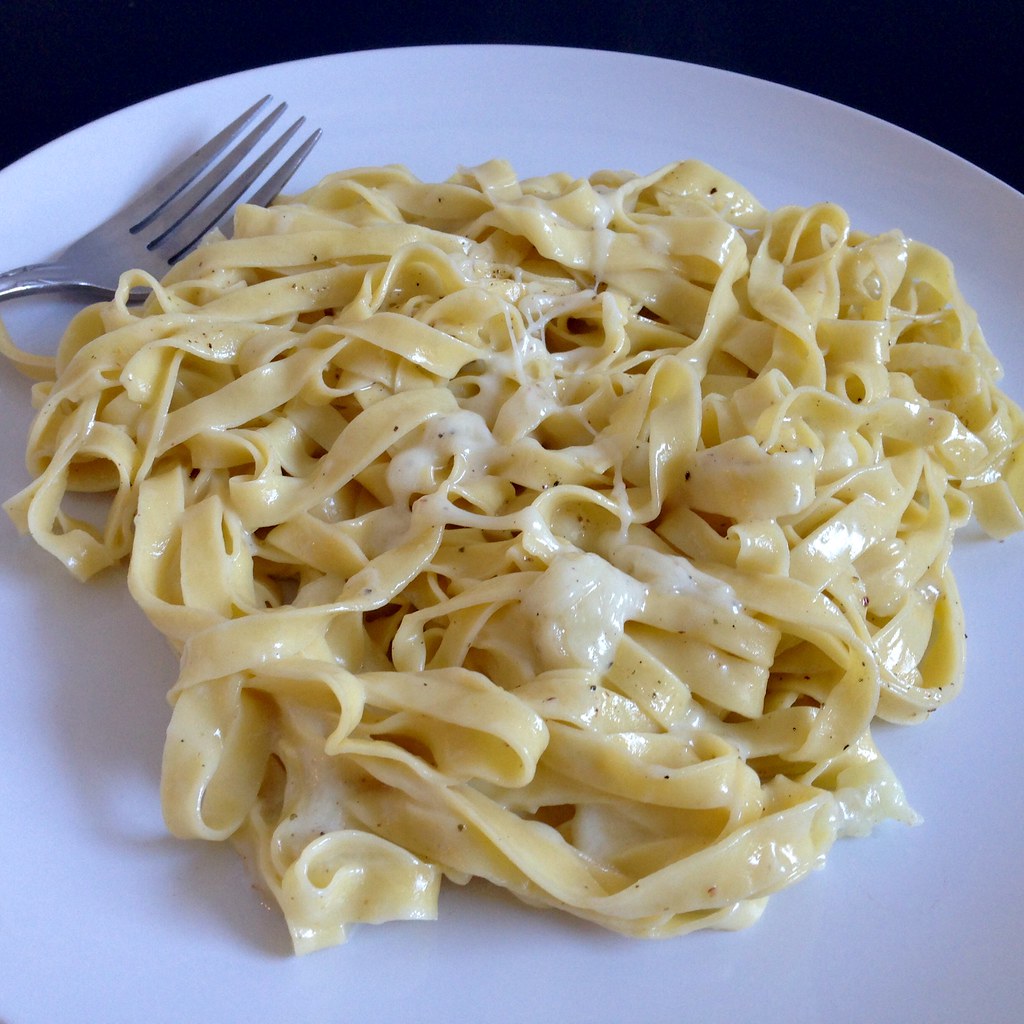
I love macaroni and cheese, but sometimes I just want to make enough for one serving. Or I don't have any milk in the refrigerator. Or I'm starving and and need something that only takes a few minutes to make. Luckily, this recipe for cacio e pepe meets all those requirements!
Italian for "cheese and pepper", this dish comes together in a flash and uses ingredients you probably already have in your pantry and refrigerator. Pecorino Romano is the traditional cheese used for cacio e pepe, but in a pinch, you could also use parmesan or another hard, grated cheese.
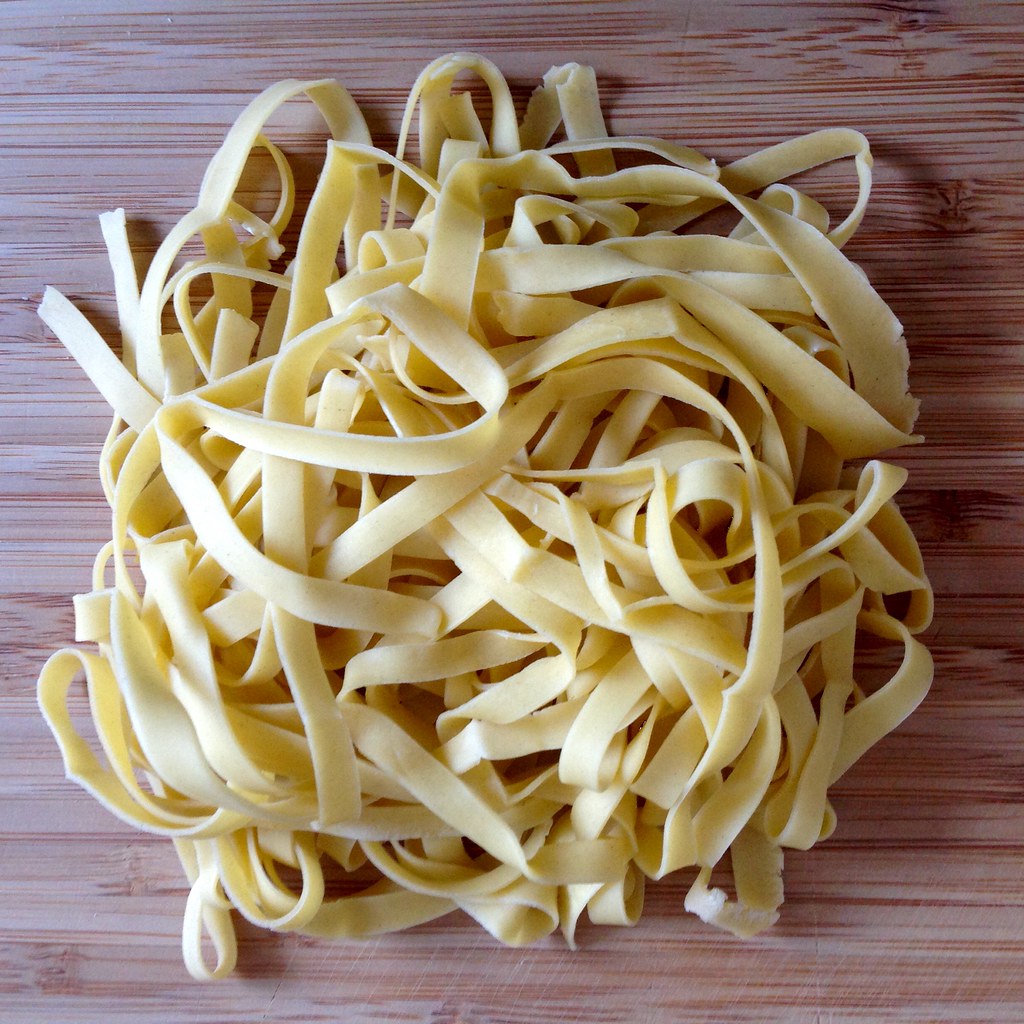
The first time I made this, I used the fresh pasta I had made in the previous post, but I've also since made this with regular dried spaghetti. Obviously, the fresh pasta was better, but the version made with the dried pasta was still pretty decent, and much better than anything that comes out of a blue and orange box. I like mine slightly gooey and with less pepper, but if you like it creamier, you can add more pasta water, and feel free to use as much pepper as you like!
Cacio e Pepe for One
serves one (duh) but can be easily doubled
Kosher salt
1 serving of uncooked pasta, dried or fresh
1 tablespoon unsalted butter or olive oil
Freshly ground black pepper, to taste
50 g (about 3/4 cup) freshly grated Pecorino Romano
Bring a pot of salted water to boil.
Add the butter and pepper to a skillet large enough to hold all the pasta. If using fresh pasta, turn the heat on once you add the pasta to the boiling water. If using dried pasta, wait until there is 1 minute left before the pasta is done to turn on the heat. Toast the pepper over medium-low heat.
When the pasta is done, transfer it to the skillet using tongs or a pasta scooper. Toss with the butter and pepper, then start adding the grated cheese, alternating with some of the pasta water. Continue tossing until the cheese has melted and coated all the pasta. Season to taste with additional pepper and salt.
Next: Homemade Squid Ink Pasta
Previously: A Better Homemade Pasta
Last Year: Miso-Glazed Eggplant
Two Years Ago: Happiness Cake
Five Years Ago: Momofuku's Crack Pie
Six Years Ago: Korean Pancake Face Off
Subscribe to:
Comments (Atom)
